Download as PDF, PPTX


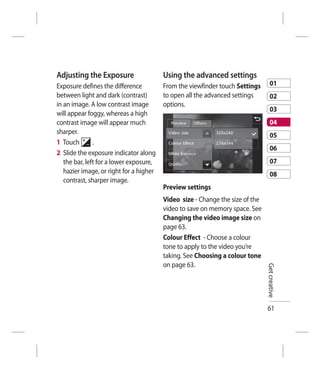

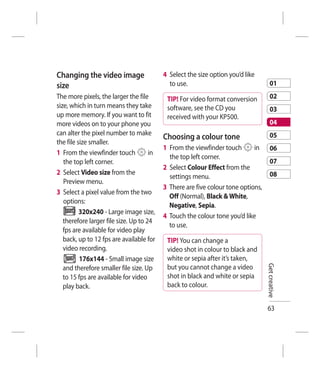

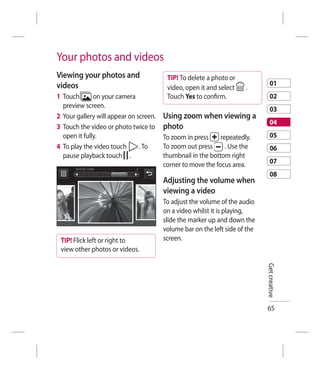
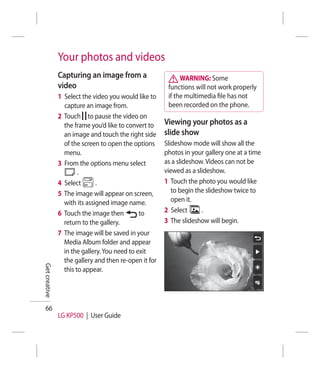


This document provides instructions for disposing of old appliances properly according to European Directive 2002/96/EC. It states that electrical and electronic products should be disposed of separately from municipal waste through designated collection facilities. The correct disposal of old appliances will help prevent potential negative consequences for the environment and human health. Users should contact their local city office, waste disposal service or retailer for more details on proper disposal.