The document describes how to create an Oracle RAC database. The key steps are:
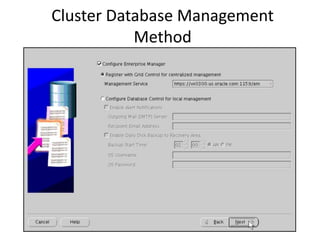
1. Install the Enterprise Manager agent on each cluster node.
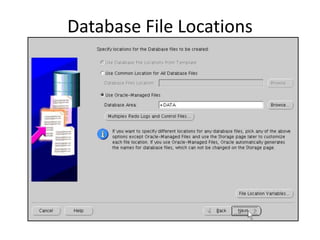
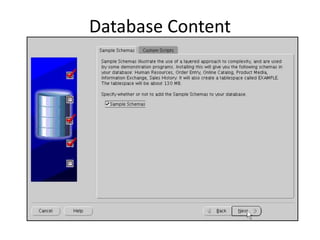
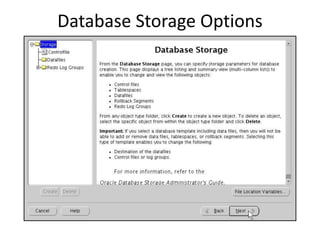
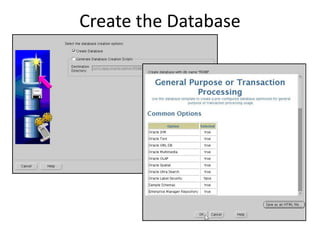
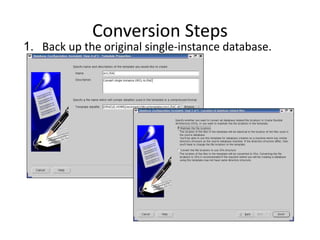
2. Create the cluster database using the Database Configuration Assistant (DBCA) tool.
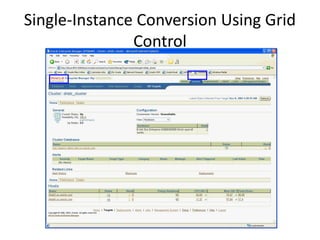
3. Perform post-installation tasks like verifying the configuration, backing up files, and installing patches.