Download to read offline


![MCA 202 Section B Notes
</tr>
<tr>
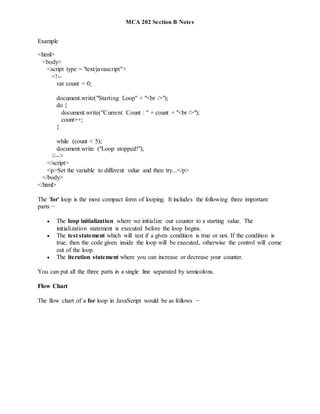
<td align="right">Zip Code</td>
<td><input type="text" name="Zip" /></td>
</tr>
<tr>
<td align="right">Country</td>
<td>
<select name="Country">
<option value="-1" selected>[choose yours]</option>
<option value="1">USA</option>
<option value="2">UK</option>
<option value="3">INDIA</option>
</select>
</td>
</tr>
<tr>
<td align="right"></td>
<td><input type="submit" value="Submit" /></td>
</tr>
</table>
</form>
</body>
</html>
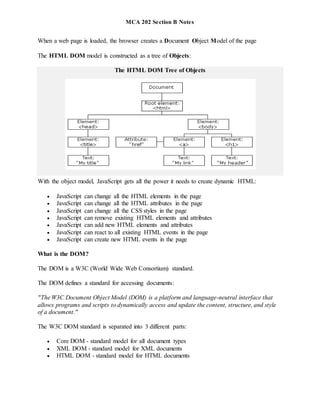
The HTML DOM (Document Object Model)](https://image.slidesharecdn.com/mcasectionbnotes-220305041154/85/JavaScript-7-320.jpg)


![MCA 202 Section B Notes
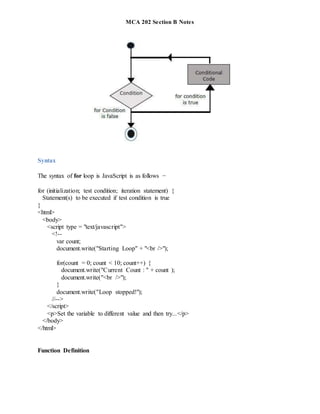
return false;
}
return( true );
}
//-->
</script>
</head>
<body>
<form action = "/cgi-bin/test.cgi" name = "myForm" onsubmit = "return(validate());">
<table cellspacing = "2" cellpadding = "2" border = "1">
<tr>
<td align = "right">Name</td>
<td><input type = "text" name = "Name" /></td>
</tr>
<tr>
<td align = "right">EMail</td>
<td><input type = "text" name = "EMail" /></td>
</tr>
<tr>
<td align = "right">Zip Code</td>
<td><input type = "text" name = "Zip" /></td>
</tr>
<tr>
<td align = "right">Country</td>
<td>
<select name = "Country">
<option value = "-1" selected>[choose yours]</option>
<option value = "1">USA</option>
<option value = "2">UK</option>
<option value = "3">INDIA</option>
</select>
</td>
</tr>
<tr>
<td align = "right"></td>
<td><input type = "submit" value = "Submit" /></td>
</tr>
</table>](https://image.slidesharecdn.com/mcasectionbnotes-220305041154/85/JavaScript-25-320.jpg)

![MCA 202 Section B Notes
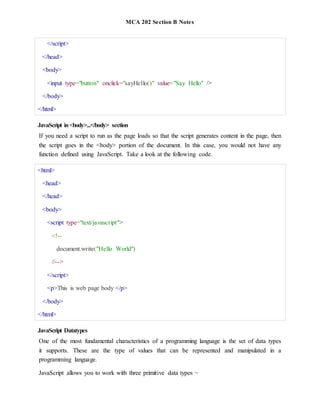
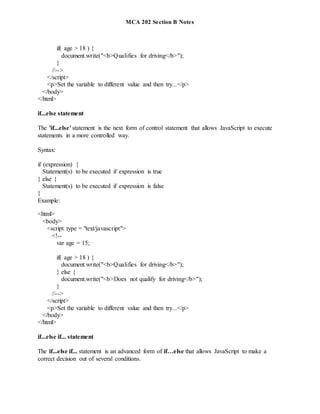
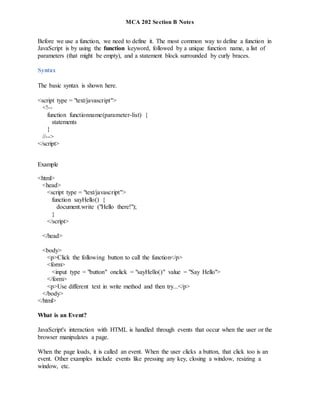
The JavaScript method toString() converts an array to a string of (comma separated) array
values.
Example
var fruits= ["Banana","Orange","Apple","Mango"];
document.getElementById("demo").innerHTML= fruits.toString();
<!DOCTYPE html>
<html>
<body>
<h2>JavaScript Array Methods</h2>
<h2>toString()</h2>
<p>The toString() method returns an array as a comma separated string:</p>
<p id="demo"></p>
<script>
var fruits = ["Banana", "Orange", "Apple", "Mango"];
document.getElementById("demo").innerHTML = fruits.toString();
</script>
</body>
</html>
Join()
The join() method also joins all array elements into a string.
It behaves just like toString(), but in addition you can specify the separator:
<!DOCTYPE html>
<html>
<body>
<h2>JavaScript Array Methods</h2>
<h2>join()</h2>](https://image.slidesharecdn.com/mcasectionbnotes-220305041154/85/JavaScript-27-320.jpg)
![MCA 202 Section B Notes
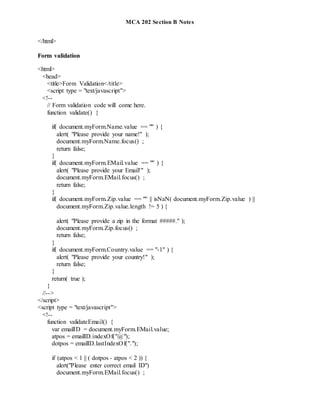
<p>The join() method joins array elements into a string.</p>
<p>It this example we have used " * " as a separator between the elements:</p>
<p id="demo"></p>
<script>
var fruits = ["Banana", "Orange", "Apple", "Mango"];
document.getElementById("demo").innerHTML = fruits.join(" * ");
</script>
</body>
</html>
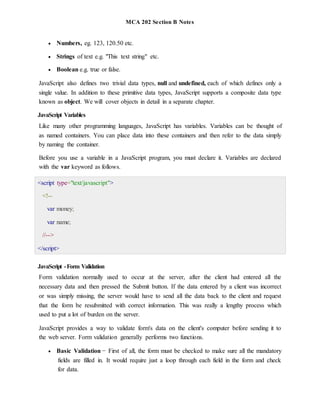
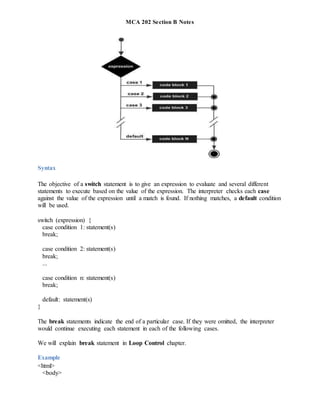
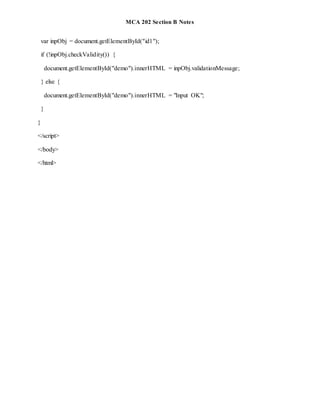
JavaScript Validation API
Constraint Validation DOM Methods
Property Description
checkValidity() Returns true if an input element contains valid data.
setCustomValidity() Sets the validationMessage property of an input element.
<!DOCTYPE html>
<html>
<body>
<p>Enter a number and click OK:</p>
<input id="id1" type="number" min="100" max="300" required>
<button onclick="myFunction()">OK</button>
<p>If the number is less than 100 or greater than 300, an error message will be displayed.</p>
<p id="demo"></p>
<script>
function myFunction() {](https://image.slidesharecdn.com/mcasectionbnotes-220305041154/85/JavaScript-28-320.jpg)

The document provides information on JavaScript including: - JavaScript is a lightweight, interpreted programming language used for creating interactive effects in web pages. - Client-side JavaScript can validate user input before submitting a form to the server. - The HTML DOM represents the webpage as an object model which JavaScript can manipulate to dynamically change HTML content.