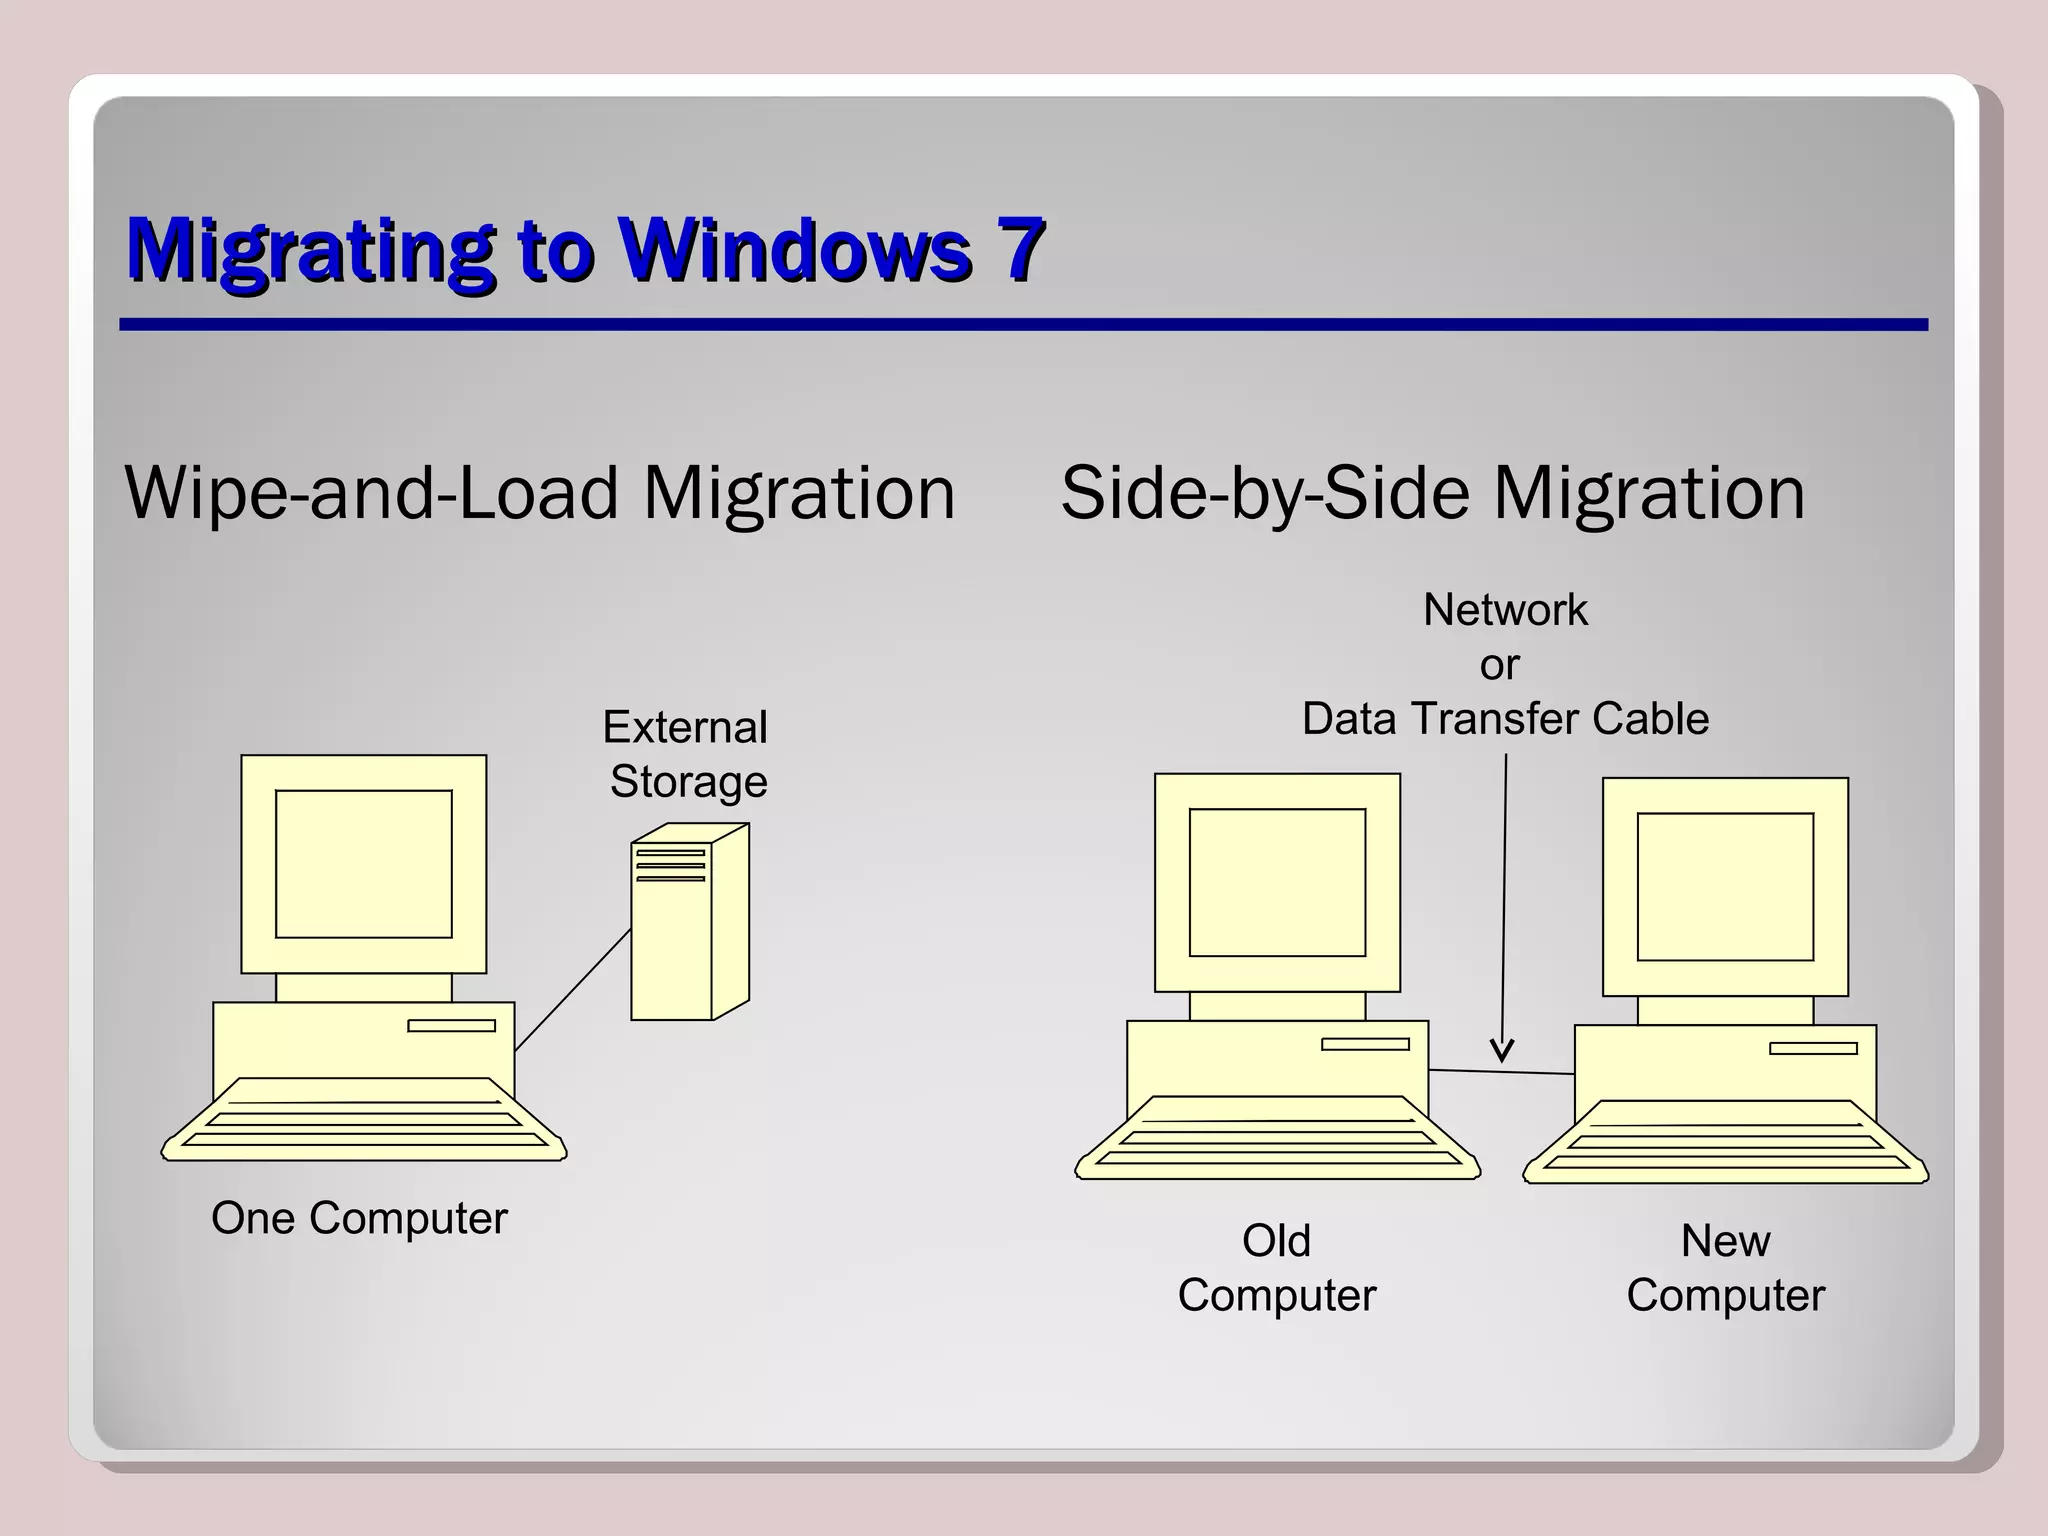
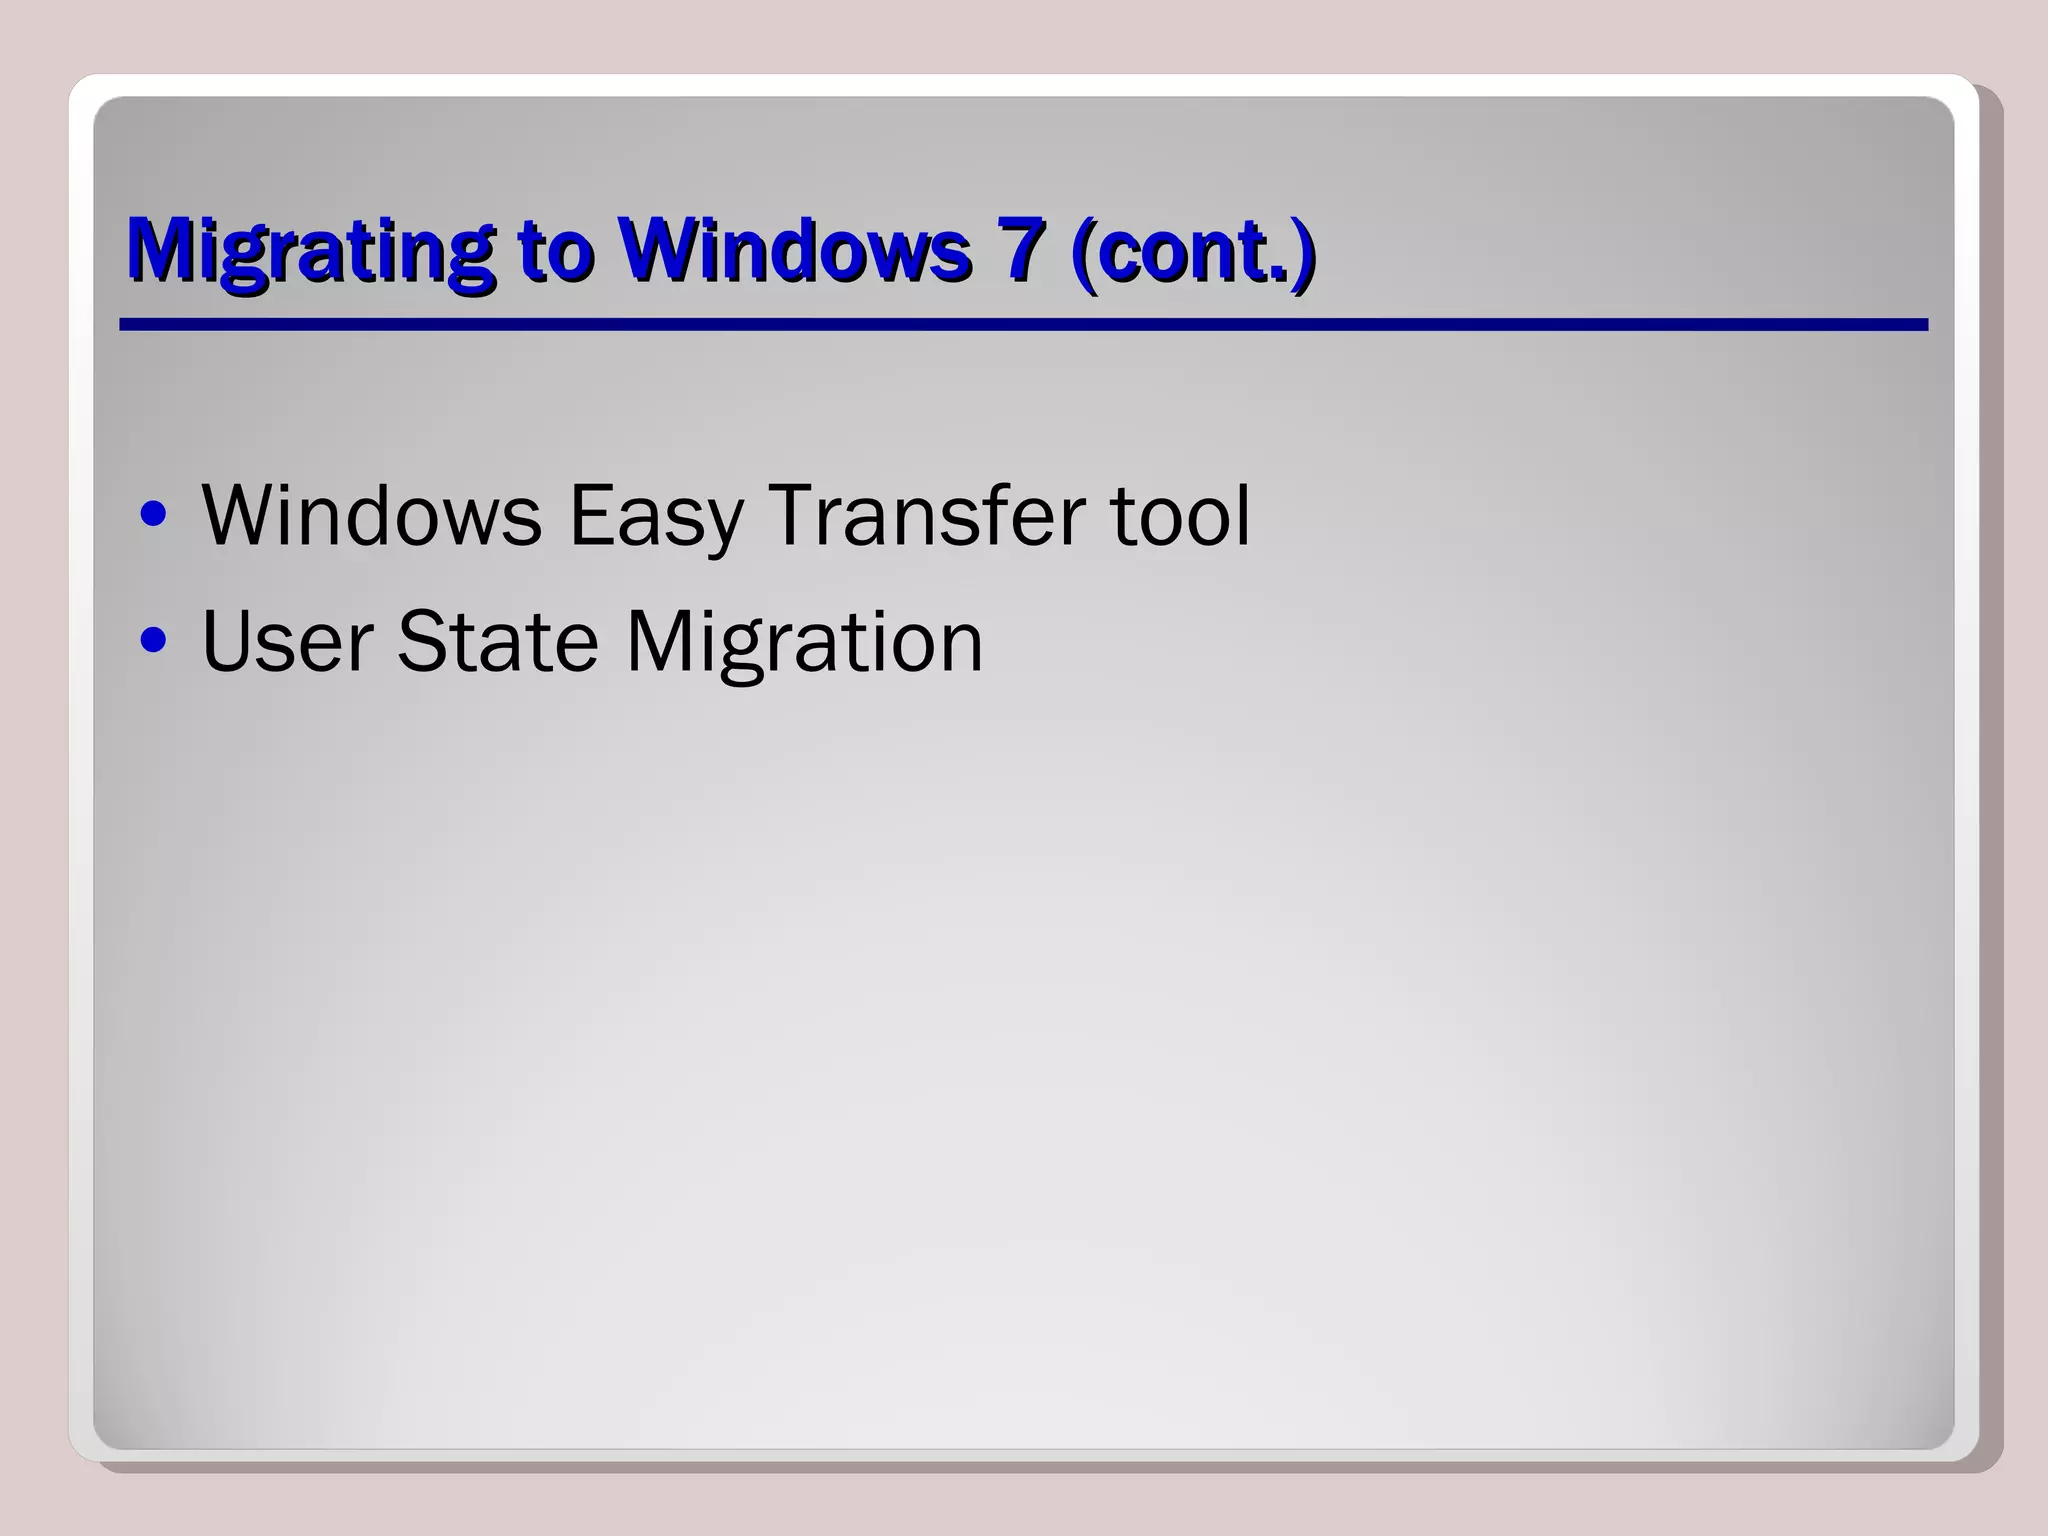
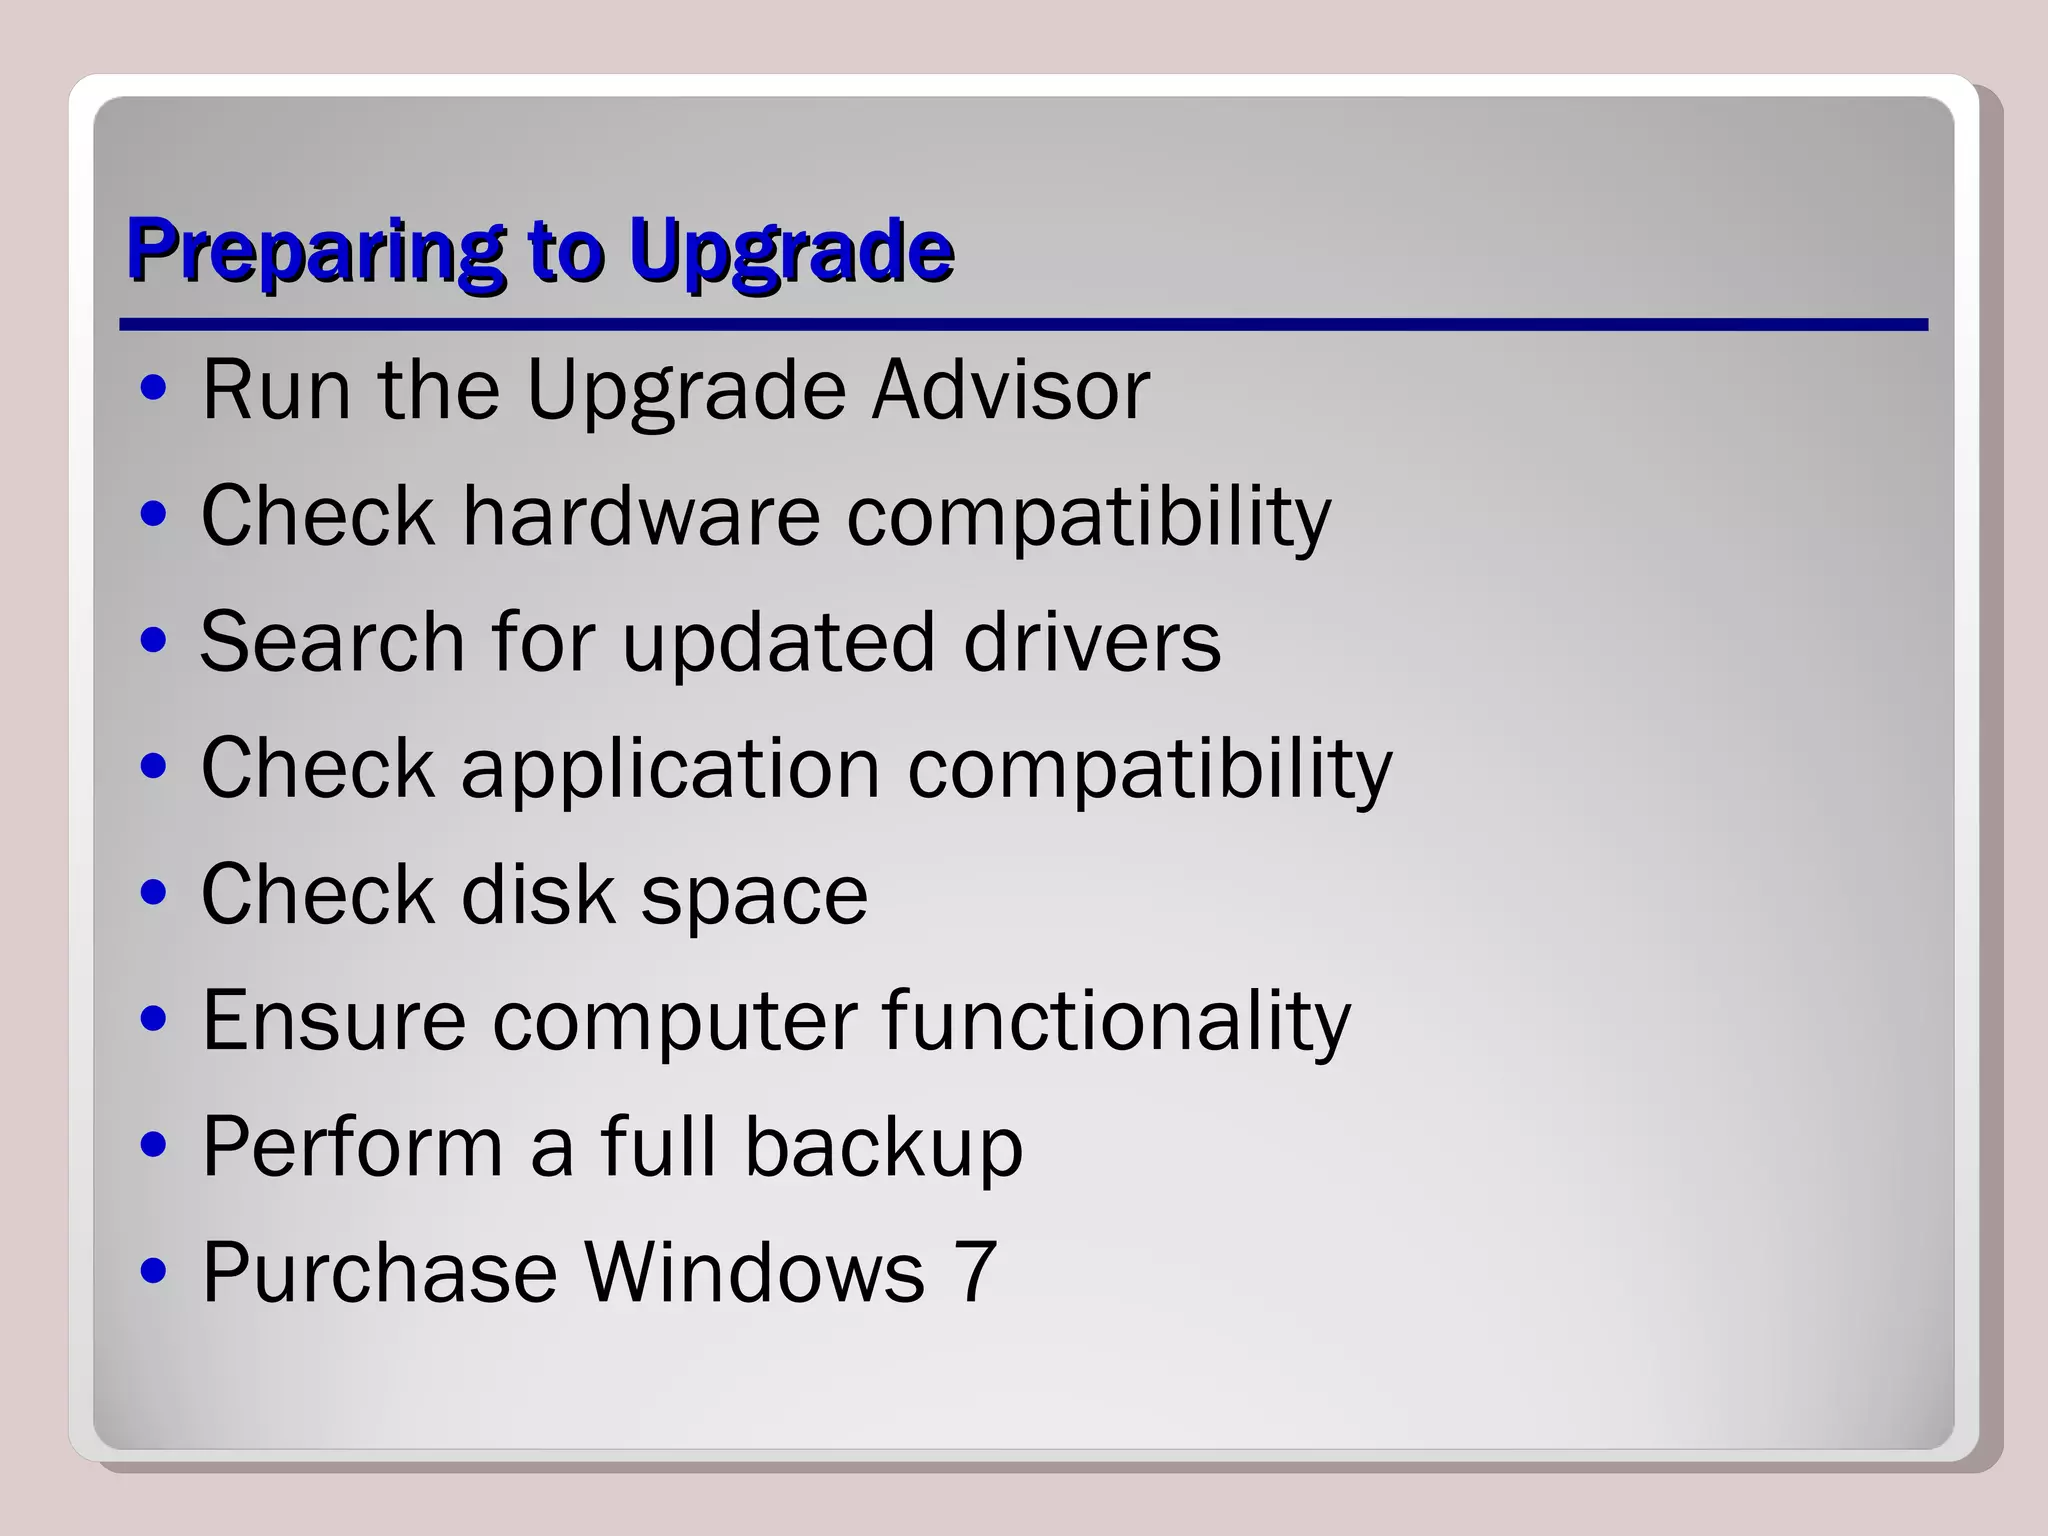
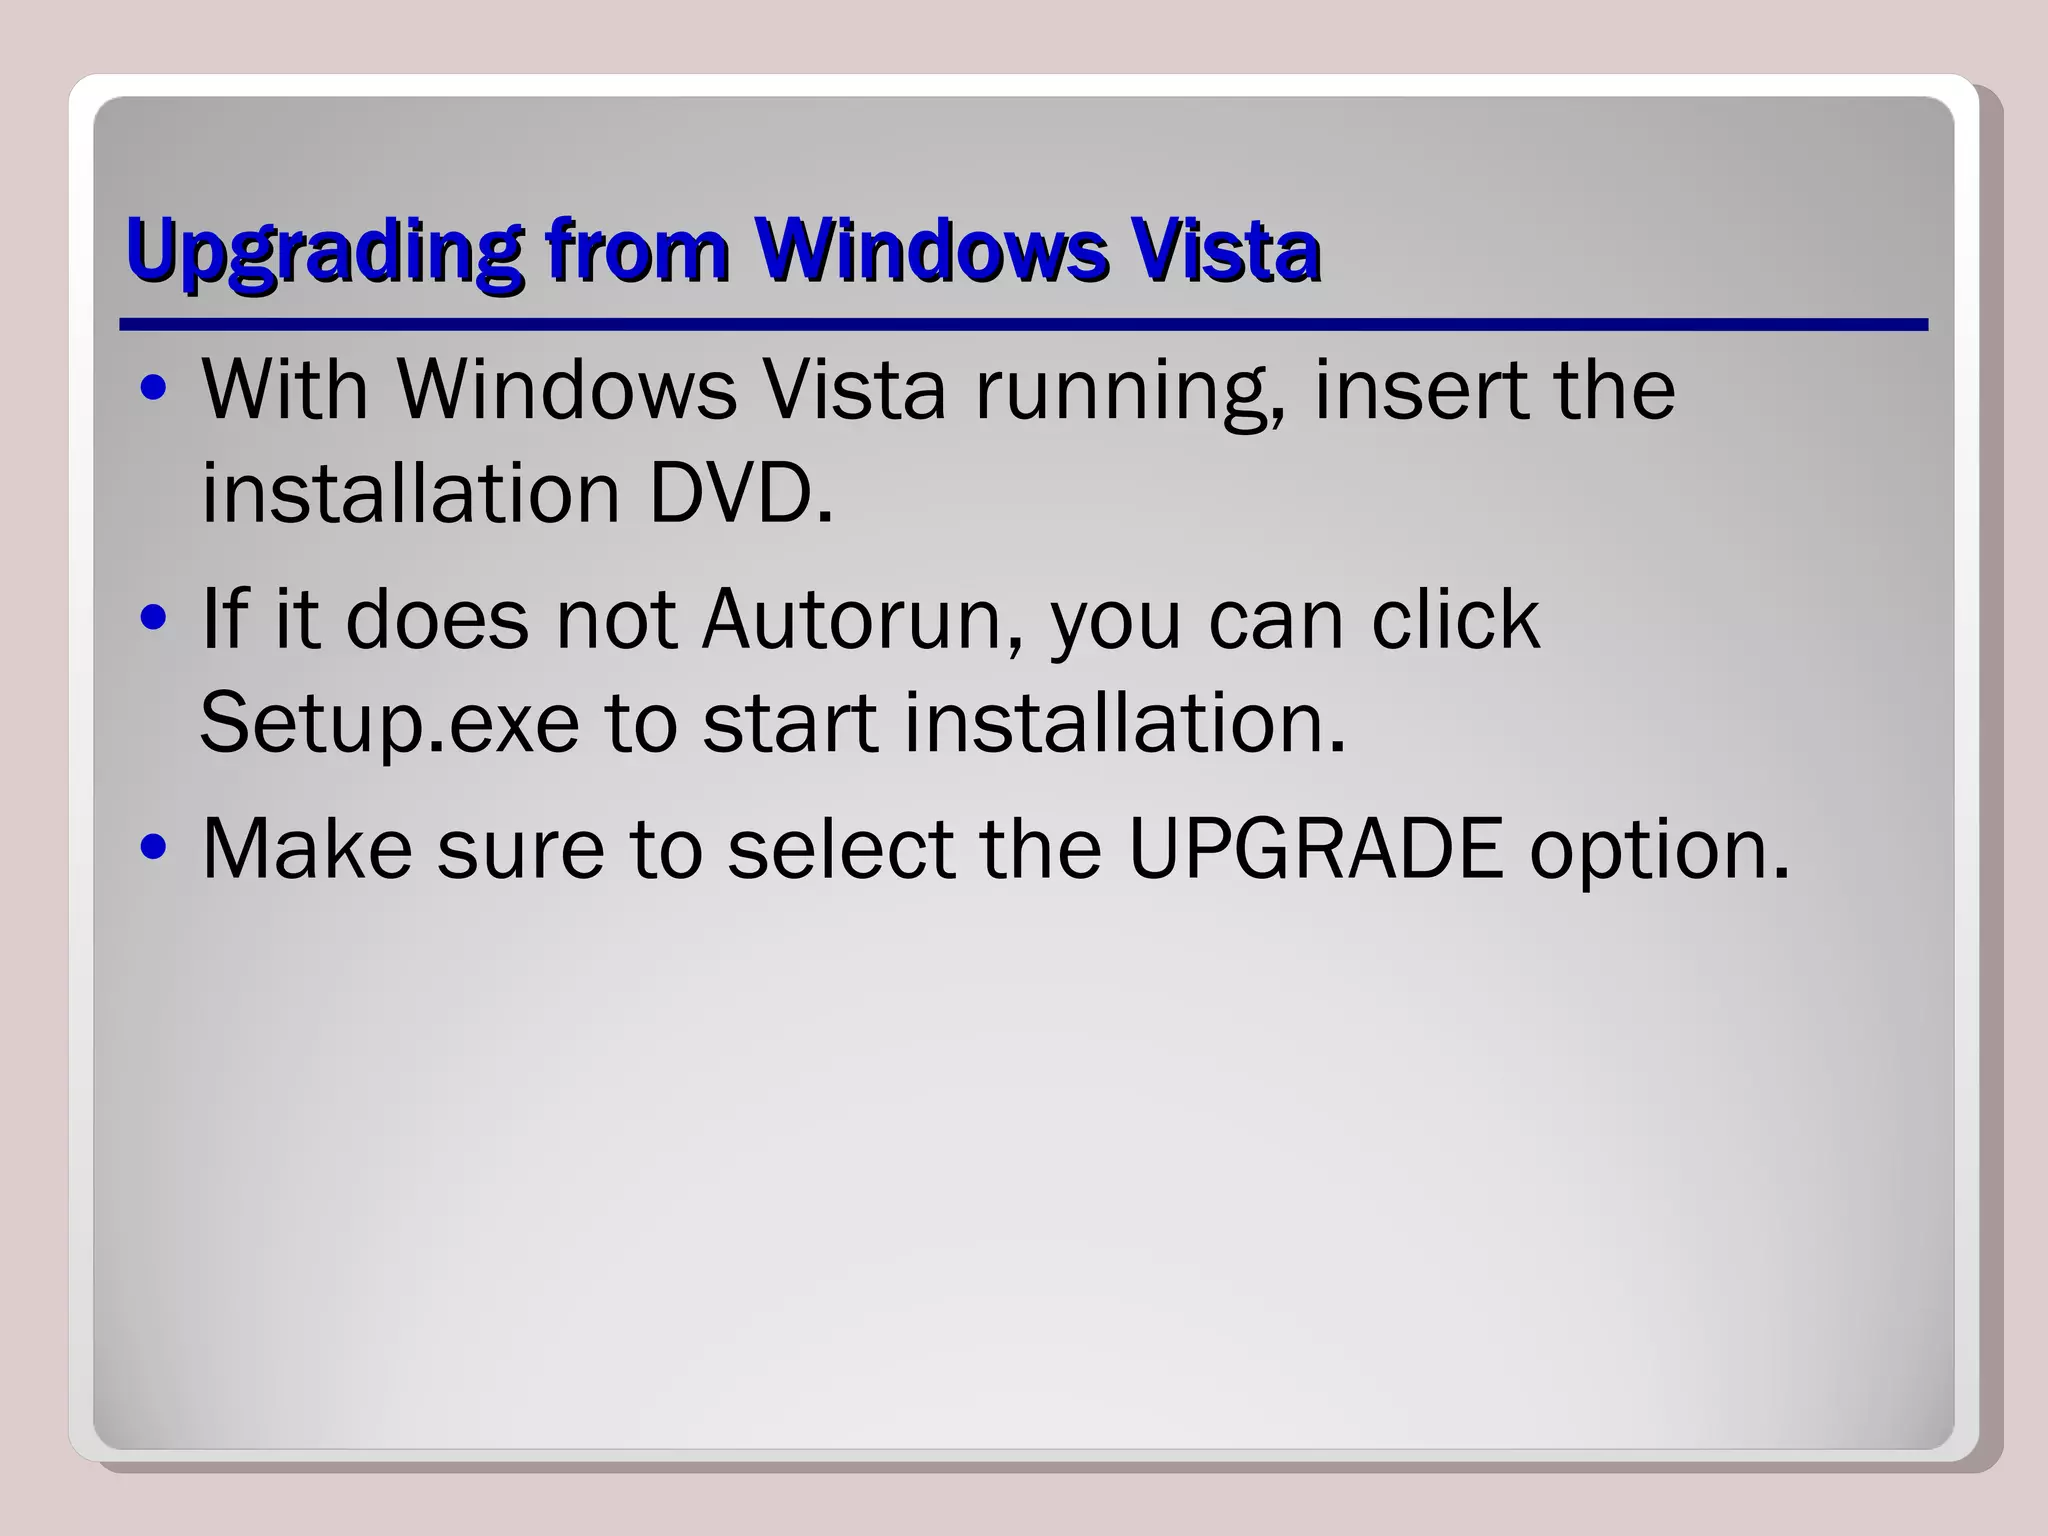
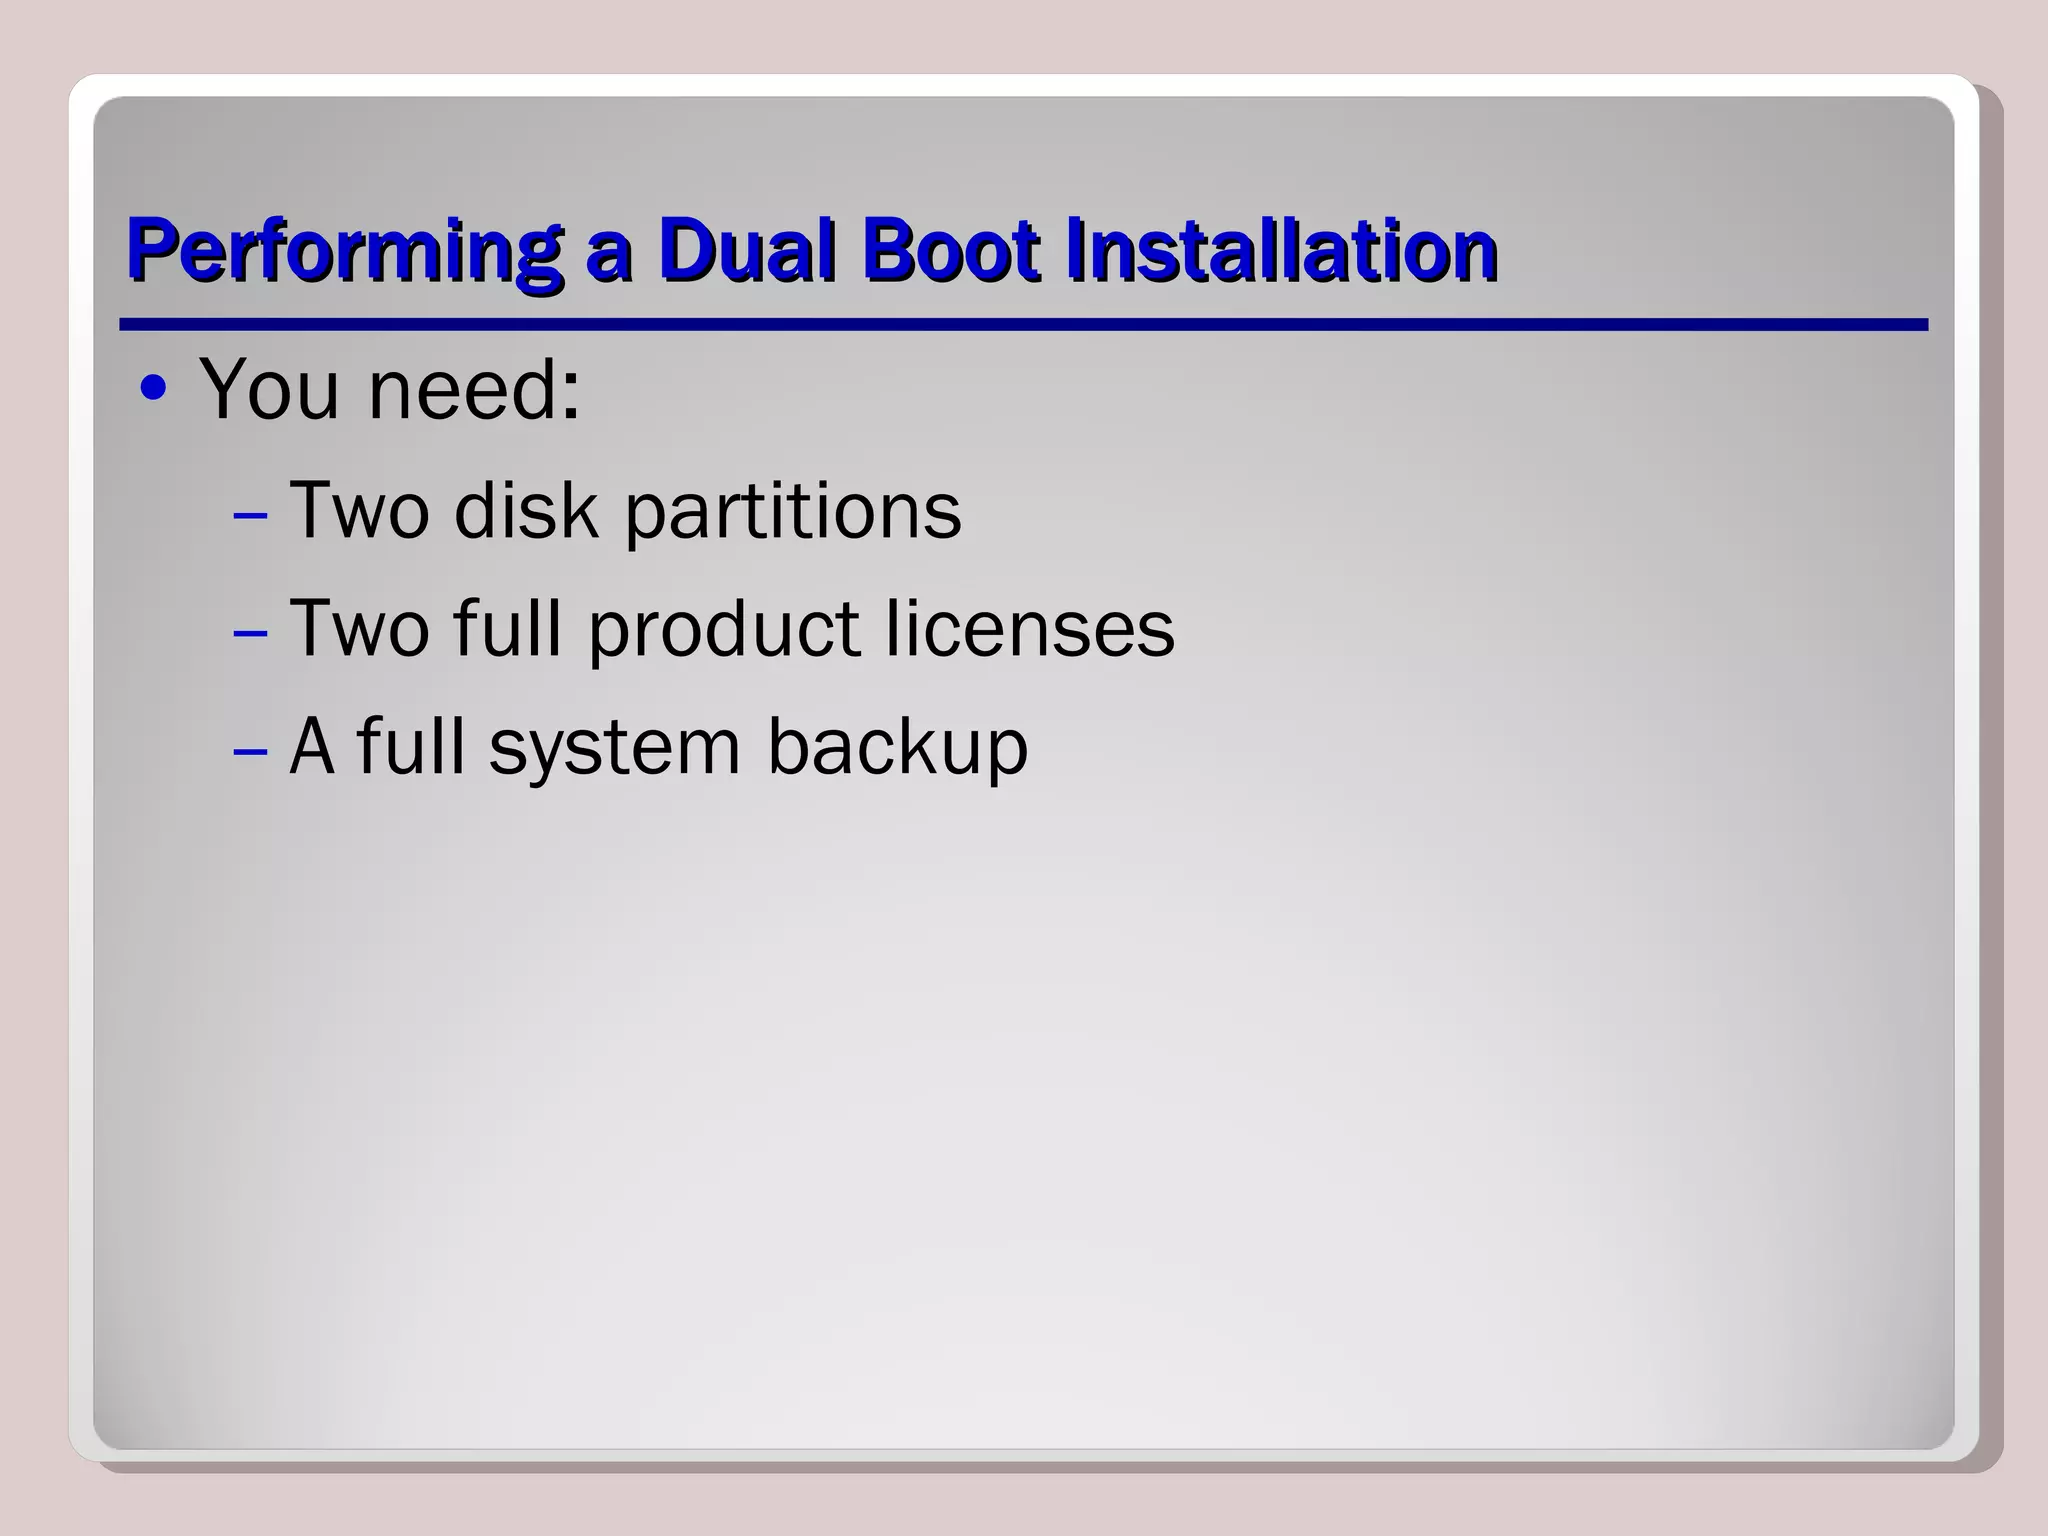
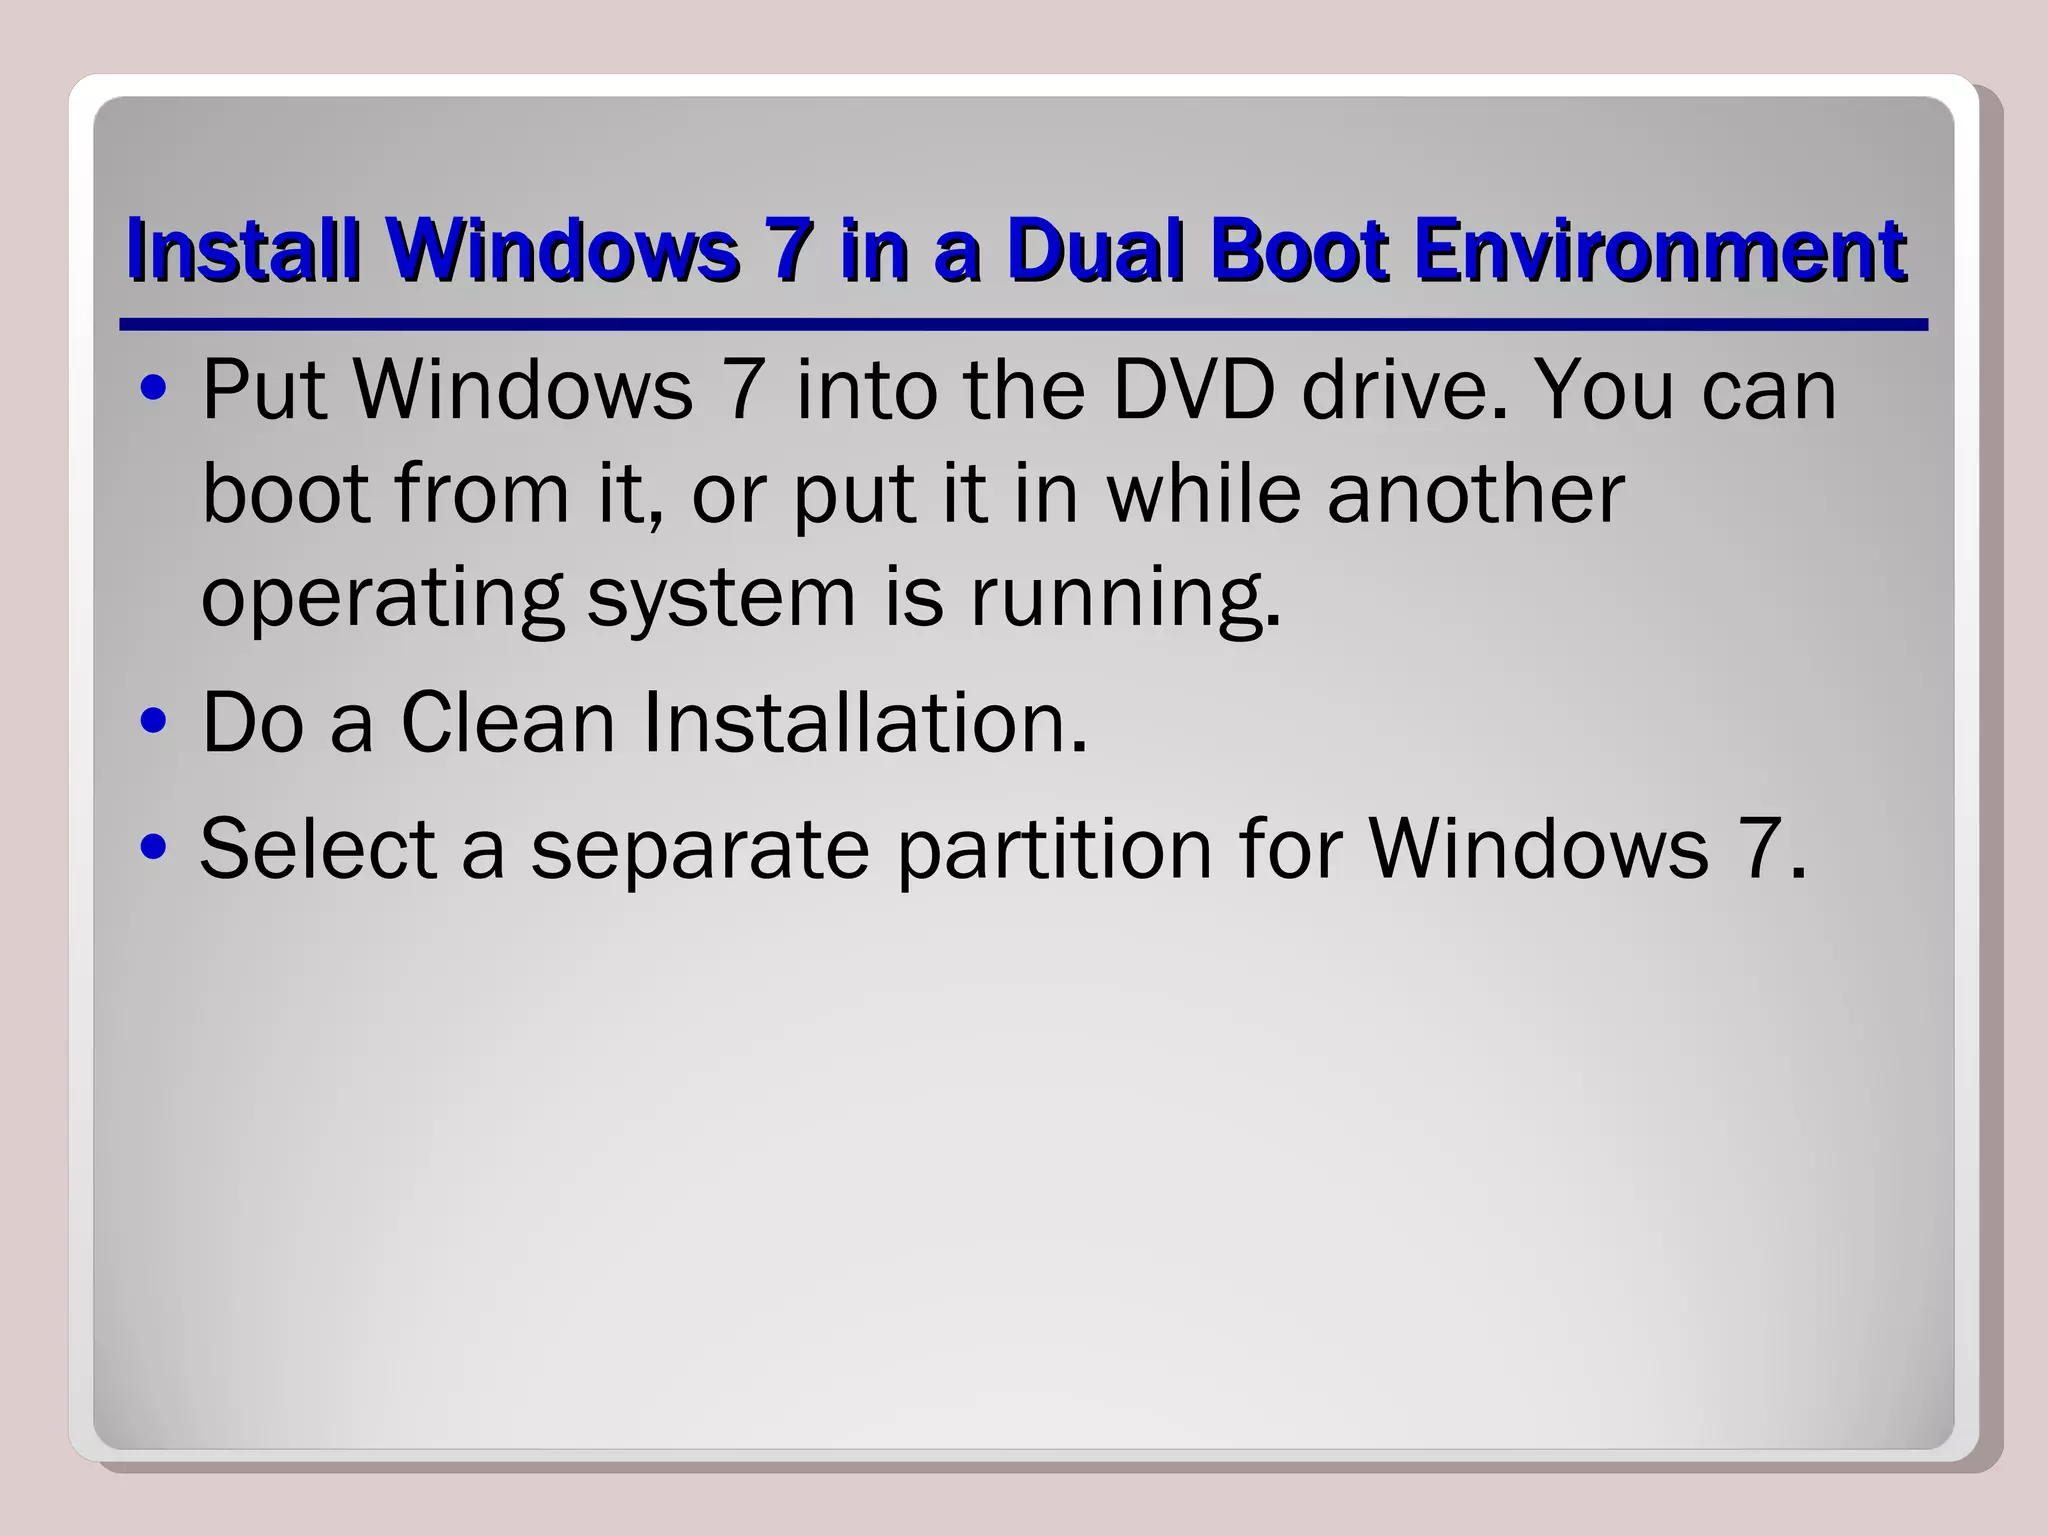
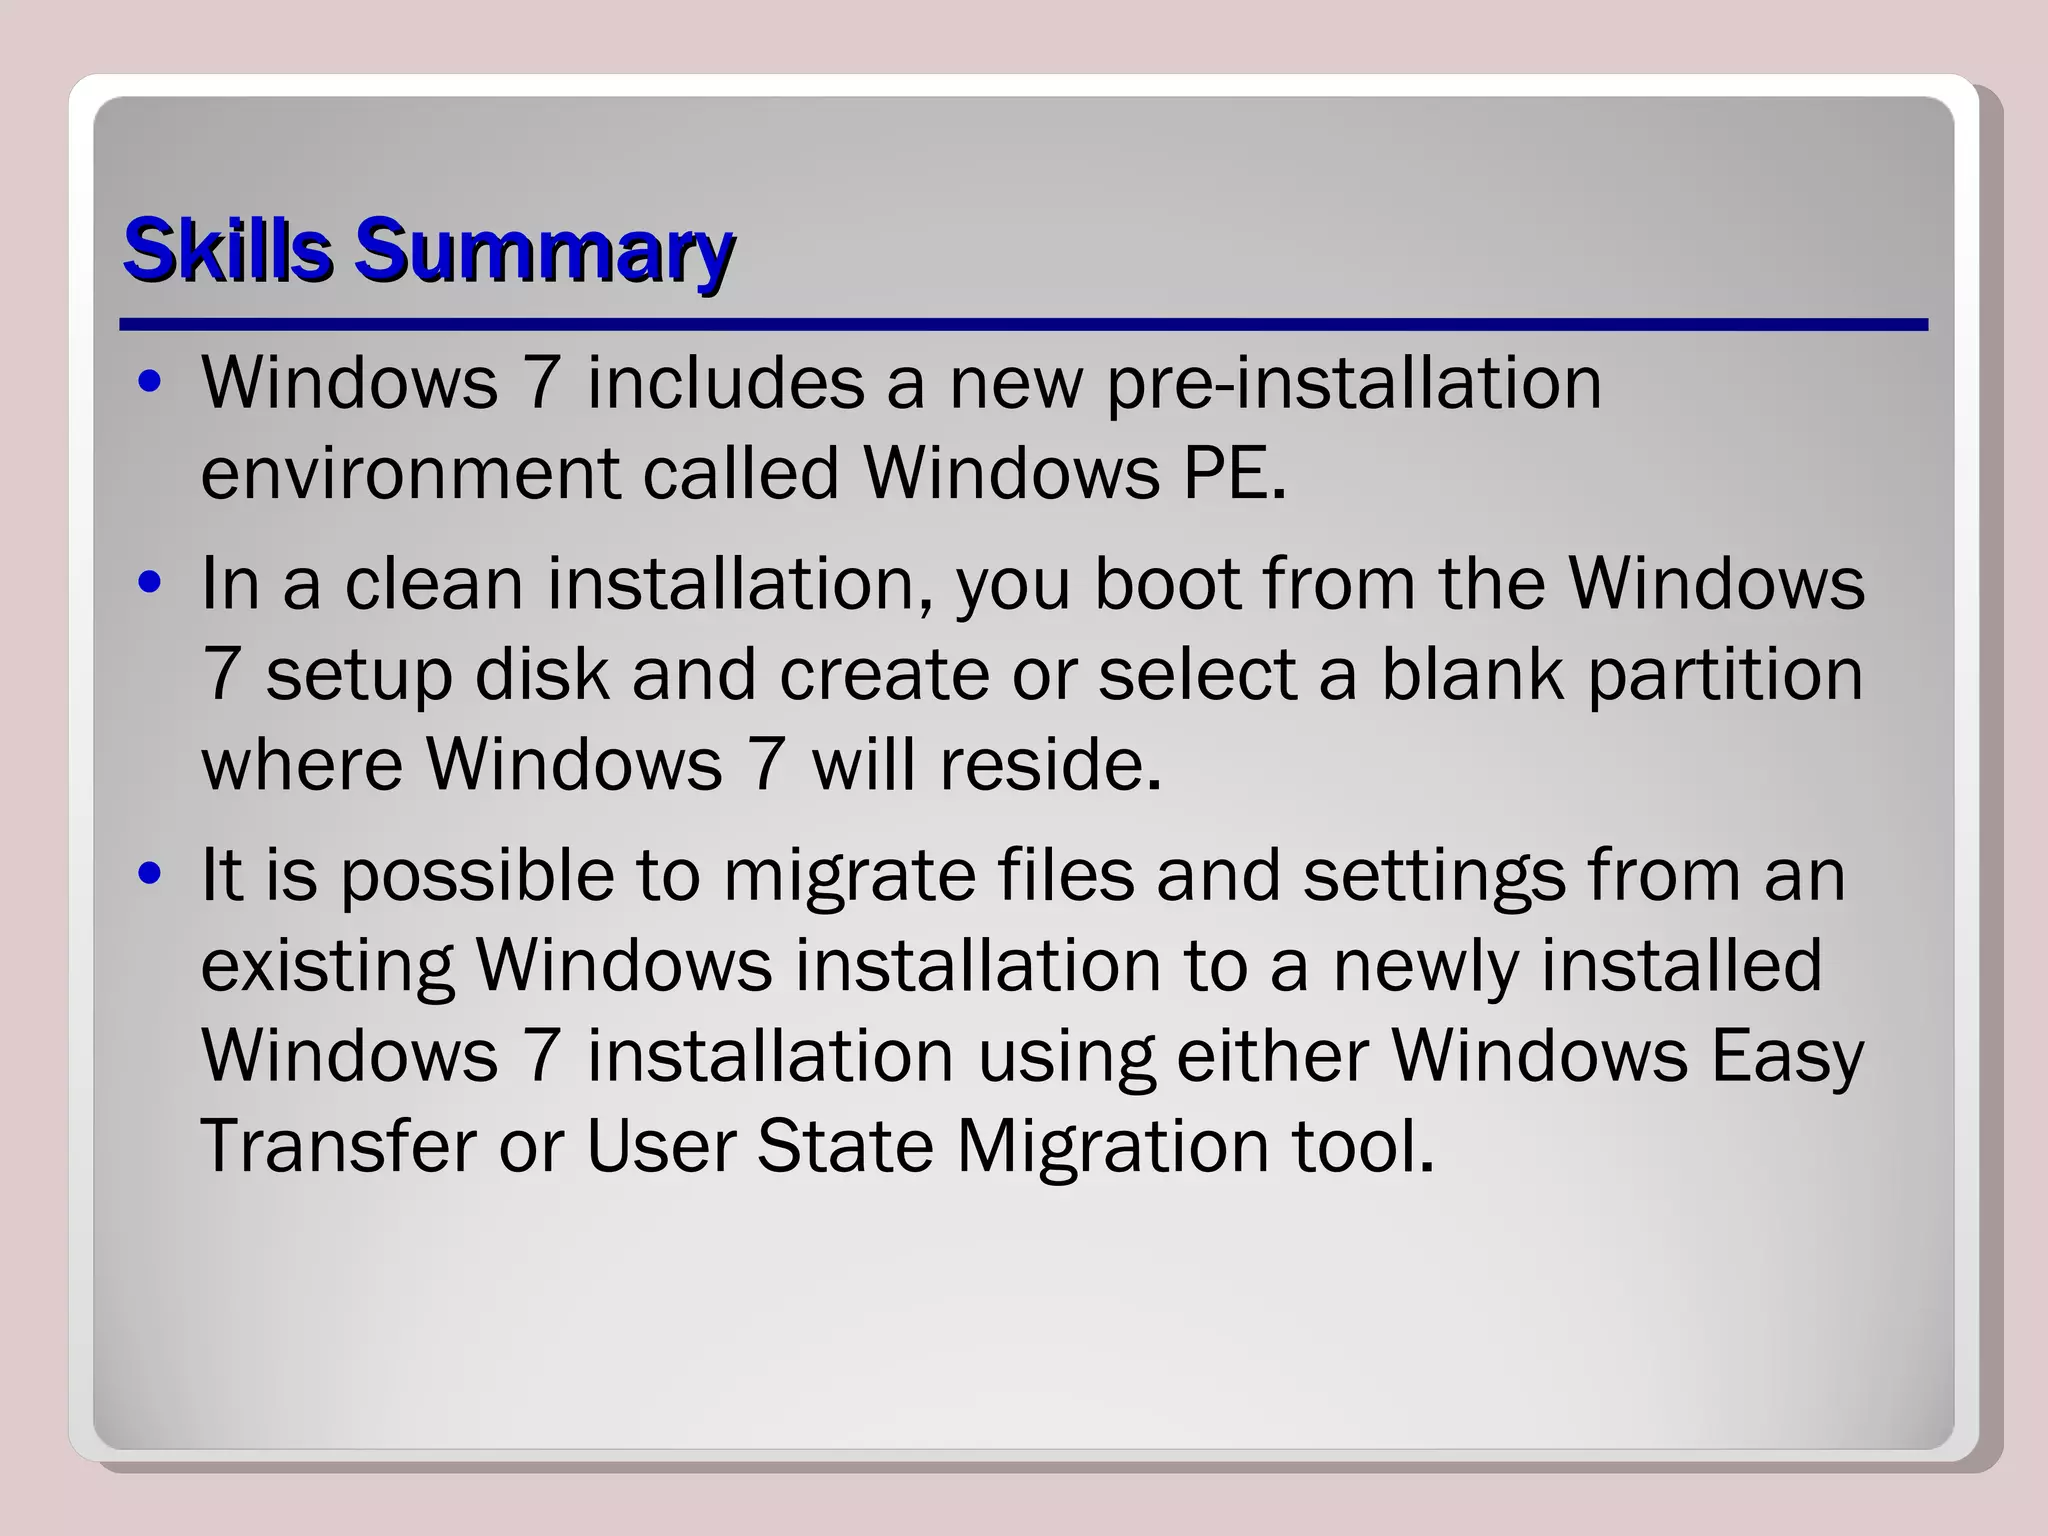
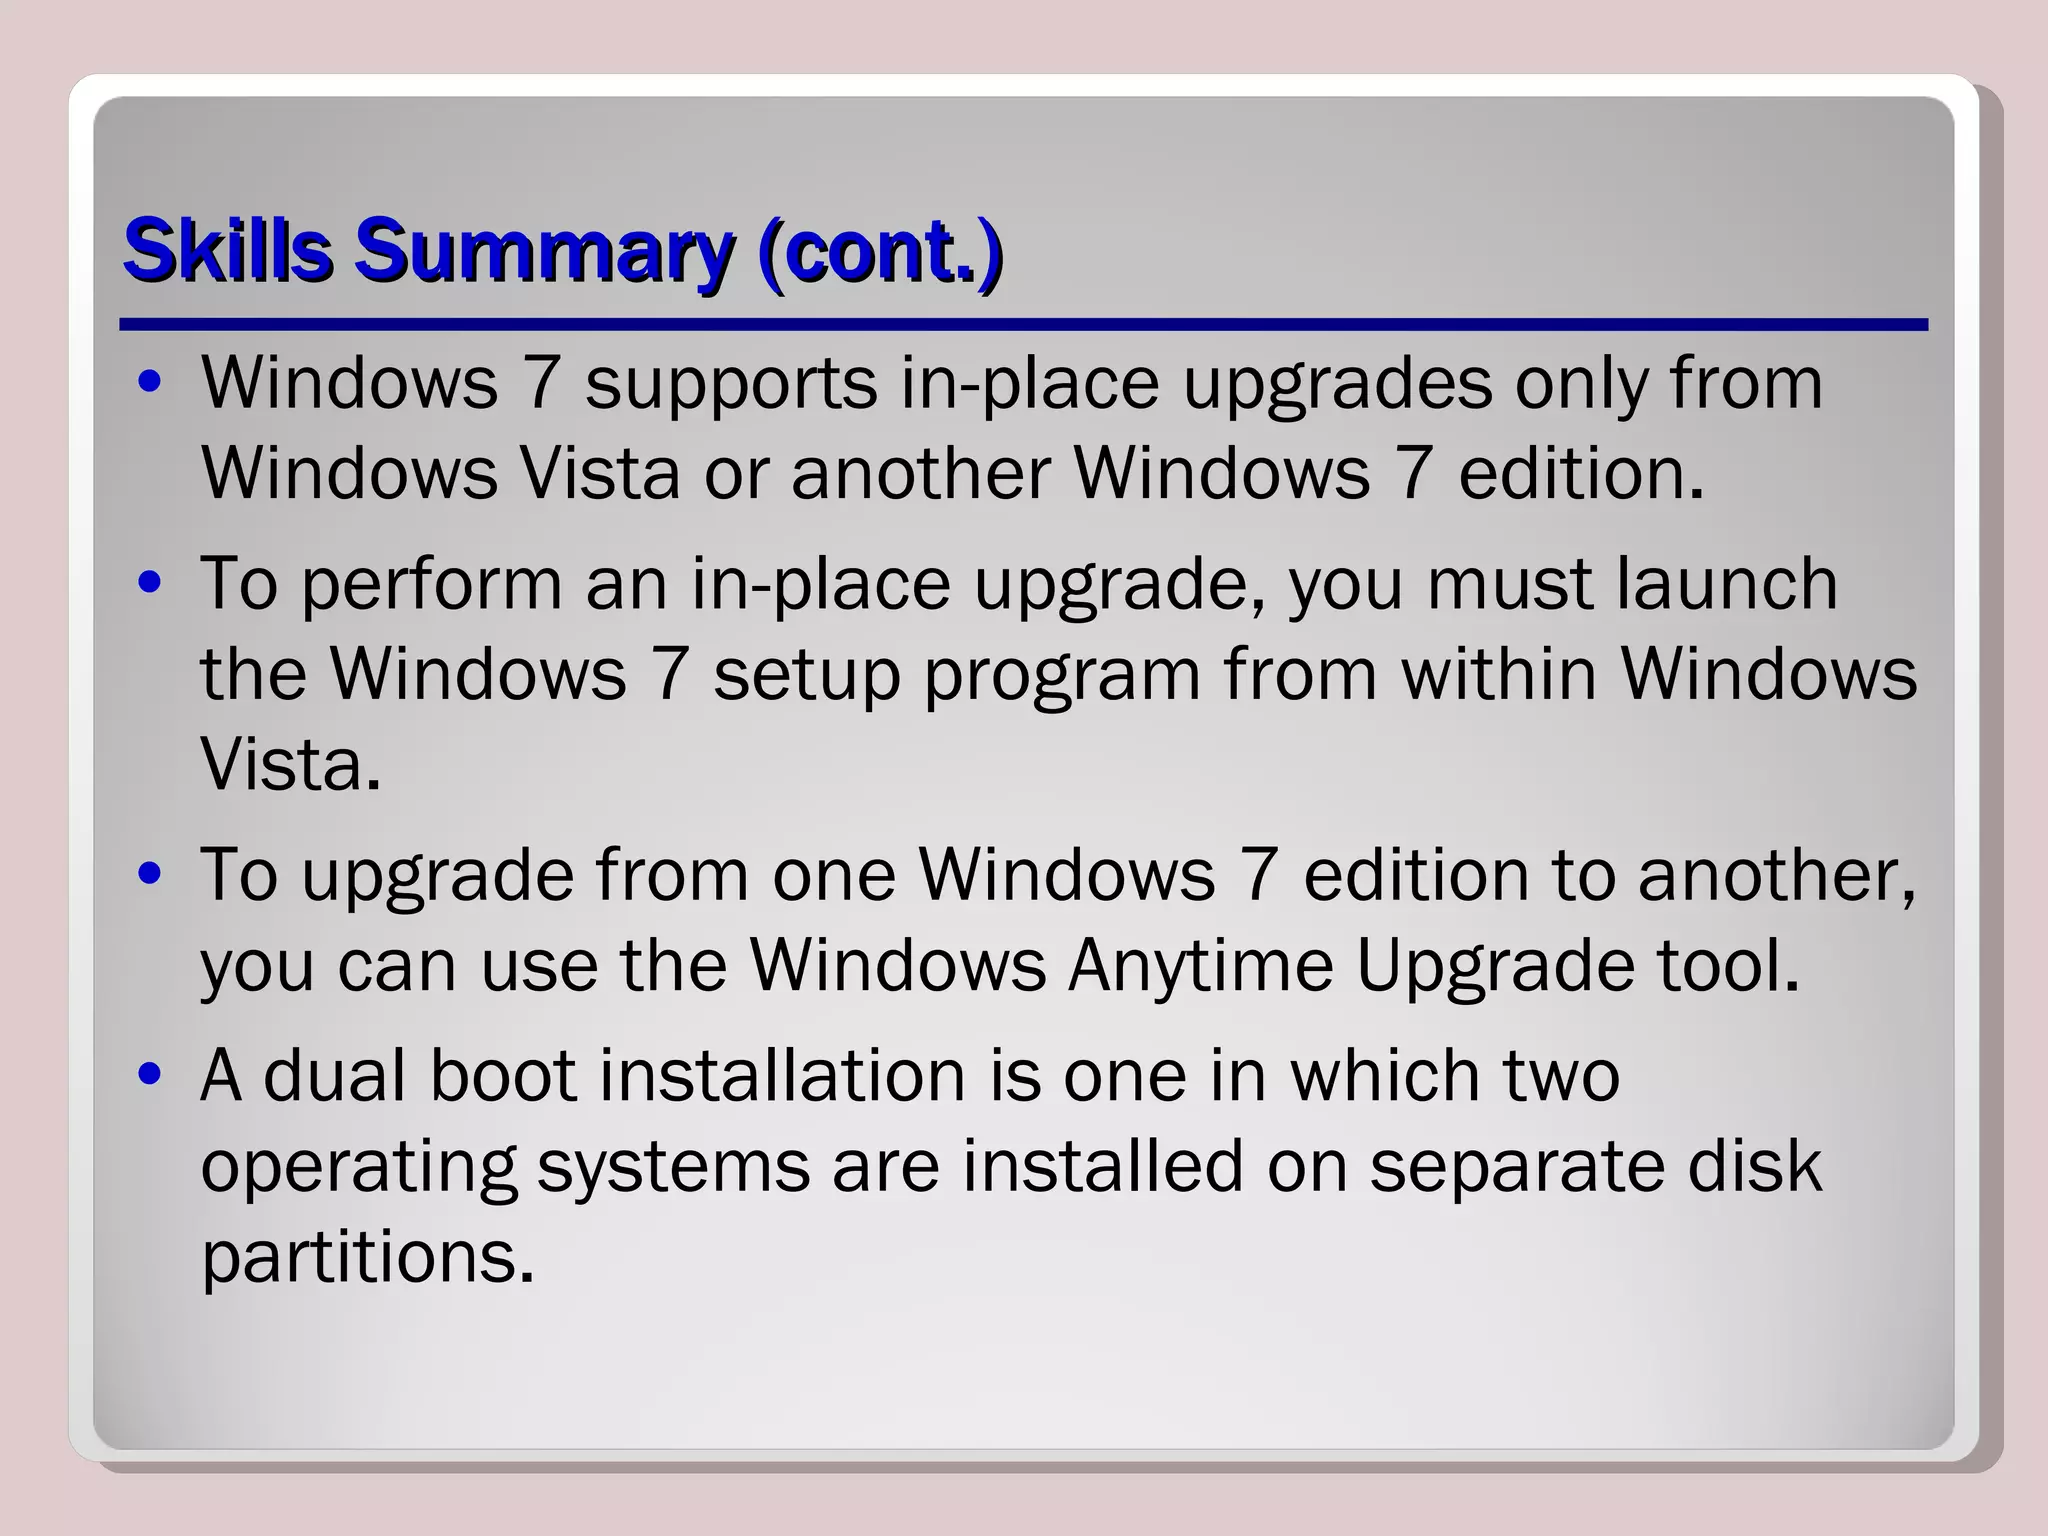
Installing Windows 7 Lesson 2
Objectives Select the appropriate installation option Perform a clean installation of Windows 7 Migrate user files and settings to Windows 7 Perform an upgrade to Windows 7 Upgrade Windows 7 editions Create a dual boot installation
Selecting Installation Options Will the current hardware support Windows 7? Will Windows 7 support existing applications? Which Windows 7 edition should I install? Should I perform an upgrade or a clean installation? Should I perform a single or dual boot installation? Do I have to install multiple languages?
Understanding the Windows Vista Boot Environment Windows PE 3.0 A stripped-down operating system based on the Windows 7 kernel that enables system administrators to boot a computer with no installed operating system and initiate the operating system setup process
Windows PE Advantages Native 32- or 64-bit support Native 32- or 64-bit driver support Internal networking support Internal NTFS support Scripting language support Flexible boot options
What’s New in Windows PE 3.0? Windows Imaging format Size reduction Customization Hyper-V support Scratch space
Using Windows PE Custom deployments System troubleshooting System recovery
Performing a Clean Installation On a new computer that has no operating system On a computer where you have backed up all data and settings and are replacing the existing operating system On a computer that has an operating system that is not upgradeable to Windows 7
Performing a Clean Installation (cont.) Boot from your Windows 7 installation DVD
Installing Third-Party Drivers If, during a Windows Vista installation, no disk partitions or unallocated space appear on the  Where Do You Want to Install Windows?  page, you must install the appropriate driver for your disk controller.
Migrating to Windows 7 Wipe-and-Load Migration Side-by-Side Migration Network or  Data Transfer Cable Old Computer New Computer External Storage One Computer
Migrating to Windows 7 (cont.) Windows Easy Transfer tool User State Migration
Preparing to Upgrade Run the Upgrade Advisor Check hardware compatibility Search for updated drivers Check application compatibility Check disk space Ensure computer functionality Perform a full backup Purchase Windows 7
Upgrading from Windows Vista With Windows Vista running, insert the installation DVD. If it does not Autorun, you can click Setup.exe to start installation. Make sure to select the UPGRADE option.
Upgrading Windows Vista Editions Purchase full retail version of a higher Windows 7 edition. Purchase a Windows 7 product upgrade. Use the Windows Anytime Upgrade tool.
Performing a Dual Boot Installation You need: Two disk partitions Two full product licenses A full system backup
Install Windows 7 in a Dual Boot Environment Put Windows 7 into the DVD drive. You can boot from it, or put it in while another operating system is running. Do a Clean Installation. Select a separate partition for Windows 7.
Skills Summary Windows 7 includes a new pre-installation environment called Windows PE. In a clean installation, you boot from the Windows 7 setup disk and create or select a blank partition where Windows 7 will reside. It is possible to migrate files and settings from an existing Windows installation to a newly installed Windows 7 installation using either Windows Easy Transfer or User State Migration tool.
Skills Summary (cont.) Windows 7 supports in-place upgrades only from Windows Vista or another Windows 7 edition. To perform an in-place upgrade, you must launch the Windows 7 setup program from within Windows Vista. To upgrade from one Windows 7 edition to another, you can use the Windows Anytime Upgrade tool. A dual boot installation is one in which two operating systems are installed on separate disk partitions.

IT109 Microsoft Windows 7 Operating Systems Unit 03 lesson 02

  • 1.
  • 2.
    Objectives Select theappropriate installation option Perform a clean installation of Windows 7 Migrate user files and settings to Windows 7 Perform an upgrade to Windows 7 Upgrade Windows 7 editions Create a dual boot installation
  • 3.
    Selecting Installation OptionsWill the current hardware support Windows 7? Will Windows 7 support existing applications? Which Windows 7 edition should I install? Should I perform an upgrade or a clean installation? Should I perform a single or dual boot installation? Do I have to install multiple languages?
  • 4.
    Understanding the WindowsVista Boot Environment Windows PE 3.0 A stripped-down operating system based on the Windows 7 kernel that enables system administrators to boot a computer with no installed operating system and initiate the operating system setup process
  • 5.
    Windows PE AdvantagesNative 32- or 64-bit support Native 32- or 64-bit driver support Internal networking support Internal NTFS support Scripting language support Flexible boot options
  • 6.
    What’s New inWindows PE 3.0? Windows Imaging format Size reduction Customization Hyper-V support Scratch space
  • 7.
    Using Windows PECustom deployments System troubleshooting System recovery
  • 8.
    Performing a CleanInstallation On a new computer that has no operating system On a computer where you have backed up all data and settings and are replacing the existing operating system On a computer that has an operating system that is not upgradeable to Windows 7
  • 9.
    Performing a CleanInstallation (cont.) Boot from your Windows 7 installation DVD
  • 10.
    Installing Third-Party DriversIf, during a Windows Vista installation, no disk partitions or unallocated space appear on the Where Do You Want to Install Windows? page, you must install the appropriate driver for your disk controller.
  • 11.
    Migrating to Windows7 Wipe-and-Load Migration Side-by-Side Migration Network or Data Transfer Cable Old Computer New Computer External Storage One Computer
  • 12.
    Migrating to Windows7 (cont.) Windows Easy Transfer tool User State Migration
  • 13.
    Preparing to UpgradeRun the Upgrade Advisor Check hardware compatibility Search for updated drivers Check application compatibility Check disk space Ensure computer functionality Perform a full backup Purchase Windows 7
  • 14.
    Upgrading from WindowsVista With Windows Vista running, insert the installation DVD. If it does not Autorun, you can click Setup.exe to start installation. Make sure to select the UPGRADE option.
  • 15.
    Upgrading Windows VistaEditions Purchase full retail version of a higher Windows 7 edition. Purchase a Windows 7 product upgrade. Use the Windows Anytime Upgrade tool.
  • 16.
    Performing a DualBoot Installation You need: Two disk partitions Two full product licenses A full system backup
  • 17.
    Install Windows 7in a Dual Boot Environment Put Windows 7 into the DVD drive. You can boot from it, or put it in while another operating system is running. Do a Clean Installation. Select a separate partition for Windows 7.
  • 18.
    Skills Summary Windows7 includes a new pre-installation environment called Windows PE. In a clean installation, you boot from the Windows 7 setup disk and create or select a blank partition where Windows 7 will reside. It is possible to migrate files and settings from an existing Windows installation to a newly installed Windows 7 installation using either Windows Easy Transfer or User State Migration tool.
  • 19.
    Skills Summary (cont.)Windows 7 supports in-place upgrades only from Windows Vista or another Windows 7 edition. To perform an in-place upgrade, you must launch the Windows 7 setup program from within Windows Vista. To upgrade from one Windows 7 edition to another, you can use the Windows Anytime Upgrade tool. A dual boot installation is one in which two operating systems are installed on separate disk partitions.

Editor's Notes

  • #3 Outline the material you are going to cover in this lesson. Do not go into detail as each of these points will be expanded on in the lesson. You may also want to mention the Technology Skills that are being covered for the Certification exam also.
  • #4 Use this slide to have a discussion about each of these Installation Options. Have the students help you figure out how to answer each of these questions.
  • #6 Describe each advantage of Windows PE, comparing it to the limitations of MS-DOS
  • #7 Explain the new features of Windows PE 3.0. You may also want to speak about the limitations of Windows PE.
  • #8 Briefly describe how you would use Windows PE to do each task on the slide.
  • #9 Explain the situations where you would need to do a clean installation. These situations may have come up from your earlier discussion of the Selecting Installation Options slide.
  • #10 Explain how to start an installation from the Windows 7 DVD, and state that you just follow the directions on the screen and provide information as necessary. The procedure is highly simplified compared to previous versions of Windows and requires very little interaction from the installer. You might want to outline some of the steps, like selecting the partition and creating a new user account. The steps and screens are outlined in detail in the textbook.
  • #11 Explain that sometimes Windows 7 will not recognize the hard disk controller in your computer and you must install a driver during the installation procedure. This procedure is much improved since Windows Vista, as the older Windows operating systems installations would require you to know this ahead of time. With the new graphical installation procedure, the installation stops allowing you to install the driver when it is needed.
  • #12 Describe the steps and options for each type of migration.
  • #13 Explain when each tool would be used.
  • #14 Explain the reason why we should go through each of these steps before upgrading.
  • #15 Explain why you must start the installation from within Vista to do the upgrade. Perhaps explain what happens if you click Clean Install instead.
  • #16 Explain the 3 ways you can perform an upgrade from one edition of Windows 7 to another. Review the reason why you can upgrade from any edition to any higher edition and why you no longer need the DVD to perform the upgrade.
  • #18 Outline the steps required for performing a Dual Boot installation.
  • #19 Review the Skill Summary to wrap up your lesson.