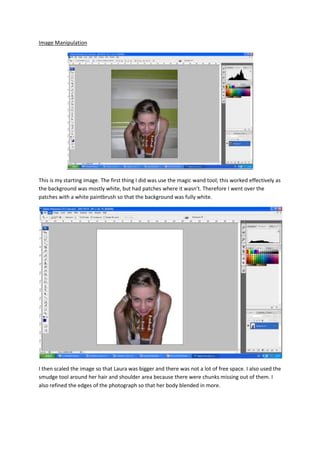
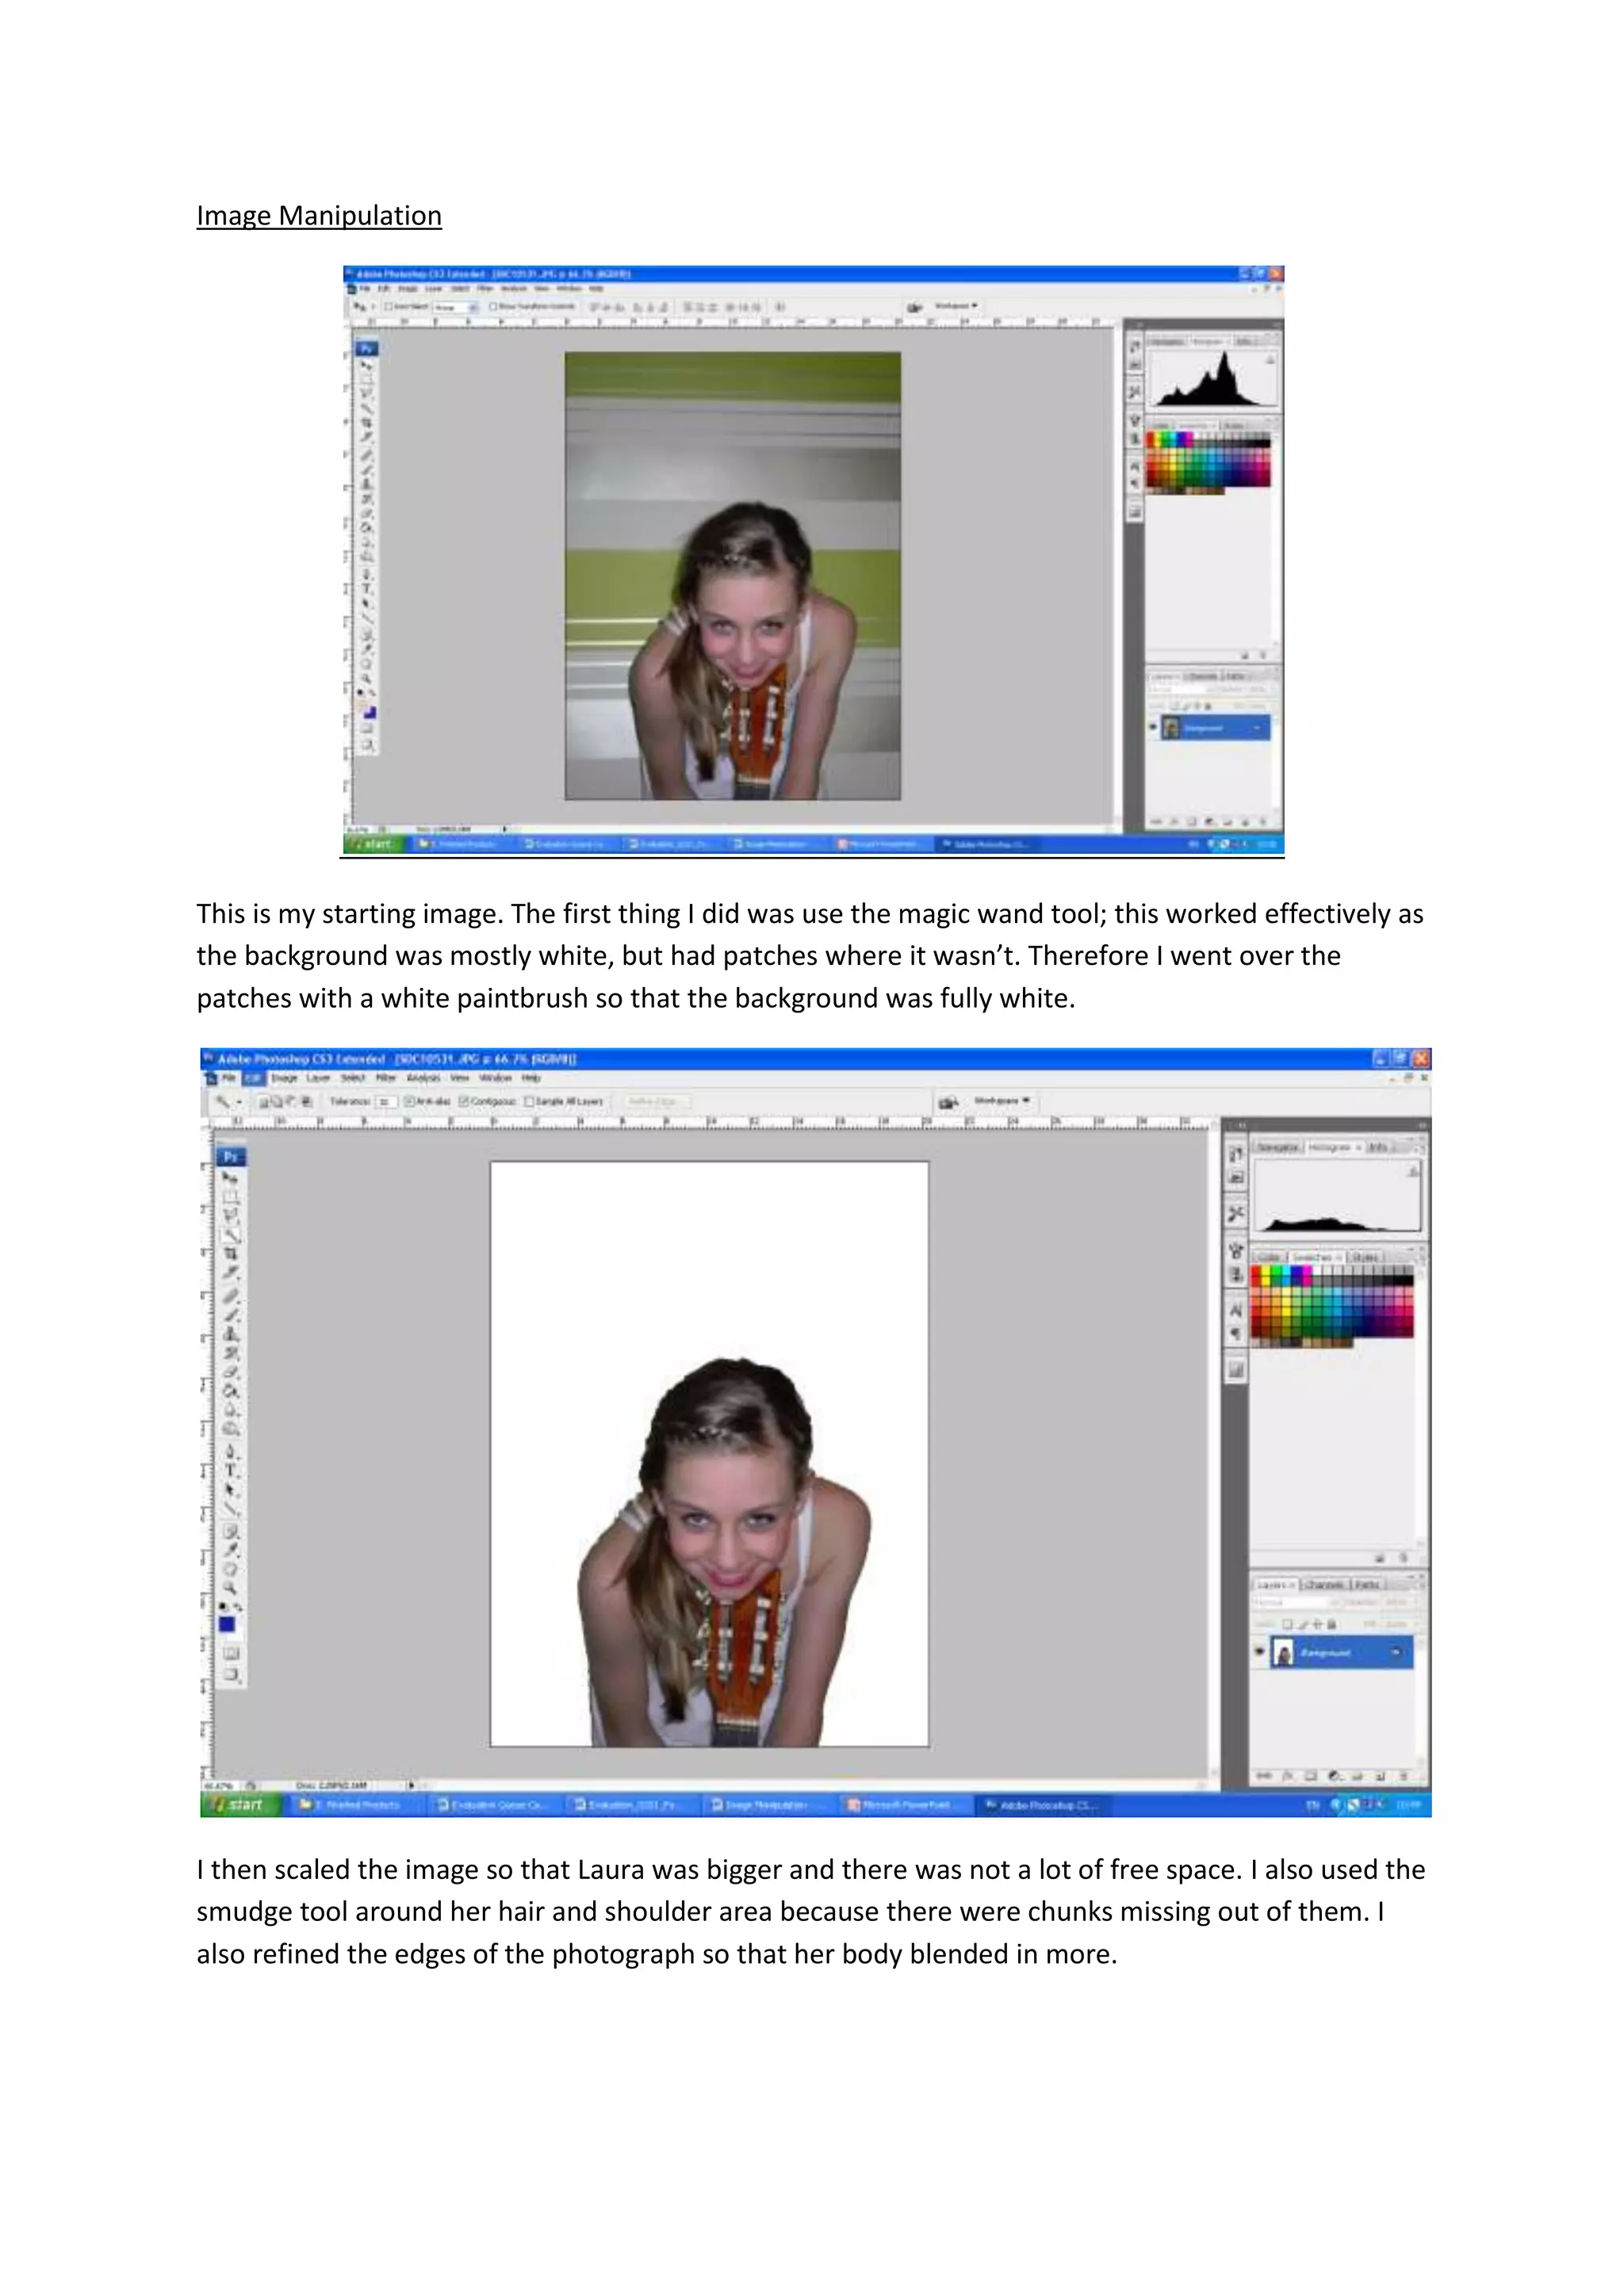
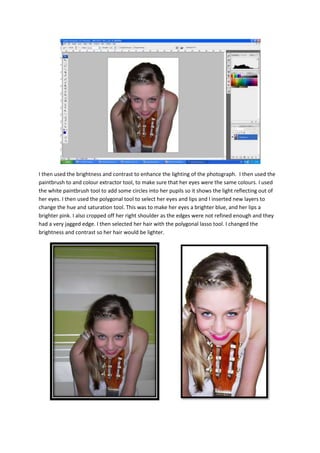
Image Manipulation


This is my starting image. The first thing I did was use the magic wand tool; this worked effectively as
the background was mostly white, but had patches where it wasn’t. Therefore I went over the
patches with a white paintbrush so that the background was fully white.


I then scaled the image so that Laura was bigger and there was not a lot of free space. I also used the
smudge tool around her hair and shoulder area because there were chunks missing out of them. I
also refined the edges of the photograph so that her body blended in more.
I then used the brightness and contrast to enhance the lighting of the photograph. I then used the
paintbrush to and colour extractor tool, to make sure that her eyes were the same colours. I used
the white paintbrush tool to add some circles into her pupils so it shows the light reflecting out of
her eyes. I then used the polygonal tool to select her eyes and lips and I inserted new layers to
change the hue and saturation tool. This was to make her eyes a brighter blue, and her lips a
brighter pink. I also cropped off her right shoulder as the edges were not refined enough and they
had a very jagged edge. I then selected her hair with the polygonal lasso tool. I changed the
brightness and contrast so her hair would be lighter.

Image Manipulation

  • 1.
    Image Manipulation This ismy starting image. The first thing I did was use the magic wand tool; this worked effectively as the background was mostly white, but had patches where it wasn’t. Therefore I went over the patches with a white paintbrush so that the background was fully white. I then scaled the image so that Laura was bigger and there was not a lot of free space. I also used the smudge tool around her hair and shoulder area because there were chunks missing out of them. I also refined the edges of the photograph so that her body blended in more.
  • 2.
    I then usedthe brightness and contrast to enhance the lighting of the photograph. I then used the paintbrush to and colour extractor tool, to make sure that her eyes were the same colours. I used the white paintbrush tool to add some circles into her pupils so it shows the light reflecting out of her eyes. I then used the polygonal tool to select her eyes and lips and I inserted new layers to change the hue and saturation tool. This was to make her eyes a brighter blue, and her lips a brighter pink. I also cropped off her right shoulder as the edges were not refined enough and they had a very jagged edge. I then selected her hair with the polygonal lasso tool. I changed the brightness and contrast so her hair would be lighter.