1. The document provides an introduction to HTML, CSS, and Git for setting up a development environment and submitting assignments. It includes explanations of common HTML tags, exercises to practice using HTML tags, and introductions to CSS box model properties and flexbox layout.
2. The second section focuses on CSS, explaining how to link CSS to HTML, add IDs and classes, and basic CSS syntax. It includes exercises to select elements using IDs and classes and use box model properties to layout elements.
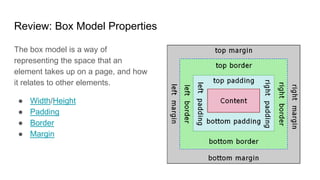
3. The third section covers the CSS box model in more detail and introduces flexbox for layout. It includes exercises to use padding, borders, and flexbox properties to layout elements on a page. Additional flexbox resources are

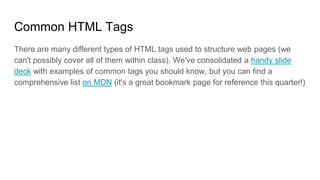

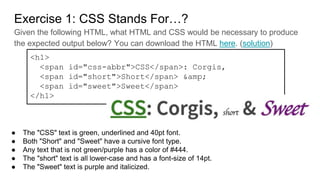
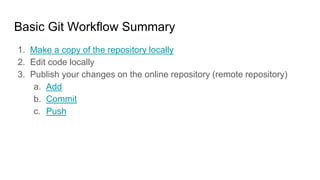
![Moving around the command line
ls "List" files and directories directly inside
the current working directory
cd [folder-name] "Change directory" - change directories
to the given path (relative to the current
working directory)
cd .. Using cd to move up a directory](https://image.slidesharecdn.com/htmlandcss-230520083659-46213544/85/HTML-and-CSS-pptx-7-320.jpg)
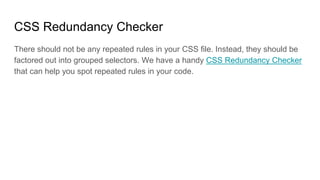
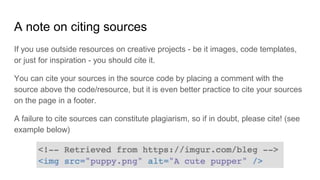
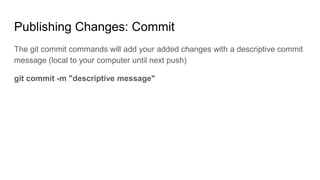
![Clone a repository
Copy the URL of the repository on GitLab
Use ls and cd to navigate to the directory where you want to store your Git
repositories (e.g. cse154/assignments/), then type: git clone [repository-path].
This creates a copy of the repository in the current working directory](https://image.slidesharecdn.com/htmlandcss-230520083659-46213544/85/HTML-and-CSS-pptx-10-320.jpg)
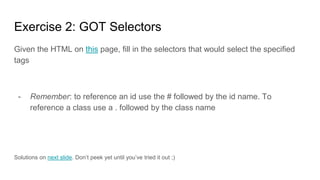
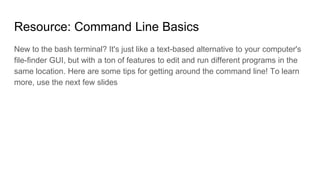
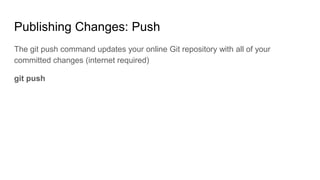
![Publishing Changes: Add
The git add command adds a change in the working directory to the staging area.
Specifies changed file for the next commit.
To add multiple specific files:
git add [file1] [file2] [etc...]
To add everything in the current directory:
git add .](https://image.slidesharecdn.com/htmlandcss-230520083659-46213544/85/HTML-and-CSS-pptx-11-320.jpg)
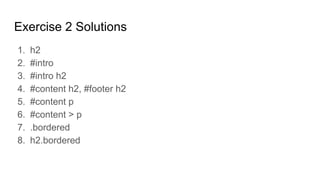
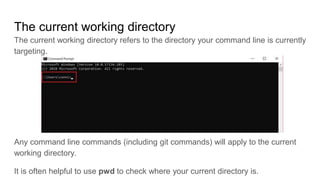
![Summary of Git Commands You'll Use in This Class
Command Description
git clone [link to repository]
Download a local copy of a Git repository
git add [filename]
Proposes changes to be committed
git commit -m "message"
Commits changes locally with a descriptive message
git push Pushes to remote (online) repository](https://image.slidesharecdn.com/htmlandcss-230520083659-46213544/85/HTML-and-CSS-pptx-14-320.jpg)