Download to read offline
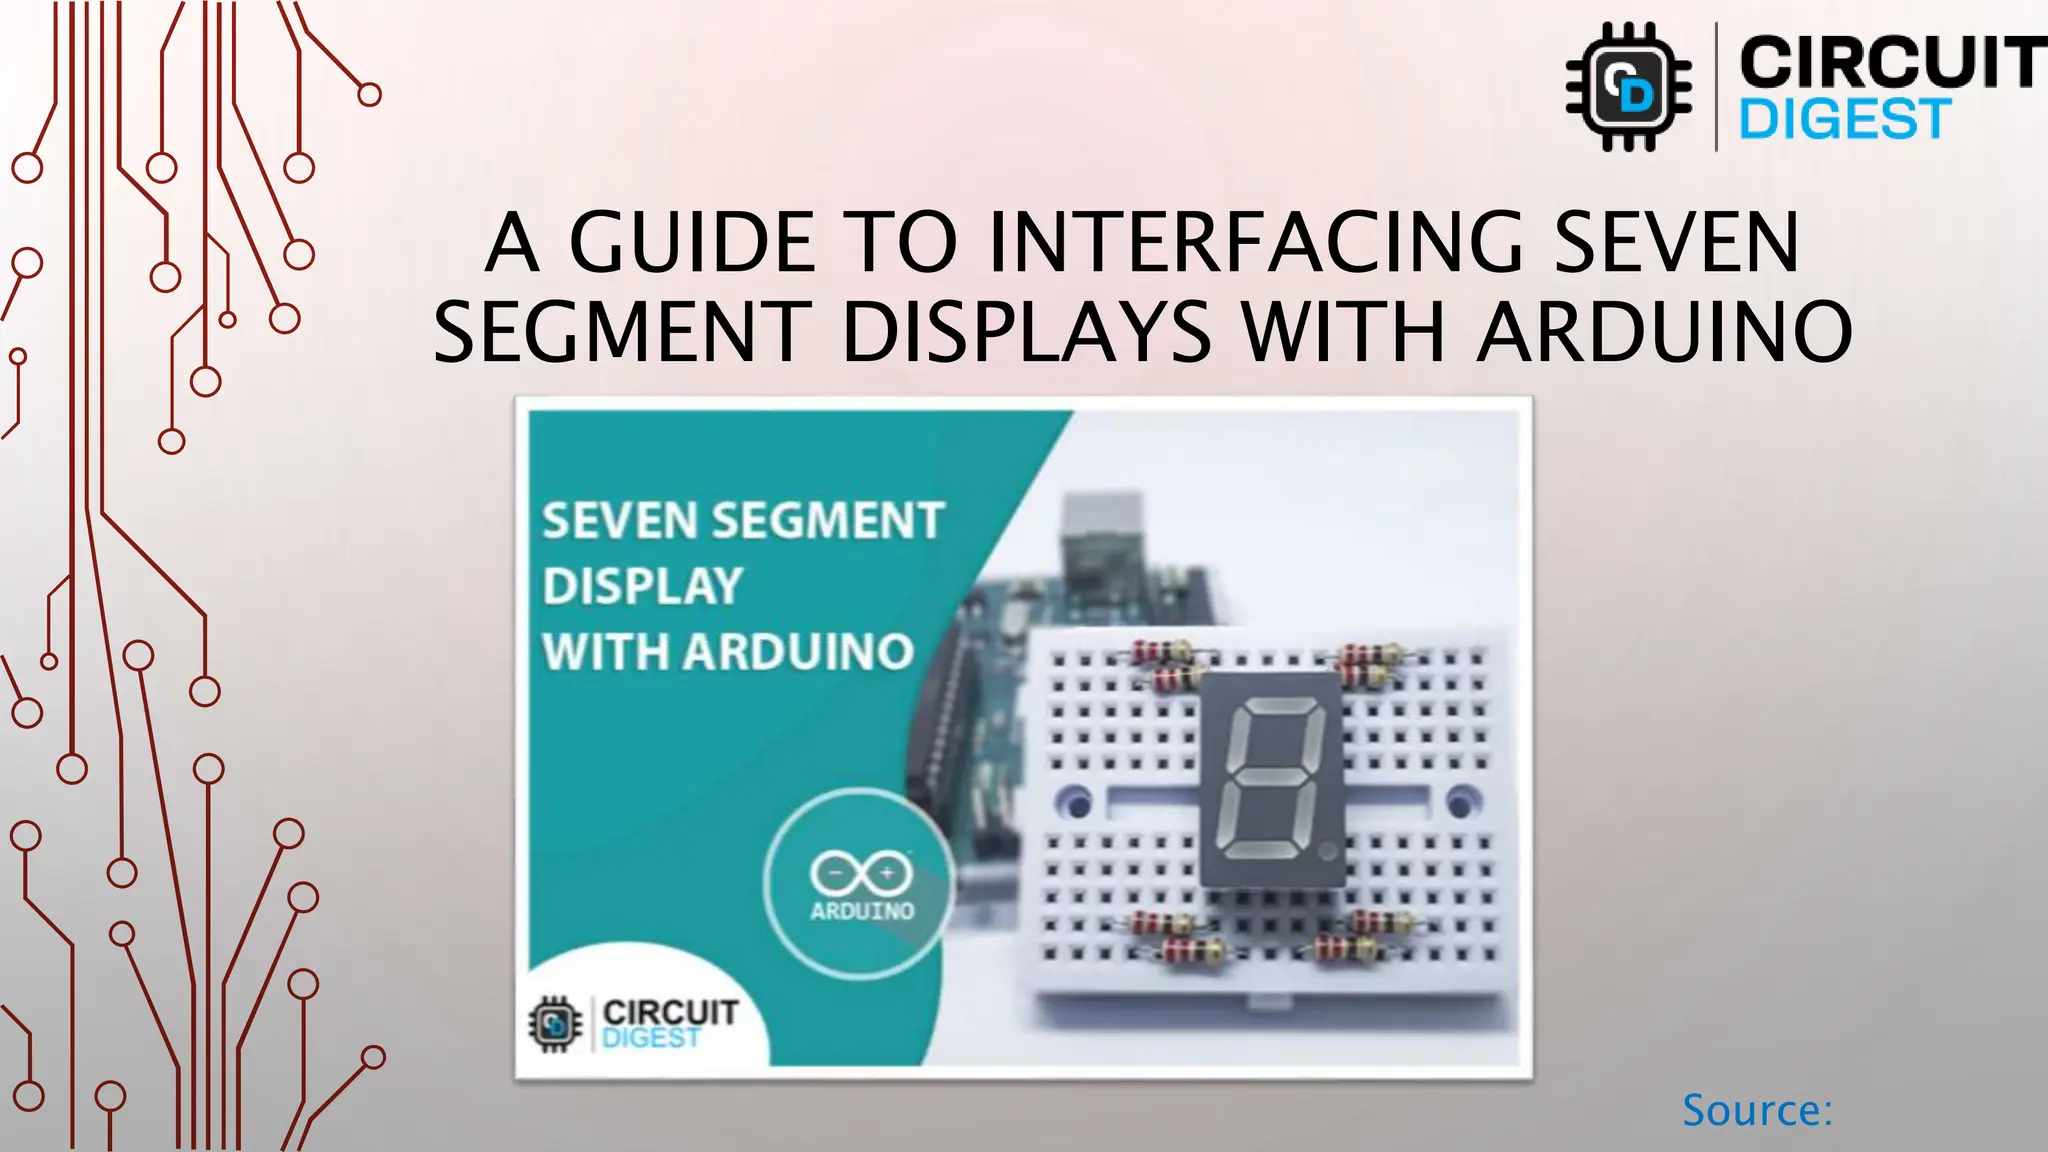


Este documento es una guía sobre cómo interfazar displays de siete segmentos con Arduino, describiendo su uso en diversas aplicaciones como contadores. Se explican los tipos de displays, comunes anódicos y catódicos, así como los pasos para conectarlos a un Arduino y ejemplos de proyectos. El documento incluye un tutorial detallado sobre la instalación del código y la configuración de conexiones necesarias.