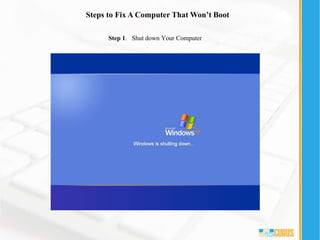
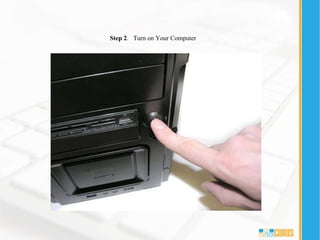
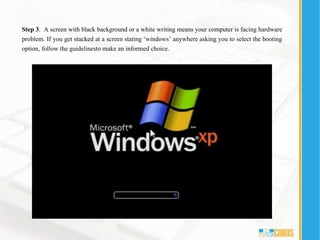
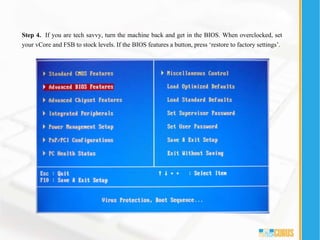
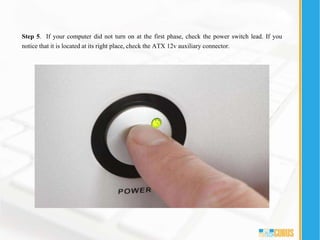
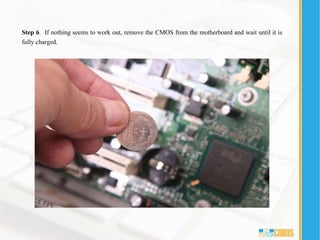
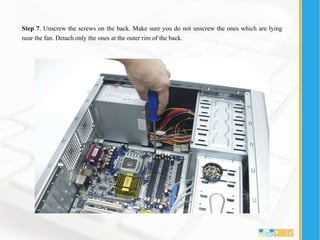
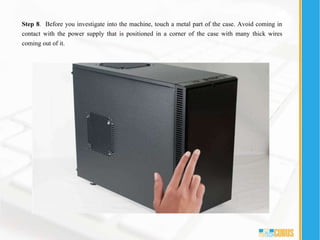
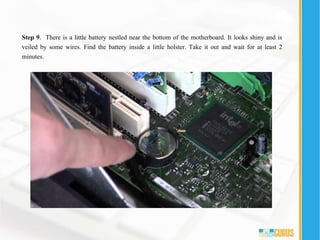
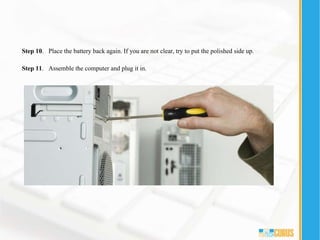
Steps to Fix A Computer That Won’t Boot
Step 1. Shut down Your Computer
Step 2. Turn on Your Computer
Step 3. A screen with black background or a white writing means your computer is facing hardware
problem. If you get stucked at a screen stating ‘windows’ anywhere asking you to select the booting
option, follow the guidelinesto make an informed choice.
Step 4. If you are tech savvy, turn the machine back and get in the BIOS. When overclocked, set
your vCore and FSB to stock levels. If the BIOS features a button, press ‘restore to factory settings’.
Step 5. If your computer did not turn on at the first phase, check the power switch lead. If you
notice that it is located at its right place, check the ATX 12v auxiliary connector.
Step 6. If nothing seems to work out, remove the CMOS from the motherboard and wait until it is
fully charged.
Step 7. Unscrew the screws on the back. Make sure you do not unscrew the ones which are lying
near the fan. Detach only the ones at the outer rim of the back.
Step 8. Before you investigate into the machine, touch a metal part of the case. Avoid coming in
contact with the power supply that is positioned in a corner of the case with many thick wires
coming out of it.
Step 9. There is a little battery nestled near the bottom of the motherboard. It looks shiny and is
veiled by some wires. Find the battery inside a little holster. Take it out and wait for at least 2
minutes.
Step 10. Place the battery back again. If you are not clear, try to put the polished side up.
Step 11. Assemble the computer and plug it in.
Thank YouContact :
888 258 8478
Follow us :
http://www.mytechgurus.com/
support@mytechgurus.com

How to Fix a Machine that Refuses to Turn On

  • 2.
    Steps to FixA Computer That Won’t Boot Step 1. Shut down Your Computer
  • 3.
    Step 2. Turnon Your Computer
  • 4.
    Step 3. Ascreen with black background or a white writing means your computer is facing hardware problem. If you get stucked at a screen stating ‘windows’ anywhere asking you to select the booting option, follow the guidelinesto make an informed choice.
  • 5.
    Step 4. Ifyou are tech savvy, turn the machine back and get in the BIOS. When overclocked, set your vCore and FSB to stock levels. If the BIOS features a button, press ‘restore to factory settings’.
  • 6.
    Step 5. Ifyour computer did not turn on at the first phase, check the power switch lead. If you notice that it is located at its right place, check the ATX 12v auxiliary connector.
  • 7.
    Step 6. Ifnothing seems to work out, remove the CMOS from the motherboard and wait until it is fully charged.
  • 8.
    Step 7. Unscrewthe screws on the back. Make sure you do not unscrew the ones which are lying near the fan. Detach only the ones at the outer rim of the back.
  • 9.
    Step 8. Beforeyou investigate into the machine, touch a metal part of the case. Avoid coming in contact with the power supply that is positioned in a corner of the case with many thick wires coming out of it.
  • 10.
    Step 9. Thereis a little battery nestled near the bottom of the motherboard. It looks shiny and is veiled by some wires. Find the battery inside a little holster. Take it out and wait for at least 2 minutes.
  • 11.
    Step 10. Placethe battery back again. If you are not clear, try to put the polished side up. Step 11. Assemble the computer and plug it in.
  • 12.
    Thank YouContact : 888258 8478 Follow us : http://www.mytechgurus.com/ support@mytechgurus.com