Downloaded 13 times

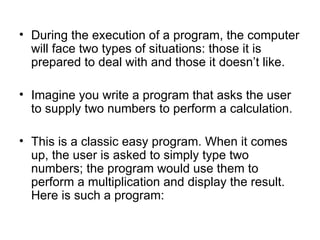
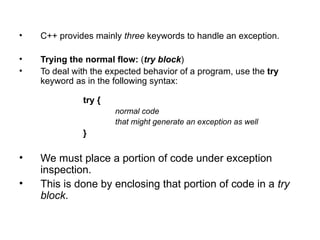

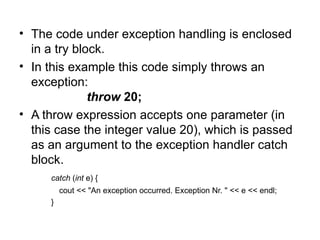
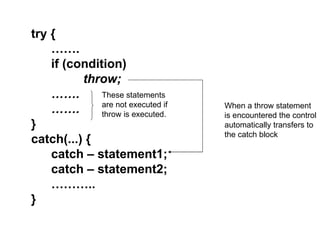
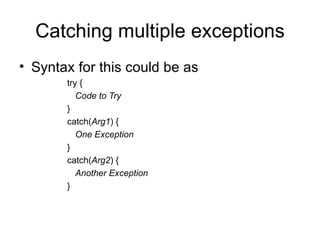
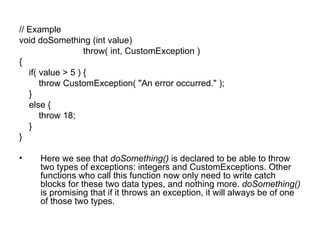
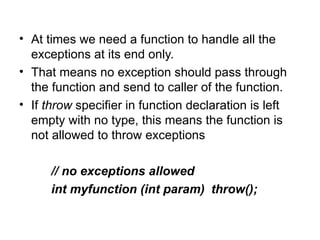
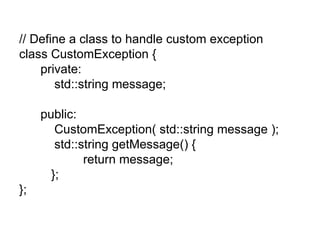


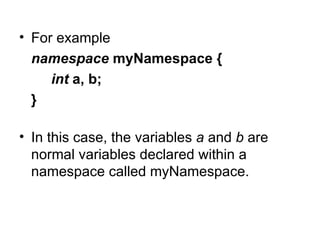
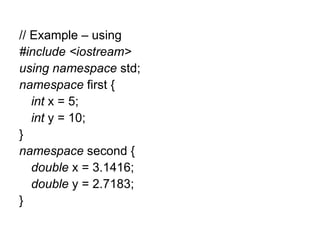
![• For example, if we use the operator new and the
memory cannot be allocated, an exception of type
bad_alloc is thrown:
try {
int * myarray= new int[1000];
}
catch (bad_alloc&) {
cout << "Error allocating memory." << endl;
}
• It is recommended to include all dynamic memory
allocations within a try block that catches this type of
exception to perform a clean action instead of an
abnormal program termination, which is what happens
when this type of exception is thrown and not caught.](https://image.slidesharecdn.com/f6dc1session6c-120405140737-phpapp01/85/F6dc1-session6-c-47-320.jpg)
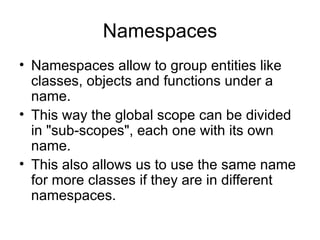
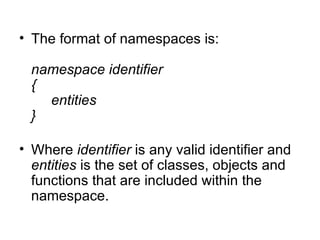

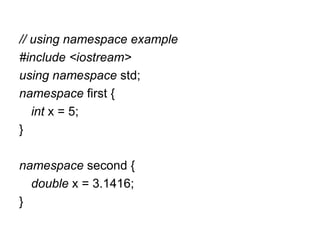


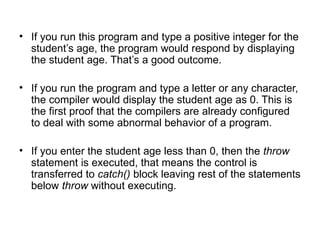
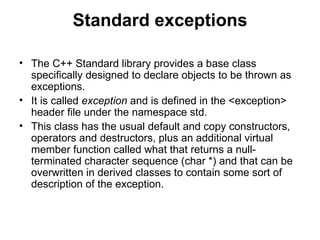
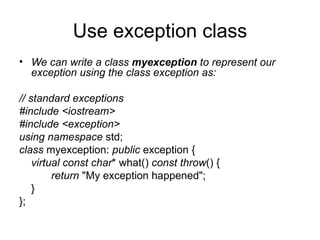
The document provides information about an exception handling course for the subject of C++ during the second semester. It includes details about try, catch, and throw keywords used for exception handling in C++ as well as custom exceptions using exception classes. Standard exceptions and namespaces are also briefly discussed.


![Handling Exceptions In C & C++ [Part B] Ver 2](https://cdn.slidesharecdn.com/ss_thumbnails/handlingexceptionsinccpartbver2-12659964132745-phpapp02-thumbnail.jpg?width=640&height=640&fit=bounds)