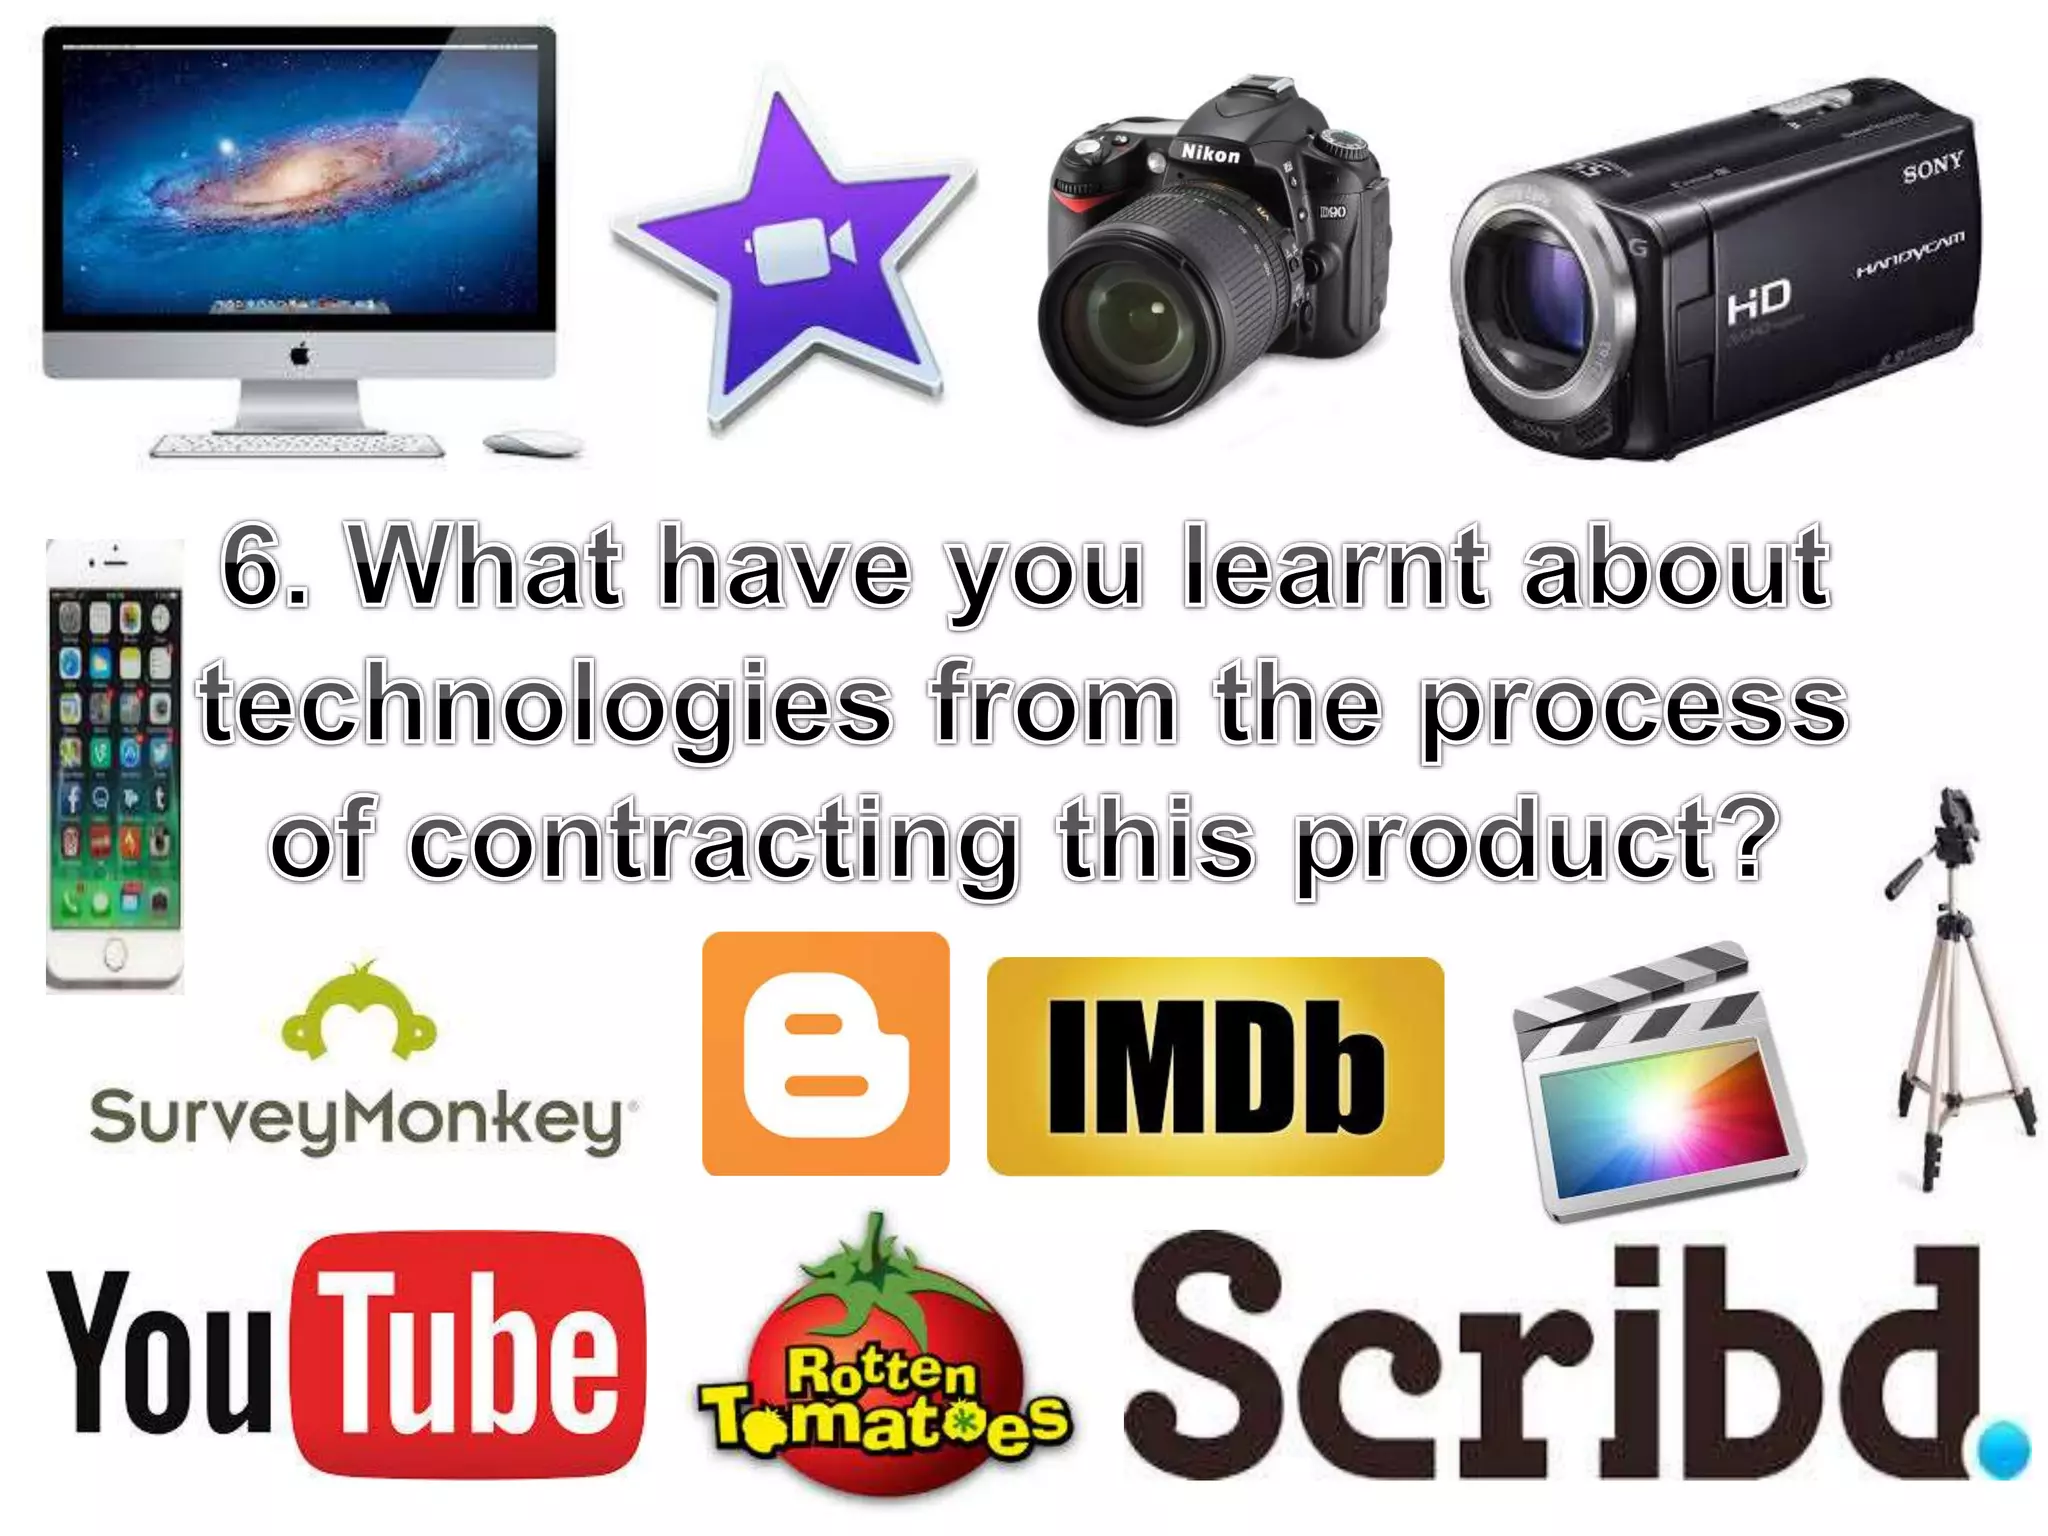
The document describes various pieces of equipment and software used to create a film project, including:
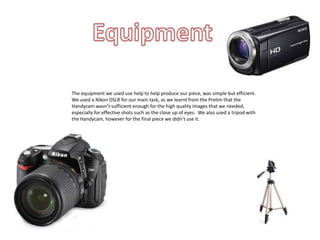
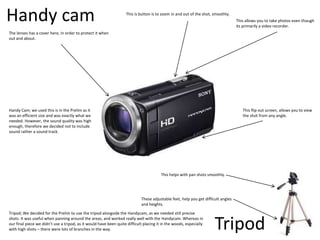
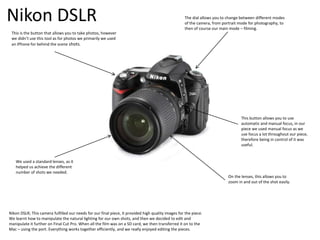
- A Nikon DSLR camera and tripod for shooting footage. Handycam was used initially but quality was insufficient.
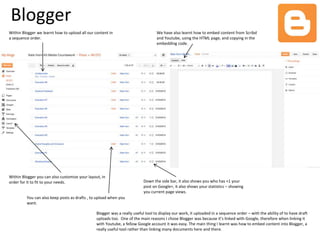
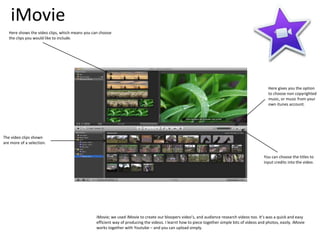
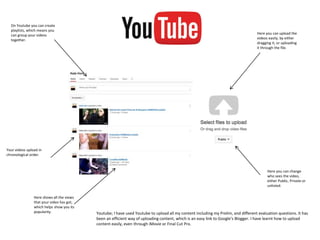
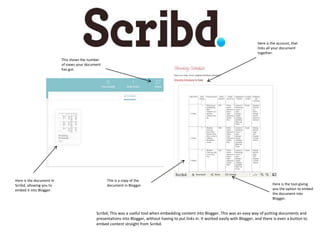
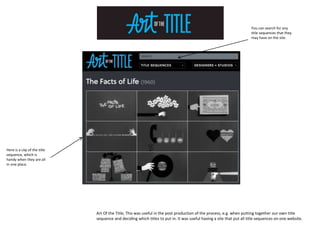
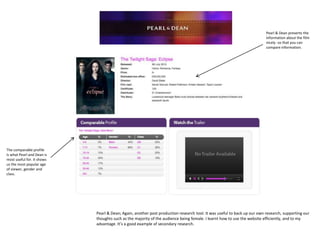
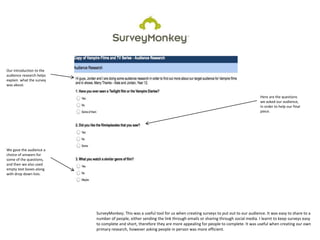
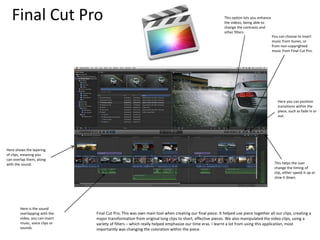
- Software like iMovie, Final Cut Pro, YouTube, Blogger, Scribd, SurveyMonkey and Pearl & Dean for editing, sharing, research.
- iMovie was used to create bloopers and audience research videos. Final Cut Pro was the main editing tool to transform clips.