Downloaded 17 times


![RESOURCES
BOOKS
• Pryce, Maggie. (2000). New Crafts Decoupage. New York: Lorenz Books
INTERNET SOURCES
• Prima. 2022. Beginner’s guide to decoupage: get involved in the prettiest papercraft.
Available [Online]: https://www.prima.co.uk/craft/easy-craft-ideas/news/a21431/get-
started-decoupage/](https://image.slidesharecdn.com/decoupage-220316173854/85/Decoupage-16-320.jpg)


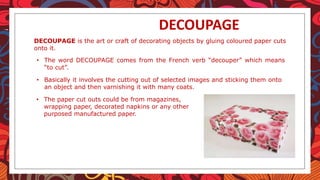
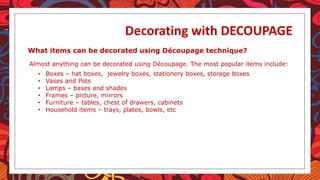
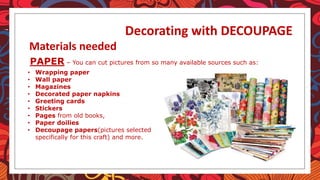
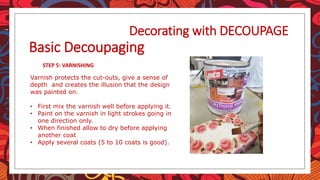
The document discusses the art of decoupage, which involves cutting out images from paper and gluing them onto objects to decorate. It describes how to decoupage, including the materials needed like paper, glue, and varnish. The basic steps are to prepare the surface, cut out images, glue them down using decoupage medium, and seal with multiple coats of varnish. A variety of items can be decorated through decoupage, and the document provides techniques for adding texture like sponging on paint before gluing on the cutouts.


