Download to read offline

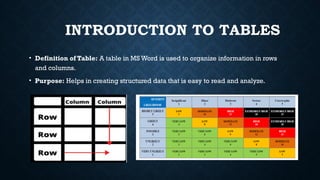
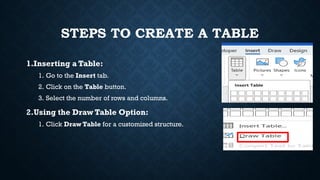
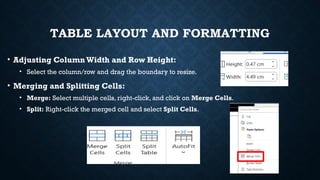
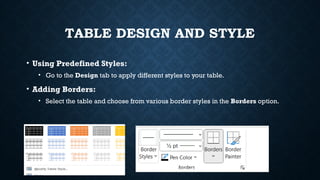
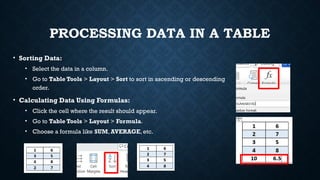
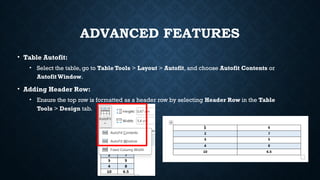


This document provides a guide on creating and processing tables in Microsoft Word, detailing the definition, purpose, and steps to insert and format tables. It includes instructions for adjusting column and row sizes, merging and splitting cells, applying styles, sorting data, and using formulas for calculations. Additionally, it covers advanced features like autofitting tables and adding header rows to enhance data organization.