More Related Content
More from goizekoizarra (20)
B.S
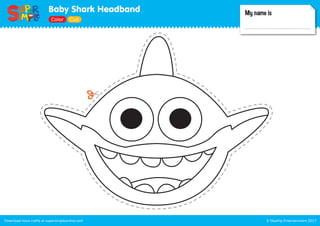
- 1. Baby Shark Headband
© Skyship Entertainment 2017Download more crafts at supersimpleonline.com
My name is
Color Cut
- 2. Baby Shark Headband
© Skyship Entertainment 2017Download more crafts at supersimpleonline.com
When teaching very young learners, it's often best for the teacher or parent to
prepare the headband in advance. Be sure to test the size of the headband with
one of the young learners before making too many.
Make Headbands Attach Baby Shark to the Headband
Step 1:
Cut 2 strips of sturdy, colorful paper.
Water colors such as blue, light blue, or
white work great!
5cm
A4 or 8.5” x 11” sheet
5-10cm 5-10cm
Learners of every age can color the illustration. Younger students may need assis-
tance cutting the illustration out. Always supervise cutting activities.
Make the activity even more fun by decorating the
headband with drawings of other sea creatures, or
ocean waves.
1
Step 5:
Color and cut out the
character illustration.
5
Step 6:
Tape or glue the character illustration to the front of
the headband.
6
+
Step 2:
Tape 2 strips together to make one headband.2
Step 3:
Fold the ends of the strips 5-10 cm. (For younger kids, make the fold
larger. For older kids, make the fold smaller.)
3
Step 4:
Put a rubber band (not too thick or
strong) inside the folds and tape the
folds shut.
4
rubber band
tape the folds
- 3. Baby Shark
© Skyship Entertainment 2017Download more crafts at supersimpleonline.com
My name is
Cut
- 4. Baby Shark
© Skyship Entertainment 2017Download more crafts at supersimpleonline.com
My name is
Cut
- 5. Baby Shark
© Skyship Entertainment 2017Download more crafts at supersimpleonline.com
My name is
Cut
- 6. Baby Shark
© Skyship Entertainment 2017Download more crafts at supersimpleonline.com
My name is
Cut