Downloaded 987 times


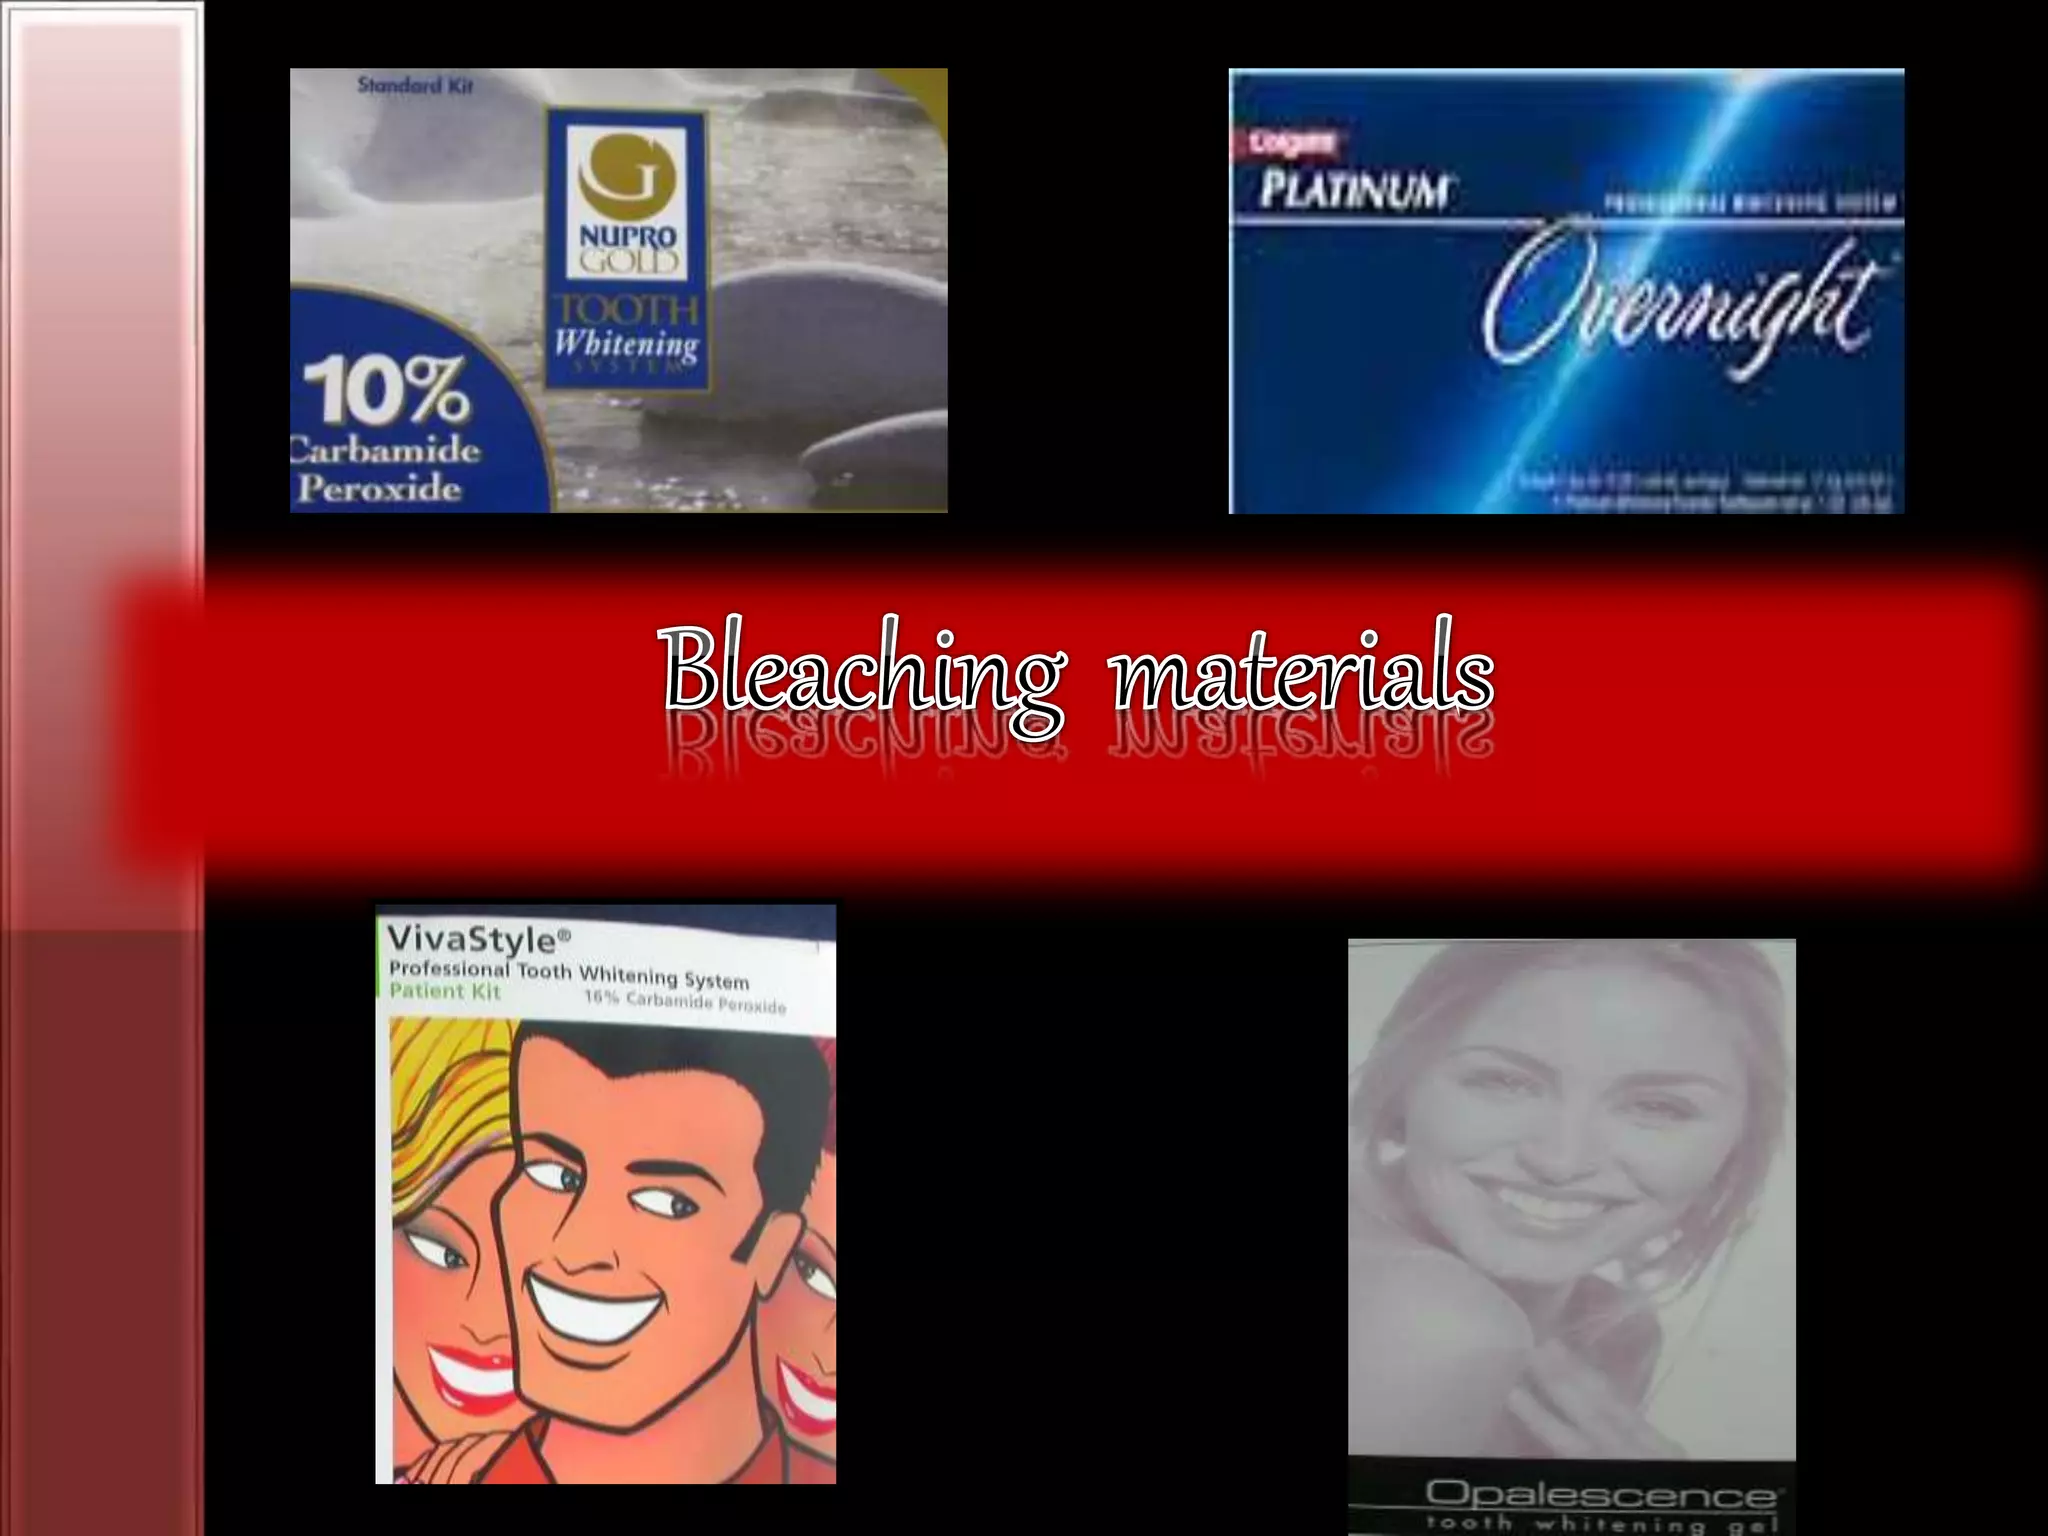


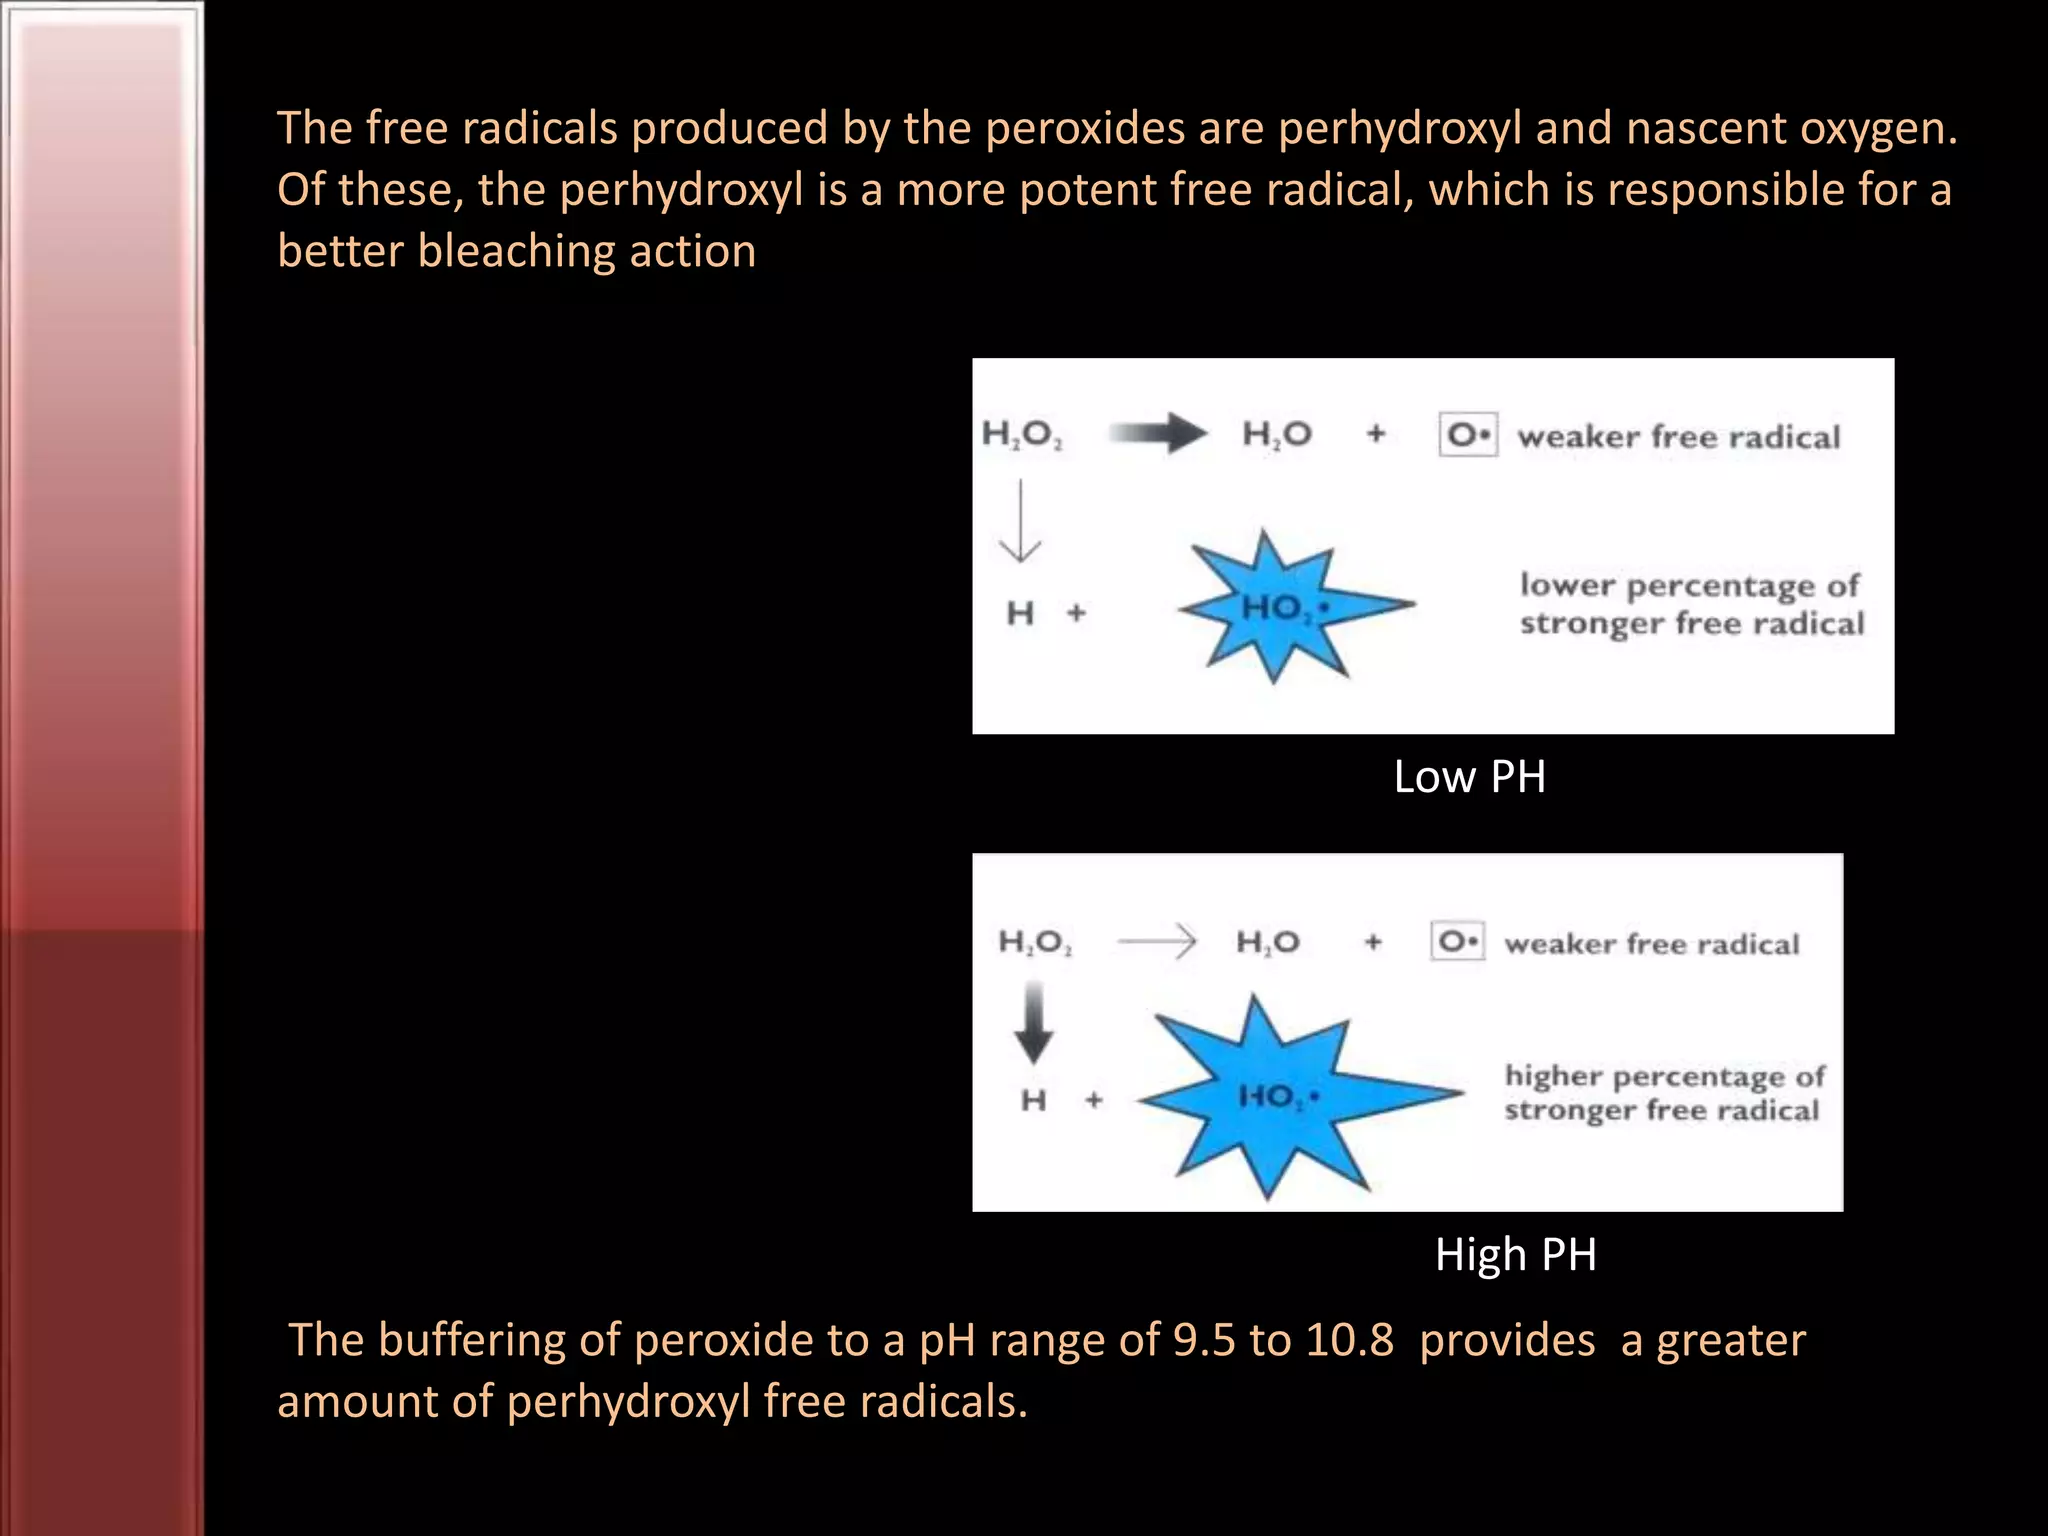
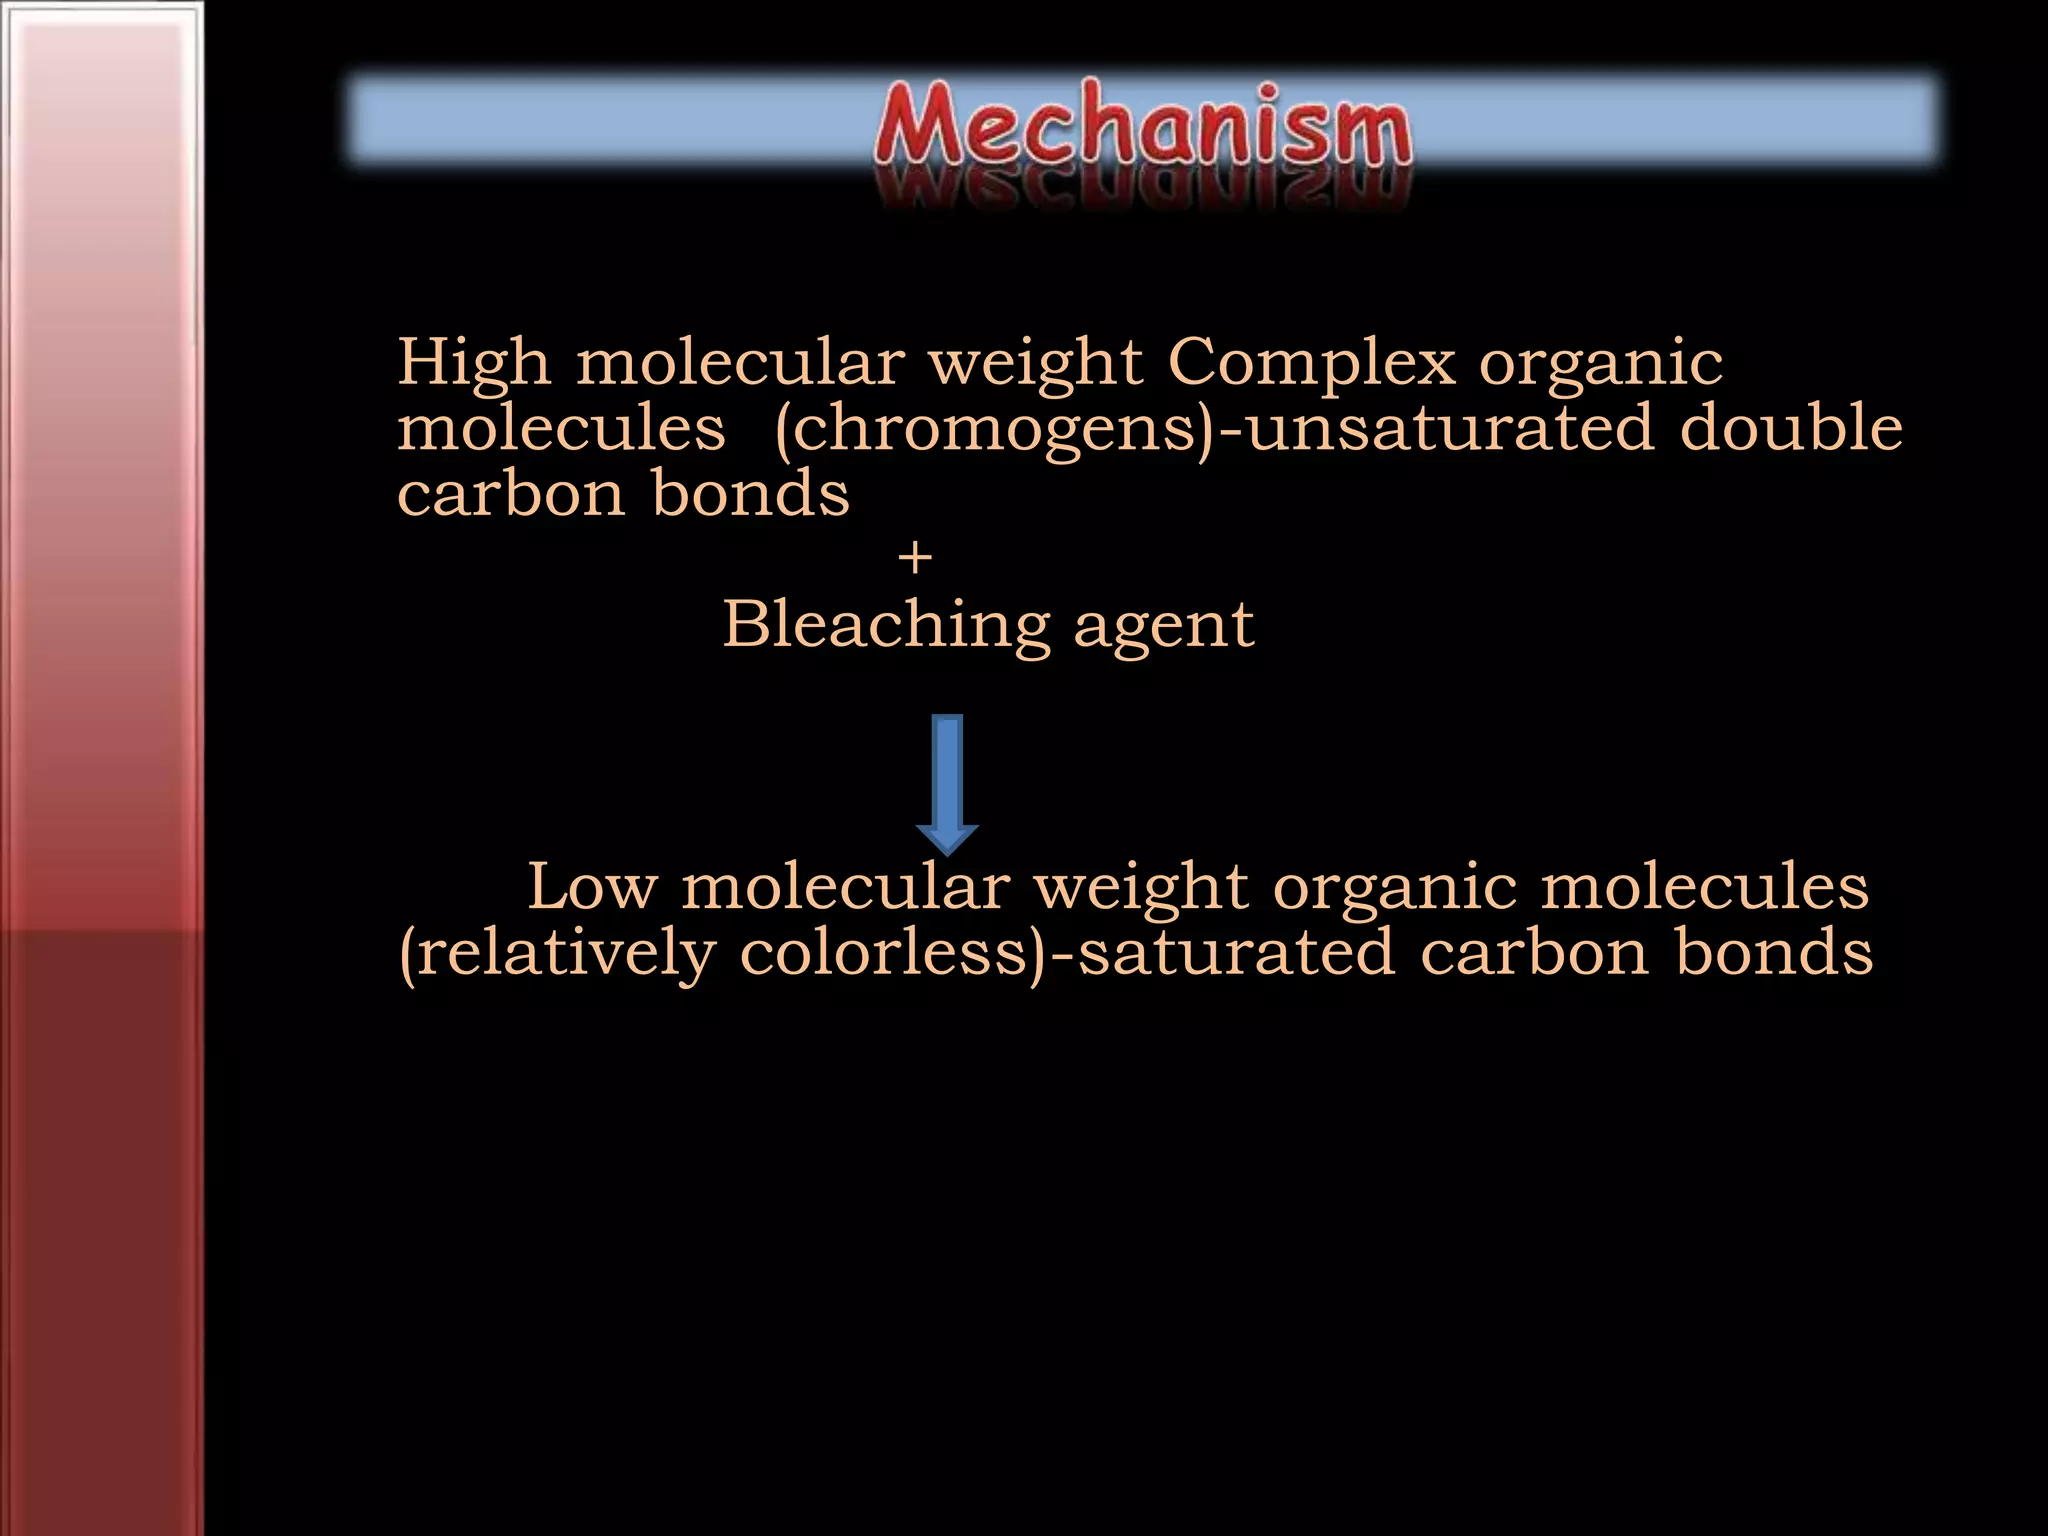
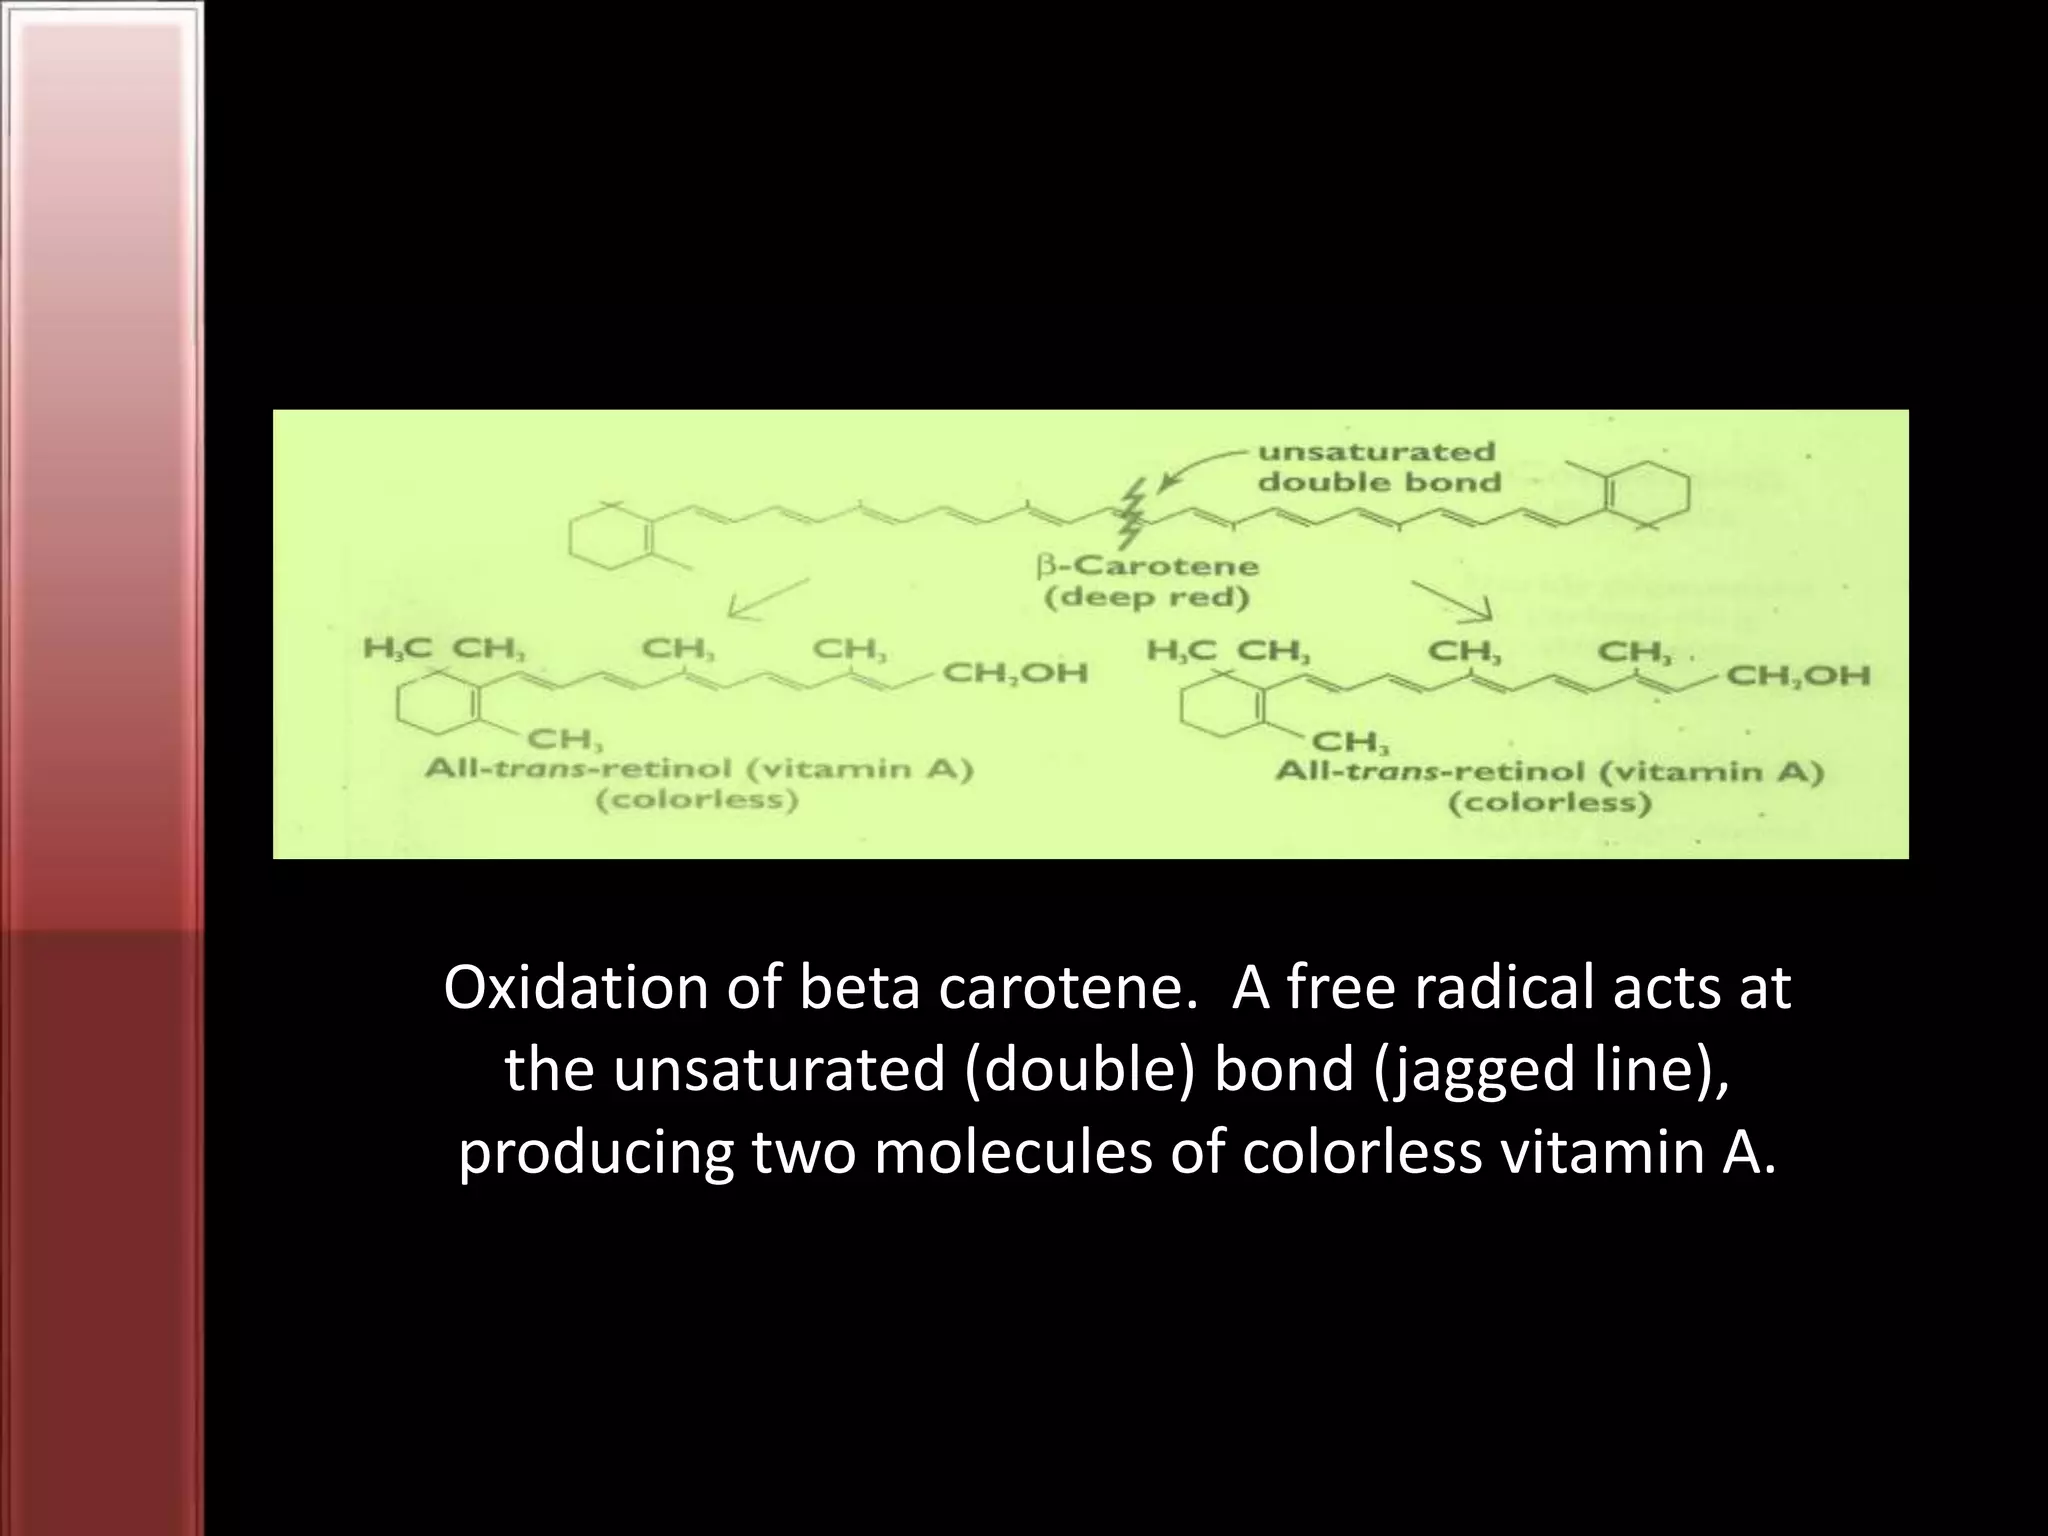
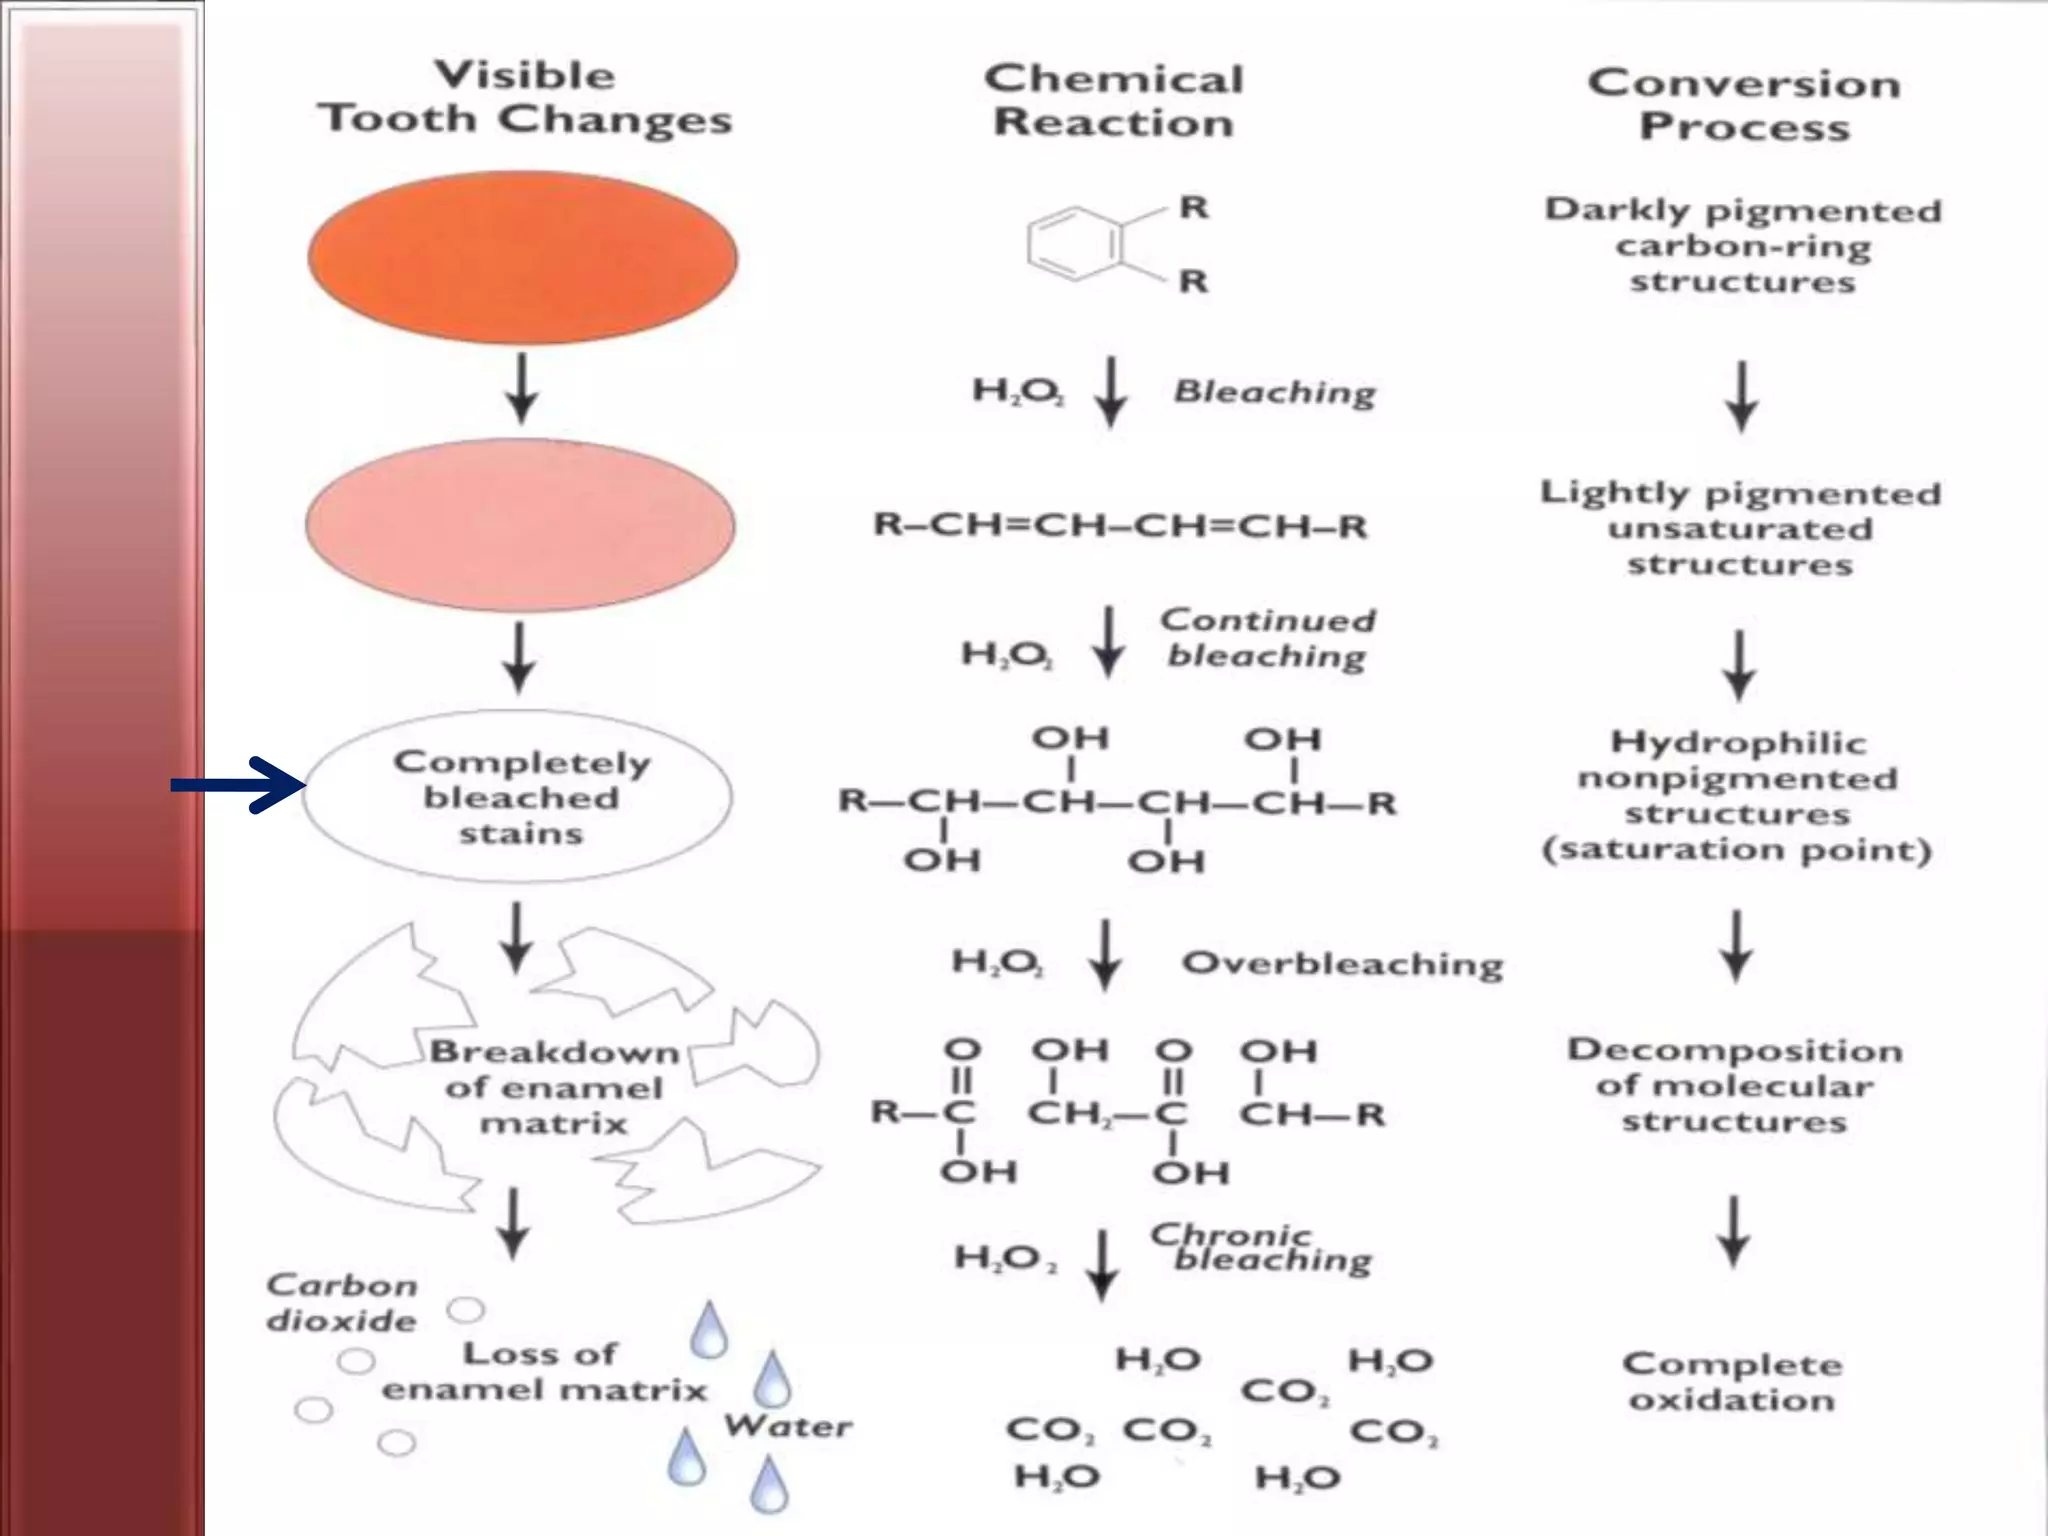


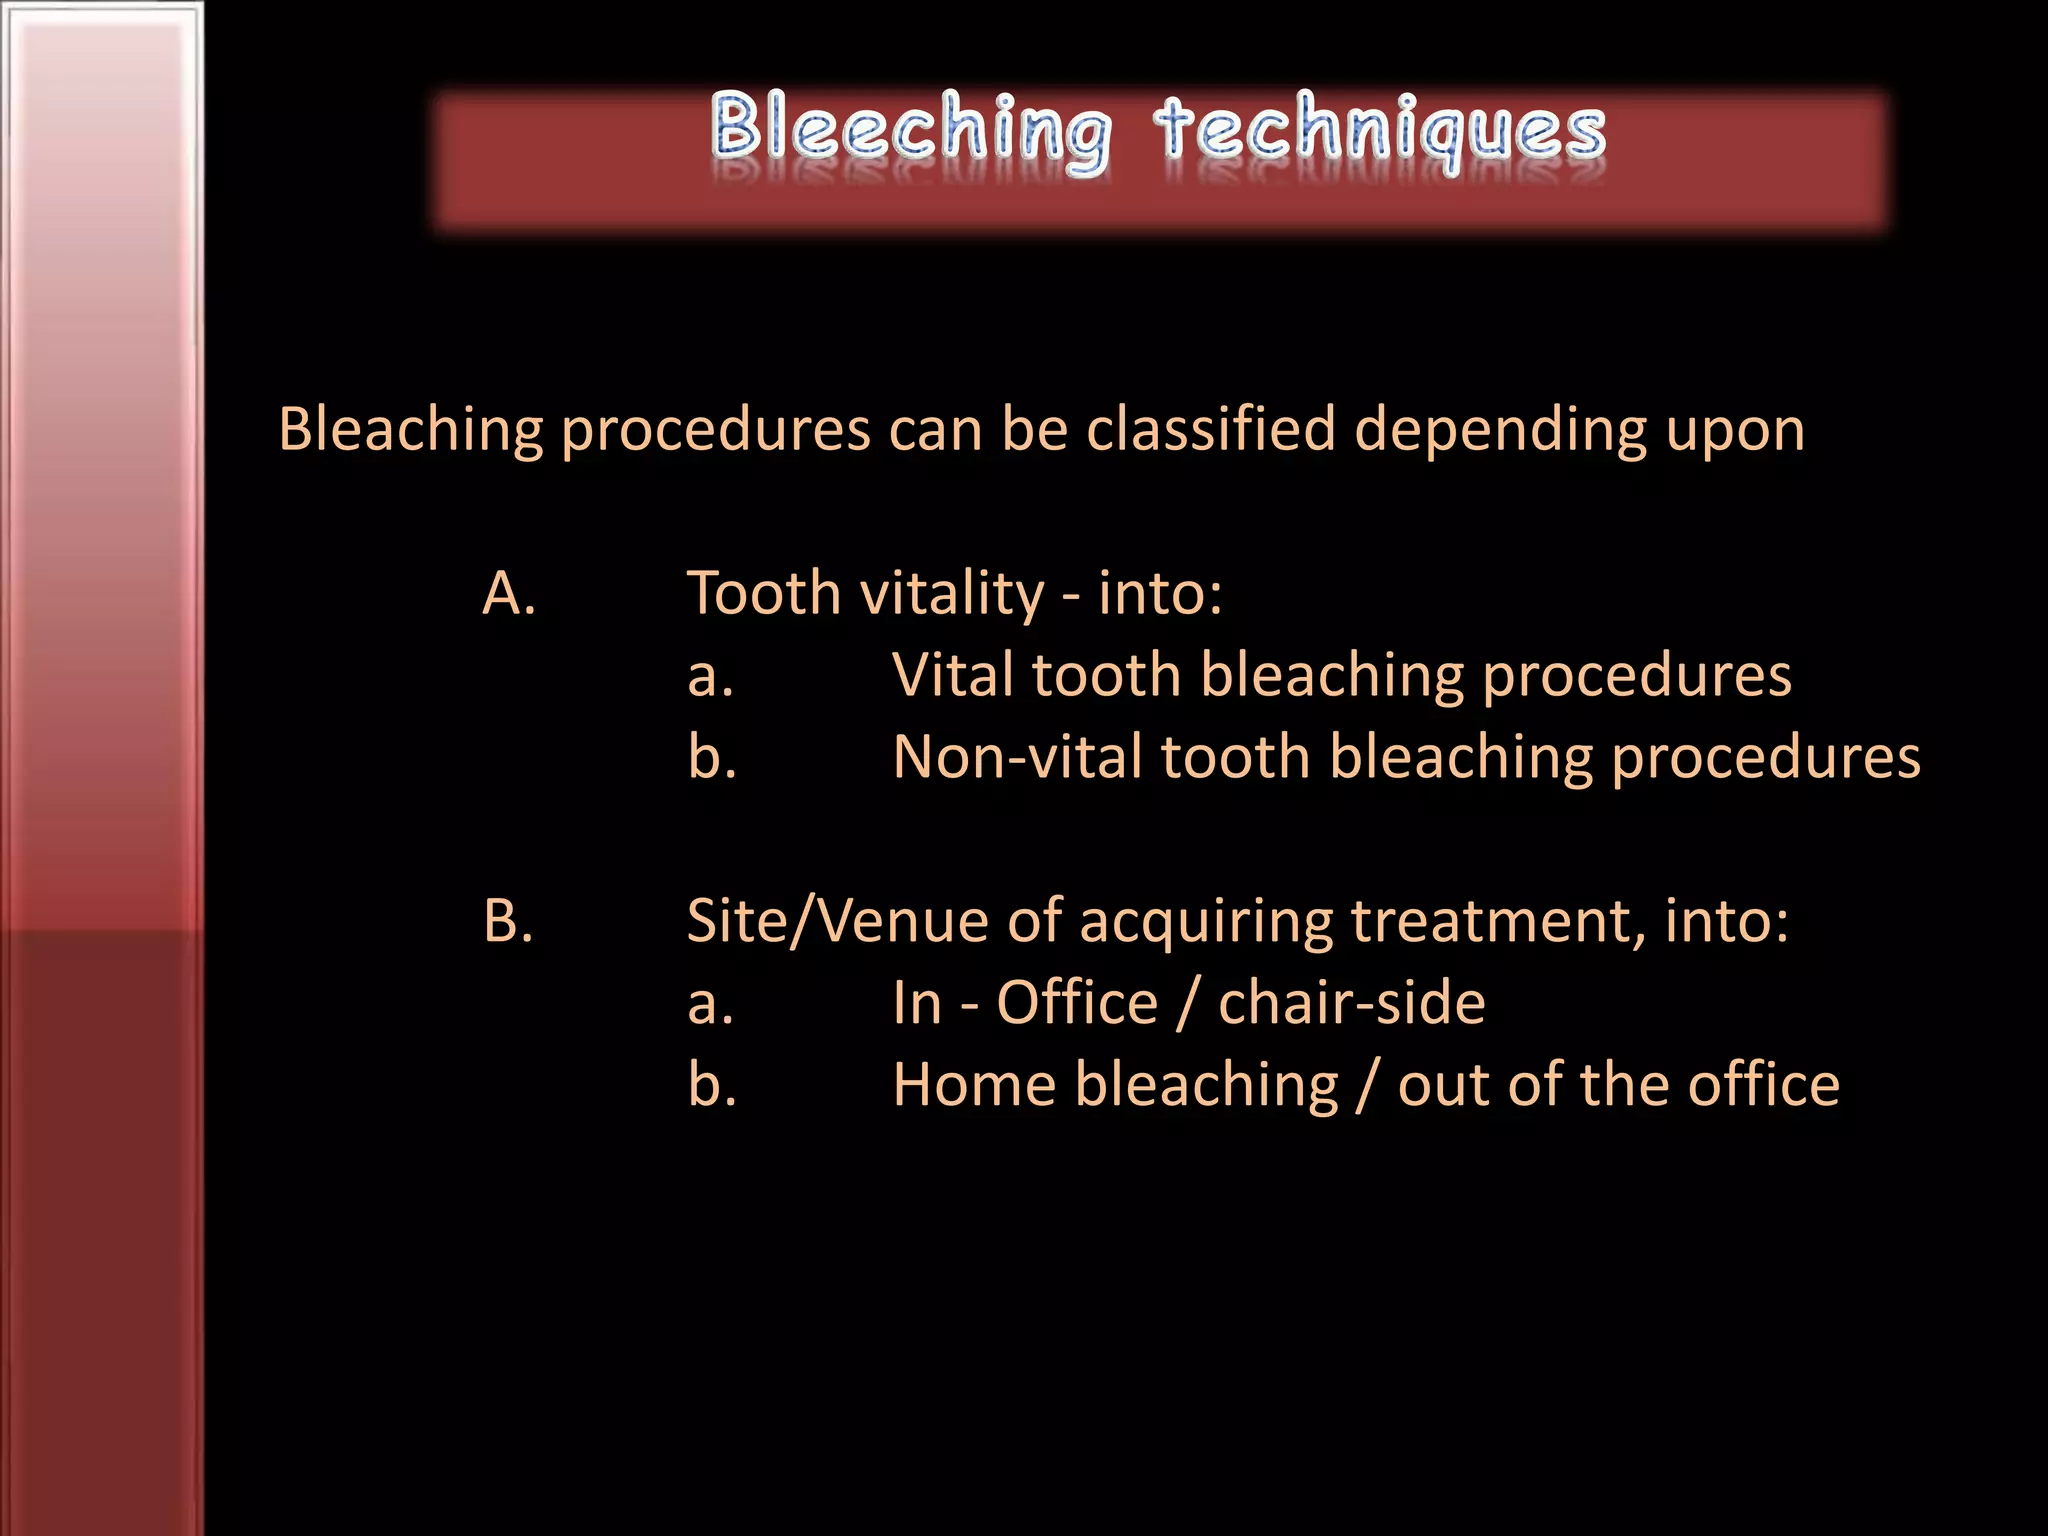


Tooth bleaching, or whitening, involves the application of a chemical agent to oxidize organic pigmentation in the tooth and lighten its color. There are several techniques and materials used for bleaching, with the most common being at-home bleaching trays containing a low concentration carbamide peroxide gel or in-office bleaching using a high concentration hydrogen peroxide or sodium perborate paste. The bleaching agents work by generating free radicals that oxidize chromophores within the enamel and dentin to disrupt the molecular structures responsible for tooth discoloration.