Download to read offline
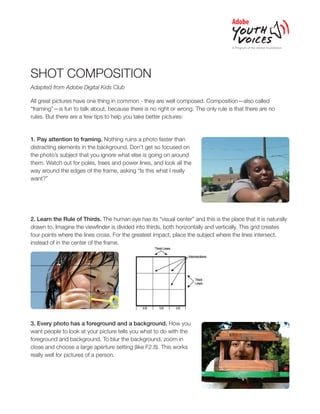
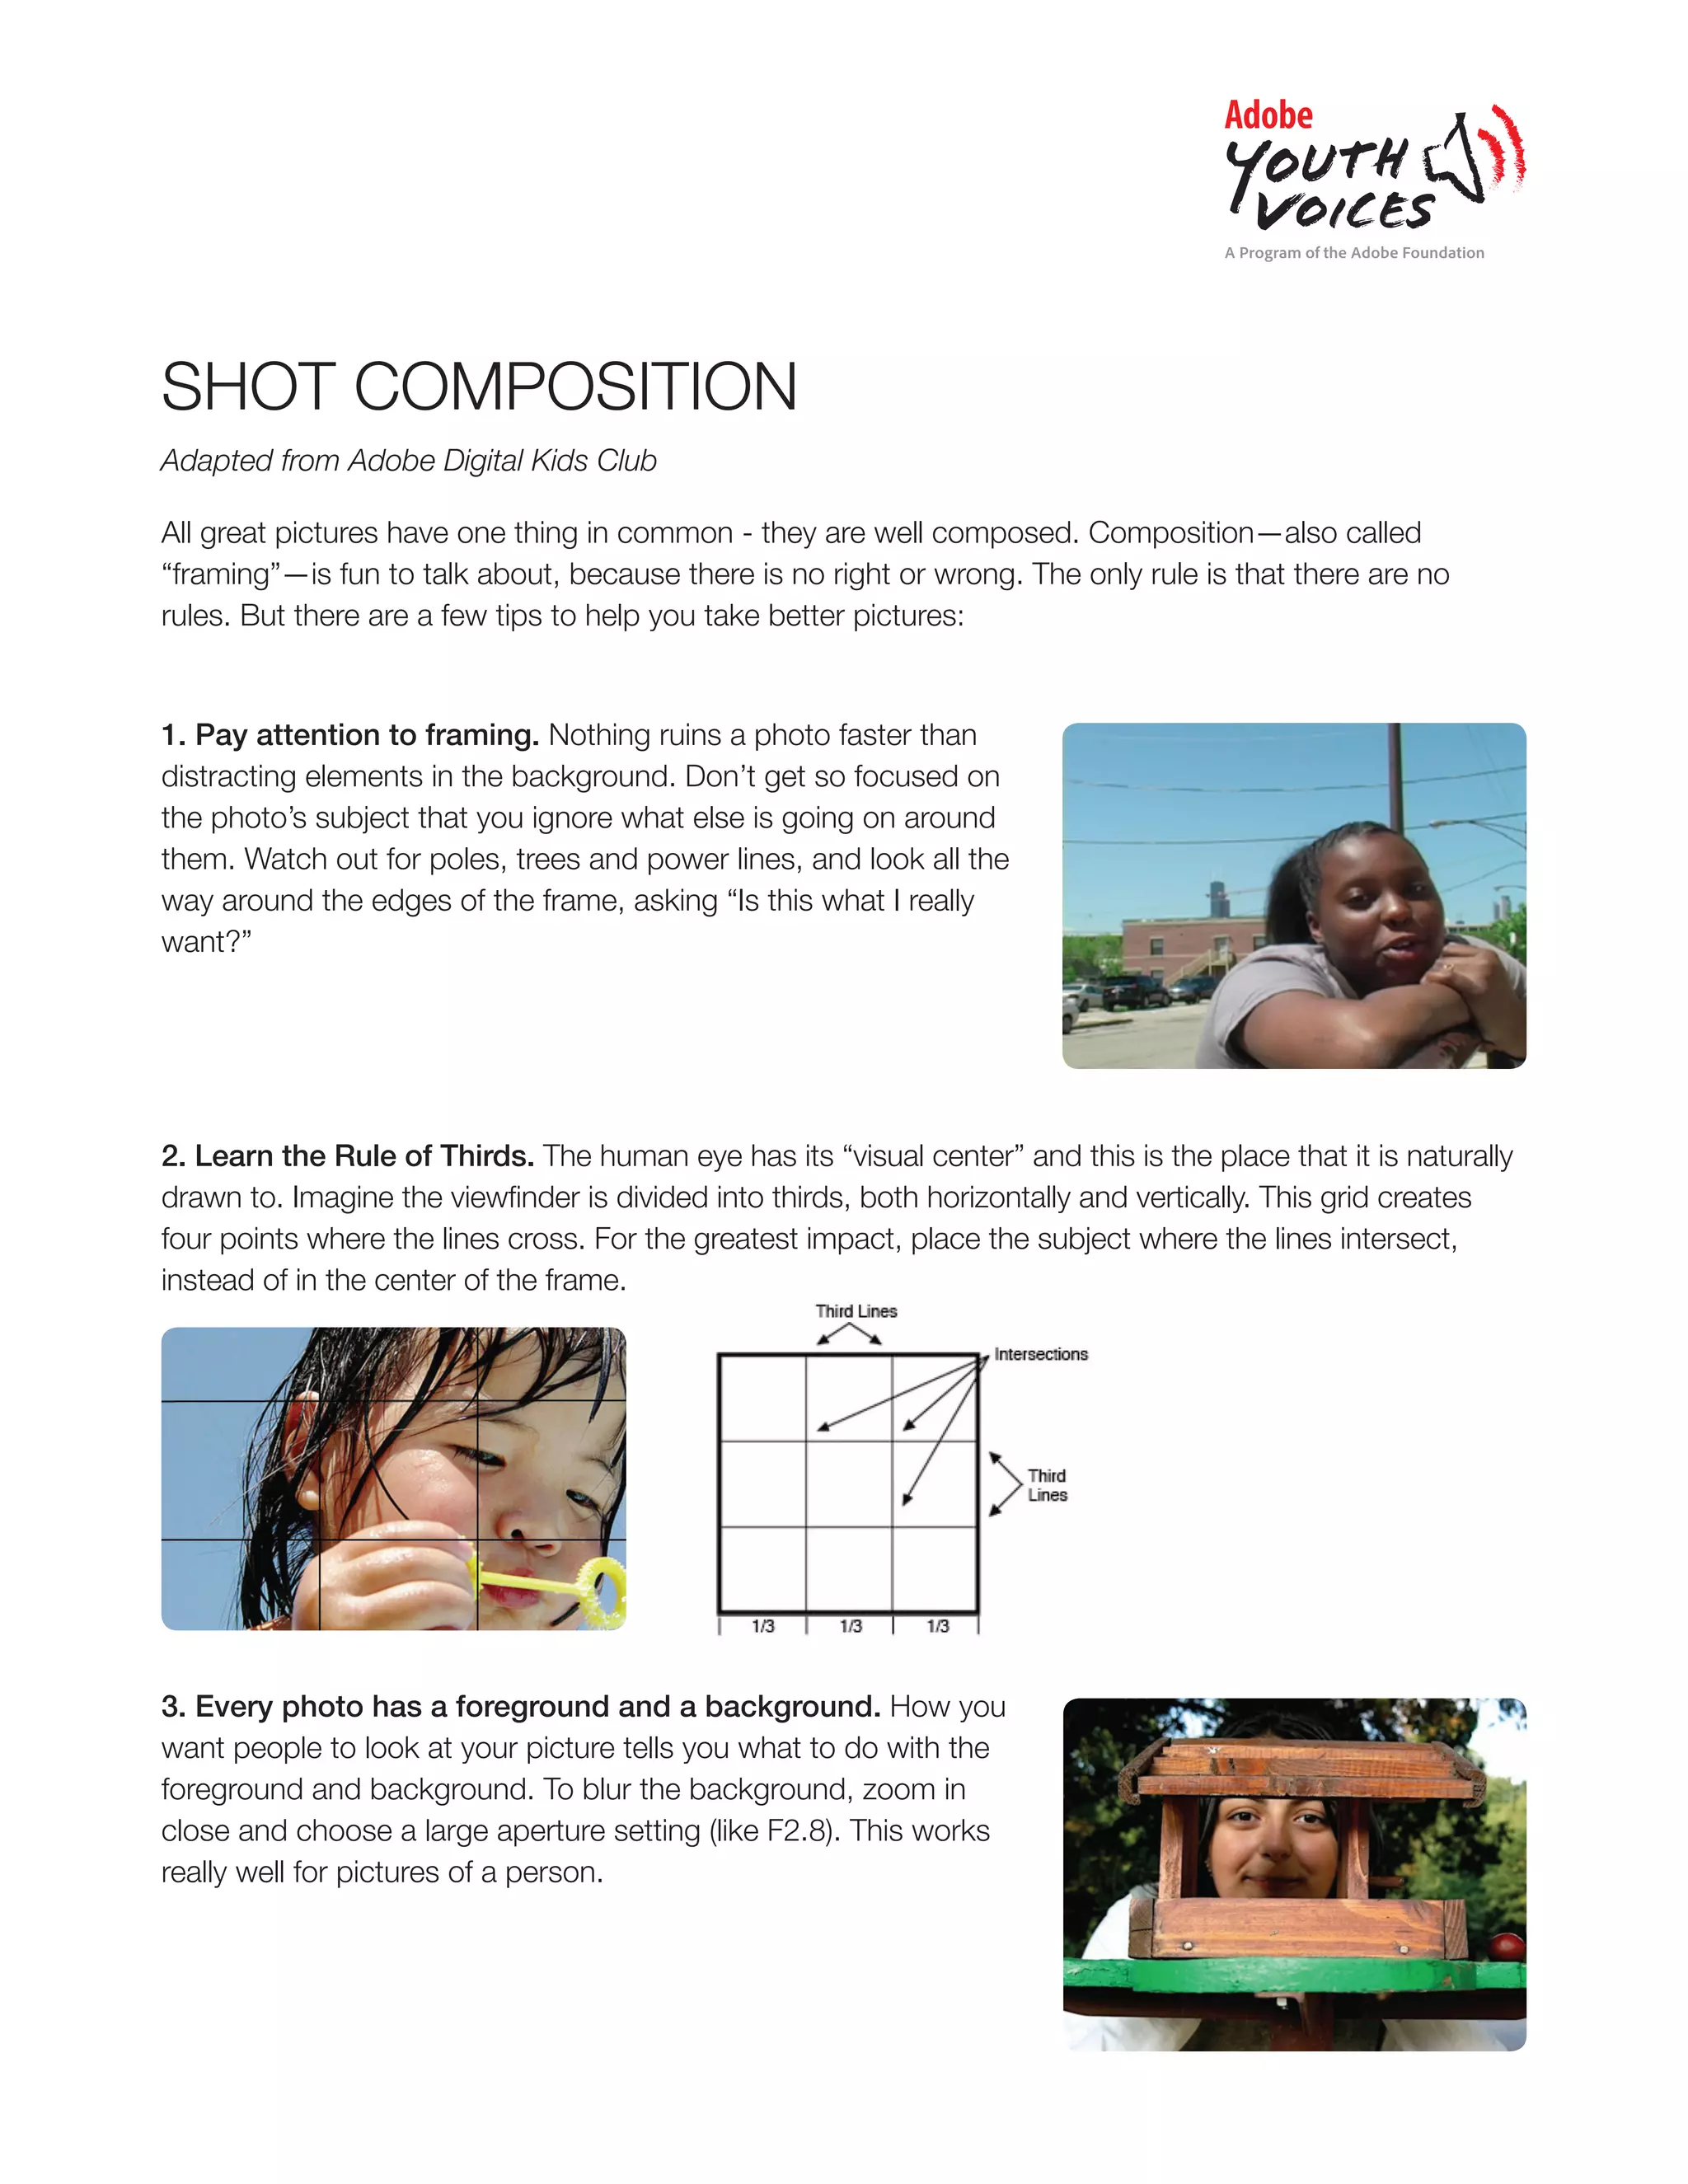
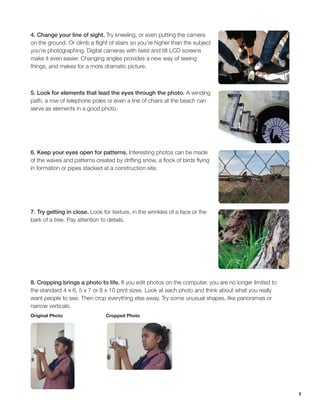
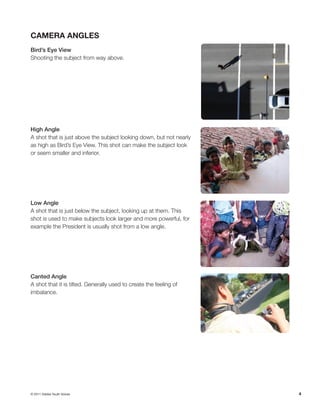

The document discusses various techniques for composing shots and framing photographs effectively. It recommends paying attention to elements in the frame and background, following the rule of thirds for subject placement, adjusting the foreground and background with aperture settings, changing the line of sight and camera angles, including elements that guide the eye, finding patterns, getting close for texture and details, and cropping to emphasize the intended subject. It also defines different types of camera shots and angles that can be used.


