1. Arnis is a Filipino martial art that uses rattan sticks as its main weapon for self-defense. It was founded by Remy Presas and emphasizes single stick techniques as well as defenses against bladed weapons.
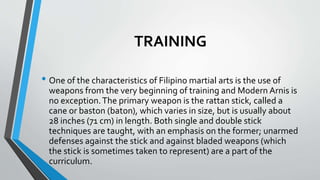
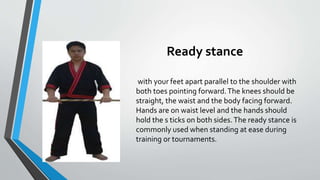
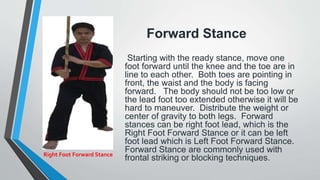
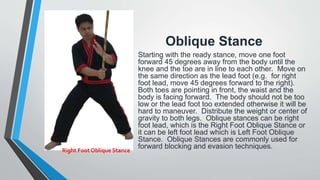
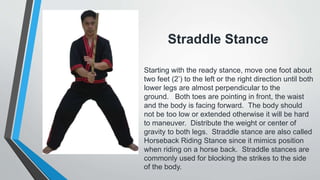
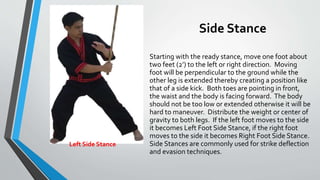
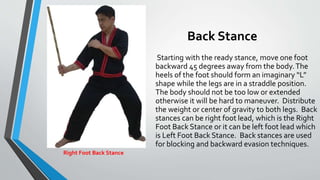
2. Training in Arnis begins with learning weapons techniques using rattan sticks before progressing to empty hand defenses. Students are taught different stances including ready, forward, oblique, and back stances that are used for blocking, striking and evading attacks.
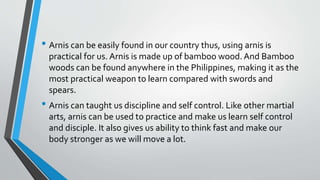
3. In addition to self-defense, practicing Arnis provides benefits like strengthening the body, improving coordination, and cultivating discipline and self-control. It uses practical weapons that can be found in the Philippines like


![ARNIS[Individual and Dual Sports]--.pptx](https://cdn.slidesharecdn.com/ss_thumbnails/arnis-231228041607-b04683de-thumbnail.jpg?width=640&height=640&fit=bounds)


