Download to read offline


![Instructions for action
<instruction><![CDATA[
<h1>Assembly of a simple cabinet</h1>
<p>Point to the cabinet to start…</p>
]]></instruction>](https://image.slidesharecdn.com/arlem-spec-151211115016/75/ARLEM-draft-spec-overview-7-2048.jpg)

![Sample script
<activity id="assembly" name="Assembly of cabinet" language="english"
workplace="http://crunch.kmi.open.ac.uk/people/~jmartin/data/workplace-AIDIMA.xml"
start="start">
<action id=‘start’ viewport=‘actions’ type=‘actions’>
<enter removeSelf="false">
</enter>
<exit>
<activate type="actions" viewport="actions" id="step2"/>
<deactivate type="actions" viewport="actions" id="start"/>
</exit>
<triggers>
<trigger type="click" viewport="actions" id="start"/>
</triggers>
<instruction><![CDATA[<h1>Assembly of a simple cabinet</h1><p>Point to the cabinet
to start ... </p>]]></instruction>
</action>
<action id="step2" viewport="actions” type=“actions”>
<enter></enter>
<exit removeSelf="true”></exit>
<triggers>
<trigger type="click" viewport="actions" id="step1"/>
</triggers>
<instruction><![CDATA[<h1>step2</h1><p>do this and that.</p>]]></instruction>
</action>
</activity>](https://image.slidesharecdn.com/arlem-spec-151211115016/75/ARLEM-draft-spec-overview-9-2048.jpg)


![<activity id="assembly" name="Assembly of cabinet" language="english"
workplace="http://crunch.kmi.open.ac.uk/people/~jmartin/data/workplace-AIDIMA.xml"
start="start">
<action id=‘start’ viewport=‘actions’ type=‘actions’>
<enter removeSelf="false”>
<activate tangible="board1" predicate="point" poi="leftside" option="down"/>
<activate tangible="board1" predicate="addlabel" poi="default"
option="touchme"/>
</enter>
<exit>
<deactivate tangible="board1" predicate="point" poi="leftside"/>
<deactivate tangible="board1" predicate="addlabel" poi="default"/>
<activate type="actions" viewport="actions" id="step2"/>
<deactivate type="actions" viewport="actions" id="start"/>
</exit>
<triggers>
<trigger type="click" viewport="actions" id="start"/>
</triggers>
<instruction><![CDATA[<h1>Assembly of a simple cabinet</h1><p>Point to the cabinet
to start ... </p>]]></instruction>
</action>
<action id="step2" viewport="actions” type=“actions”>
<enter></enter>
<exit removeSelf="true”></exit>
<triggers>
<trigger type="click" viewport="actions" id="step1"/>
</triggers>
<instruction><![CDATA[<h1>step2</h1><p>do this and that.</p>]]></instruction>
</action>
</activity>
Display an
arrow pointing
downwards on
the point of
interest ‘leftside’
Display a label
‘touchme’ at the
centre of the
marker
Remove both
visual overlays
when this action
step is exited](https://image.slidesharecdn.com/arlem-spec-151211115016/75/ARLEM-draft-spec-overview-16-2048.jpg)

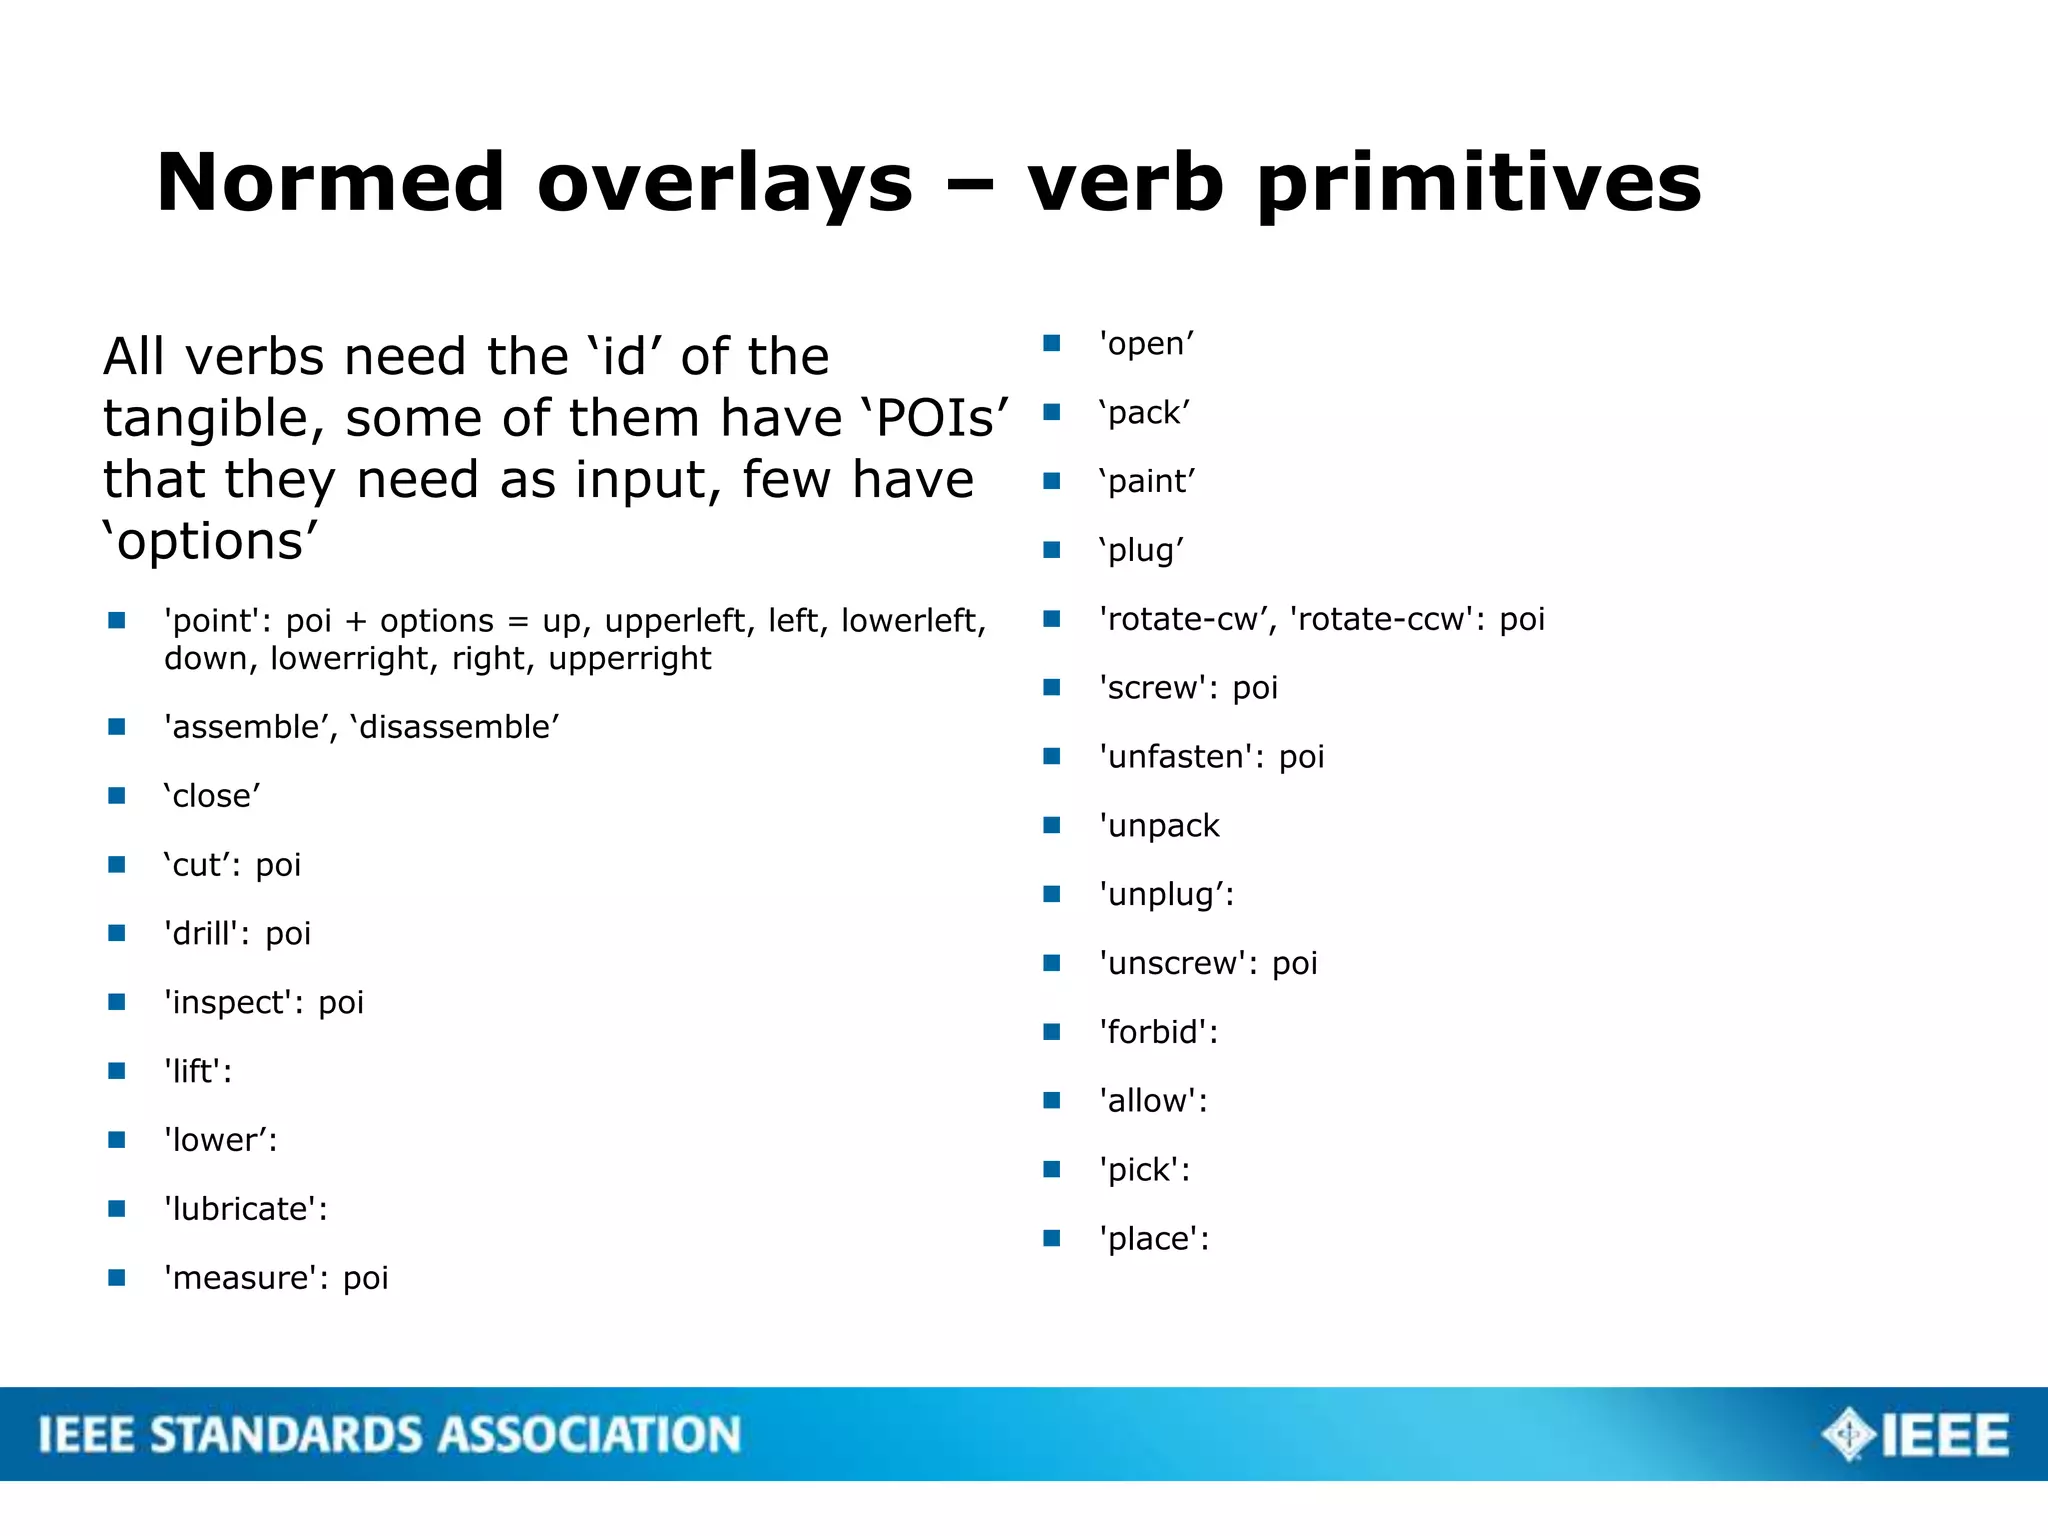

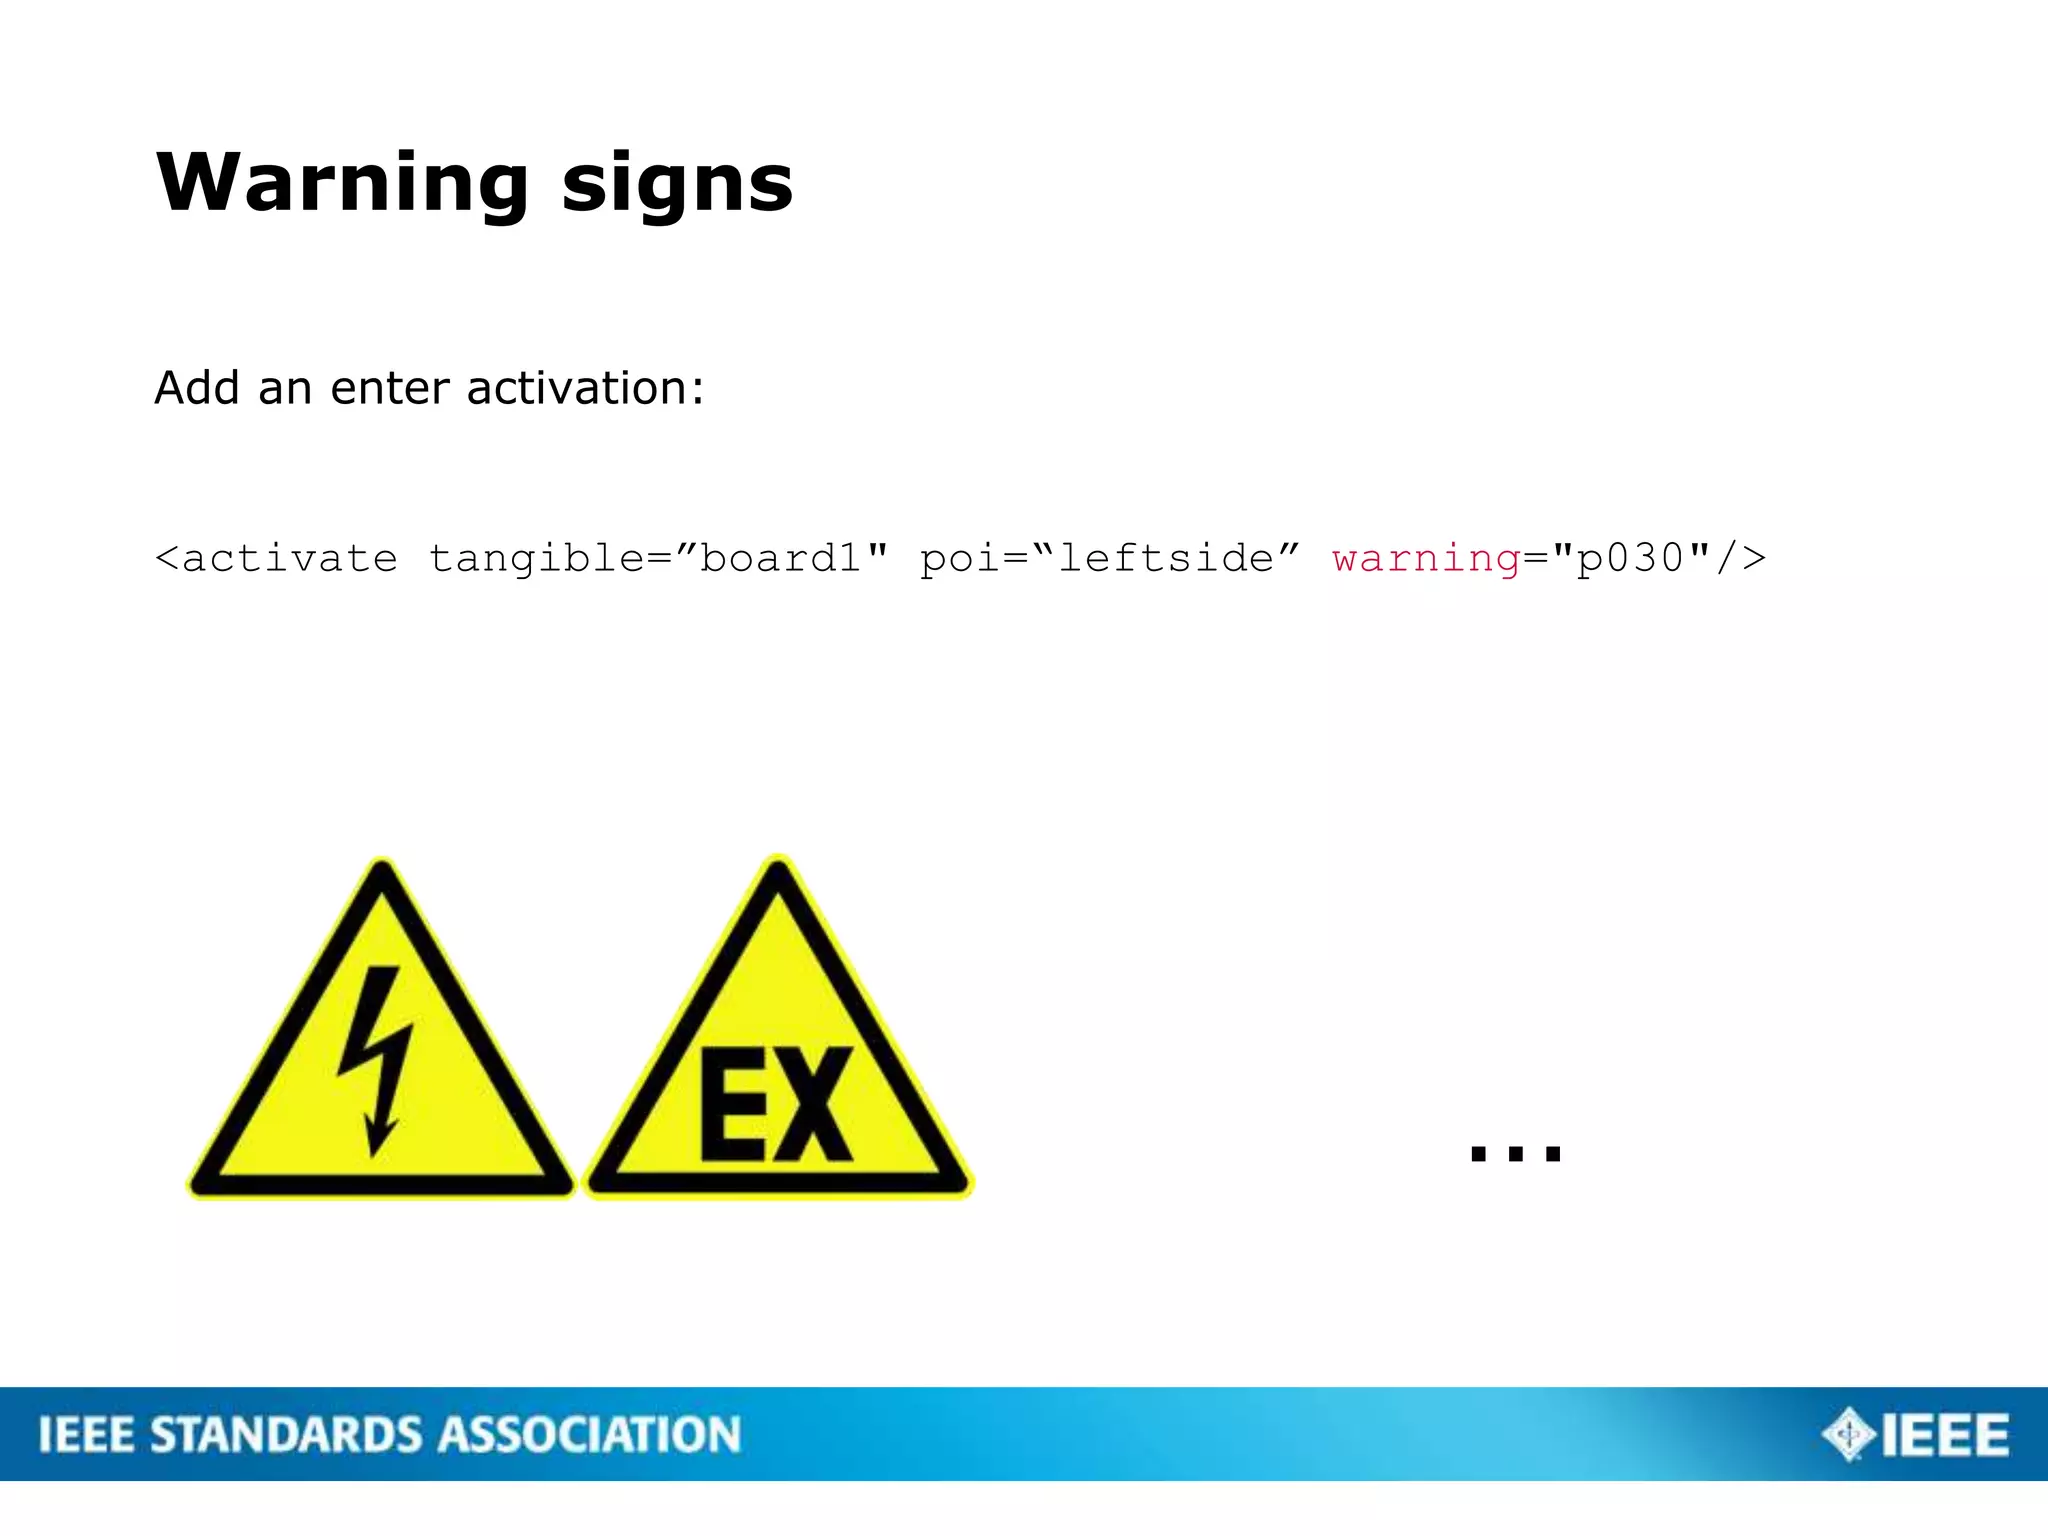


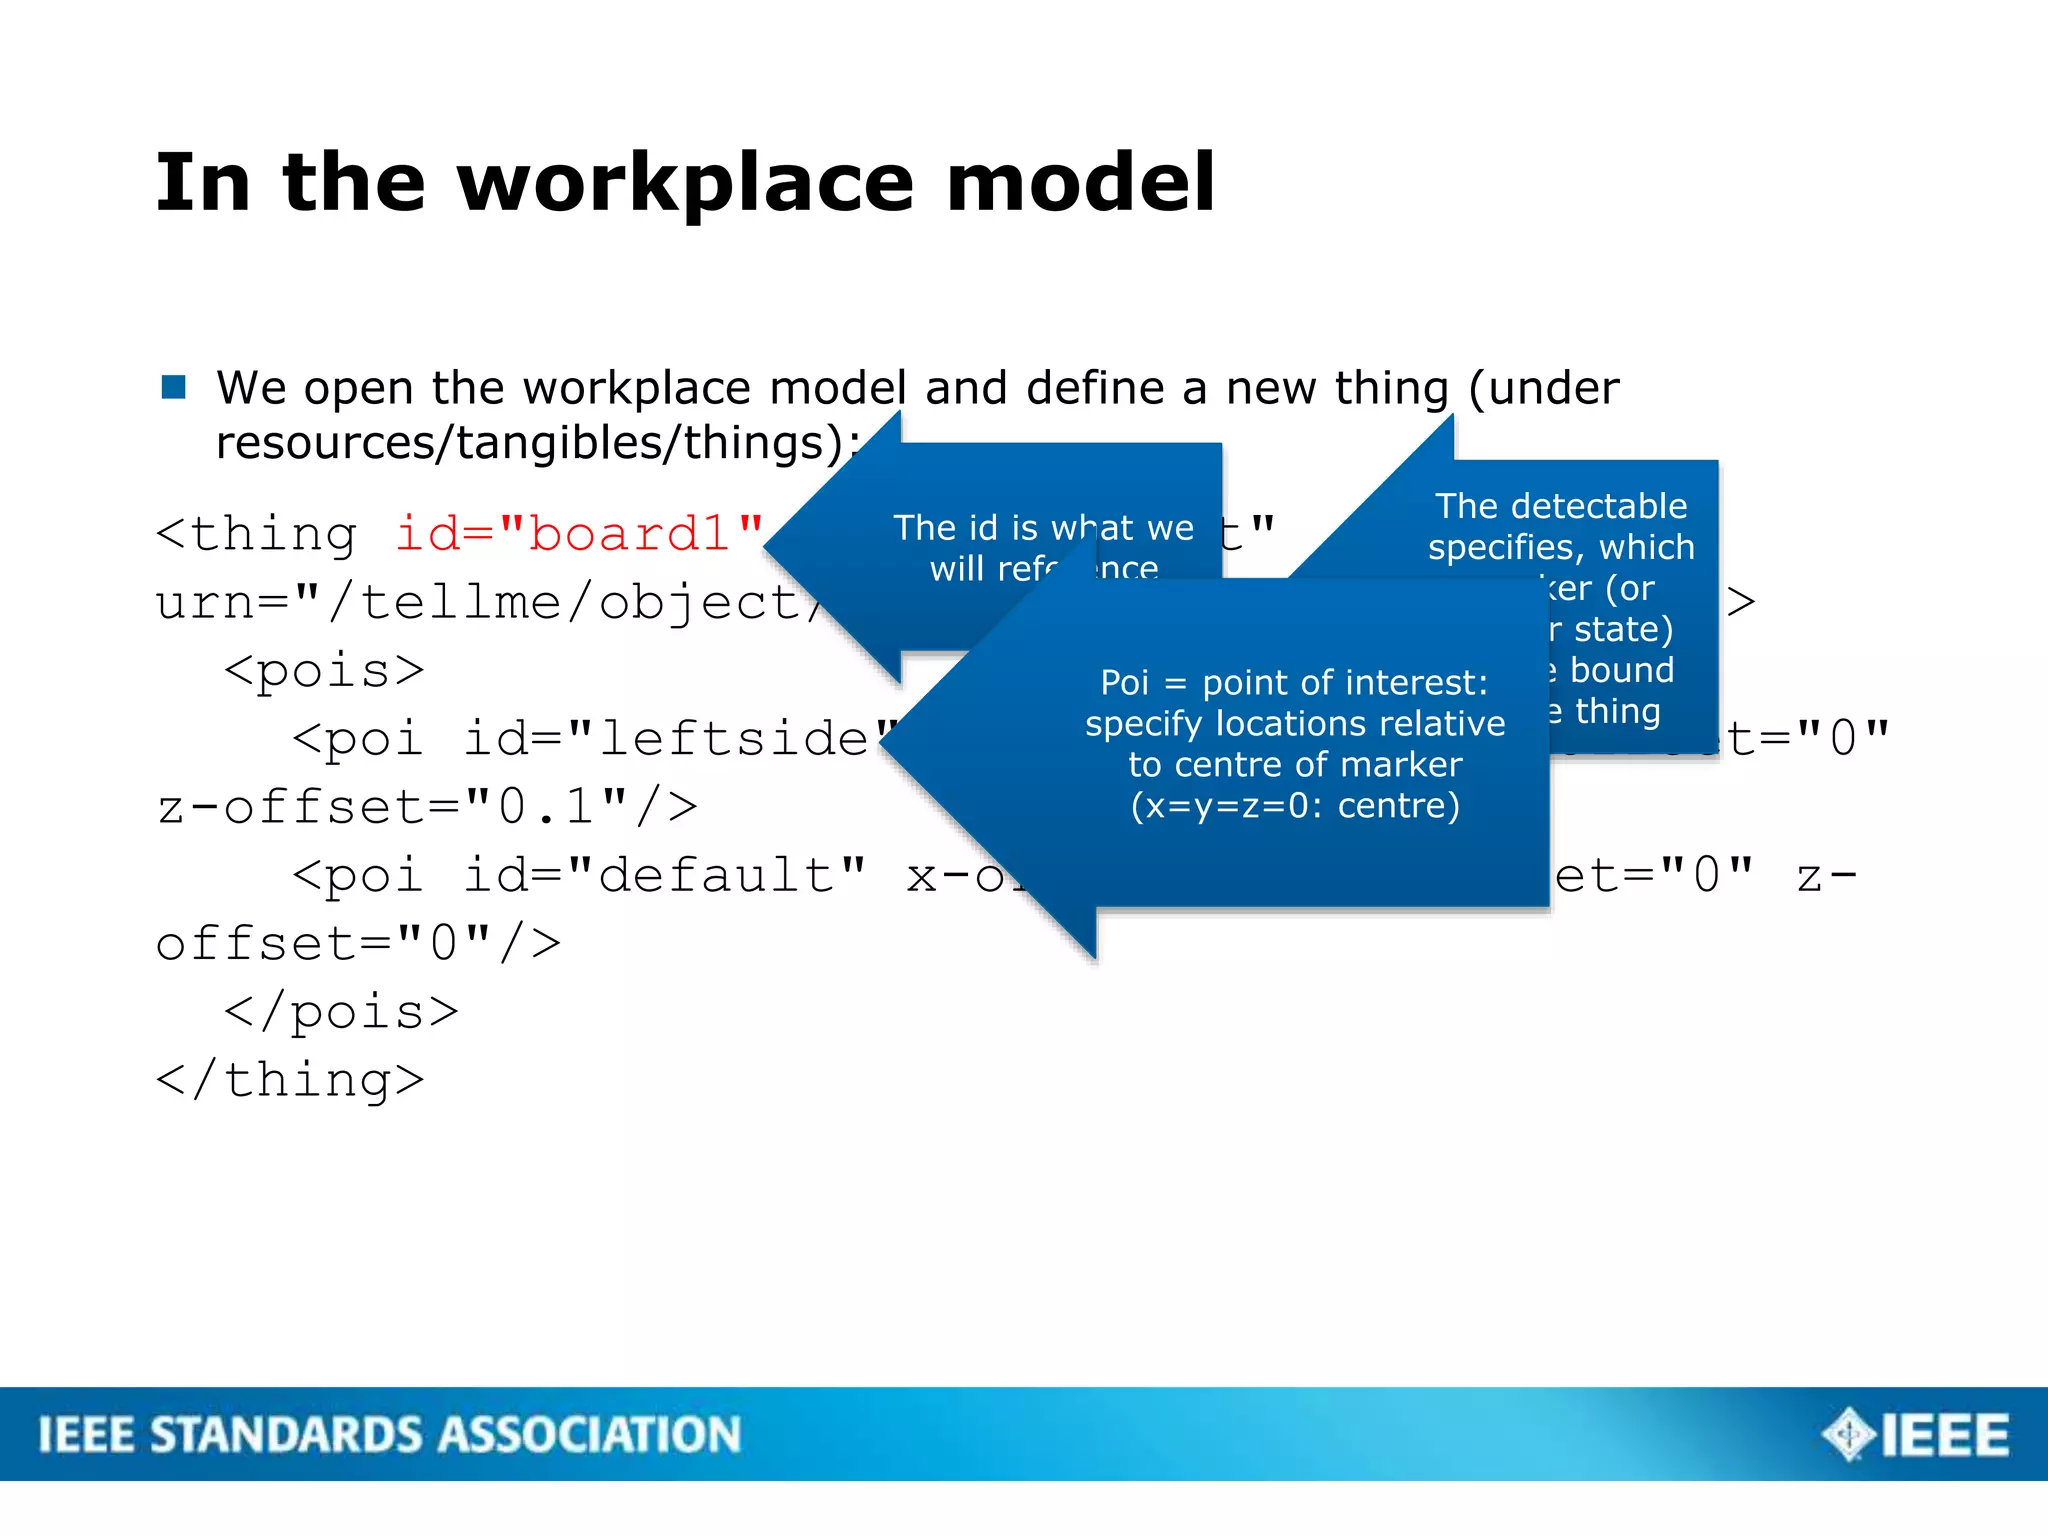
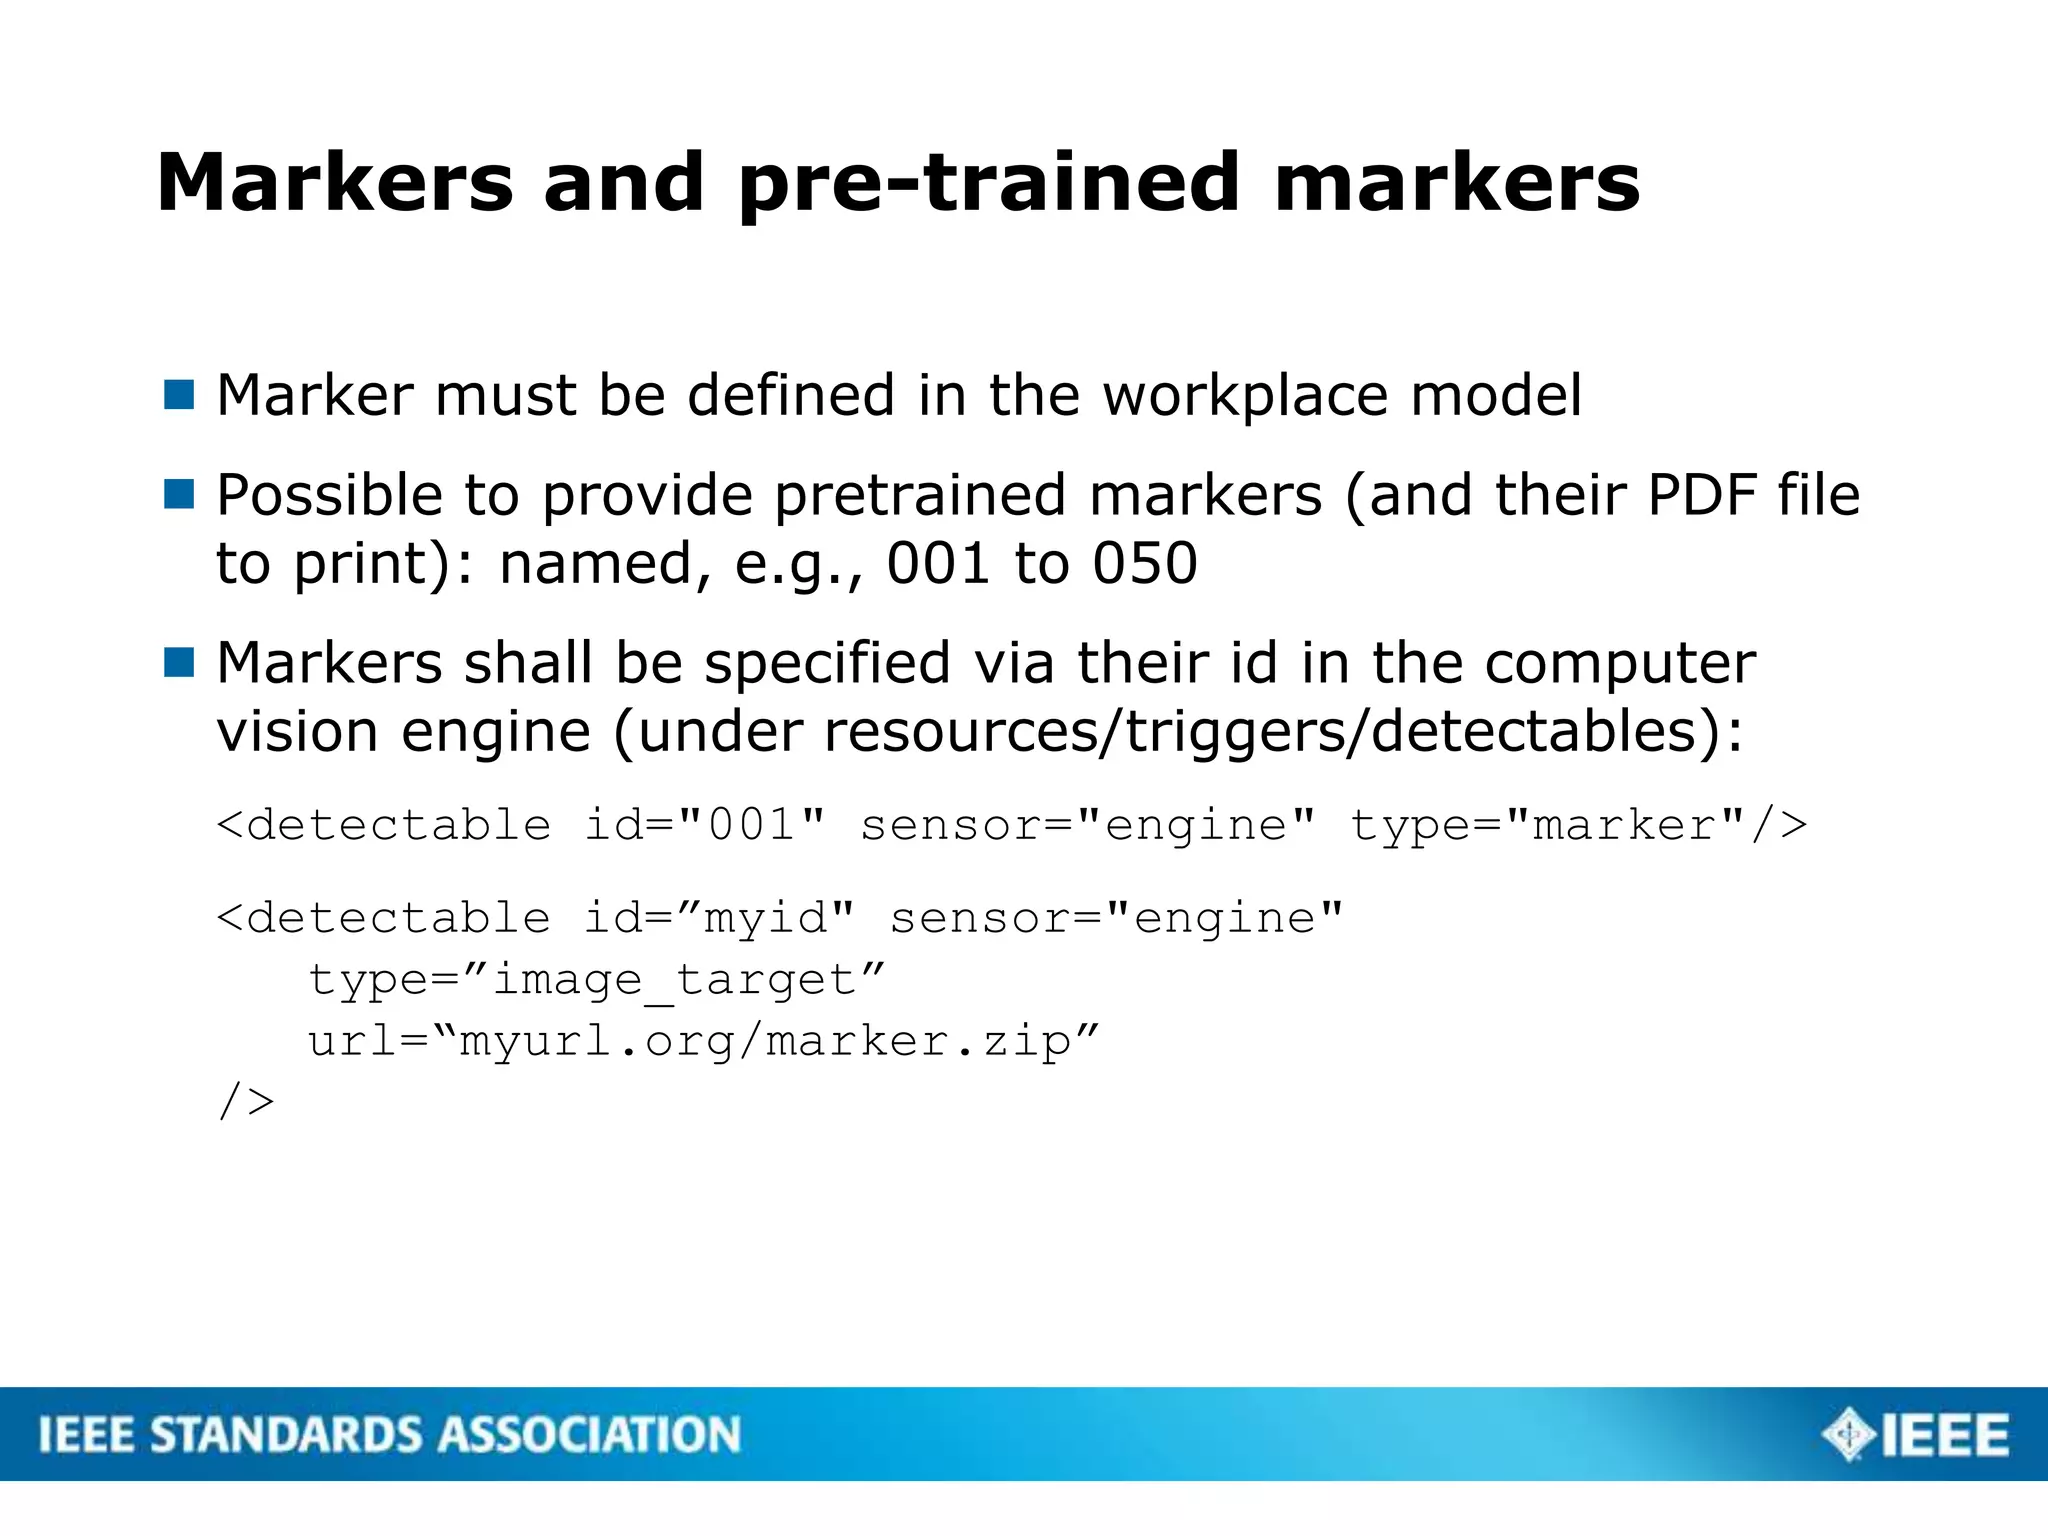
This document proposes a standard called AR-LEM for Augmented Reality Learning Experience Models. It describes models for activities, workplaces and augmentations that can be used to create augmented reality learning experiences. The activity model defines action steps, triggers, instructions and flow. The workplace model defines tangible people, places and things that can be activated or deactivated. It also describes how to attach augmentations like overlays, videos and 3D models to tangibles. The document provides examples of using these models to assemble an augmented reality activity for assembling a cabinet, including activating overlays on detected markers and transitioning between action steps.


![Coded Agents – with UiPath SDK + LangGraph [Virtual Hands-on Workshop]](https://cdn.slidesharecdn.com/ss_thumbnails/codedagentsdeck-251215155422-5497c599-thumbnail.jpg?width=640&height=640&fit=bounds)


