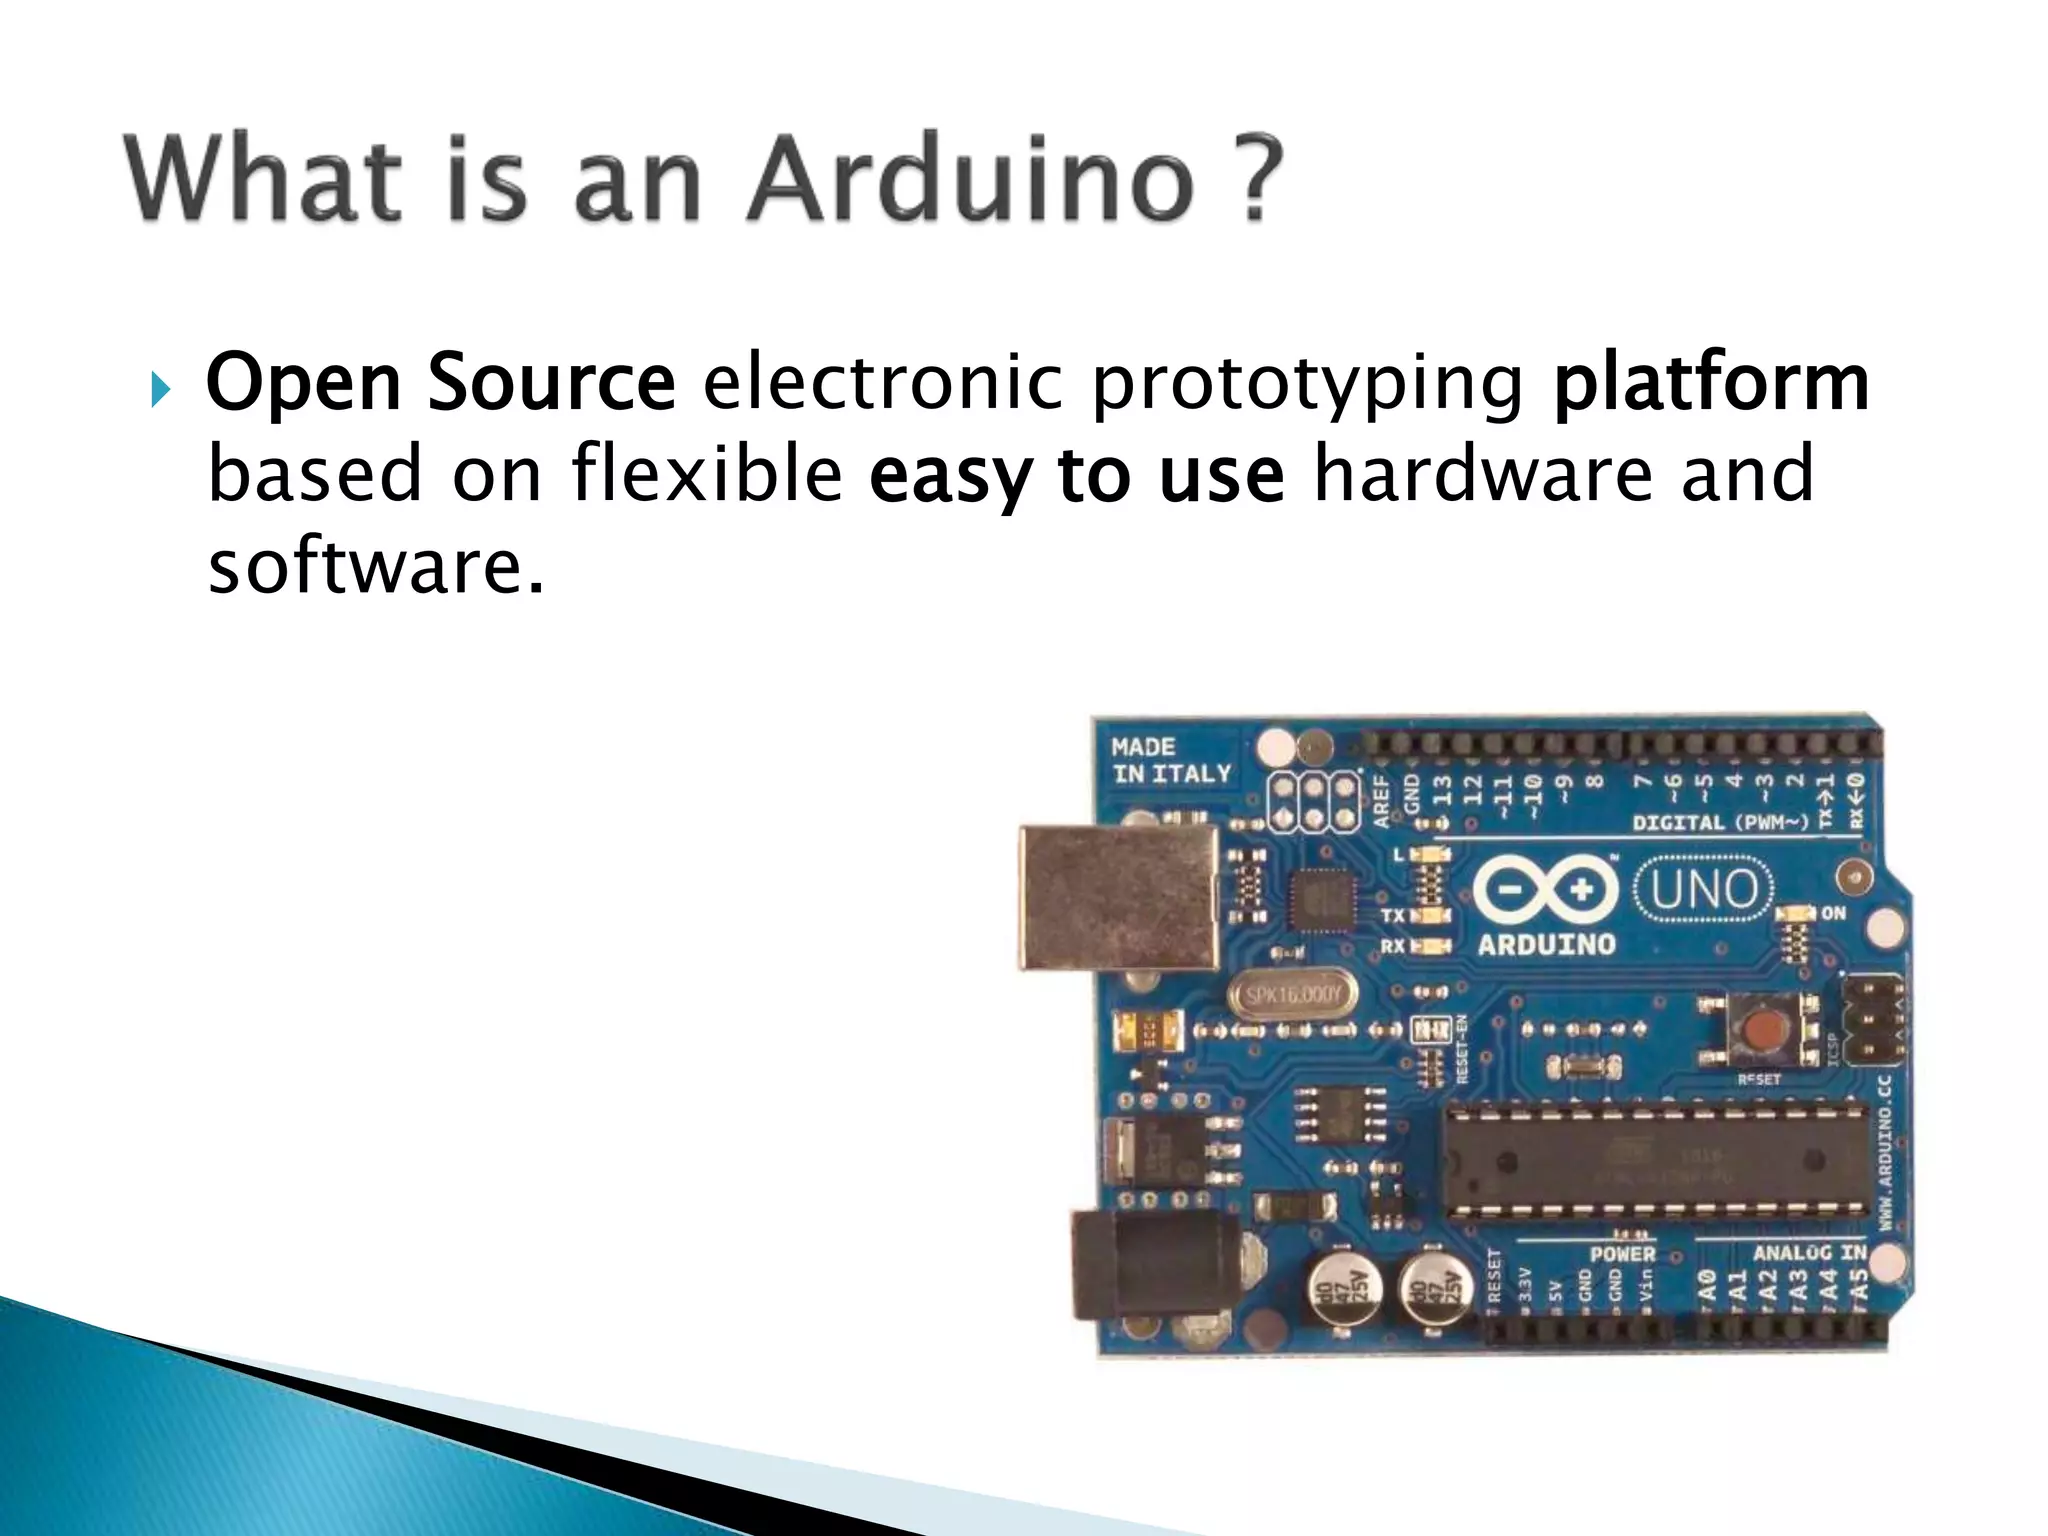
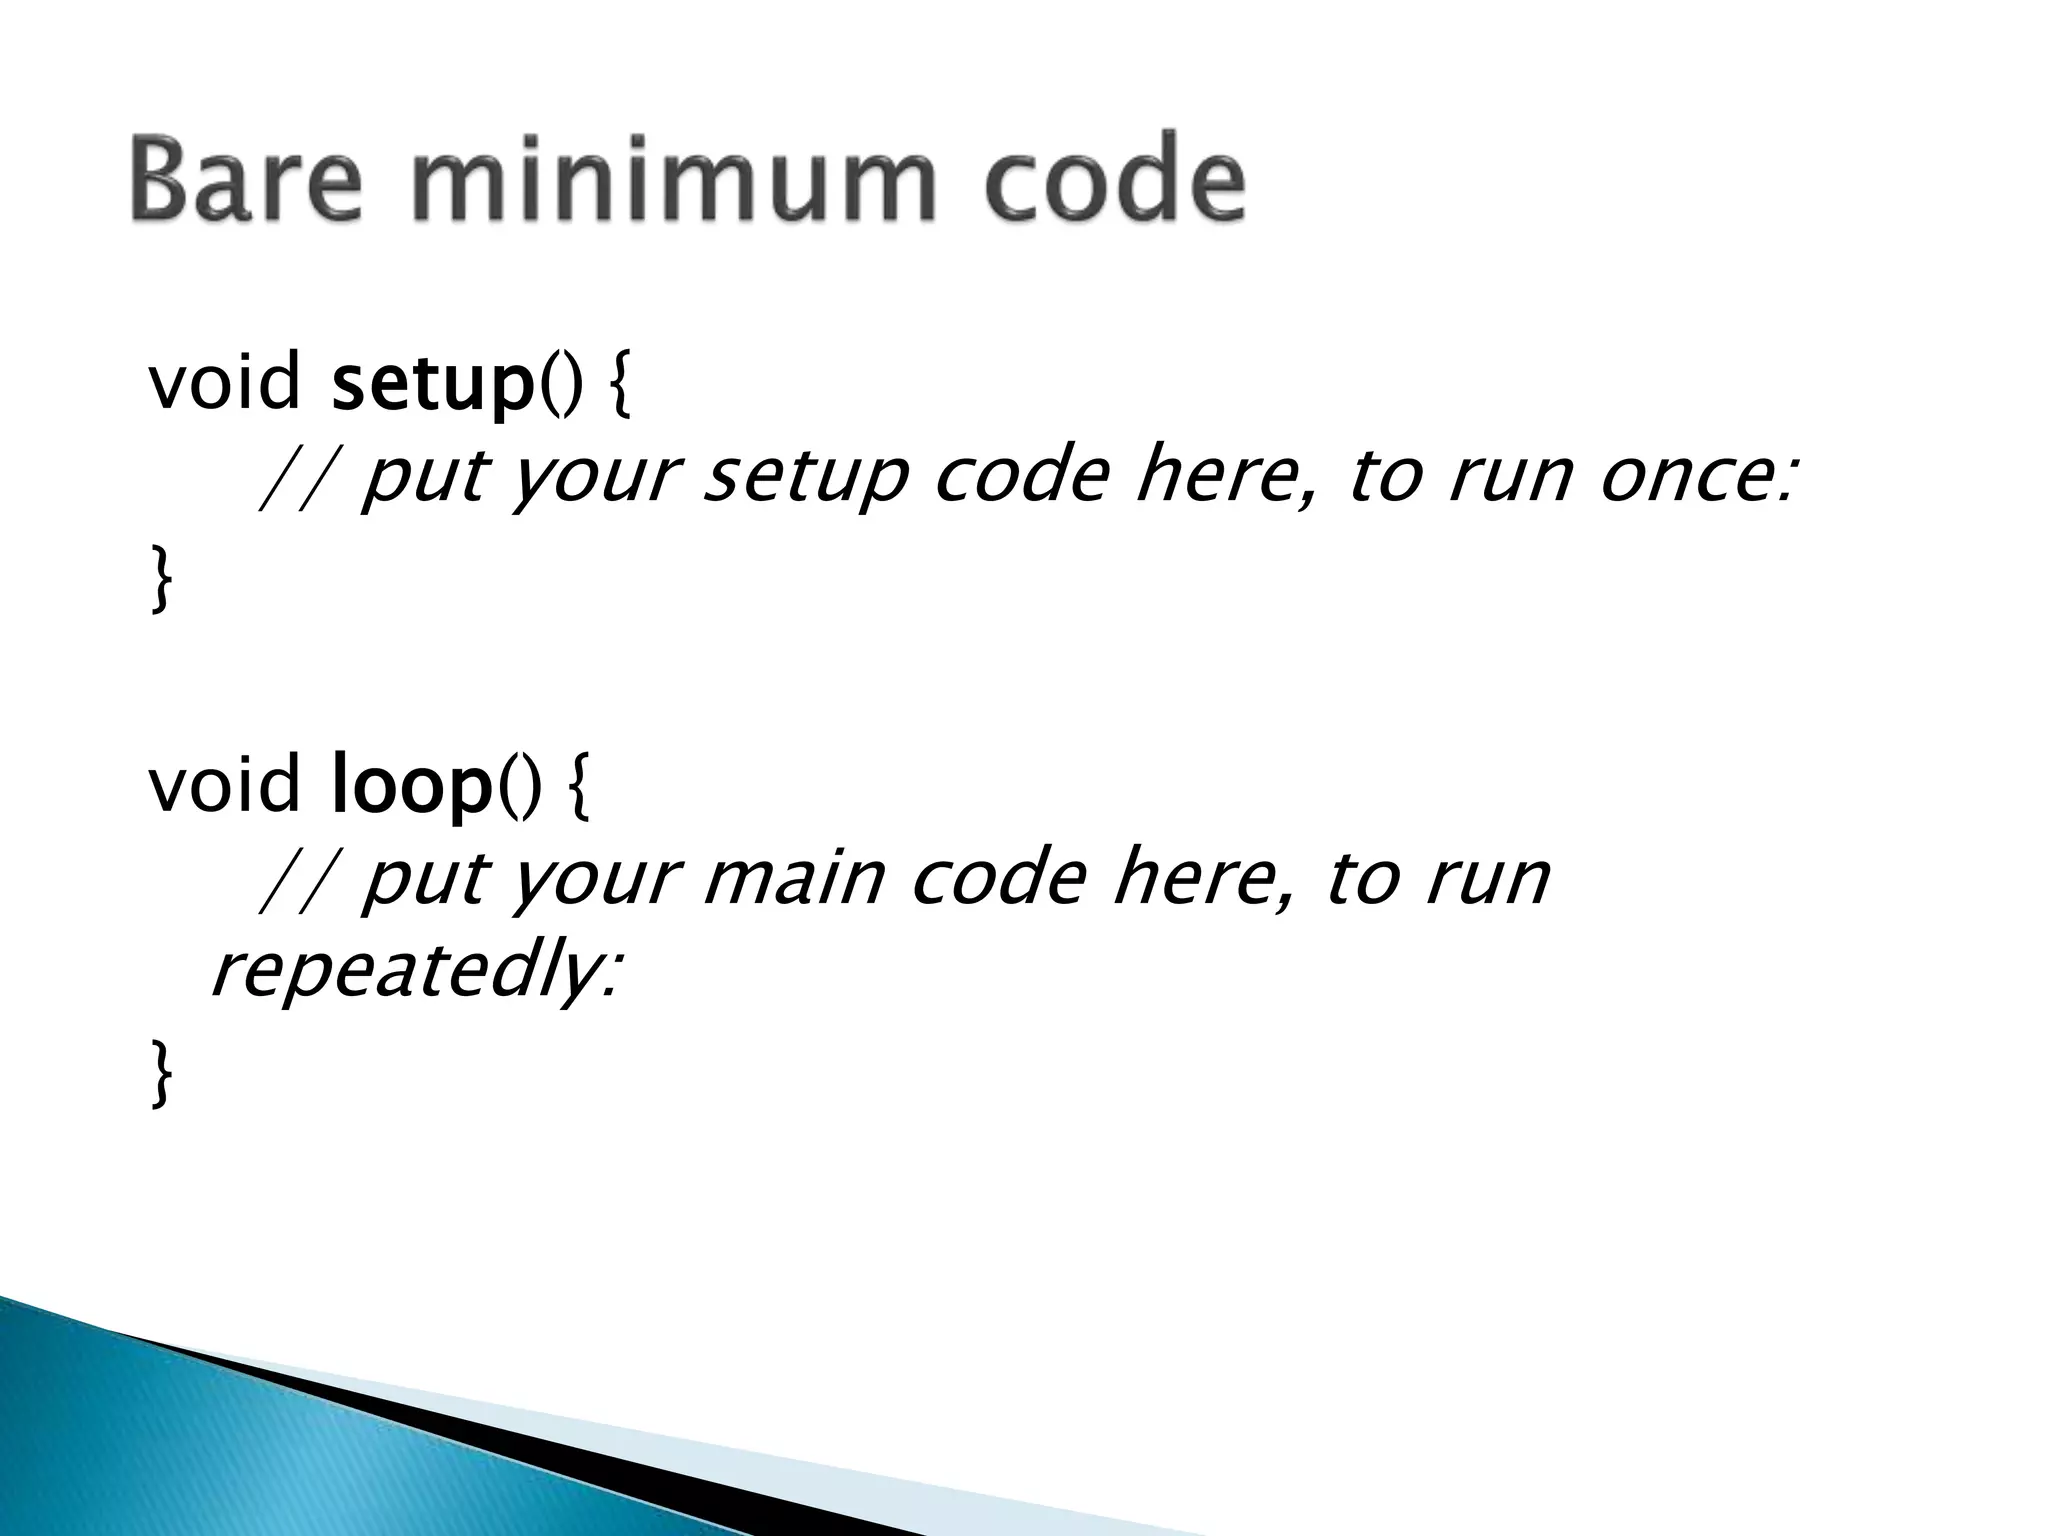
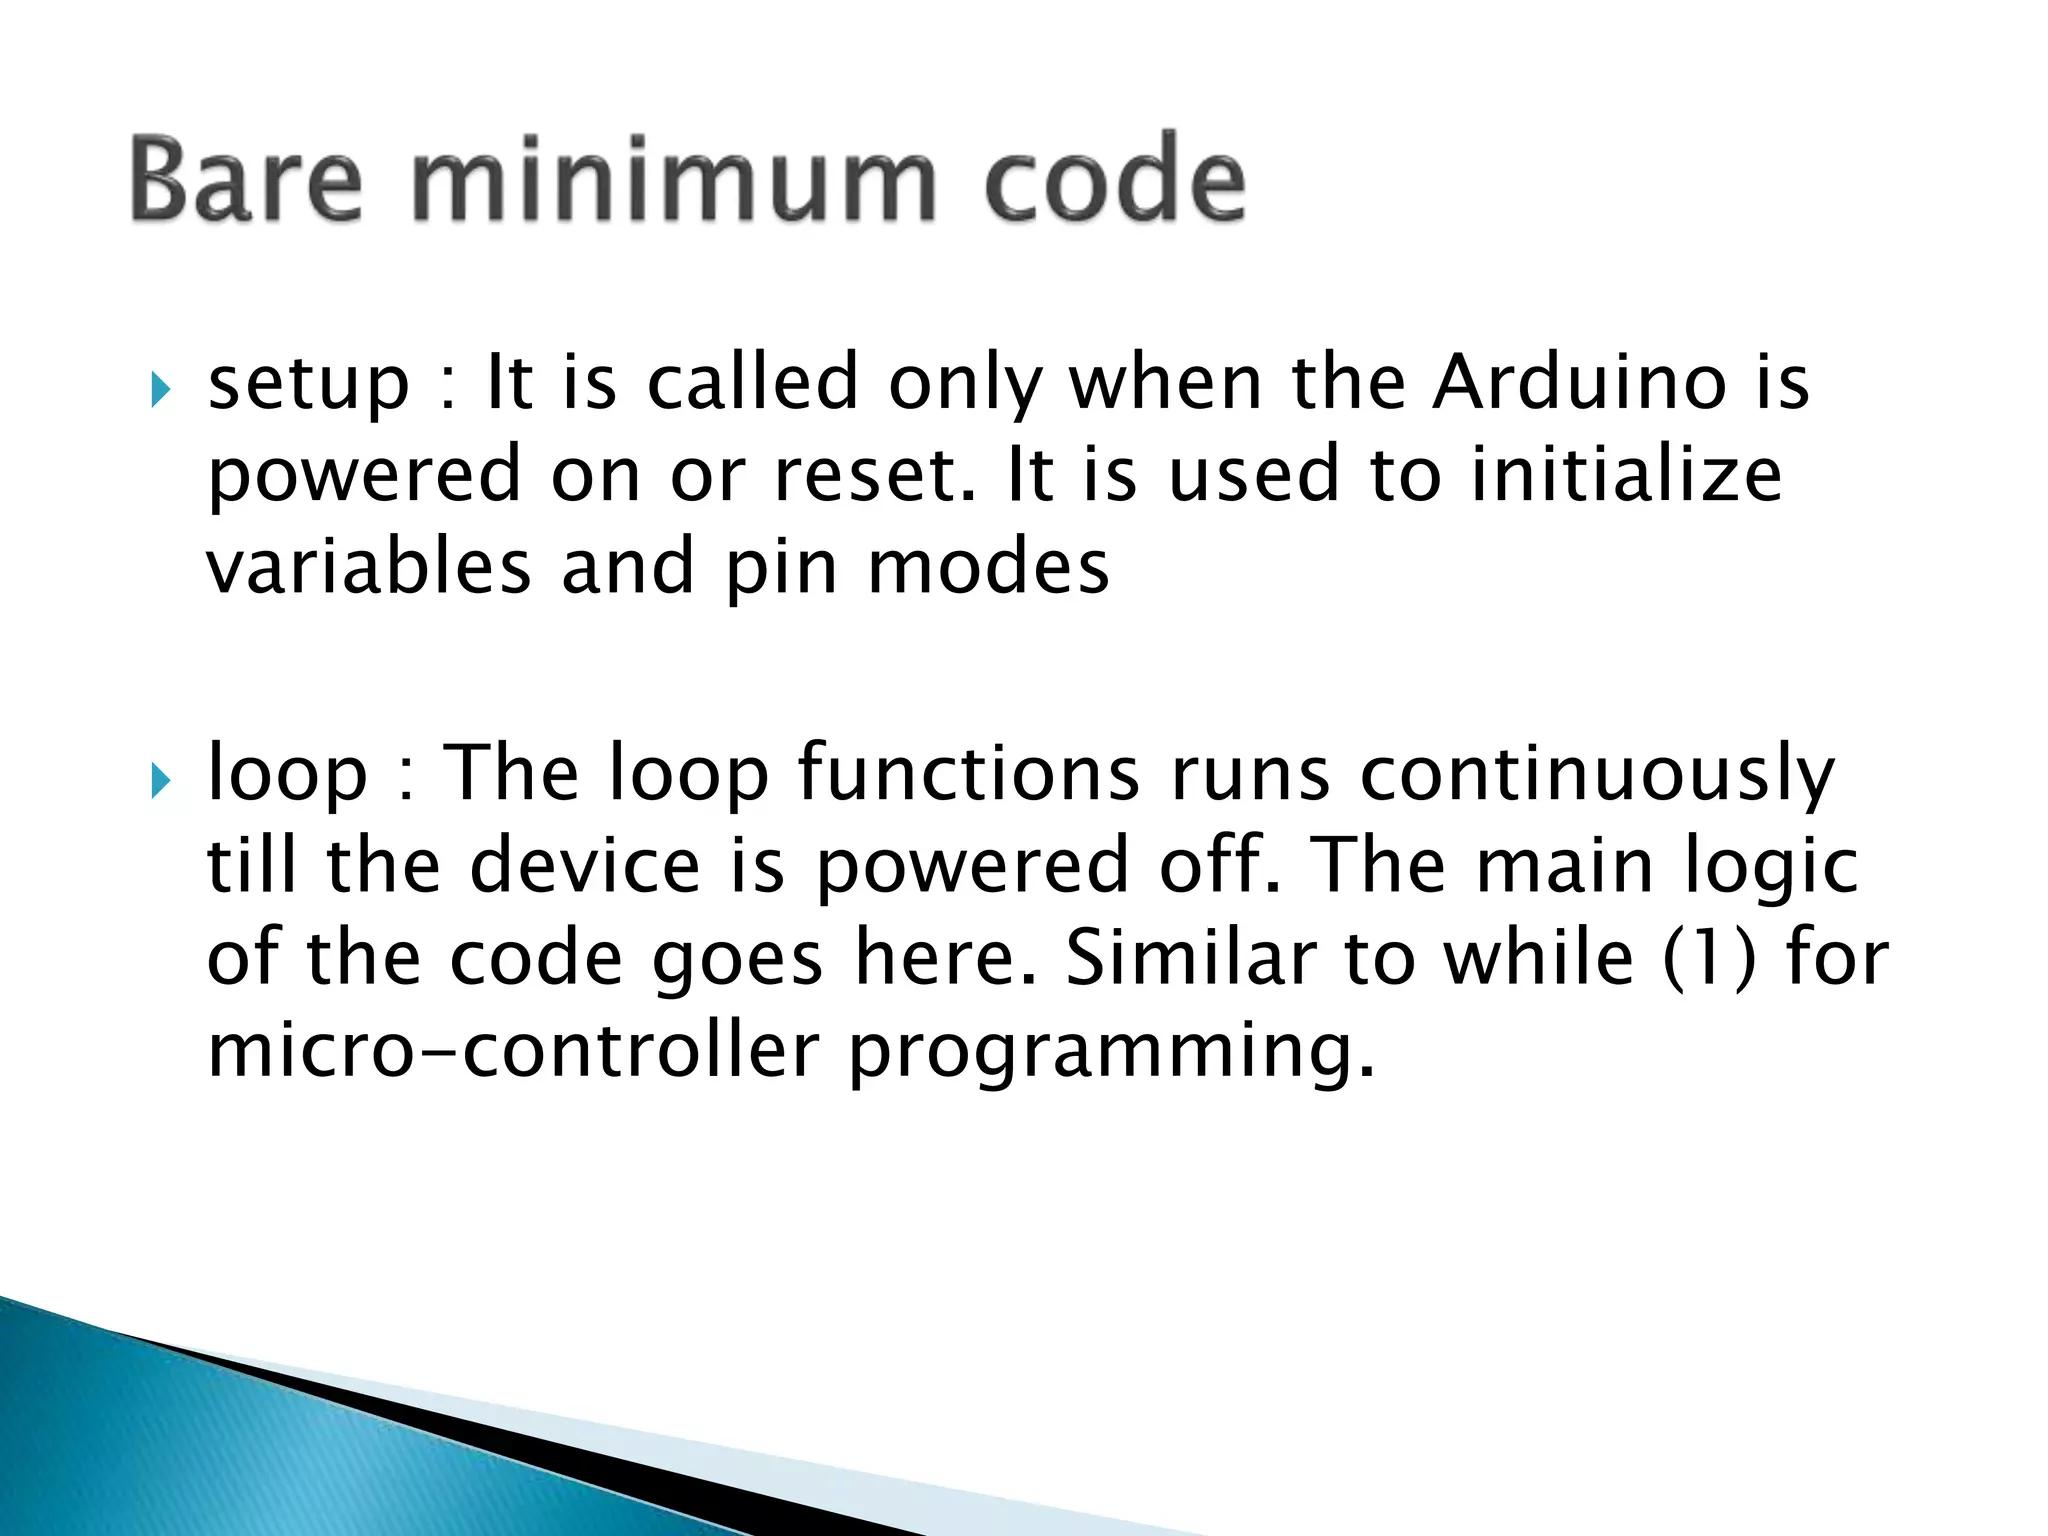
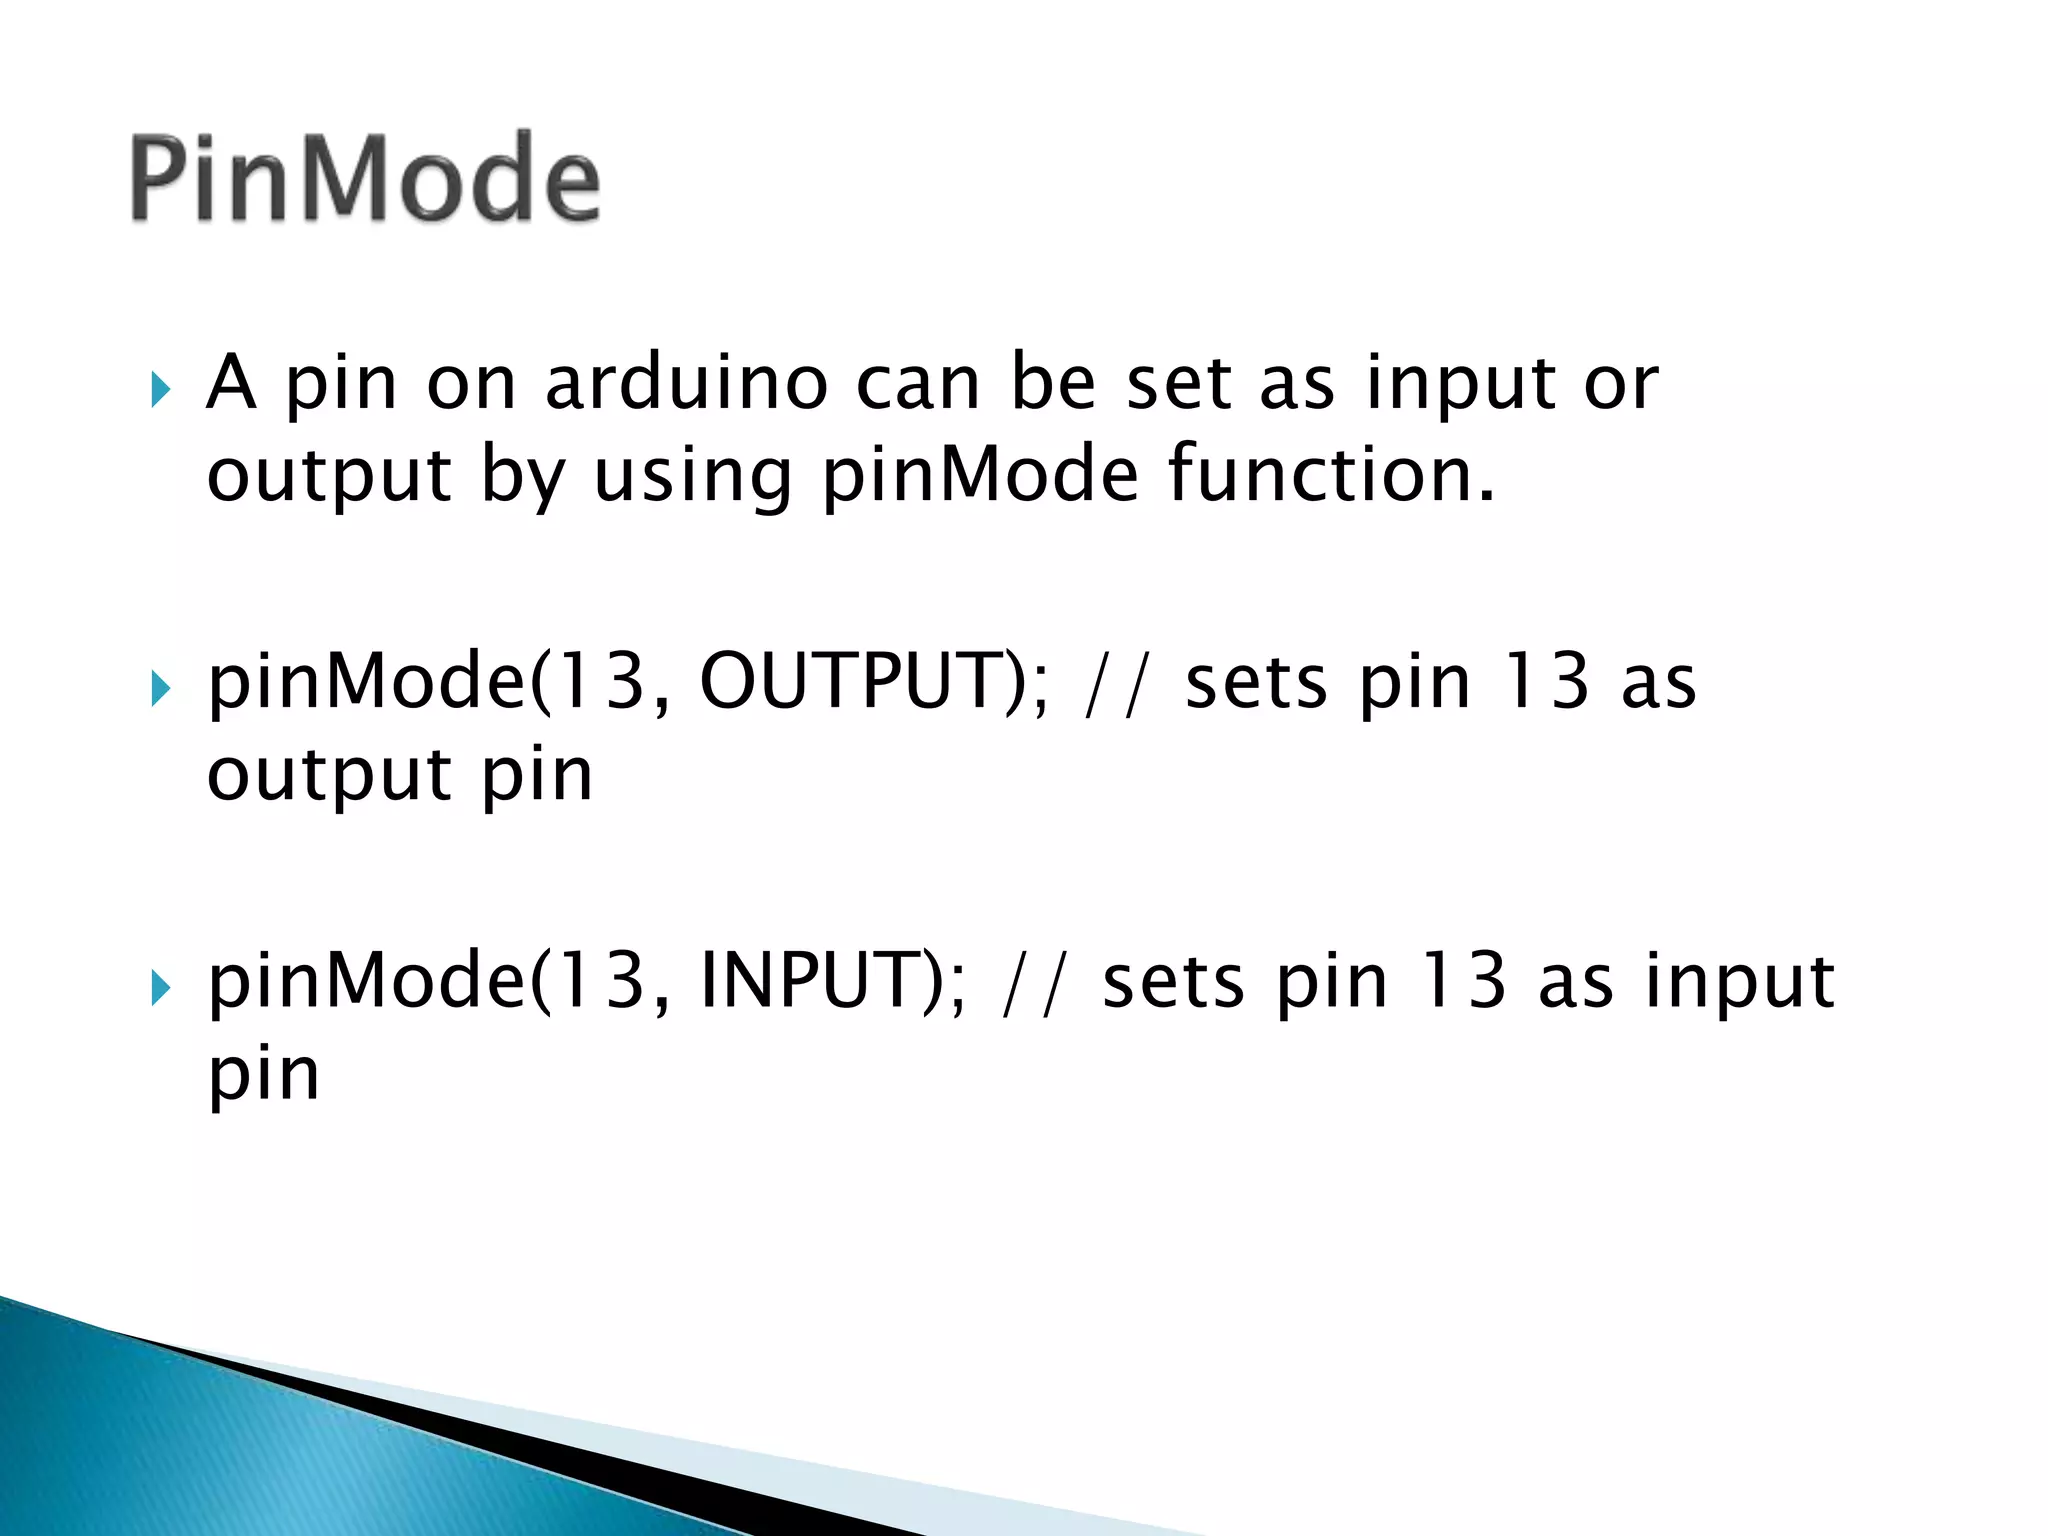
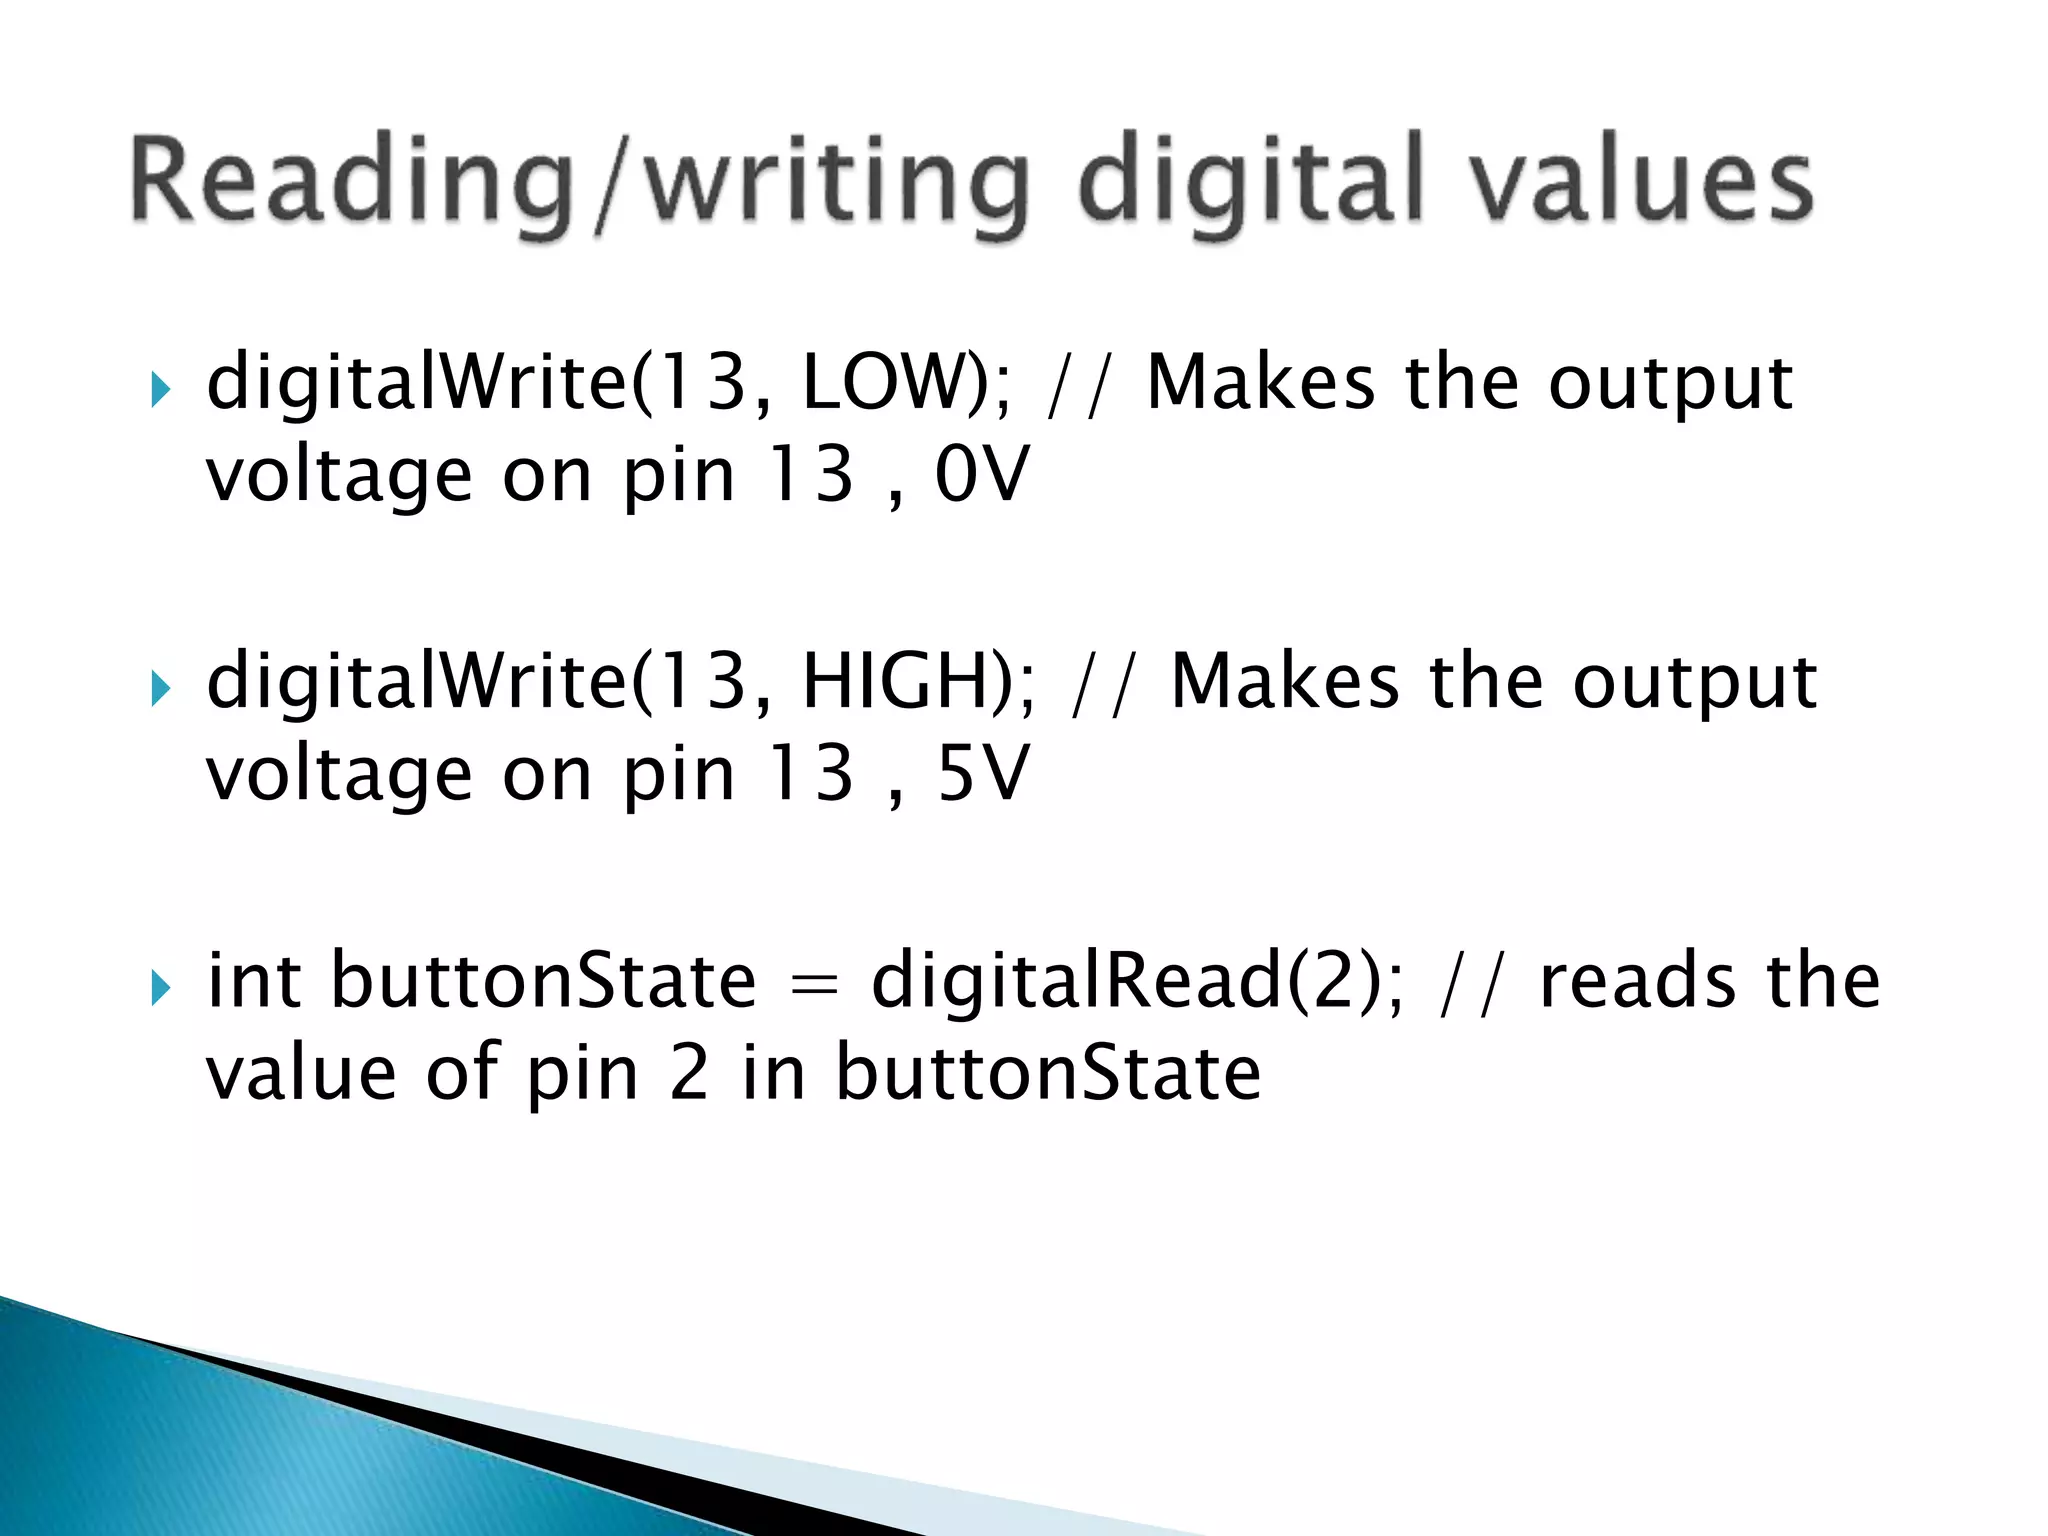
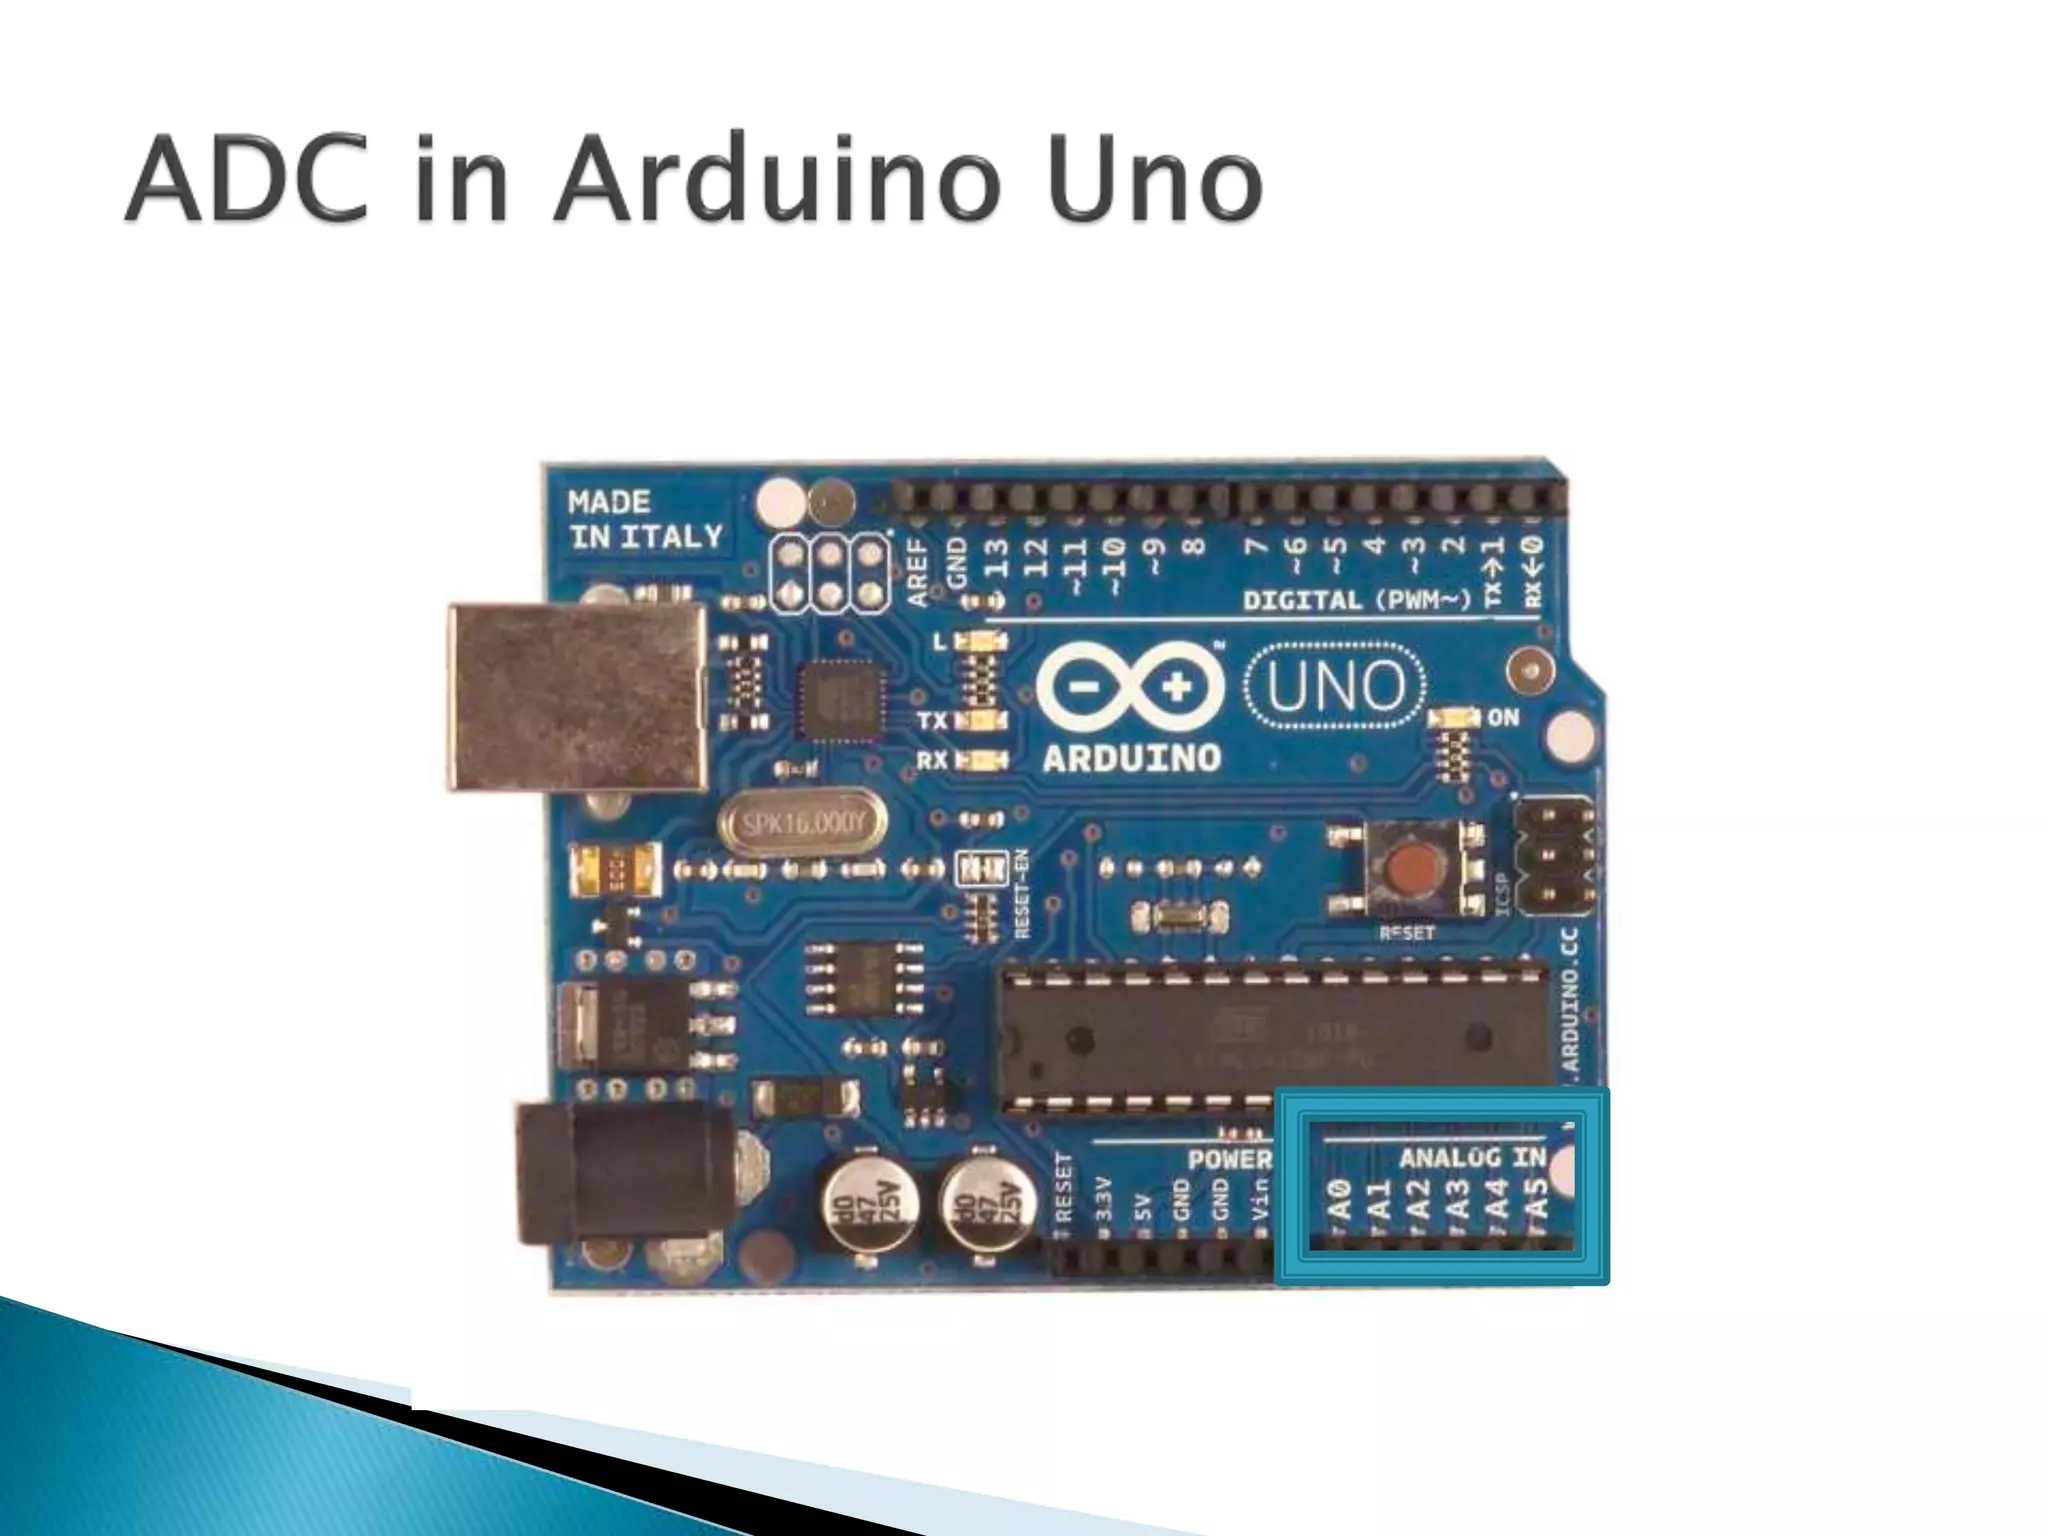
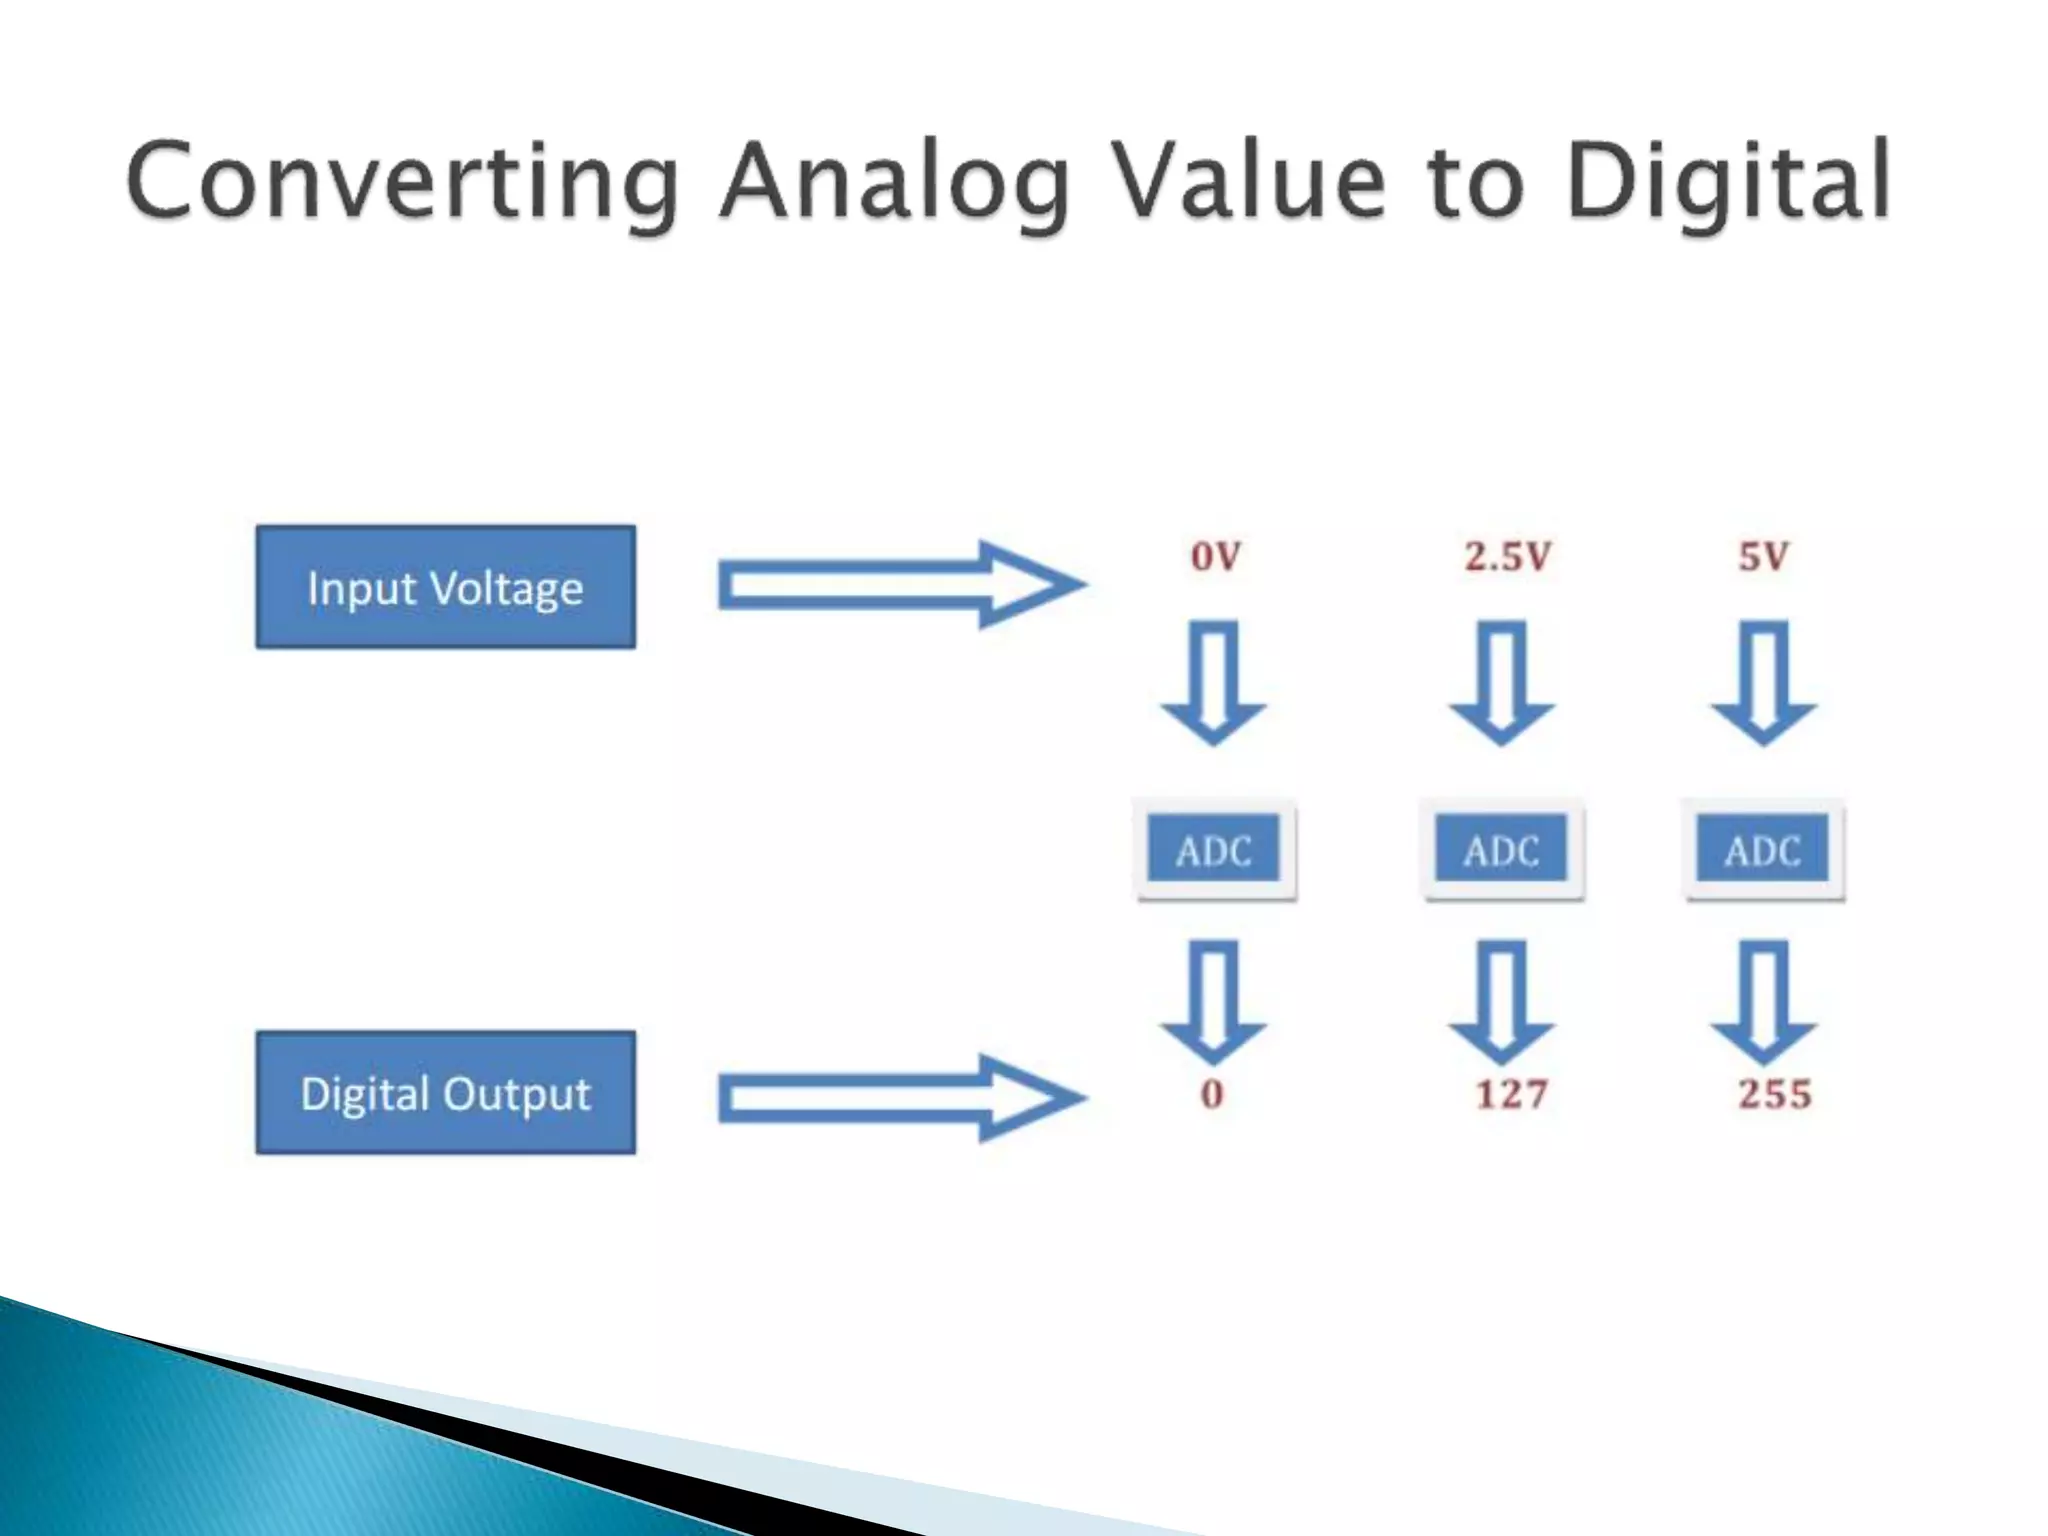
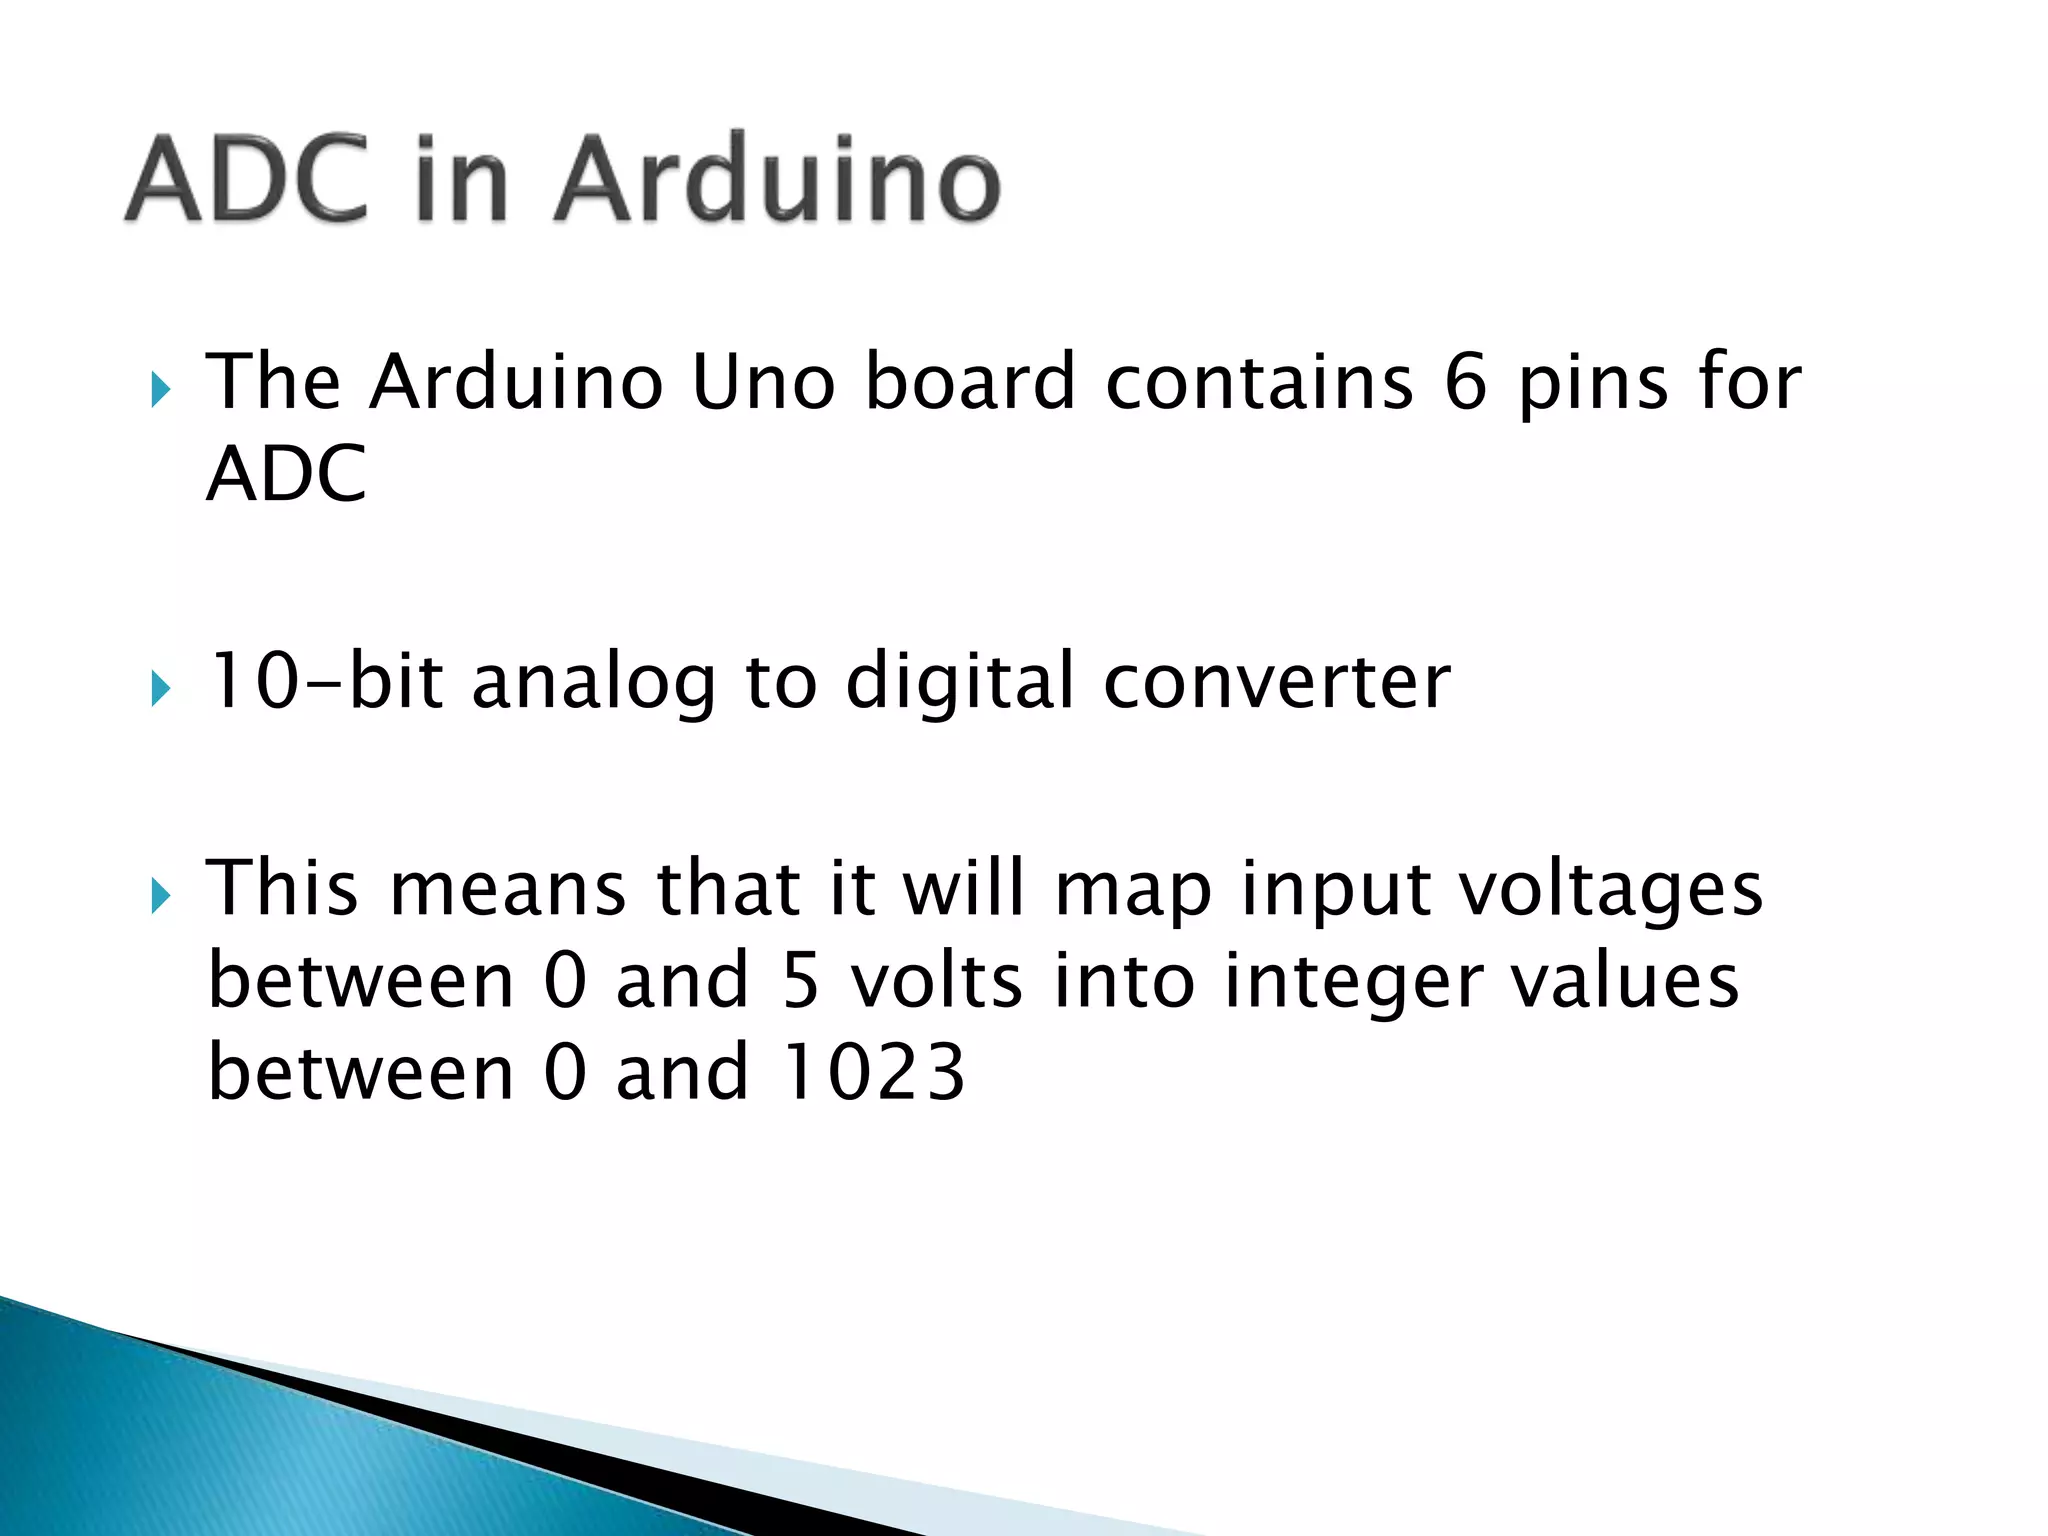
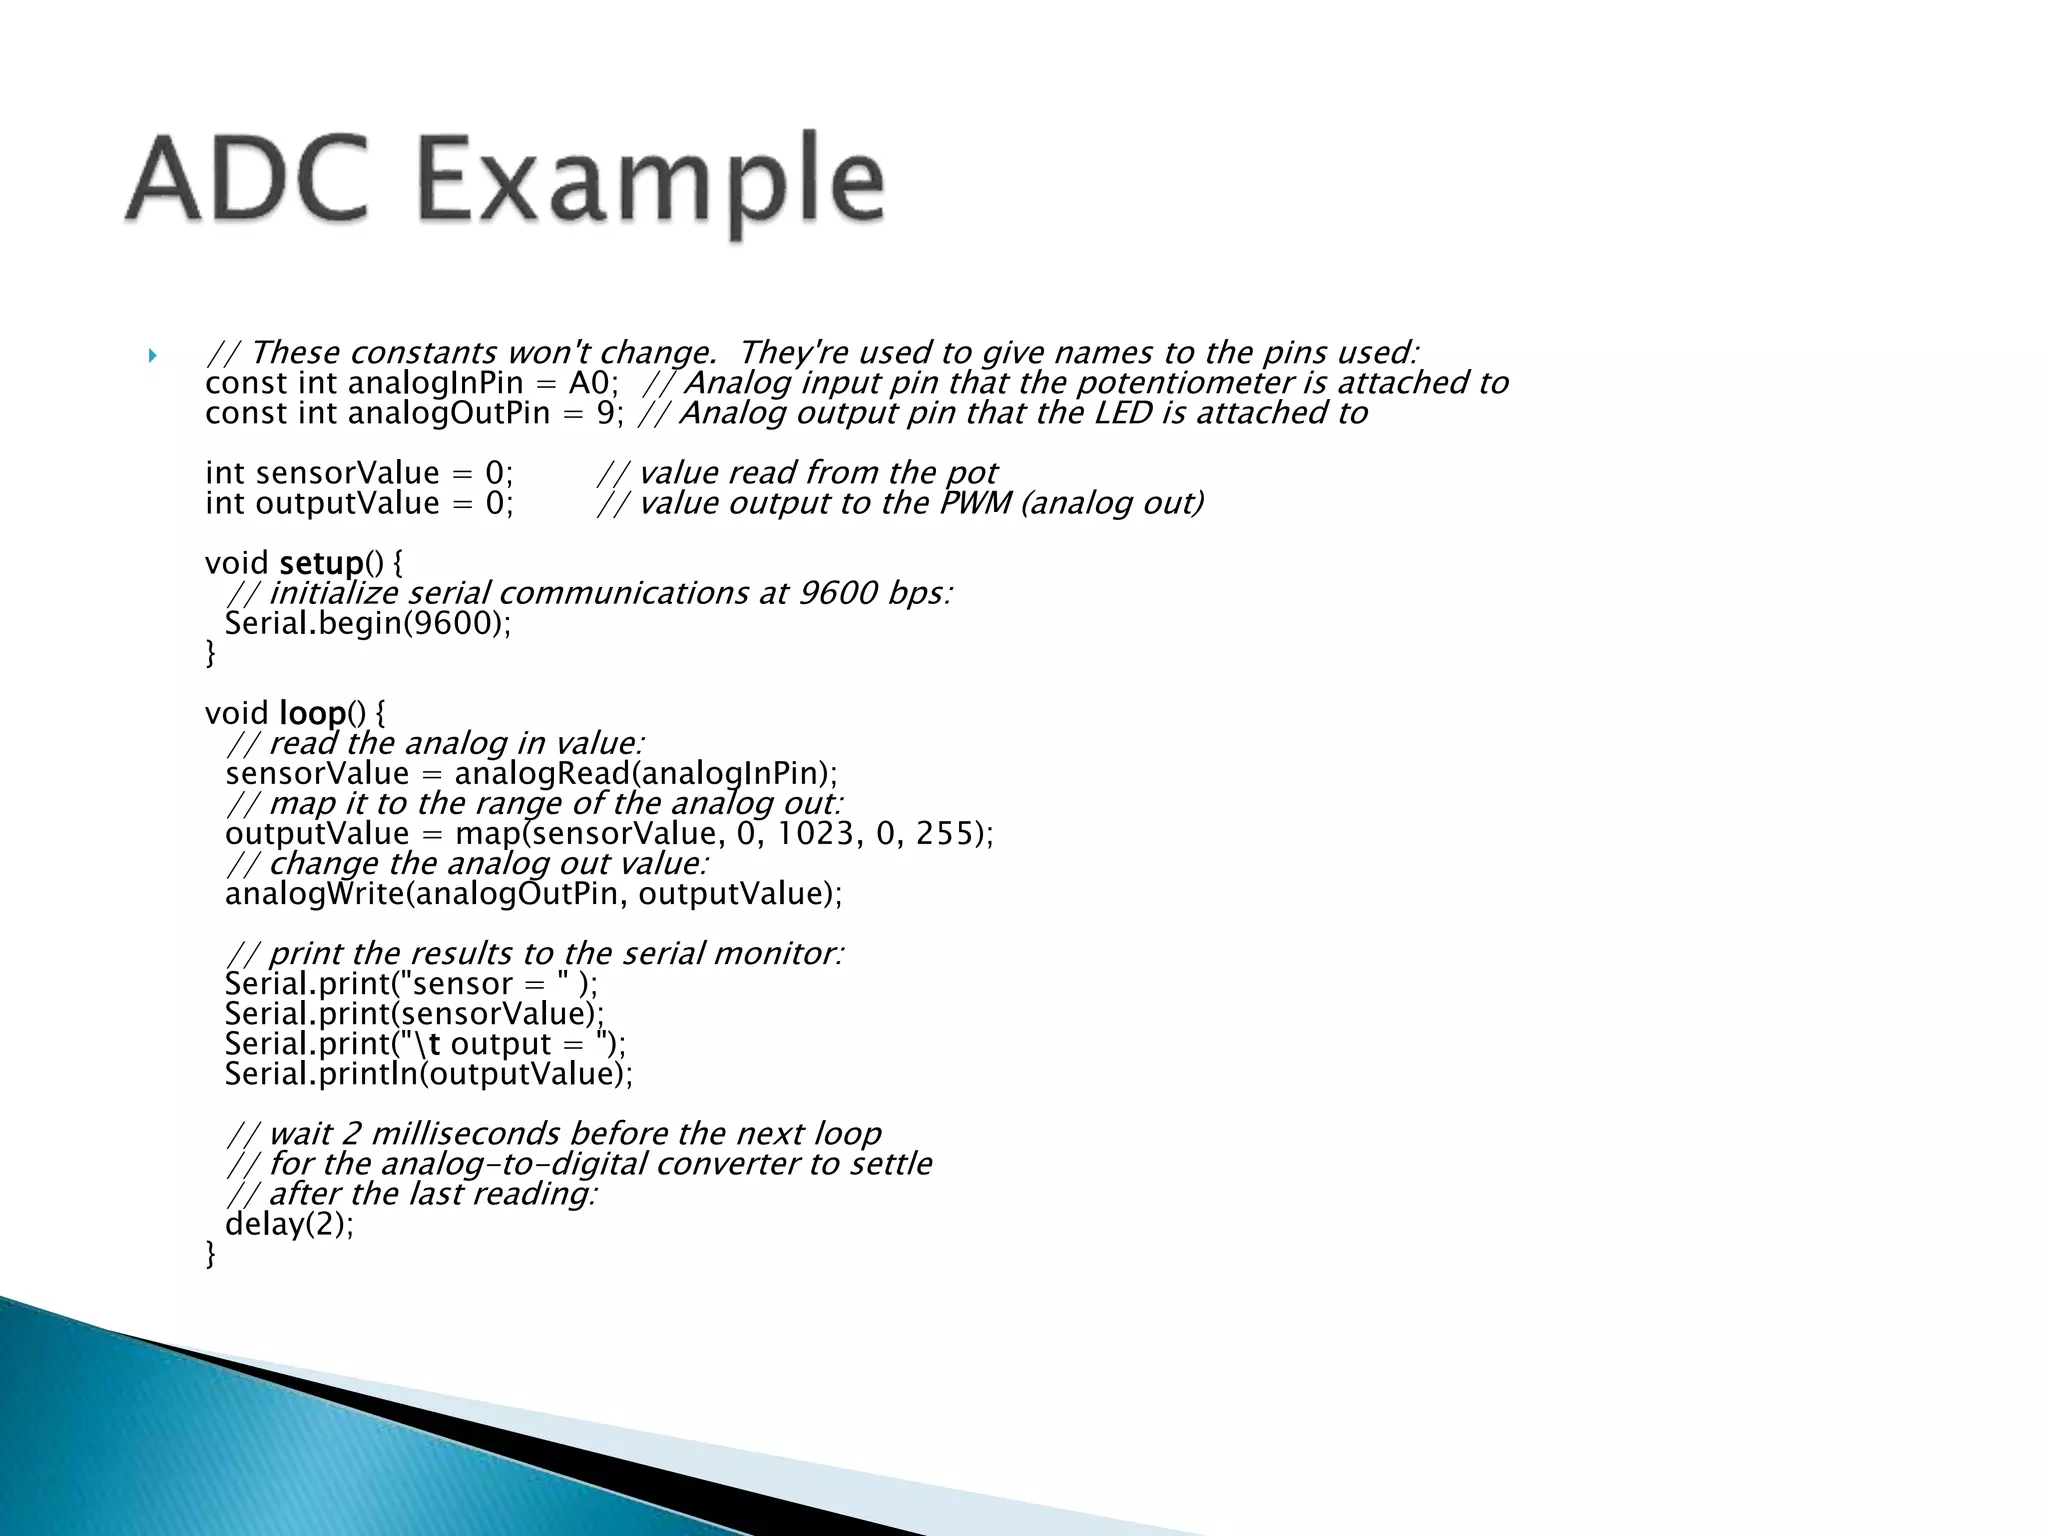
Anurag Dwivedi & Rudra Pratap Suman
 Open Source electronic prototyping platform
based on flexible easy to use hardware and
software.
void setup() {
// put your setup code here, to run once:
}
void loop() {
// put your main code here, to run
repeatedly:
}
 setup : It is called only when the Arduino is
powered on or reset. It is used to initialize
variables and pin modes
 loop : The loop functions runs continuously
till the device is powered off. The main logic
of the code goes here. Similar to while (1) for
micro-controller programming.
 A pin on arduino can be set as input or
output by using pinMode function.
 pinMode(13, OUTPUT); // sets pin 13 as
output pin
 pinMode(13, INPUT); // sets pin 13 as input
pin
 digitalWrite(13, LOW); // Makes the output
voltage on pin 13 , 0V
 digitalWrite(13, HIGH); // Makes the output
voltage on pin 13 , 5V
 int buttonState = digitalRead(2); // reads the
value of pin 2 in buttonState
 What is analog ?
 It is continuous range of voltage values (not
just 0 or 5V)
 Why convert to digital ?
 Because our microcontroller only understands
digital.
 The Arduino Uno board contains 6 pins for
ADC
 10-bit analog to digital converter
 This means that it will map input voltages
between 0 and 5 volts into integer values
between 0 and 1023
 analogRead(A0); // used to read the analog
value from the pin A0
 analogWrite(2,128);
 // These constants won't change. They're used to give names to the pins used:
const int analogInPin = A0; // Analog input pin that the potentiometer is attached to
const int analogOutPin = 9; // Analog output pin that the LED is attached to
int sensorValue = 0; // value read from the pot
int outputValue = 0; // value output to the PWM (analog out)
void setup() {
// initialize serial communications at 9600 bps:
Serial.begin(9600);
}
void loop() {
// read the analog in value:
sensorValue = analogRead(analogInPin);
// map it to the range of the analog out:
outputValue = map(sensorValue, 0, 1023, 0, 255);
// change the analog out value:
analogWrite(analogOutPin, outputValue);
// print the results to the serial monitor:
Serial.print("sensor = " );
Serial.print(sensorValue);
Serial.print("t output = ");
Serial.println(outputValue);
// wait 2 milliseconds before the next loop
// for the analog-to-digital converter to settle
// after the last reading:
delay(2);
}

Arduino.pptx

  • 1.
    Anurag Dwivedi &Rudra Pratap Suman
  • 2.
     Open Sourceelectronic prototyping platform based on flexible easy to use hardware and software.
  • 5.
    void setup() { //put your setup code here, to run once: } void loop() { // put your main code here, to run repeatedly: }
  • 6.
     setup :It is called only when the Arduino is powered on or reset. It is used to initialize variables and pin modes  loop : The loop functions runs continuously till the device is powered off. The main logic of the code goes here. Similar to while (1) for micro-controller programming.
  • 7.
     A pinon arduino can be set as input or output by using pinMode function.  pinMode(13, OUTPUT); // sets pin 13 as output pin  pinMode(13, INPUT); // sets pin 13 as input pin
  • 8.
     digitalWrite(13, LOW);// Makes the output voltage on pin 13 , 0V  digitalWrite(13, HIGH); // Makes the output voltage on pin 13 , 5V  int buttonState = digitalRead(2); // reads the value of pin 2 in buttonState
  • 9.
     What isanalog ?  It is continuous range of voltage values (not just 0 or 5V)  Why convert to digital ?  Because our microcontroller only understands digital.
  • 13.
     The ArduinoUno board contains 6 pins for ADC  10-bit analog to digital converter  This means that it will map input voltages between 0 and 5 volts into integer values between 0 and 1023
  • 14.
     analogRead(A0); //used to read the analog value from the pin A0  analogWrite(2,128);
  • 15.
     // Theseconstants won't change. They're used to give names to the pins used: const int analogInPin = A0; // Analog input pin that the potentiometer is attached to const int analogOutPin = 9; // Analog output pin that the LED is attached to int sensorValue = 0; // value read from the pot int outputValue = 0; // value output to the PWM (analog out) void setup() { // initialize serial communications at 9600 bps: Serial.begin(9600); } void loop() { // read the analog in value: sensorValue = analogRead(analogInPin); // map it to the range of the analog out: outputValue = map(sensorValue, 0, 1023, 0, 255); // change the analog out value: analogWrite(analogOutPin, outputValue); // print the results to the serial monitor: Serial.print("sensor = " ); Serial.print(sensorValue); Serial.print("t output = "); Serial.println(outputValue); // wait 2 milliseconds before the next loop // for the analog-to-digital converter to settle // after the last reading: delay(2); }