The document provides information on iOS app development using Swift including:
- iOS is the operating system for Apple mobile devices and includes system apps like Phone and Mail. Native iOS apps are built using Xcode and the iOS SDK.
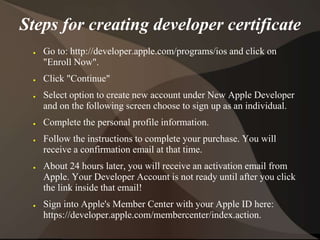
- An Apple Developer account is required to request certificates to submit apps to the App Store. Xcode can be used to request certificates or they can be downloaded from the developer website.
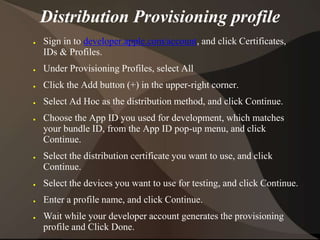
- Provisioning profiles tie developers and devices and allow running apps on devices for testing. Both development and distribution profiles are created in the Apple Developer portal.
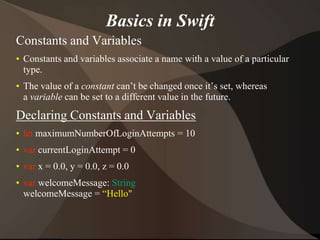
- The Swift programming language is used along with UI controls like text fields, buttons, and table views to build the app interface. Projects are created in Xcode to


![Printing
print(friendlyWelcome)
print("The current value of friendlyWelcome is (friendlyWelcome)”)
Int
let meaningOfLife = 42
Boolean
let orangesAreOrange = true
let turnipsAreDelicious = false
String
let someString = "Some string literal value”
Array
var shoppingList = ["Eggs", “Milk"]
var shoppingList: [String] = ["Eggs", "Milk"]](https://image.slidesharecdn.com/iosdevelopmenttrainingpresentation-171016063202/85/Ios-development-training-presentation-15-320.jpg)

![UITableView
• Tableview controller placing in story board.
• Place tableview cell over the tableview.
• Declare the tableview in view controller file.
class ViewController: UIViewController, UITableViewDelegate,
UITableViewDataSource {
let animals: [String] = ["Horse", "Cow", "Camel", "Sheep", “Goat”]
let cellReuseIdentifier = “cell"
@IBOutlet var tableView: UITableView!
override func viewDidLoad() {
super.viewDidLoad()
self.tableView.register(UITableViewCell.self,
forCellReuseIdentifier: cellReuseIdentifier)
tableView.delegate = self
tableView.dataSource = self
}](https://image.slidesharecdn.com/iosdevelopmenttrainingpresentation-171016063202/85/Ios-development-training-presentation-17-320.jpg)
![func tableView(_ tableView: UITableView, numberOfRowsInSection
section: Int) -> Int {
return self.animals.count
}
func tableView(_ tableView: UITableView, cellForRowAt indexPath:
IndexPath) -> UITableViewCell {
let cell:UITableViewCell =
self.tableView.dequeueReusableCell(withIdentifier: cellReuseIdentifier) as
UITableViewCell!
cell.textLabel?.text = self.animals[indexPath.row]
return cell
}
func tableView(_ tableView: UITableView, didSelectRowAt indexPath:
IndexPath) {
print("You tapped cell number (indexPath.row).”)
}
}](https://image.slidesharecdn.com/iosdevelopmenttrainingpresentation-171016063202/85/Ios-development-training-presentation-18-320.jpg)

![Delegate methods for Parser:
func parser(parser: NSXMLParser, didStartElement elementName:
String, namespaceURI: String?, qualifiedName qName: String?, attributes
attributeDict: [String : String]) {
}
func parser(parser: NSXMLParser, foundCharacters string: String) {
}
func parser(_ parser: XMLParser, didEndElement elementName: String,
namespaceURI: String?, qualifiedName qName: String?){
}](https://image.slidesharecdn.com/iosdevelopmenttrainingpresentation-171016063202/85/Ios-development-training-presentation-20-320.jpg)
![RestAPI
JavaScript Object Notation, or JSON for short, is a
common way to transmit data to and from web
services. It's simple to use and human-readable, which
is why it's so incredibly popular.
let parsedData = try
JSONSerialization.jsonObject(with: data!) as?
[String:Any] {
}](https://image.slidesharecdn.com/iosdevelopmenttrainingpresentation-171016063202/85/Ios-development-training-presentation-21-320.jpg)