Downloaded 22 times


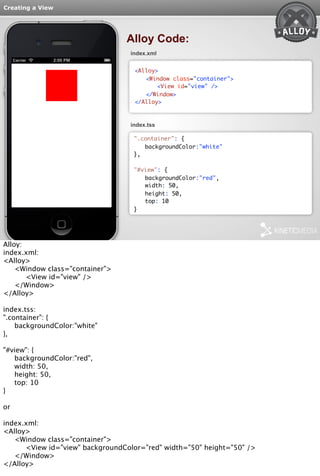
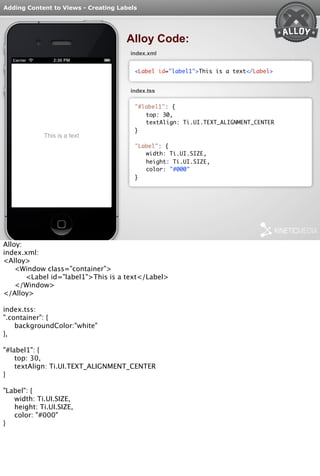


![Creating Tables
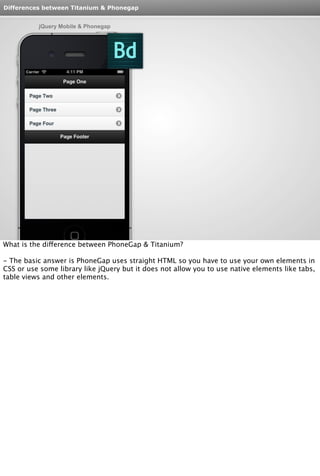
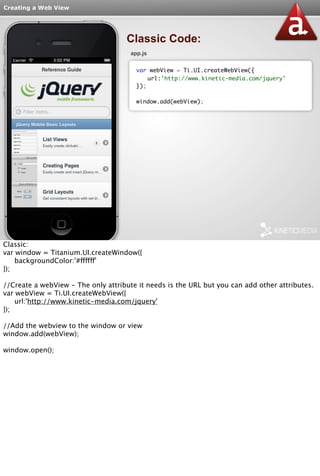
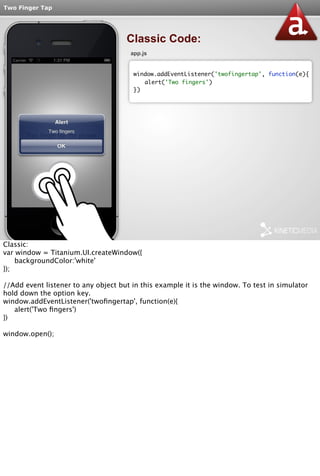
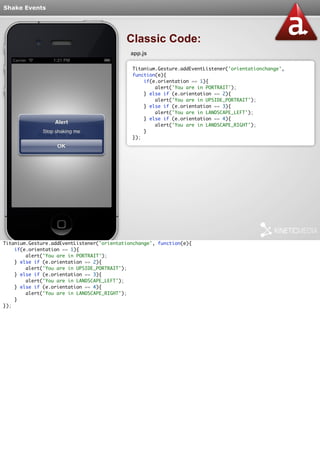
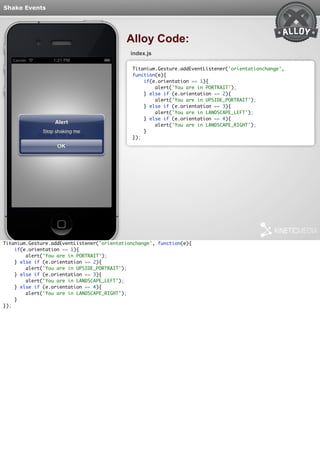
Classic Code:
app.js
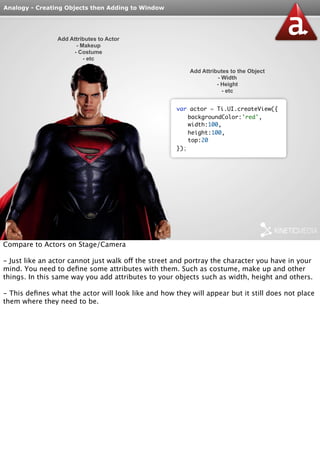
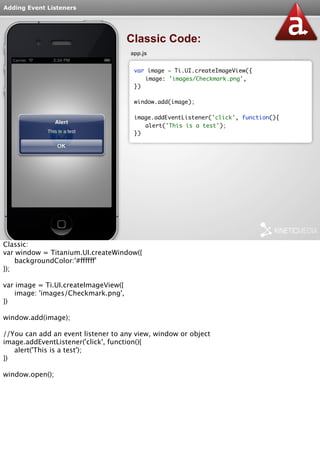
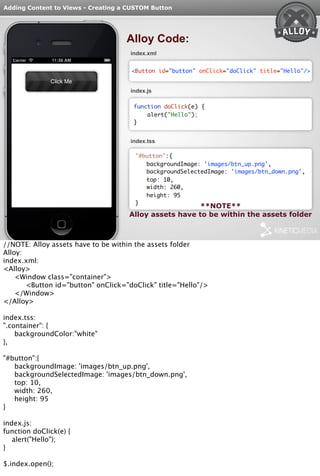
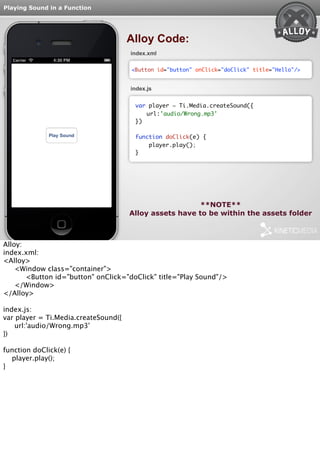
var tableData = [ {title:'Apples'},
{title: 'Bananas'}, {title: 'Bananas'},
{title: 'Potatoes'} ];
var table = Ti.UI.createTableView({
data: tableData
})
window.add(table);
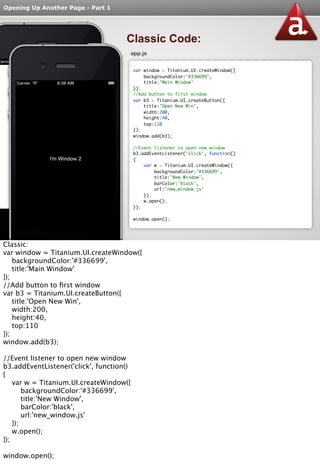
Classic:
var window = Titanium.UI.createWindow({
backgroundColor:'#ffffff'
});
//Establish the data for the table - This is just one possible way
var tableData = [{title:'Apples'}, {title: 'Bananas'}, {title: 'Bananas'}, {title: 'Potatoes'} ];
//Create the table view and assign the data from the table data array
var table = Ti.UI.createTableView({
data: tableData
})
//Adding the table view to the window or view
window.add(table);
window.open();](https://image.slidesharecdn.com/kinetic-titanium-part1-141019091726-conversion-gate02/85/Appcelerator-Titanium-Kinetic-practices-part-1-39-320.jpg)
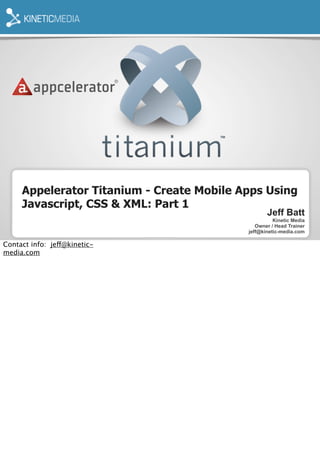
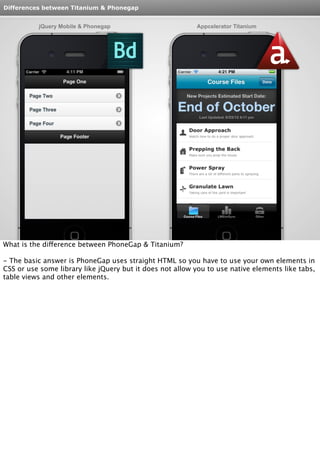
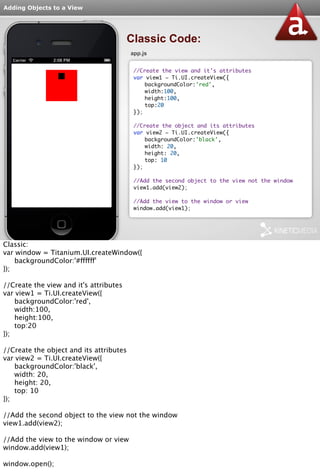
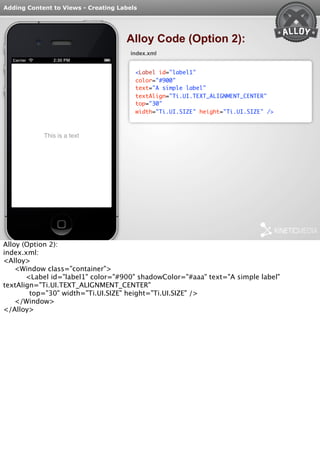
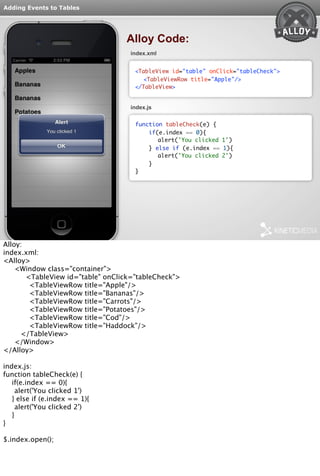
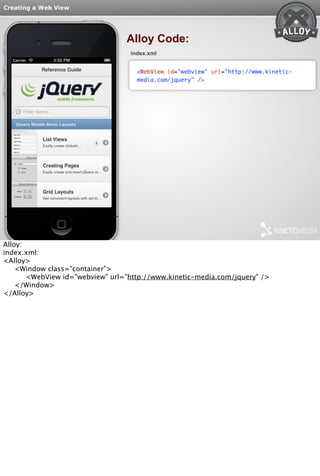
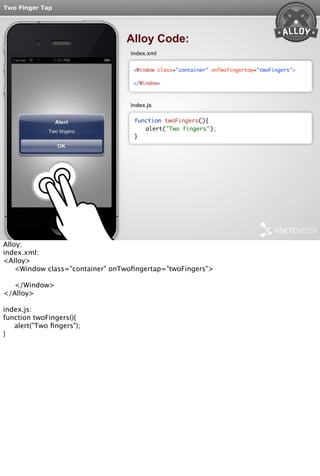
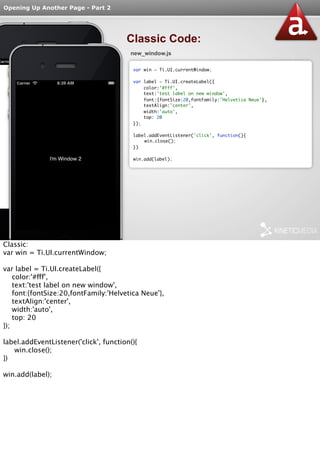
![Adding Events to Tables
Classic Code:
app.js
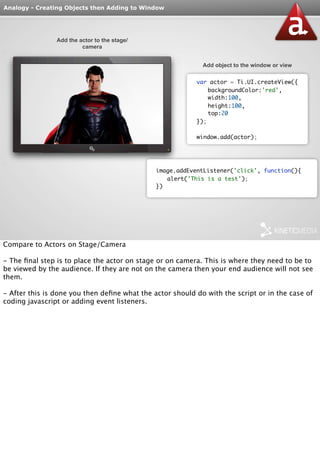
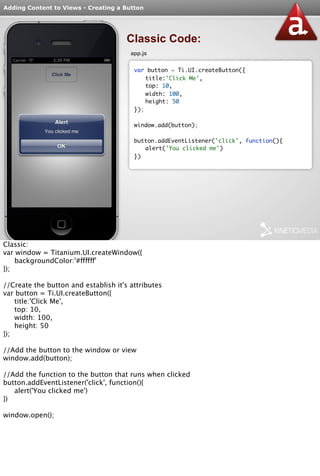
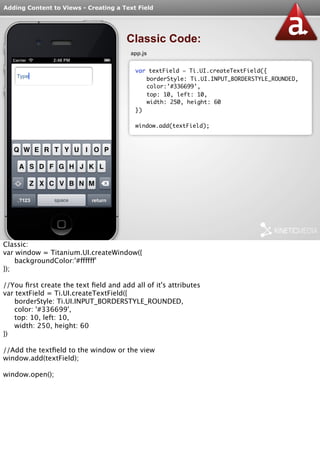
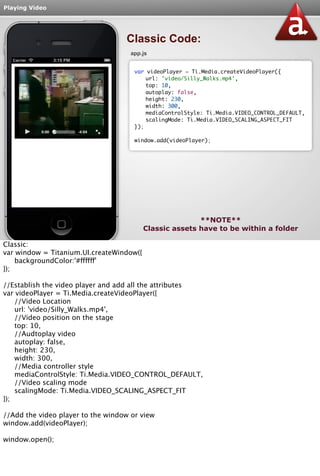
table.addEventListener('click', function(e){
if(e.index == 0){
alert('You clicked 1')
} else if (e.index == 1){
alert('You clicked 2')
}
})
Classic:
var window = Titanium.UI.createWindow({
backgroundColor:'#ffffff'
});
//Establish the data for the table - This is just one possible way
var tableData = [{title:'Apples'}, {title: 'Bananas'}, {title: 'Bananas'}, {title: 'Potatoes'} ];
//Create the table view and assign the data from the table data array
var table = Ti.UI.createTableView({
data: tableData
})
//Adding the table view to the window or view
window.add(table);
//Adding events to the table
table.addEventListener('click', function(e){
//Check to see which table row was clicked and then you run the code for the table row
if(e.index == 0){
alert('You clicked 1')
} else if (e.index == 1){
alert('You clicked 2')
}
})
window.open();](https://image.slidesharecdn.com/kinetic-titanium-part1-141019091726-conversion-gate02/85/Appcelerator-Titanium-Kinetic-practices-part-1-41-320.jpg)
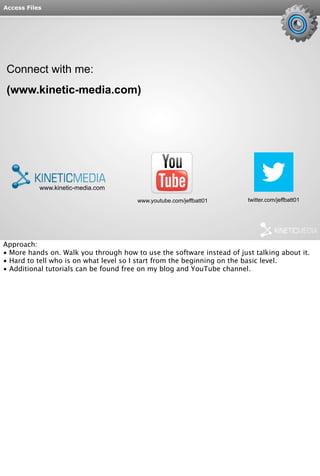
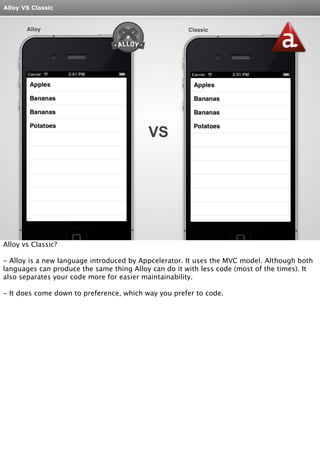
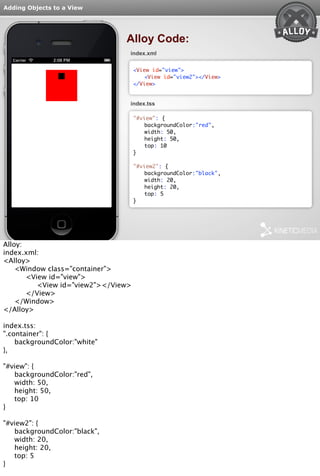
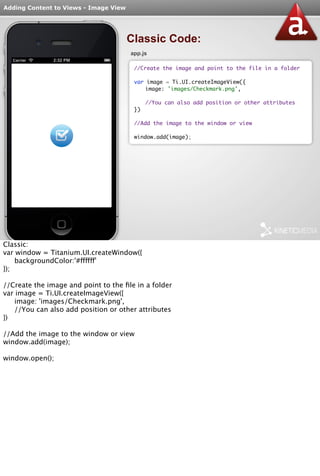
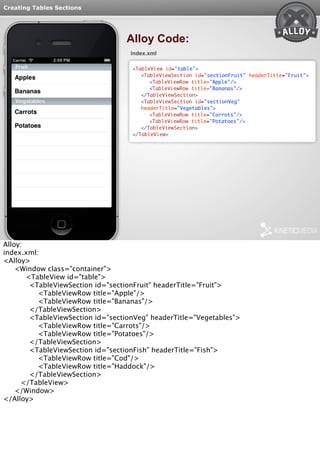
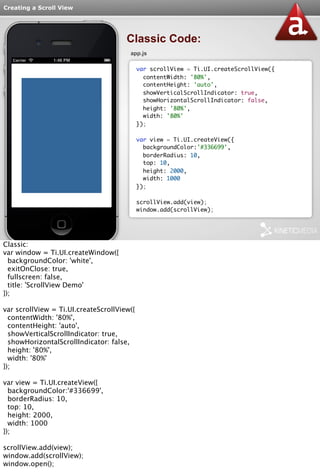
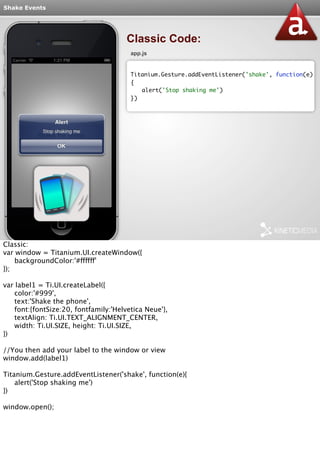
![Creating Tables Sections
Classic Code:
app.js
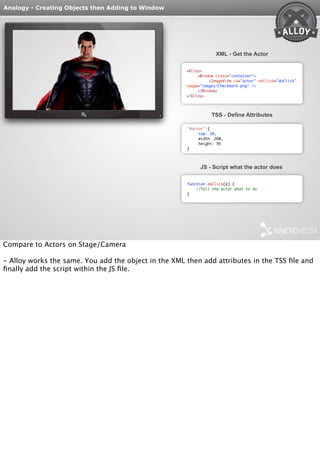
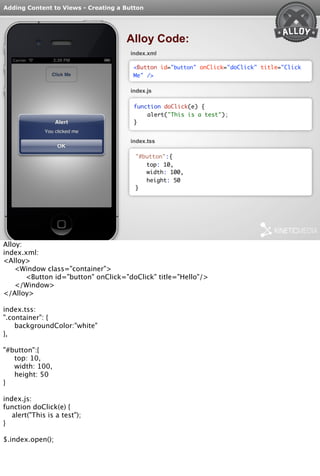
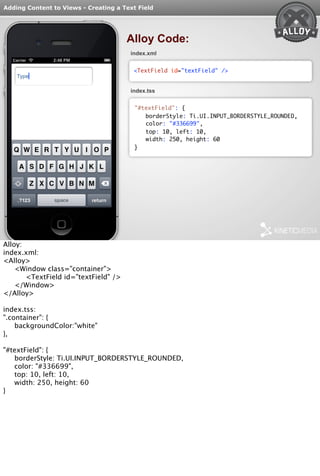
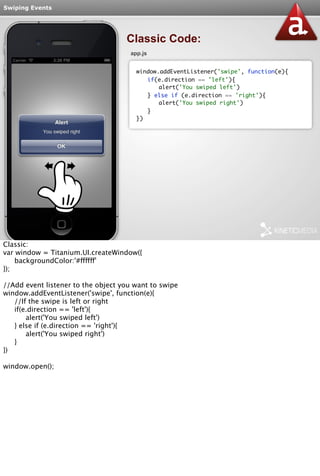
var sectionFruit = Ti.UI.createTableViewSection({headerTitle: 'Fruit'});
sectionFruit.add(Ti.UI.createTableViewRow({title:'Apples'}));
sectionFruit.add(Ti.UI.createTableViewRow({title:'Bananas'}));
var sectionVeg = Ti.UI.createTableViewSection({headerTitle: 'Veggies'});
sectionVeg.add(Ti.UI.createTableViewRow({title:'Carrots'}));
sectionVeg.add(Ti.UI.createTableViewRow({title:'Potatoes'}));
var table = Ti.UI.createTableView({
data: [sectionFruit, sectionVeg]
})
window.add(table);
Classic:
var window = Titanium.UI.createWindow({
backgroundColor:'#ffffff'
});
//Creating a section for the table. This includes creating a header for the section.
var sectionFruit = Ti.UI.createTableViewSection({headerTitle: 'Fruit'});
//Add rows to this section
sectionFruit.add(Ti.UI.createTableViewRow({title:'Apples'}));
sectionFruit.add(Ti.UI.createTableViewRow({title:'Bananas'}));
//Creating a section for the table. This includes creating a header for the section.
var sectionVeg = Ti.UI.createTableViewSection({headerTitle: 'Vegetables'});
//Add rows to this section
sectionVeg.add(Ti.UI.createTableViewRow({title:'Carrots'}));
sectionVeg.add(Ti.UI.createTableViewRow({title:'Potatoes'}));
//Create the table view and assign the data from the sectionFruit and sectionVeg arrays
var table = Ti.UI.createTableView({
//Assigning both sections to the table
data: [sectionFruit, sectionVeg]
})
//Adding the table view to the window or view
window.add(table);
window.open();](https://image.slidesharecdn.com/kinetic-titanium-part1-141019091726-conversion-gate02/85/Appcelerator-Titanium-Kinetic-practices-part-1-43-320.jpg)
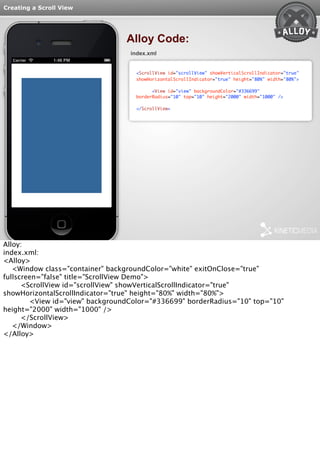
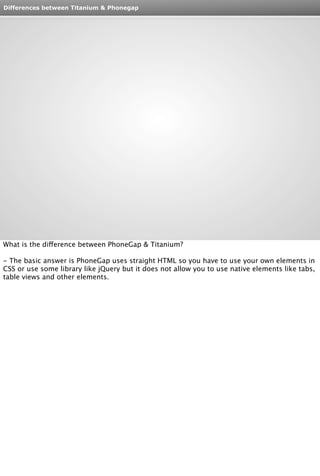
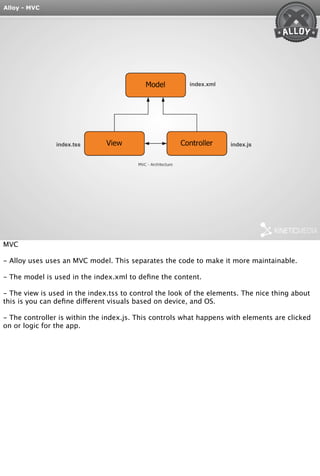
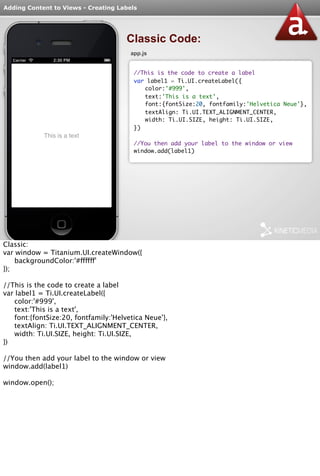
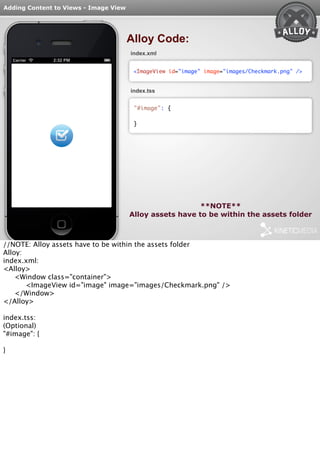
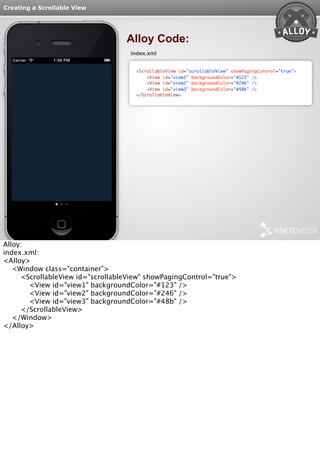
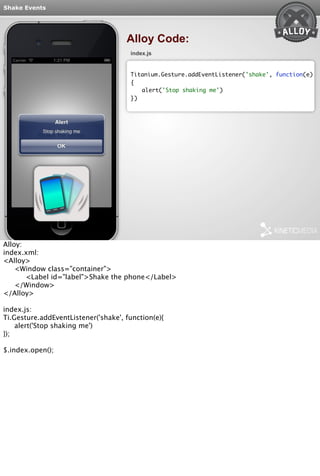
![Creating a Scrollable View
Classic Code:
app.js
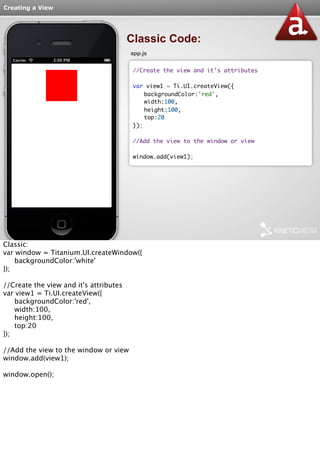
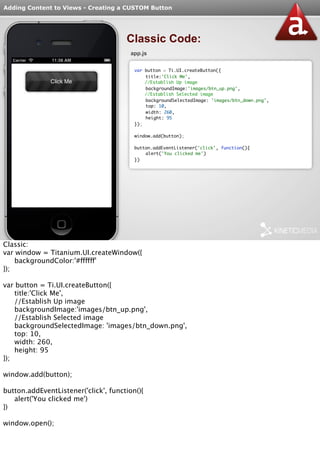
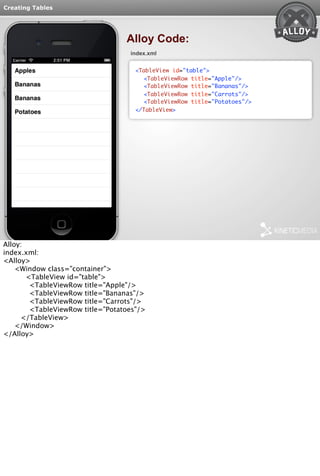
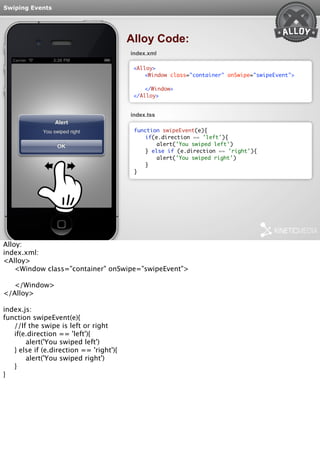
var win = Ti.UI.createWindow();
var view1 =
Ti.UI.createView({ backgroundColor:'#123' });
var view2 =
Ti.UI.createView({ backgroundColor:'#246' });
var view3 =
Ti.UI.createView({ backgroundColor:'#48b' });
var scrollableView = Ti.UI.createScrollableView({
views:[view1,view2,view3],
showPagingControl:true
});
win.add(scrollableView);
win.open();
Classic:
var win = Ti.UI.createWindow({
backgroundColor: 'white'
});
var view1 = Ti.UI.createView({ backgroundColor:'#123' });
var view2 = Ti.UI.createView({ backgroundColor:'#246' });
var view3 = Ti.UI.createView({ backgroundColor:'#48b' });
var scrollableView = Ti.UI.createScrollableView({
views:[view1,view2,view3],
showPagingControl:true
});
win.add(scrollableView);
win.open();
or Images
var img1 = Ti.UI.createImageView({
image:'http://upload.wikimedia.org/wikipedia/commons/thumb/e/ec/' +
'Mona_Lisa%2C_by_Leonardo_da_Vinci%2C_from_C2RMF_retouched.jpg/' +
'402px-Mona_Lisa%2C_by_Leonardo_da_Vinci%2C_from_C2RMF_retouched.jpg'
});
var img1Wrapper = Ti.UI.createScrollView({
maxZoomScale:4.0,
});
img1Wrapper.add(img1);
var img2 = Ti.UI.createImageView({](https://image.slidesharecdn.com/kinetic-titanium-part1-141019091726-conversion-gate02/85/Appcelerator-Titanium-Kinetic-practices-part-1-51-320.jpg)
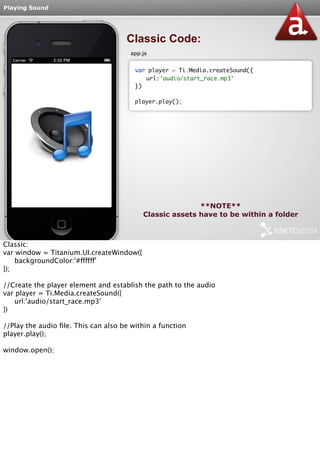

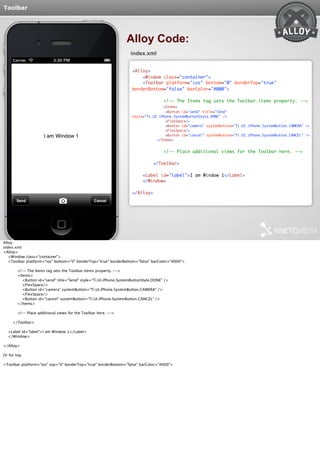
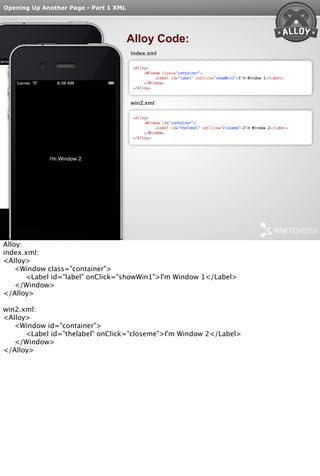
![Toolbar
Classic Code:
app.js
var window = Titanium.UI.createWindow({
backgroundColor:'#336699',
title:'Main Window'
});
var send = Titanium.UI.createButton({
title: 'Send',
style: Titanium.UI.iPhone.SystemButtonStyle.DONE,
});
var camera = Titanium.UI.createButton({
systemButton: Titanium.UI.iPhone.SystemButton.CAMERA,
});
var cancel = Titanium.UI.createButton({
systemButton: Titanium.UI.iPhone.SystemButton.CANCEL
});
var flexSpace = Titanium.UI.createButton({
systemButton:Titanium.UI.iPhone.SystemButton.FLEXIBLE_SPACE
});
var toolbar = Titanium.UI.iOS.createToolbar({
items:[send, flexSpace, camera, flexSpace, cancel],
bottom:0,
borderTop:true,
borderBottom:false
});
window.add(toolbar);
window.open();
Classic:
app.js:
var window = Titanium.UI.createWindow({
backgroundColor:'#336699',
title:'Main Window'
});
var send = Titanium.UI.createButton({
title: 'Send',
style: Titanium.UI.iPhone.SystemButtonStyle.DONE,
});
var camera = Titanium.UI.createButton({
systemButton: Titanium.UI.iPhone.SystemButton.CAMERA,
});
var cancel = Titanium.UI.createButton({
systemButton: Titanium.UI.iPhone.SystemButton.CANCEL
});
var flexSpace = Titanium.UI.createButton({
systemButton:Titanium.UI.iPhone.SystemButton.FLEXIBLE_SPACE
});
var toolbar = Titanium.UI.iOS.createToolbar({
items:[send, flexSpace, camera, flexSpace, cancel],
bottom:0,
borderTop:true,
borderBottom:false
});](https://image.slidesharecdn.com/kinetic-titanium-part1-141019091726-conversion-gate02/85/Appcelerator-Titanium-Kinetic-practices-part-1-67-320.jpg)
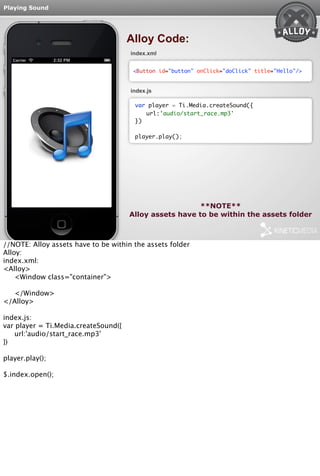
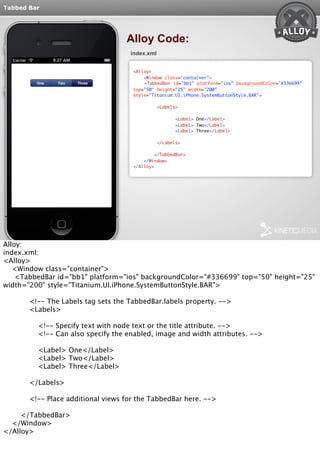
![Tabbed Bar
Classic Code:
app.js
var window = Titanium.UI.createWindow({
backgroundColor:'#ffffff'
});
var bb1 = Titanium.UI.iOS.createTabbedBar({
labels:['One', 'Two', 'Three'],
backgroundColor:'#336699',
top:50,
style:Titanium.UI.iPhone.SystemButtonStyle.BAR,
height:25,
width:200
});
window.add(bb1);
window.open();
Classic:
var window = Titanium.UI.createWindow({
backgroundColor:'#ffffff'
});
var bb1 = Titanium.UI.iOS.createTabbedBar({
labels:['One', 'Two', 'Three'],
backgroundColor:'#336699',
top:50,
style:Titanium.UI.iPhone.SystemButtonStyle.BAR,
height:25,
width:200
});
window.add(bb1);
window.open();](https://image.slidesharecdn.com/kinetic-titanium-part1-141019091726-conversion-gate02/85/Appcelerator-Titanium-Kinetic-practices-part-1-69-320.jpg)
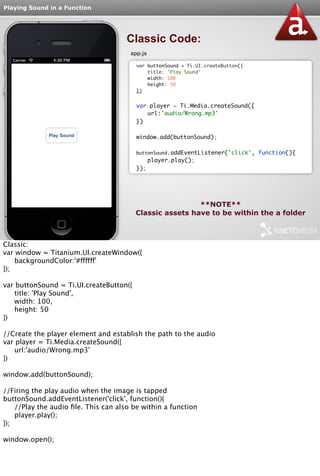
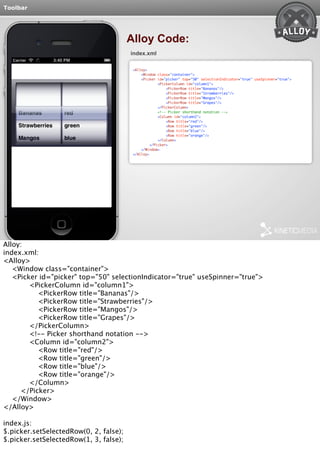
![Picker
Classic Code:
app.js
var picker = Ti.UI.createPicker({
top:50
});
var data = [];
data[0]=Ti.UI.createPickerRow({title:'Bananas'});
data[1]=Ti.UI.createPickerRow({title:'Strawberries'});
data[2]=Ti.UI.createPickerRow({title:'Mangos'});
data[3]=Ti.UI.createPickerRow({title:'Grapes'});
picker.add(data);
picker.selectionIndicator = true;
win.add(picker);
win.open();
// must be after picker has been displayed
picker.setSelectedRow(0, 2, false); // select Mangos
Classic:
app.js: Single Picker
Ti.UI.backgroundColor = 'white';
var win = Ti.UI.createWindow({
exitOnClose: true,
layout: 'vertical'
});
var picker = Ti.UI.createPicker({
top:50
});
var data = [];
data[0]=Ti.UI.createPickerRow({title:'Bananas'});
data[1]=Ti.UI.createPickerRow({title:'Strawberries'});
data[2]=Ti.UI.createPickerRow({title:'Mangos'});
data[3]=Ti.UI.createPickerRow({title:'Grapes'});
picker.add(data);
picker.selectionIndicator = true;
win.add(picker);
win.open();
// must be after picker has been displayed
picker.setSelectedRow(0, 2, false); // select Mangos
app.js: Multi-Column Picker
Ti.UI.backgroundColor = 'white';
var win = Ti.UI.createWindow({](https://image.slidesharecdn.com/kinetic-titanium-part1-141019091726-conversion-gate02/85/Appcelerator-Titanium-Kinetic-practices-part-1-71-320.jpg)

![Custom Alerts
Classic Code:
app.js
var window = Titanium.UI.createWindow({
backgroundColor:'#ffffff'
});
var dialog = Ti.UI.createAlertDialog({
cancel:1,
buttonNames: ['Confirm', 'Cancel', 'Help'],
message: 'The file has been deleted',
title: 'File Deleted'
});
window.addEventListener('click', function(e){
dialog.show();
});
dialog.addEventListener('click', function(e){
if(e.index === e.source.cancel){
Ti.API.info('The cancel button was clicked');
} else if (e.index === 1){
Ti.API.info('The help button was clicked');
}
});
window.open();
Classic:
Option 3 (Three Buttons):
var window = Titanium.UI.createWindow({
backgroundColor:'#ffffff'
});
var dialog = Ti.UI.createAlertDialog({
cancel:1,
buttonNames: ['Confirm', 'Cancel', 'Help'],
message: 'The file has been deleted',
title: 'File Deleted'
});
window.addEventListener('click', function(e){
dialog.show();
});
dialog.addEventListener('click', function(e){
if(e.index === e.source.cancel){
Ti.API.info('The cancel button was clicked');
} else if (e.index === 1){
Ti.API.info('The help button was clicked');
}
});
window.open();](https://image.slidesharecdn.com/kinetic-titanium-part1-141019091726-conversion-gate02/85/Appcelerator-Titanium-Kinetic-practices-part-1-74-320.jpg)


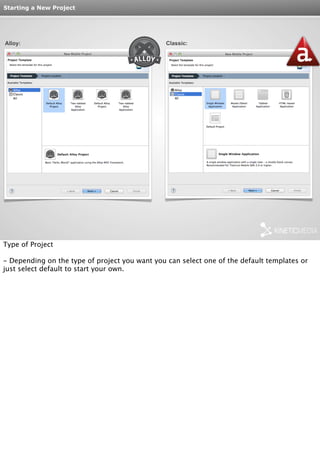
This document provides information about creating mobile apps using Appcelerator Titanium. It discusses the differences between Titanium and PhoneGap, and between the Alloy and Classic frameworks in Titanium. It also provides code examples and explanations for creating windows, views and adding objects like labels in both the Classic and Alloy approaches. The document is intended as a tutorial or guide for using Titanium to develop mobile applications.