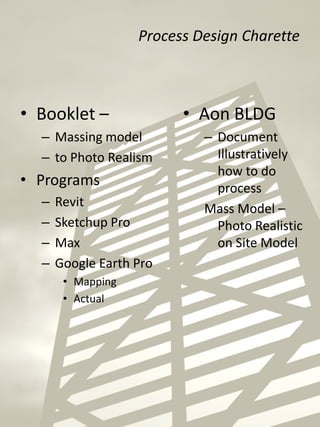
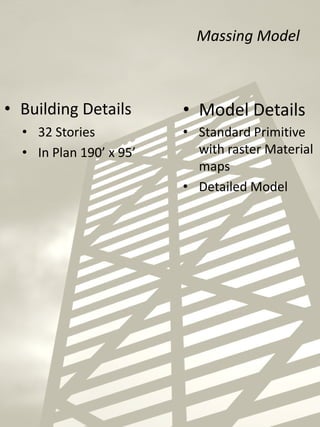
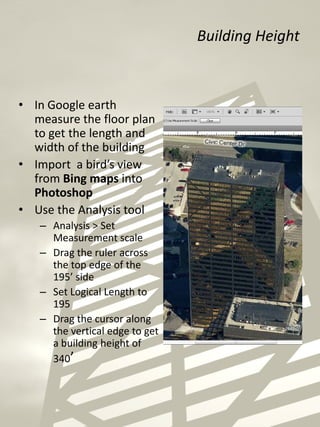
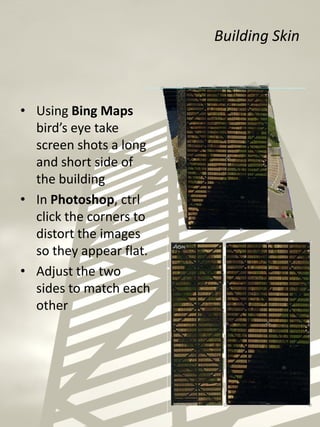
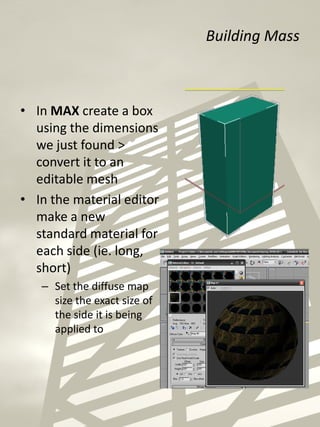
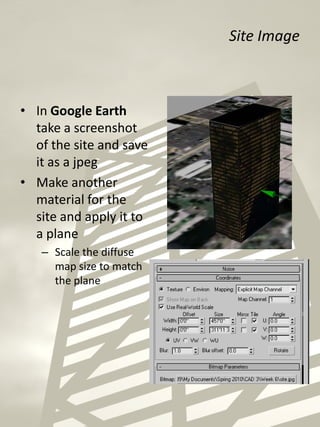
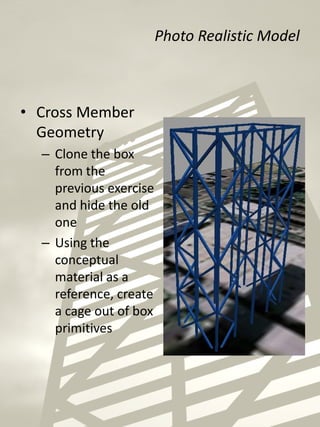
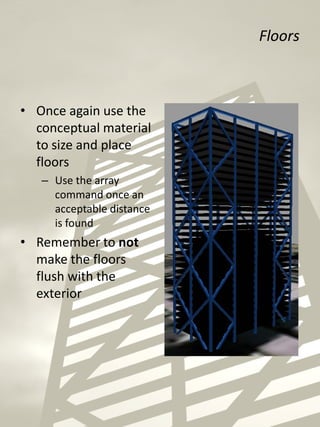
Design Charette
austinbrown|cad3|prof.price
Process Design Charette
• Booklet –
– Massing model
– to Photo Realism
• Programs
– Revit
– Sketchup Pro
– Max
– Google Earth Pro
• Mapping
• Actual
• Aon BLDG
– Document
Illustratively
how to do
process
Mass Model –
Photo Realistic
on Site Model
Massing Model
• 32 Stories
• In Plan 190’ x 95’
• Building Details • Model Details
• Standard Primitive
with raster Material
maps
• Detailed Model
Building Height
• In Google earth
measure the floor plan
to get the length and
width of the building
• Import a bird’s view
from Bing maps into
Photoshop
• Use the Analysis tool
– Analysis > Set
Measurement scale
– Drag the ruler across
the top edge of the
195’ side
– Set Logical Length to
195
– Drag the cursor along
the vertical edge to get
a building height of
340’
Building Skin
• Using Bing Maps
bird’s eye take
screen shots a long
and short side of
the building
• In Photoshop, ctrl
click the corners to
distort the images
so they appear flat.
• Adjust the two
sides to match each
other
Building Mass
• In MAX create a box
using the dimensions
we just found >
convert it to an
editable mesh
• In the material editor
make a new
standard material for
each side (ie. long,
short)
– Set the diffuse map
size the exact size of
the side it is being
applied to
Site Image
• In Google Earth
take a screenshot
of the site and save
it as a jpeg
• Make another
material for the
site and apply it to
a plane
– Scale the diffuse
map size to match
the plane
Photo Realistic Model
• Cross Member
Geometry
– Clone the box
from the
previous exercise
and hide the old
one
– Using the
conceptual
material as a
reference, create
a cage out of box
primitives
Floors
• Once again use the
conceptual material
to size and place
floors
– Use the array
command once an
acceptable distance
is found
• Remember to not
make the floors
flush with the
exterior
Glass
• Create a plane for
each side
• Recess the planes
slightly more than
the floors
• Apply a reflective
material
• Apply a black
material to the
building structure
Building Sign
• Create text
– Arial Bold
– Site to fit
• Extrude Modifier
– 2’-0” depth
• Use a box
primitive to
extend the
horizontal line of
the “A”

AON building

  • 1.
  • 2.
    Process Design Charette •Booklet – – Massing model – to Photo Realism • Programs – Revit – Sketchup Pro – Max – Google Earth Pro • Mapping • Actual • Aon BLDG – Document Illustratively how to do process Mass Model – Photo Realistic on Site Model
  • 3.
    Massing Model • 32Stories • In Plan 190’ x 95’ • Building Details • Model Details • Standard Primitive with raster Material maps • Detailed Model
  • 4.
    Building Height • InGoogle earth measure the floor plan to get the length and width of the building • Import a bird’s view from Bing maps into Photoshop • Use the Analysis tool – Analysis > Set Measurement scale – Drag the ruler across the top edge of the 195’ side – Set Logical Length to 195 – Drag the cursor along the vertical edge to get a building height of 340’
  • 5.
    Building Skin • UsingBing Maps bird’s eye take screen shots a long and short side of the building • In Photoshop, ctrl click the corners to distort the images so they appear flat. • Adjust the two sides to match each other
  • 6.
    Building Mass • InMAX create a box using the dimensions we just found > convert it to an editable mesh • In the material editor make a new standard material for each side (ie. long, short) – Set the diffuse map size the exact size of the side it is being applied to
  • 7.
    Site Image • InGoogle Earth take a screenshot of the site and save it as a jpeg • Make another material for the site and apply it to a plane – Scale the diffuse map size to match the plane
  • 8.
    Photo Realistic Model •Cross Member Geometry – Clone the box from the previous exercise and hide the old one – Using the conceptual material as a reference, create a cage out of box primitives
  • 9.
    Floors • Once againuse the conceptual material to size and place floors – Use the array command once an acceptable distance is found • Remember to not make the floors flush with the exterior
  • 10.
    Glass • Create aplane for each side • Recess the planes slightly more than the floors • Apply a reflective material • Apply a black material to the building structure
  • 11.
    Building Sign • Createtext – Arial Bold – Site to fit • Extrude Modifier – 2’-0” depth • Use a box primitive to extend the horizontal line of the “A”