Download as PDF, PPTX
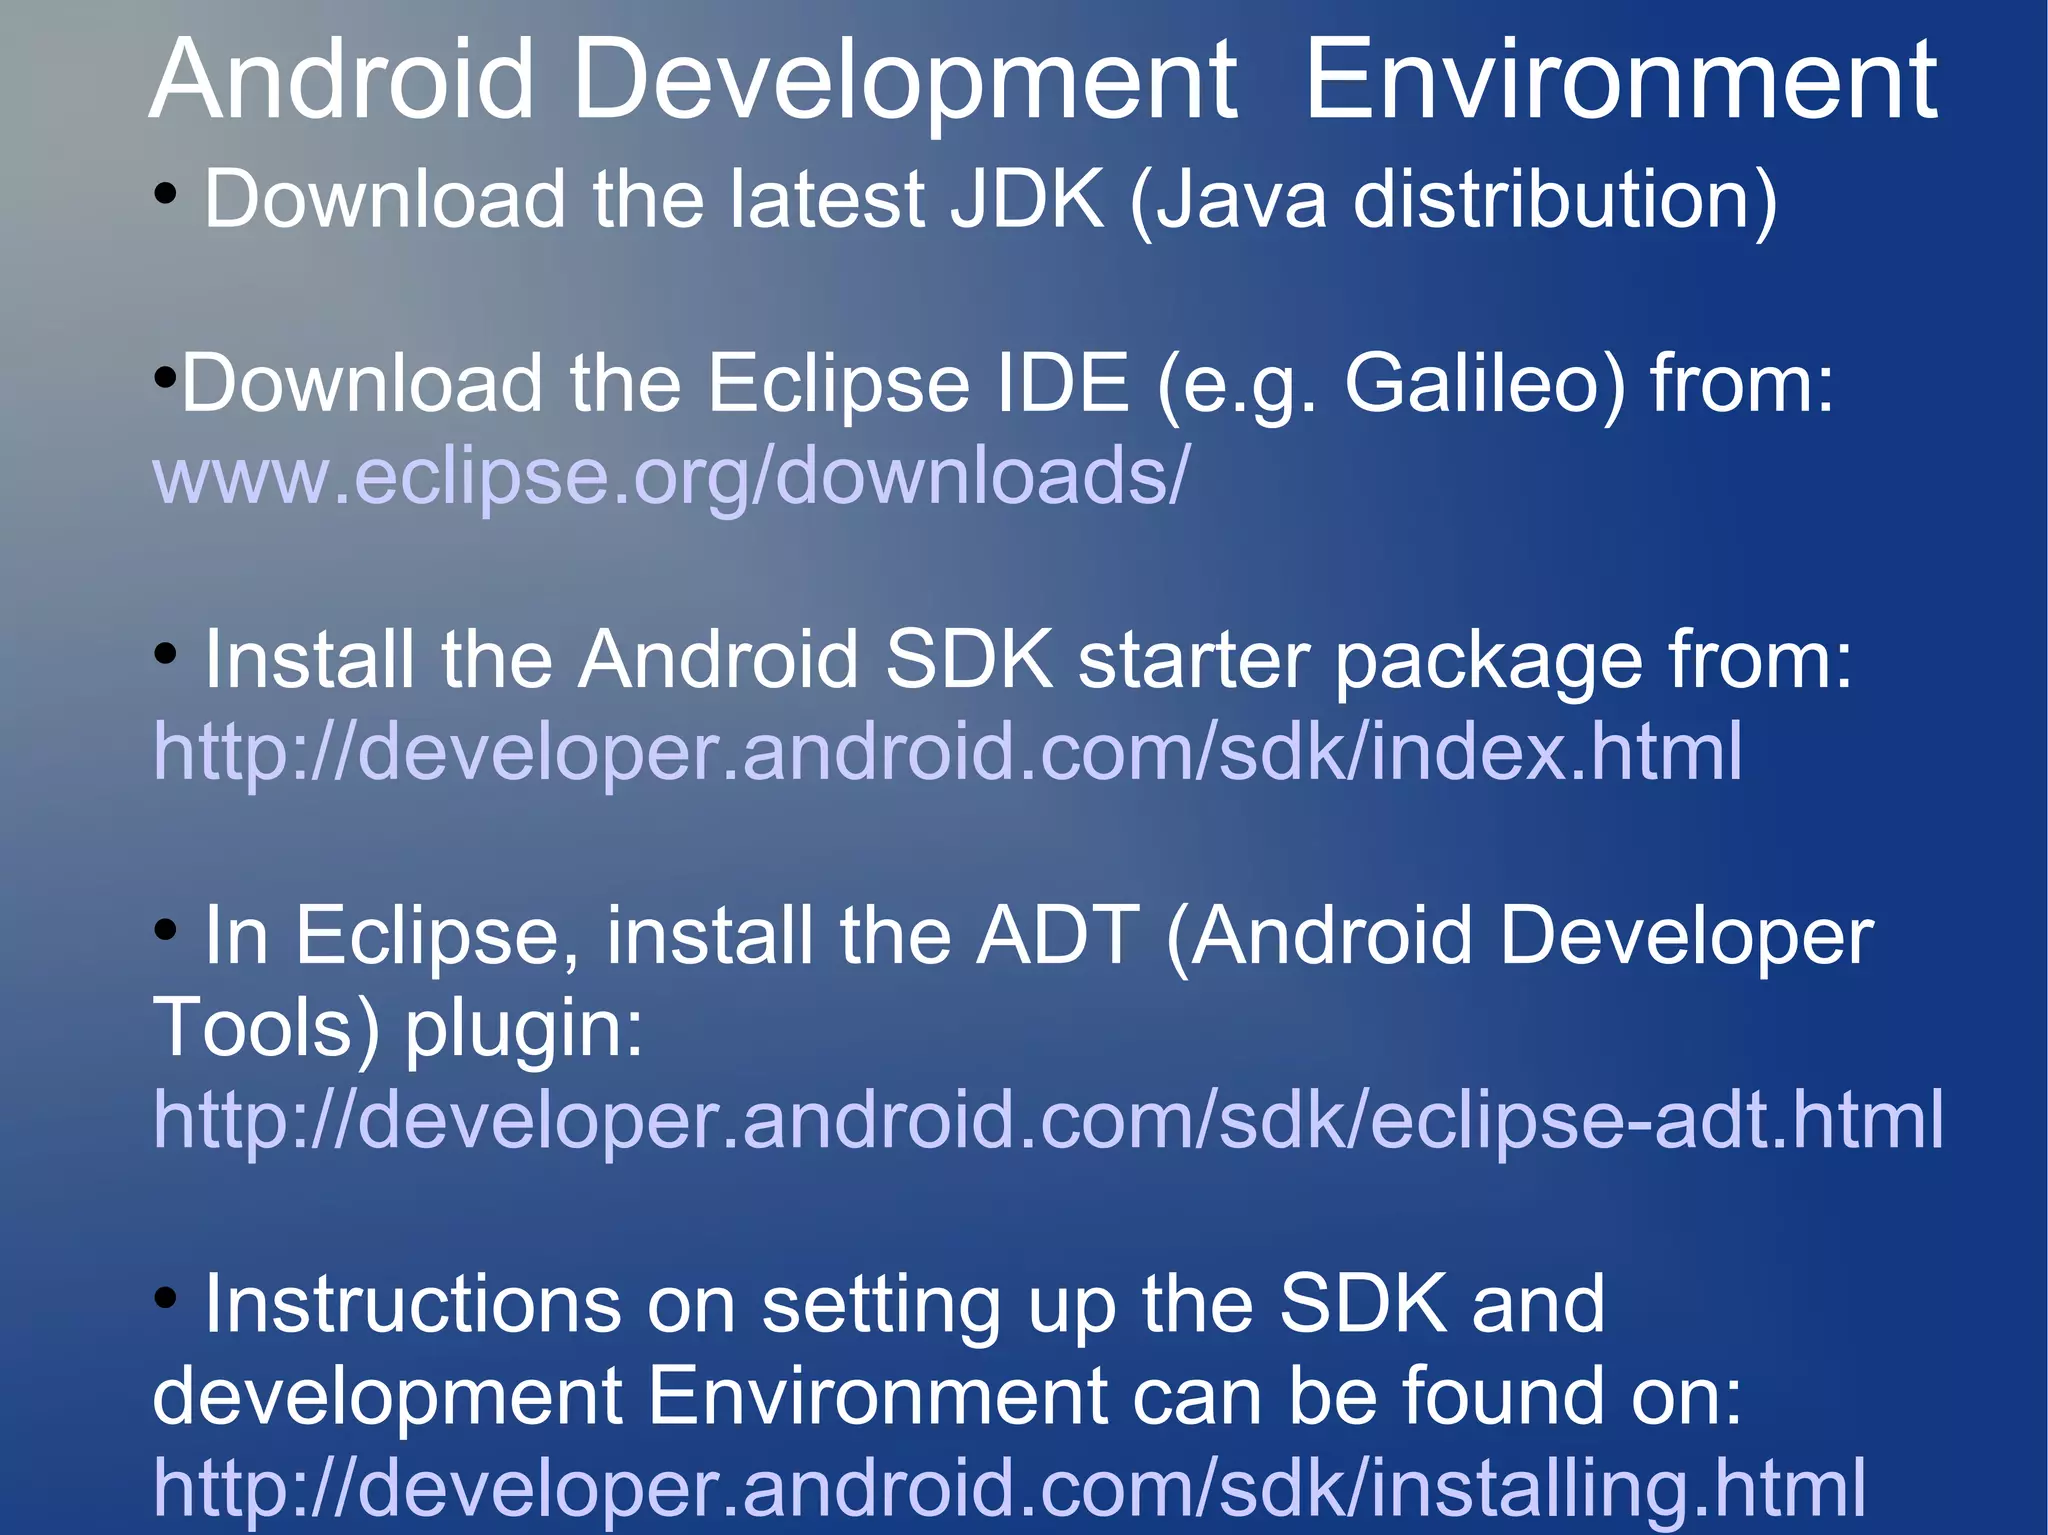
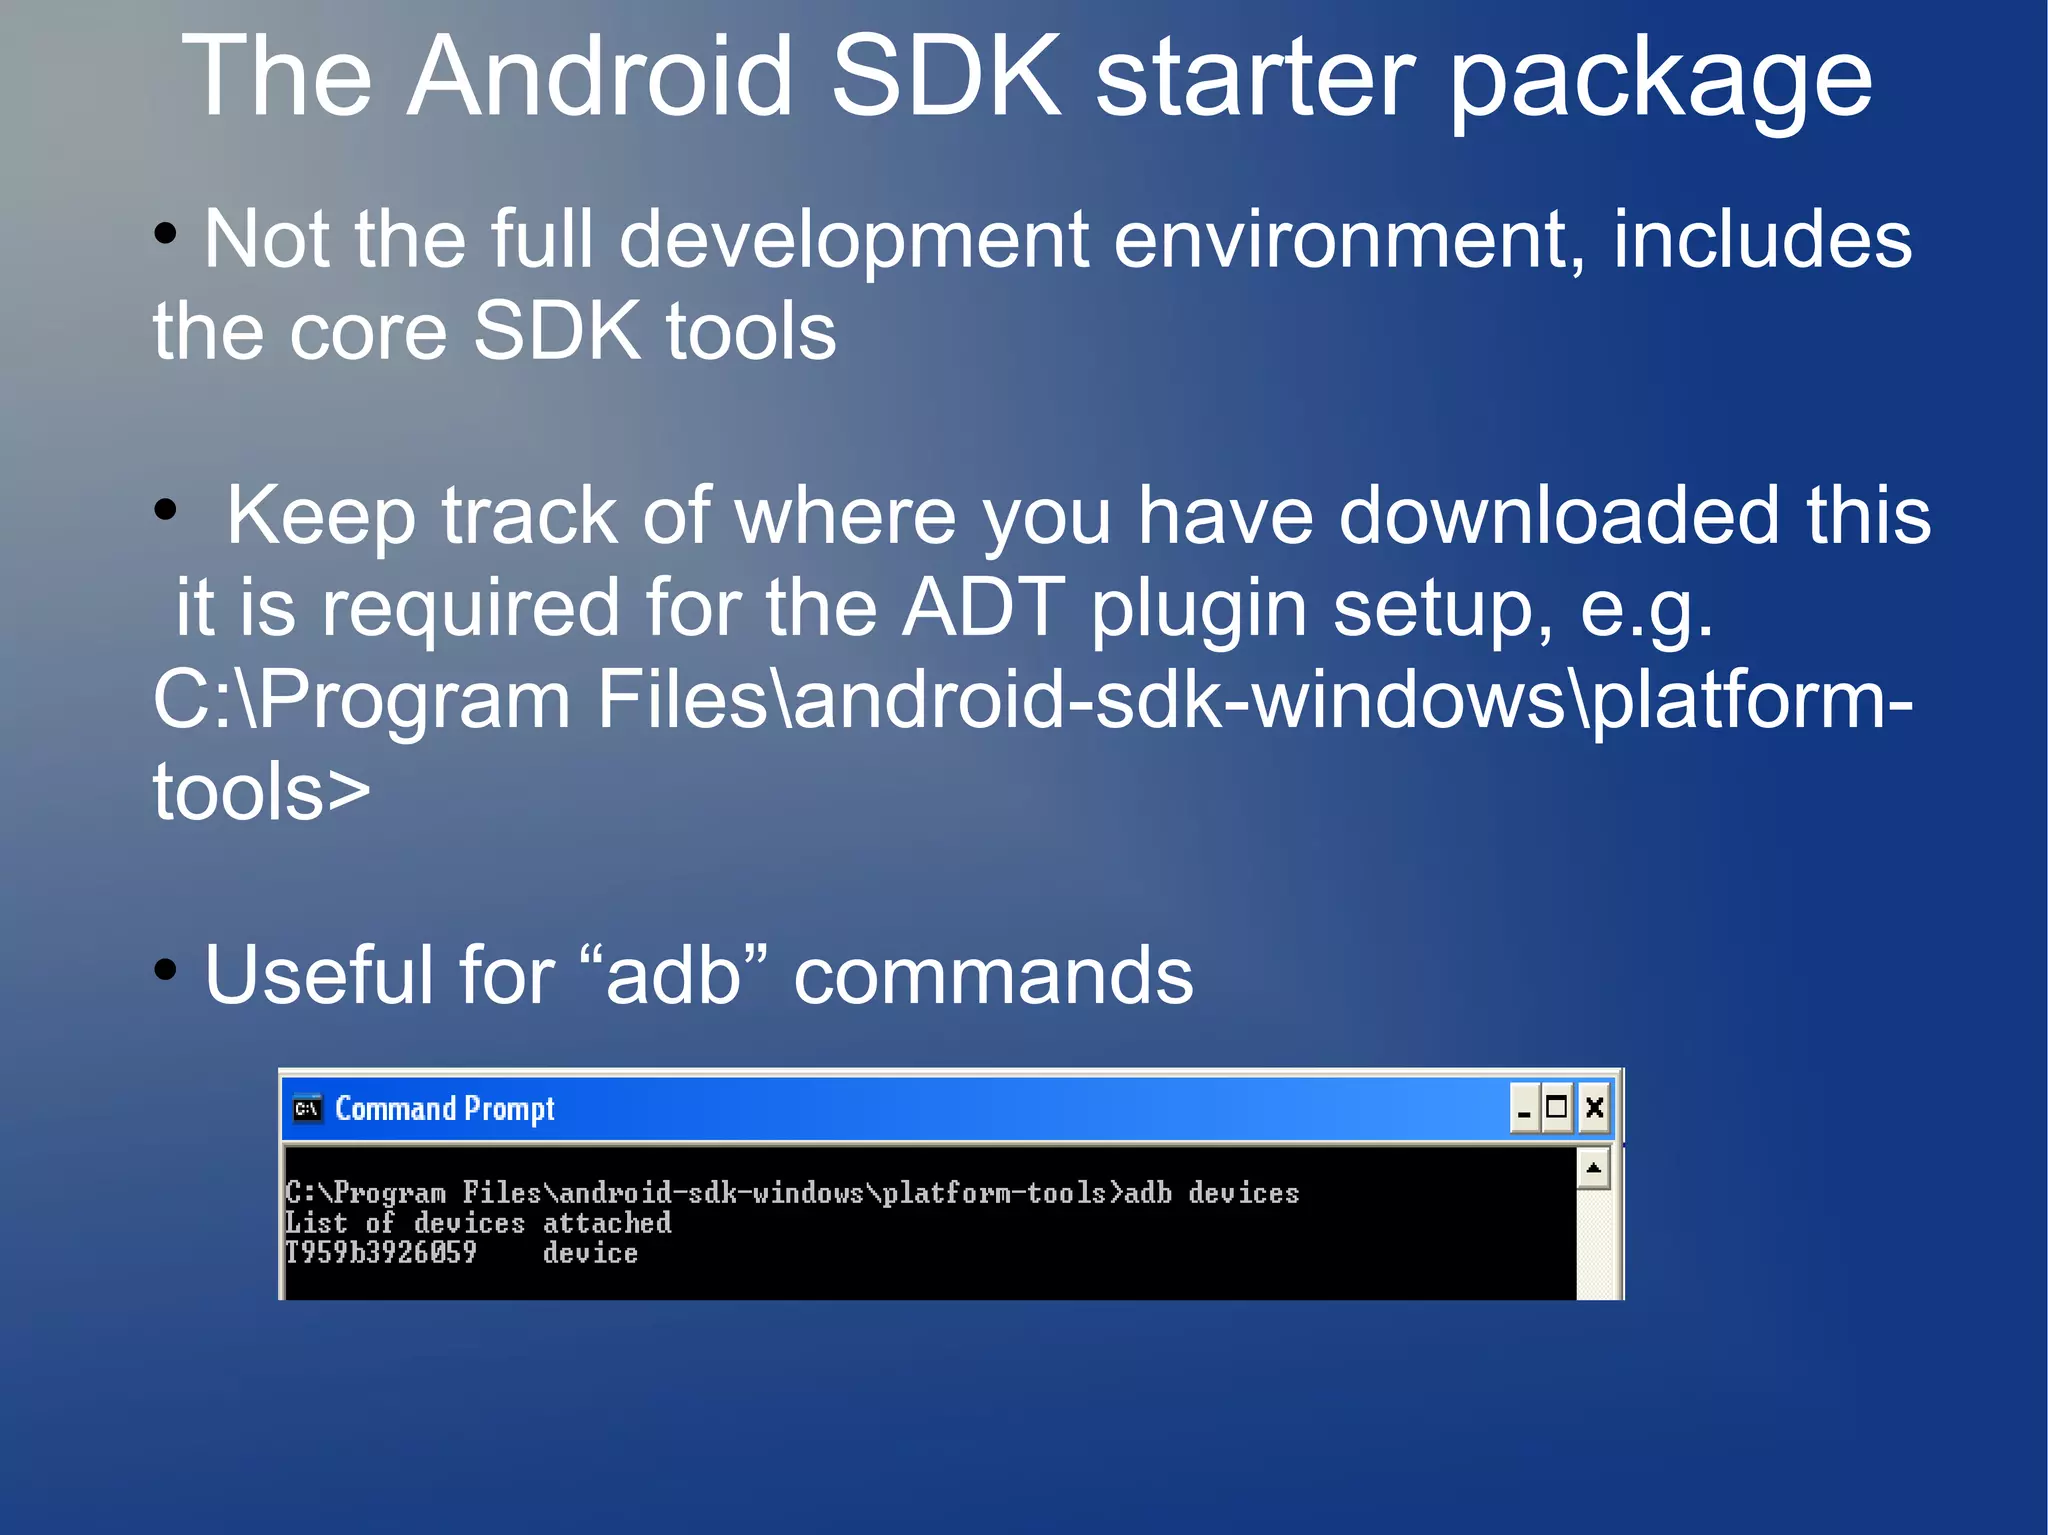
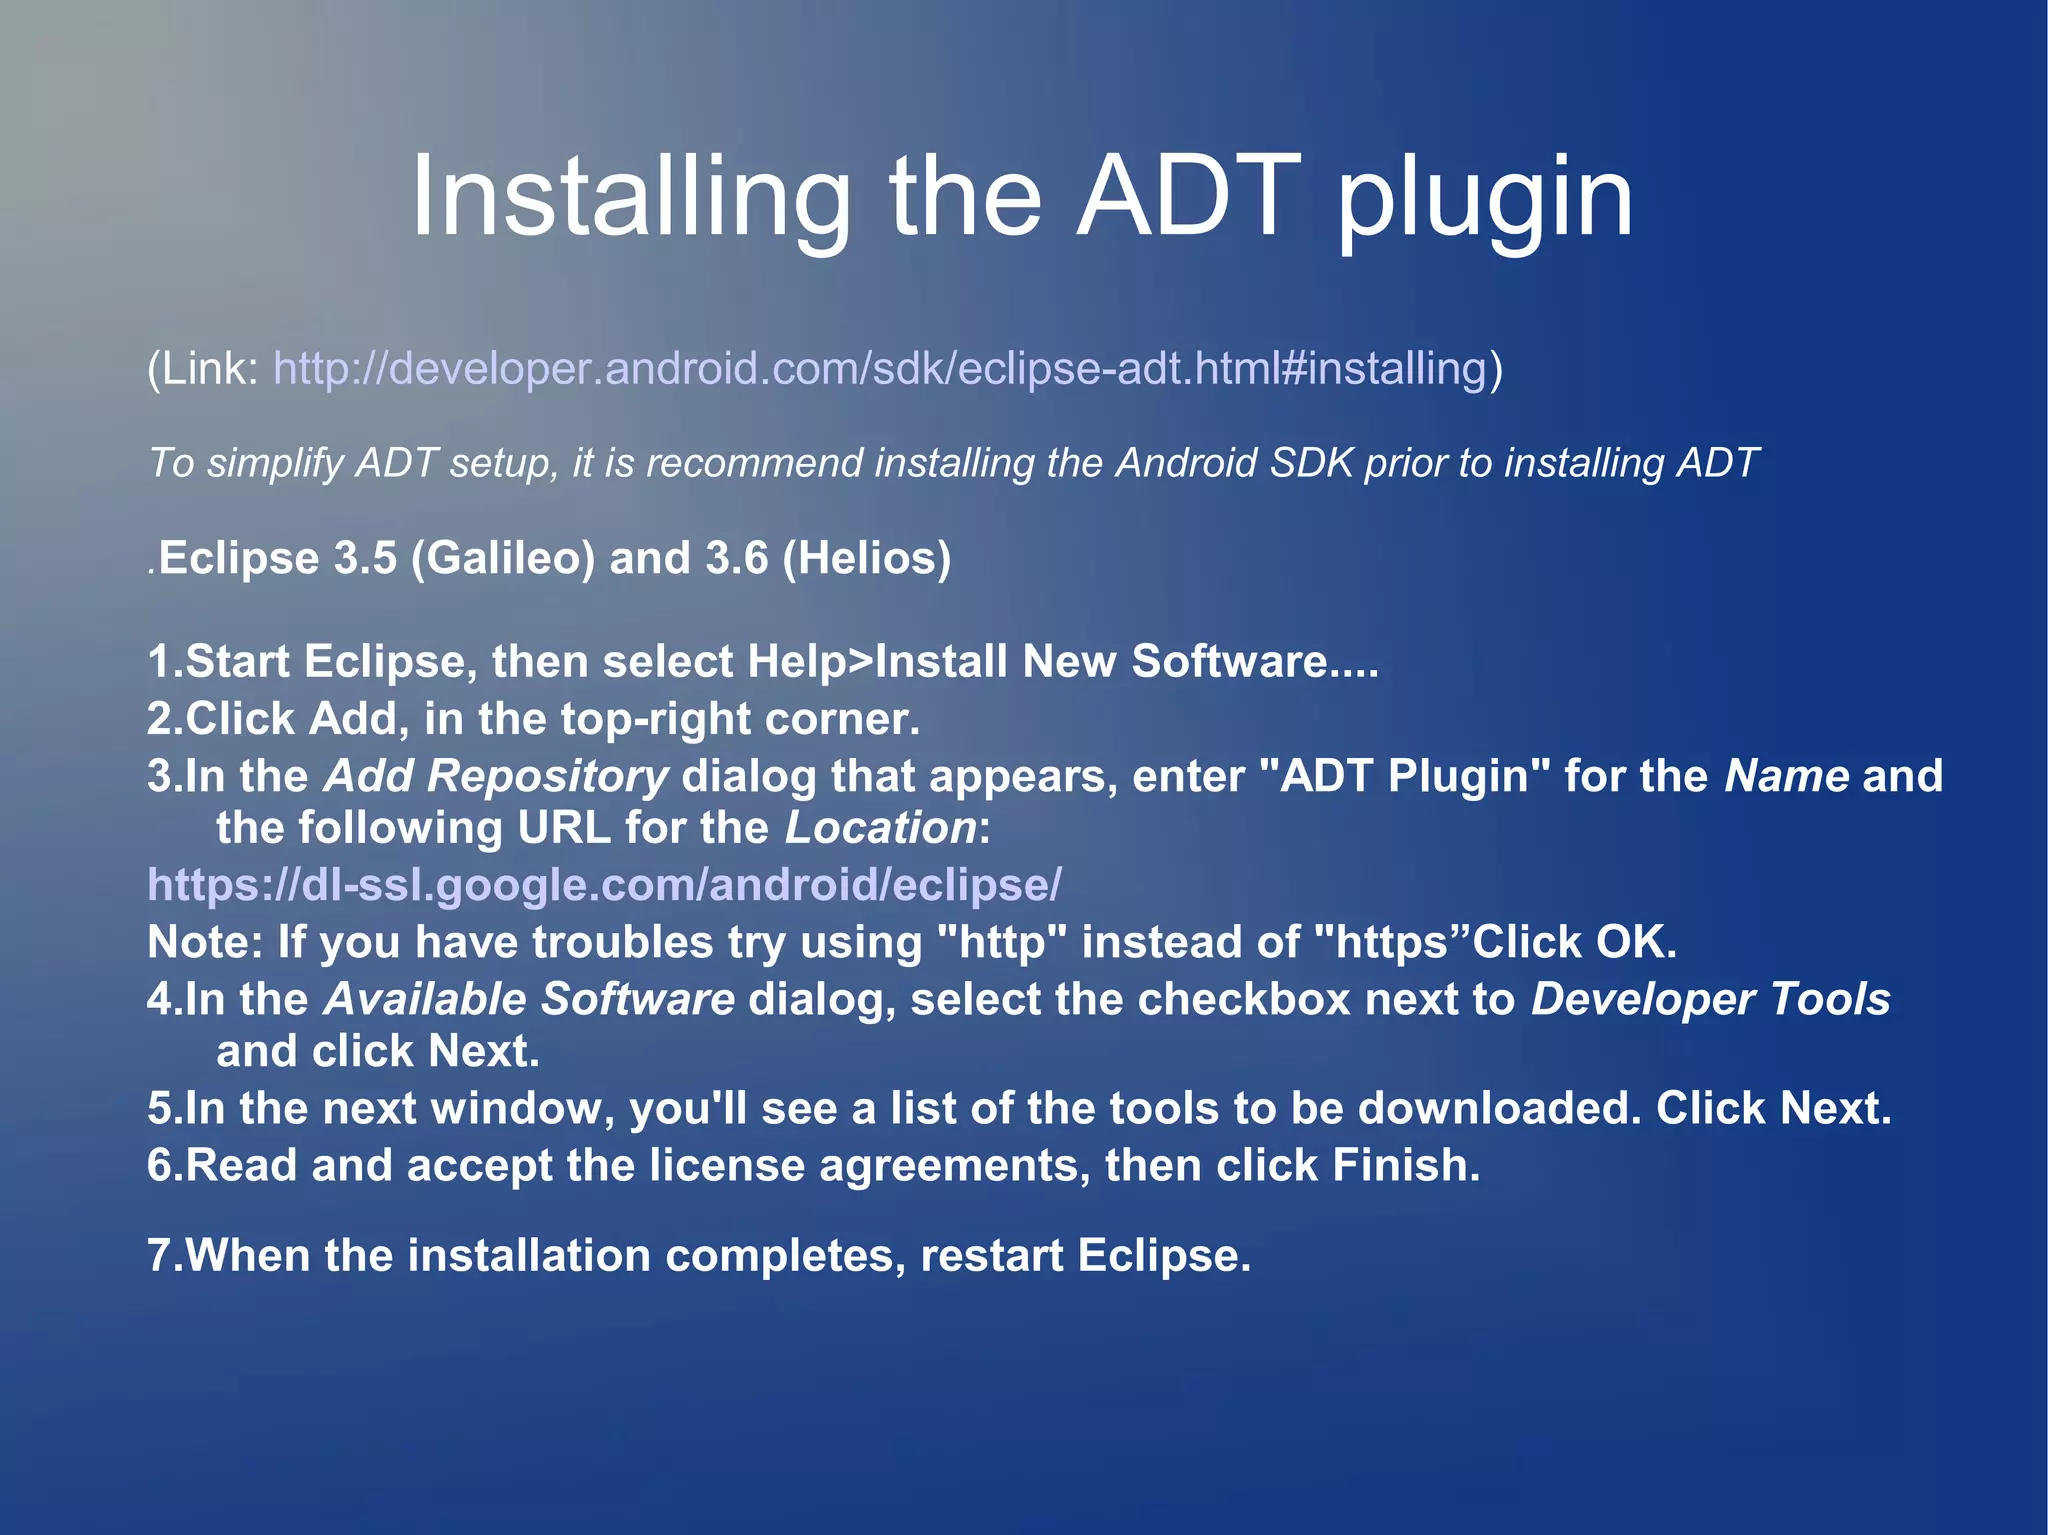
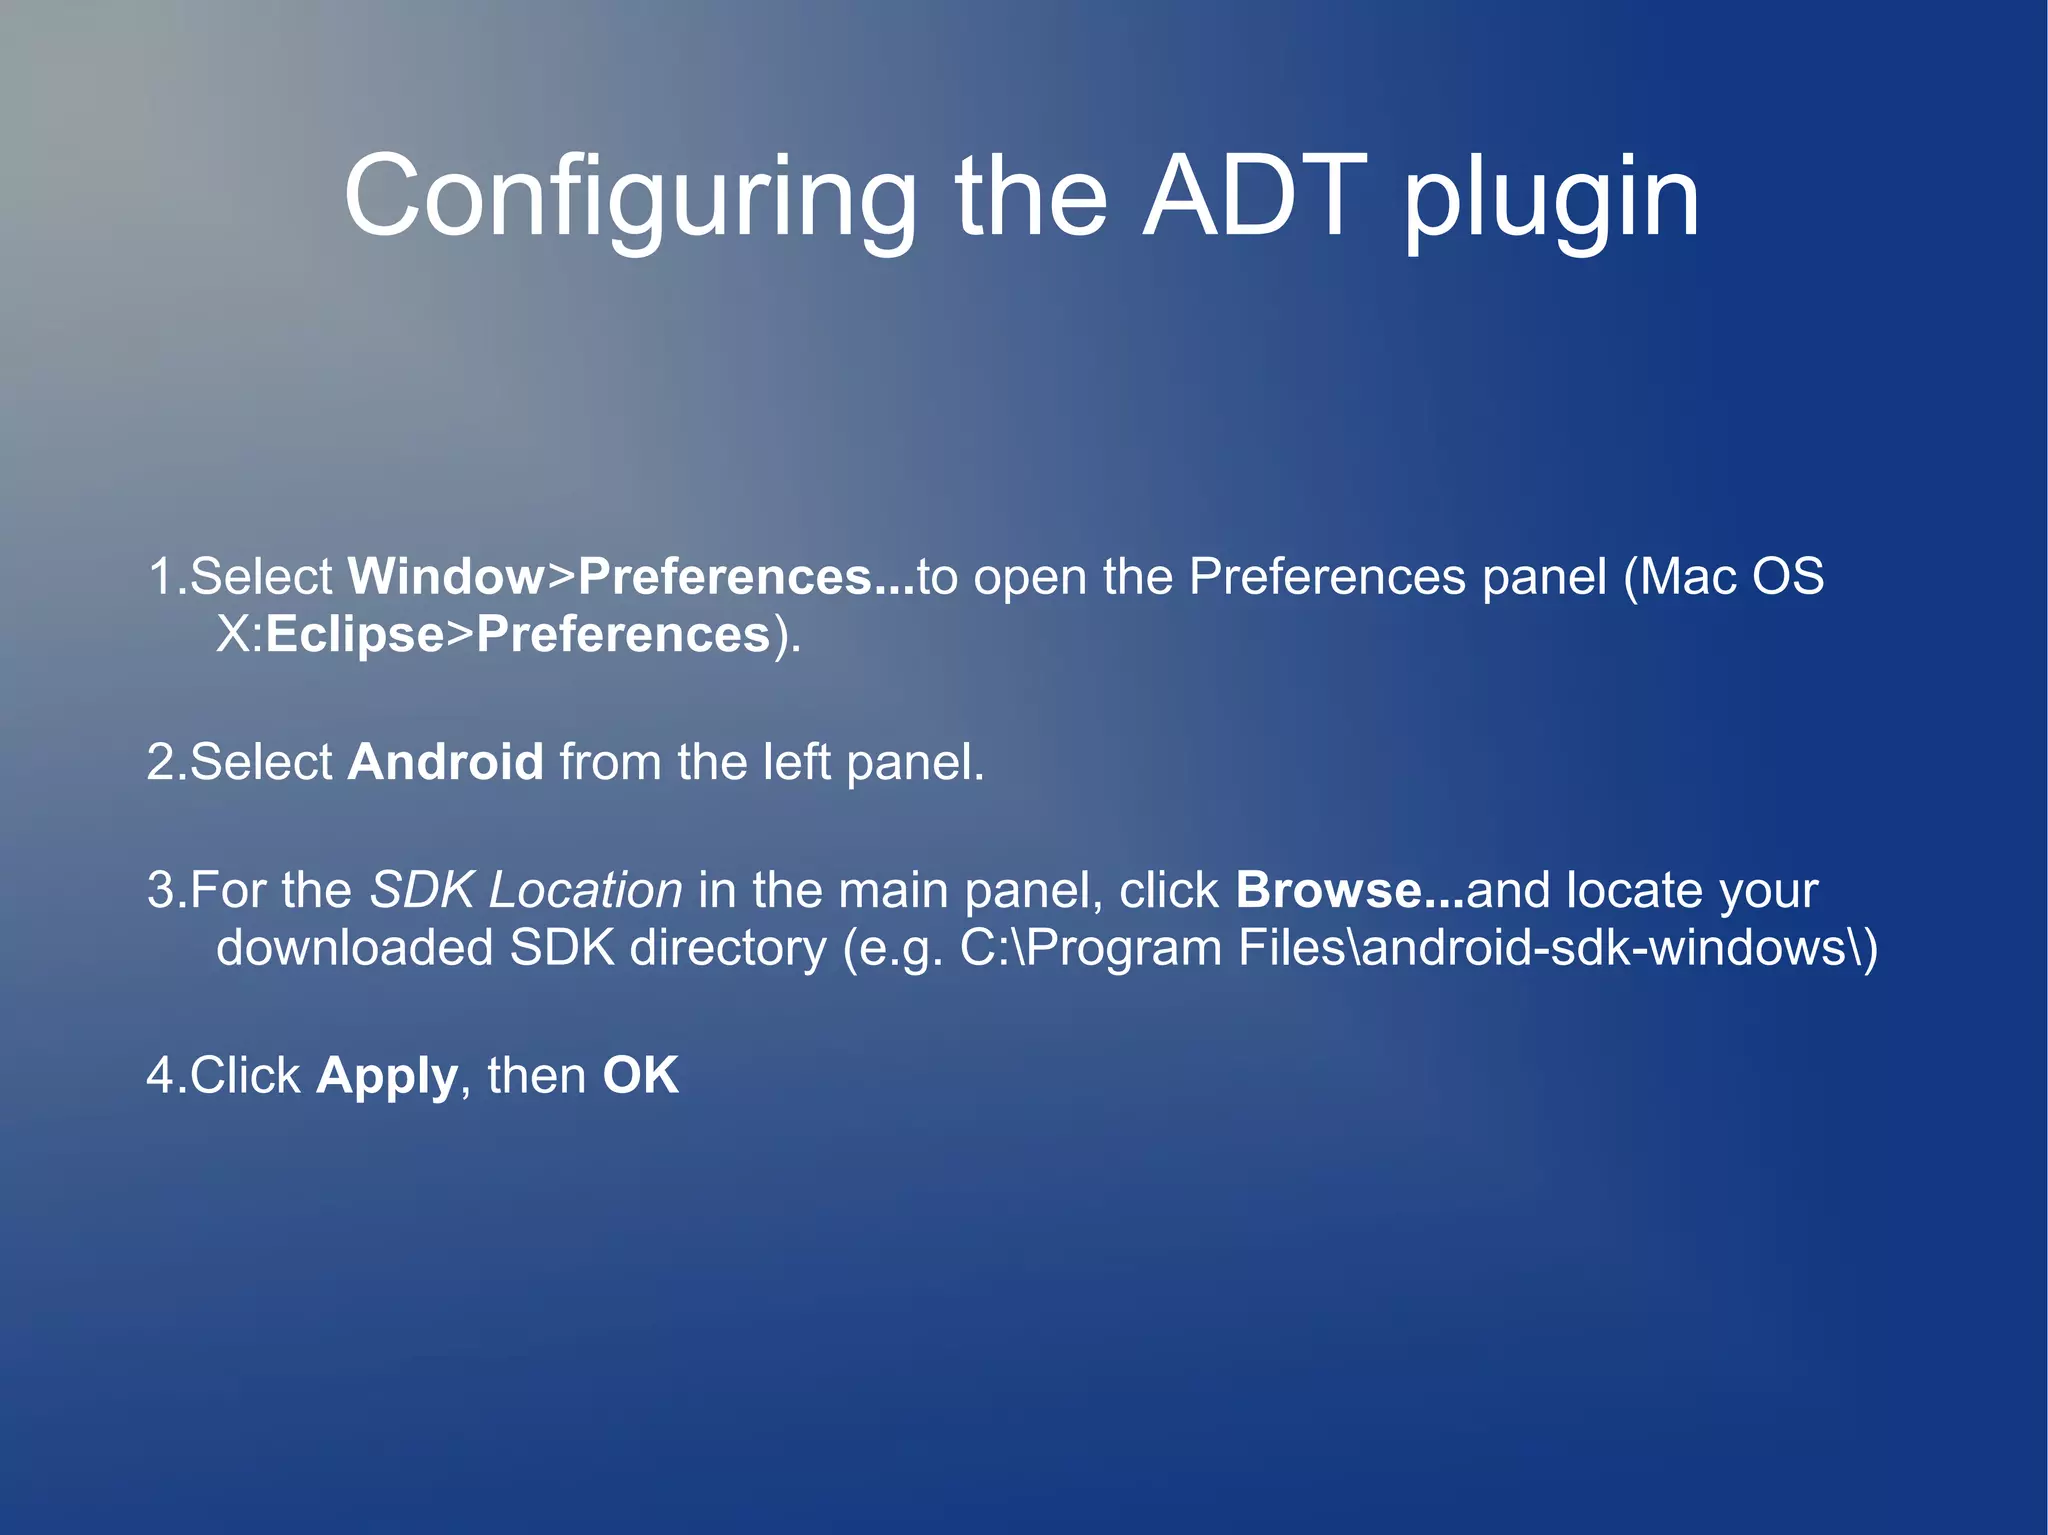
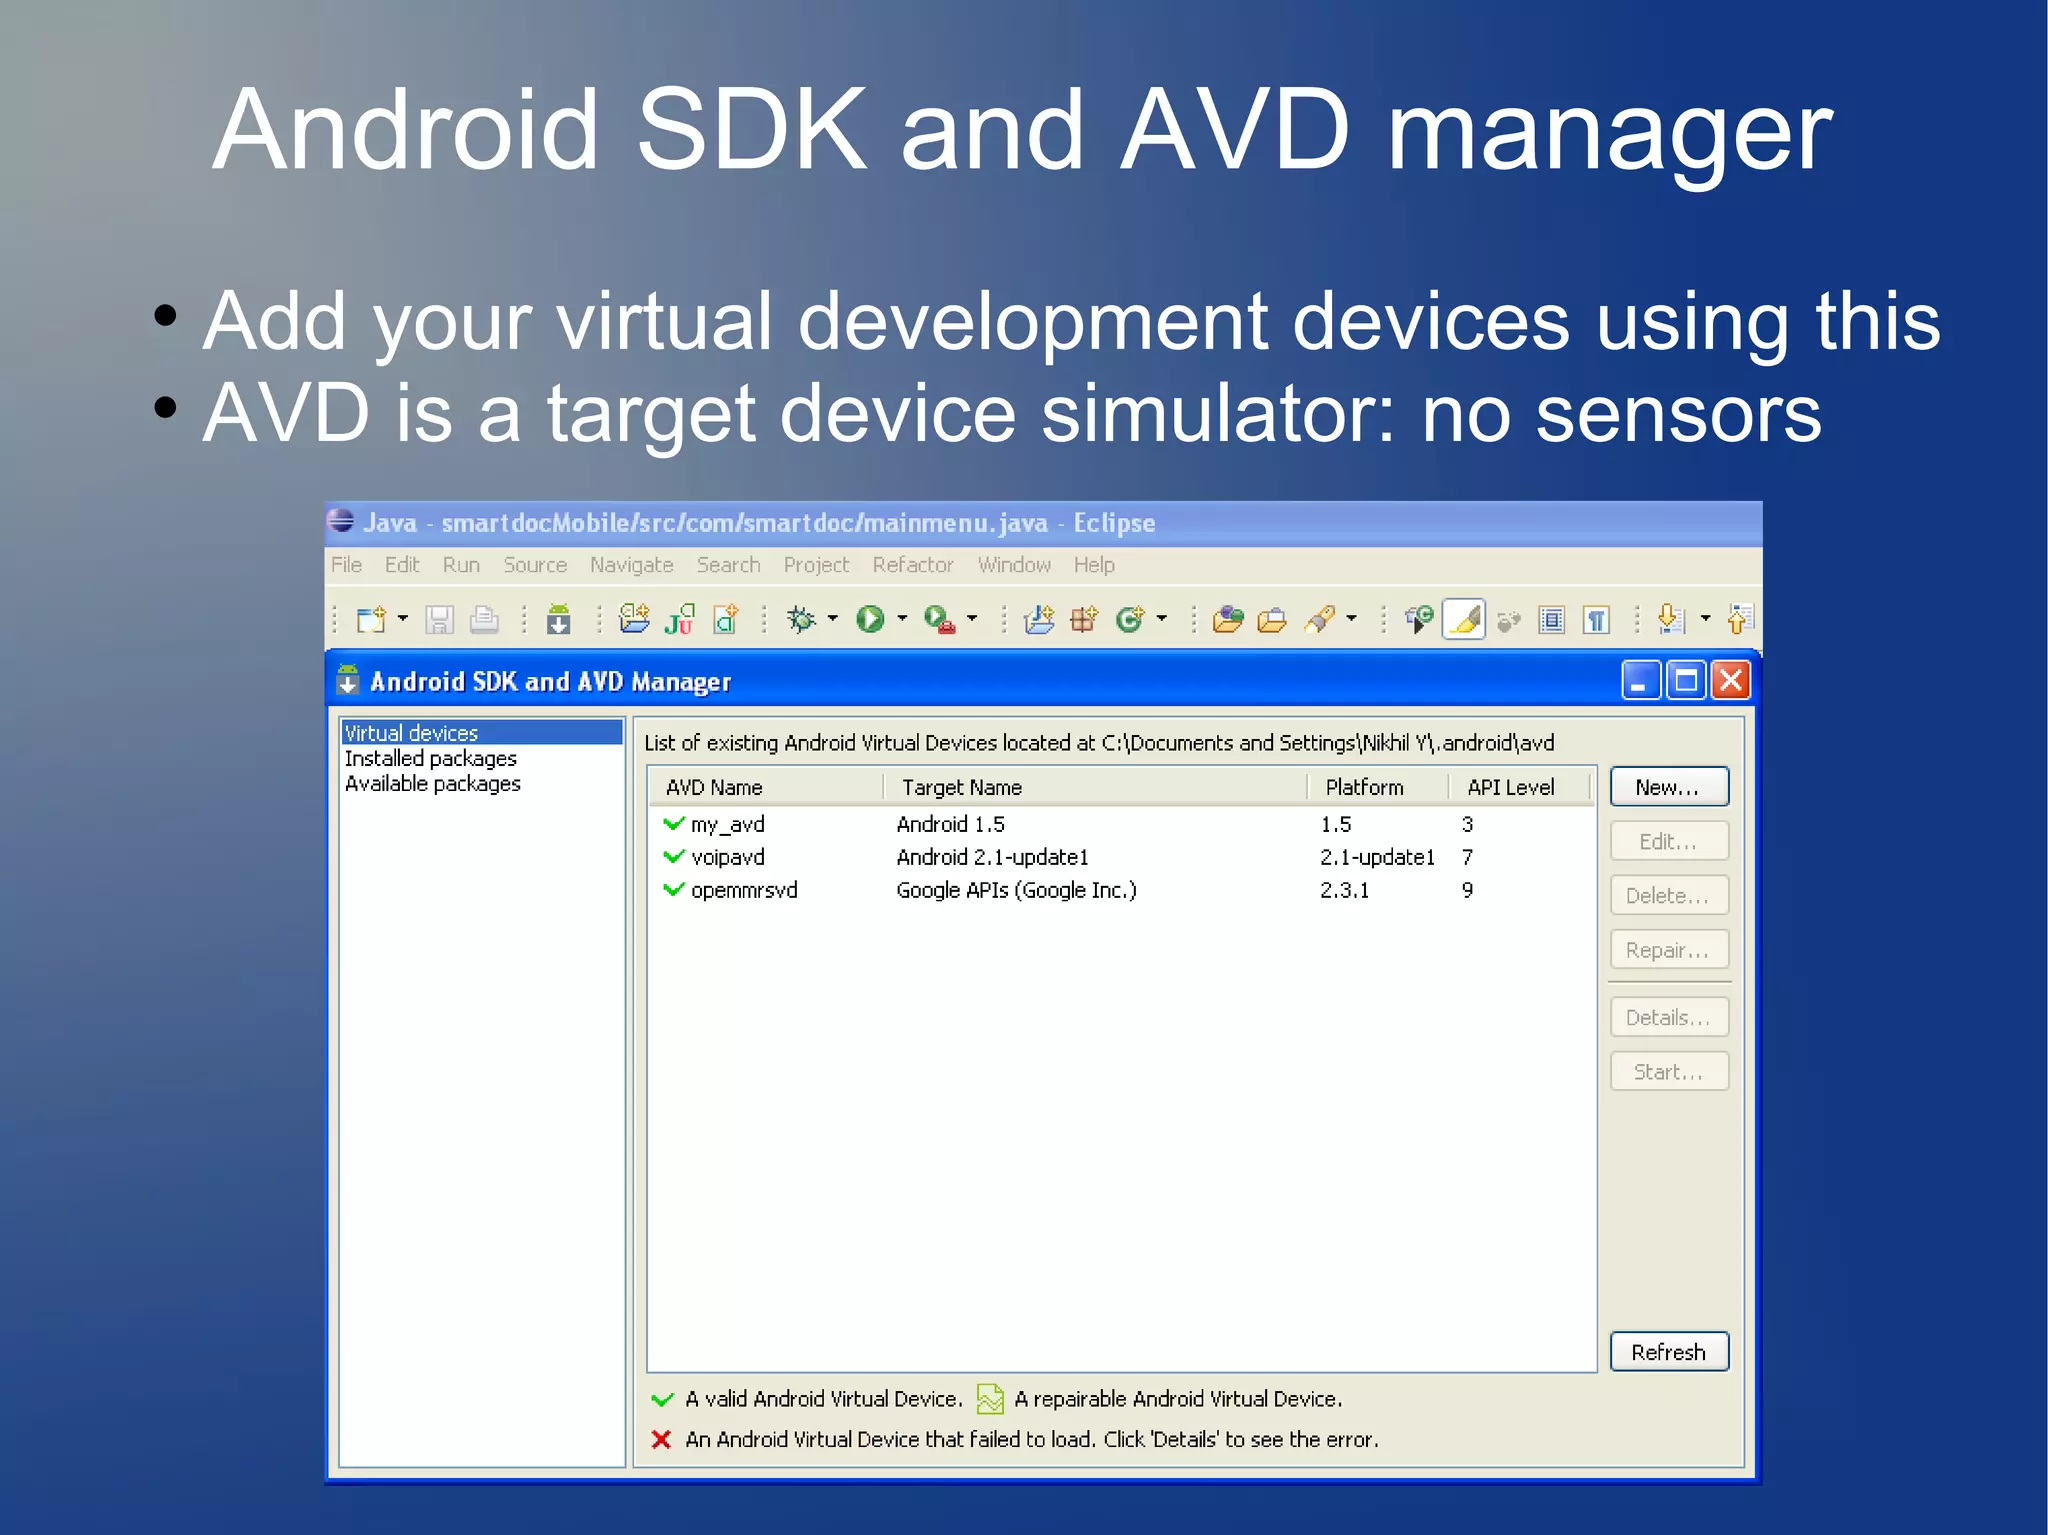
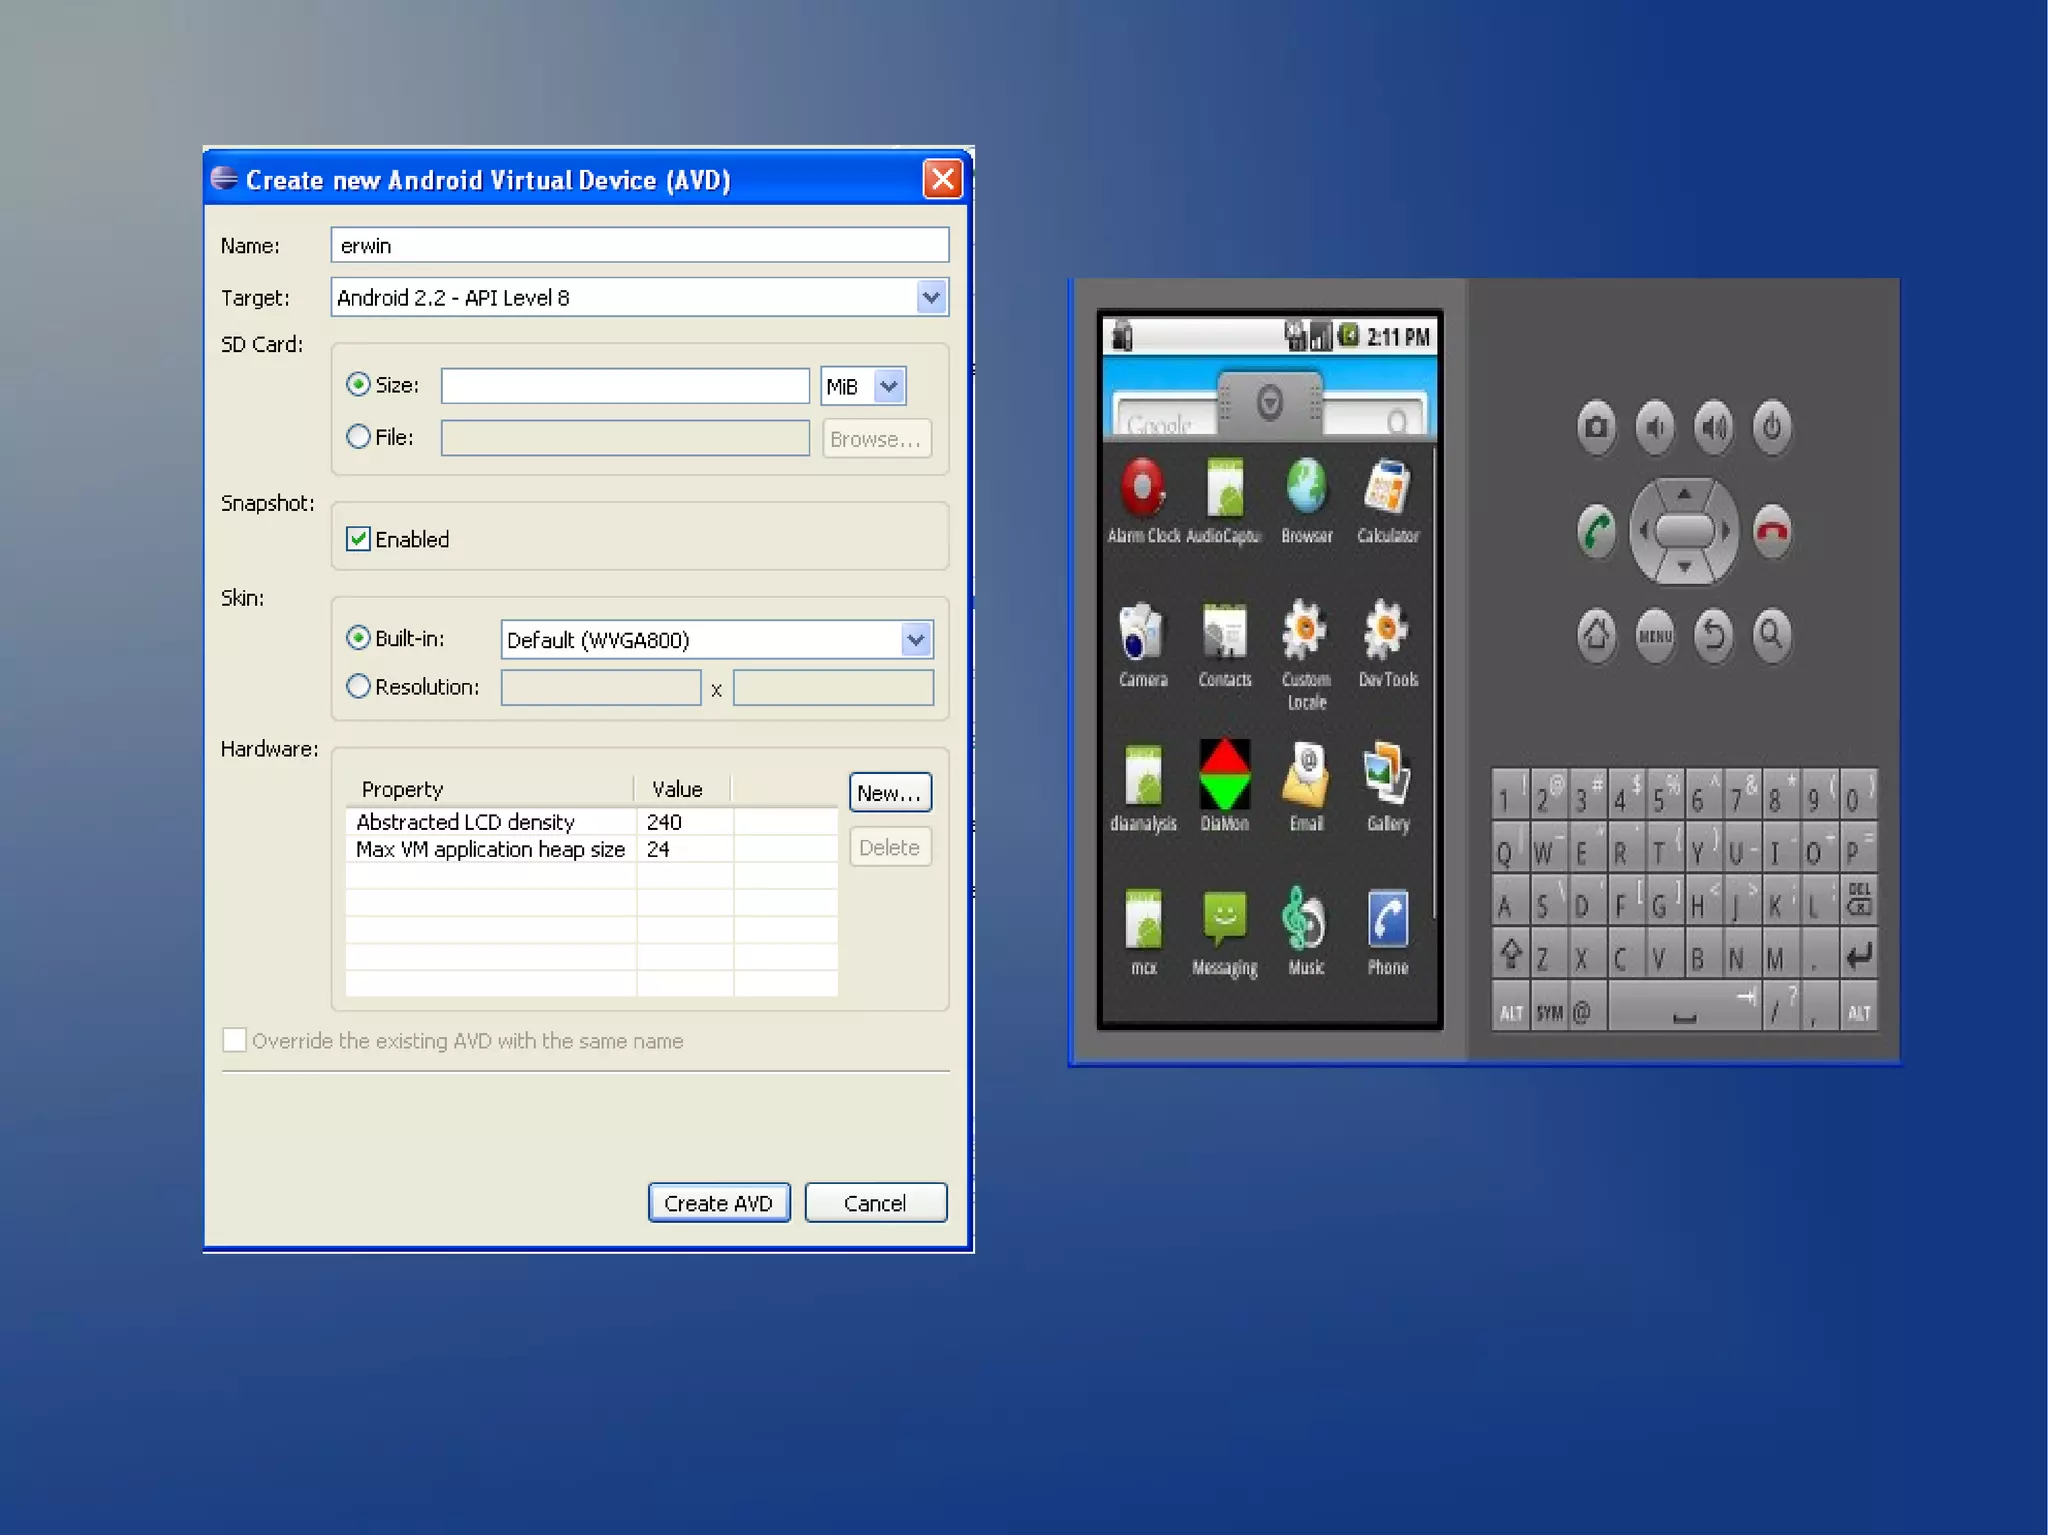
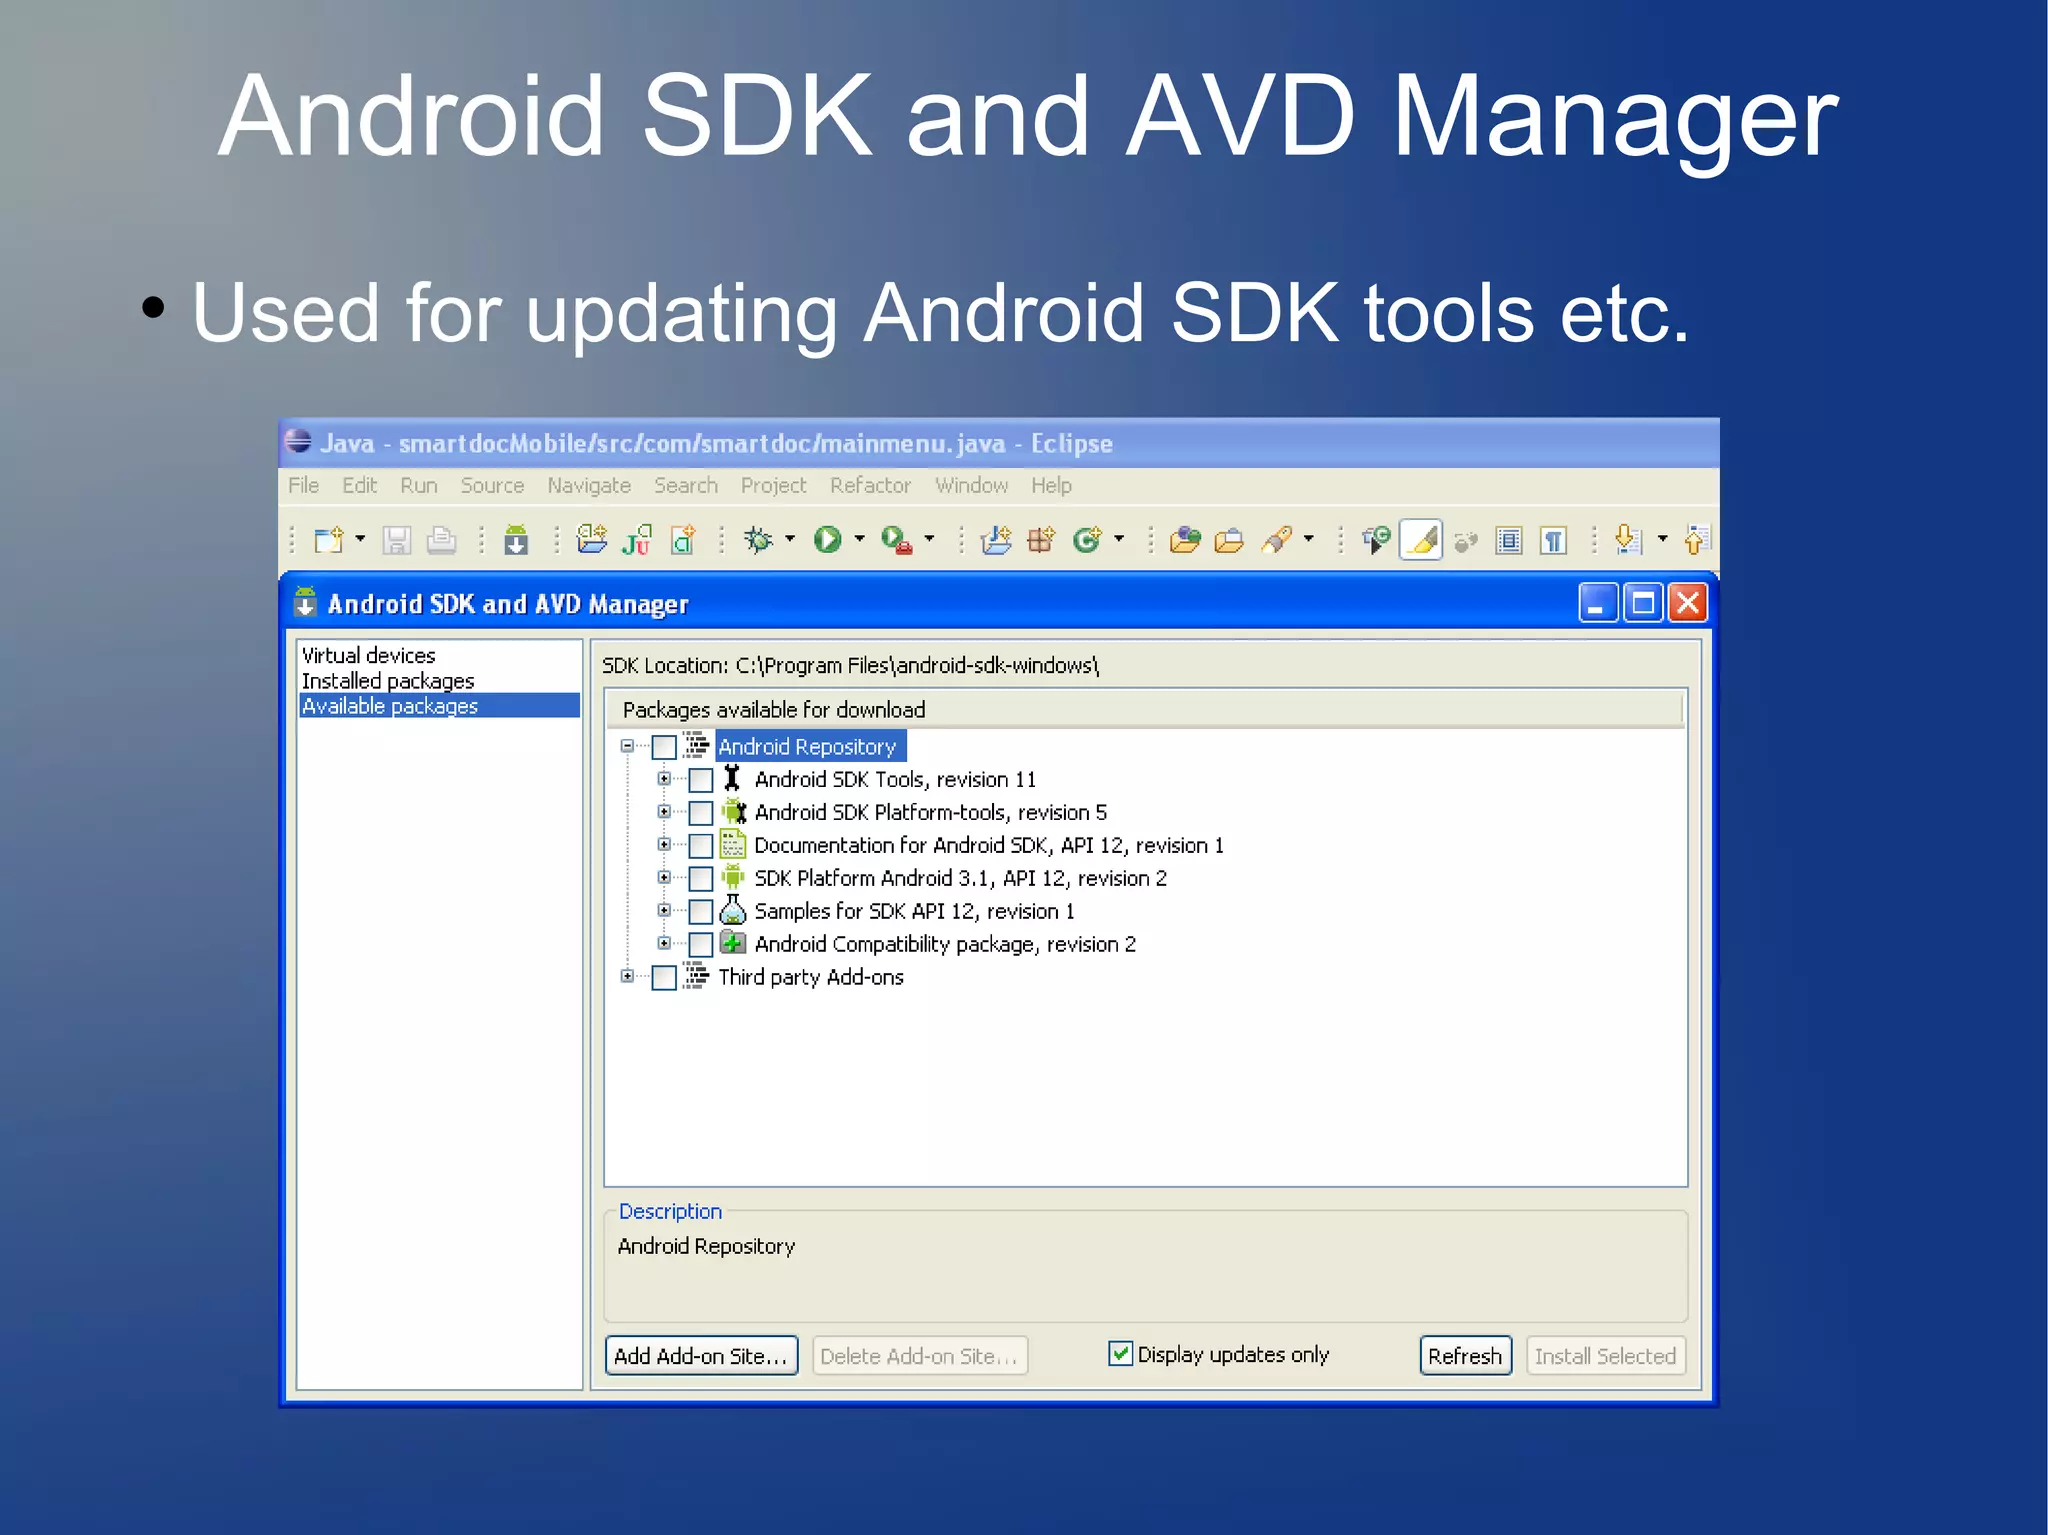
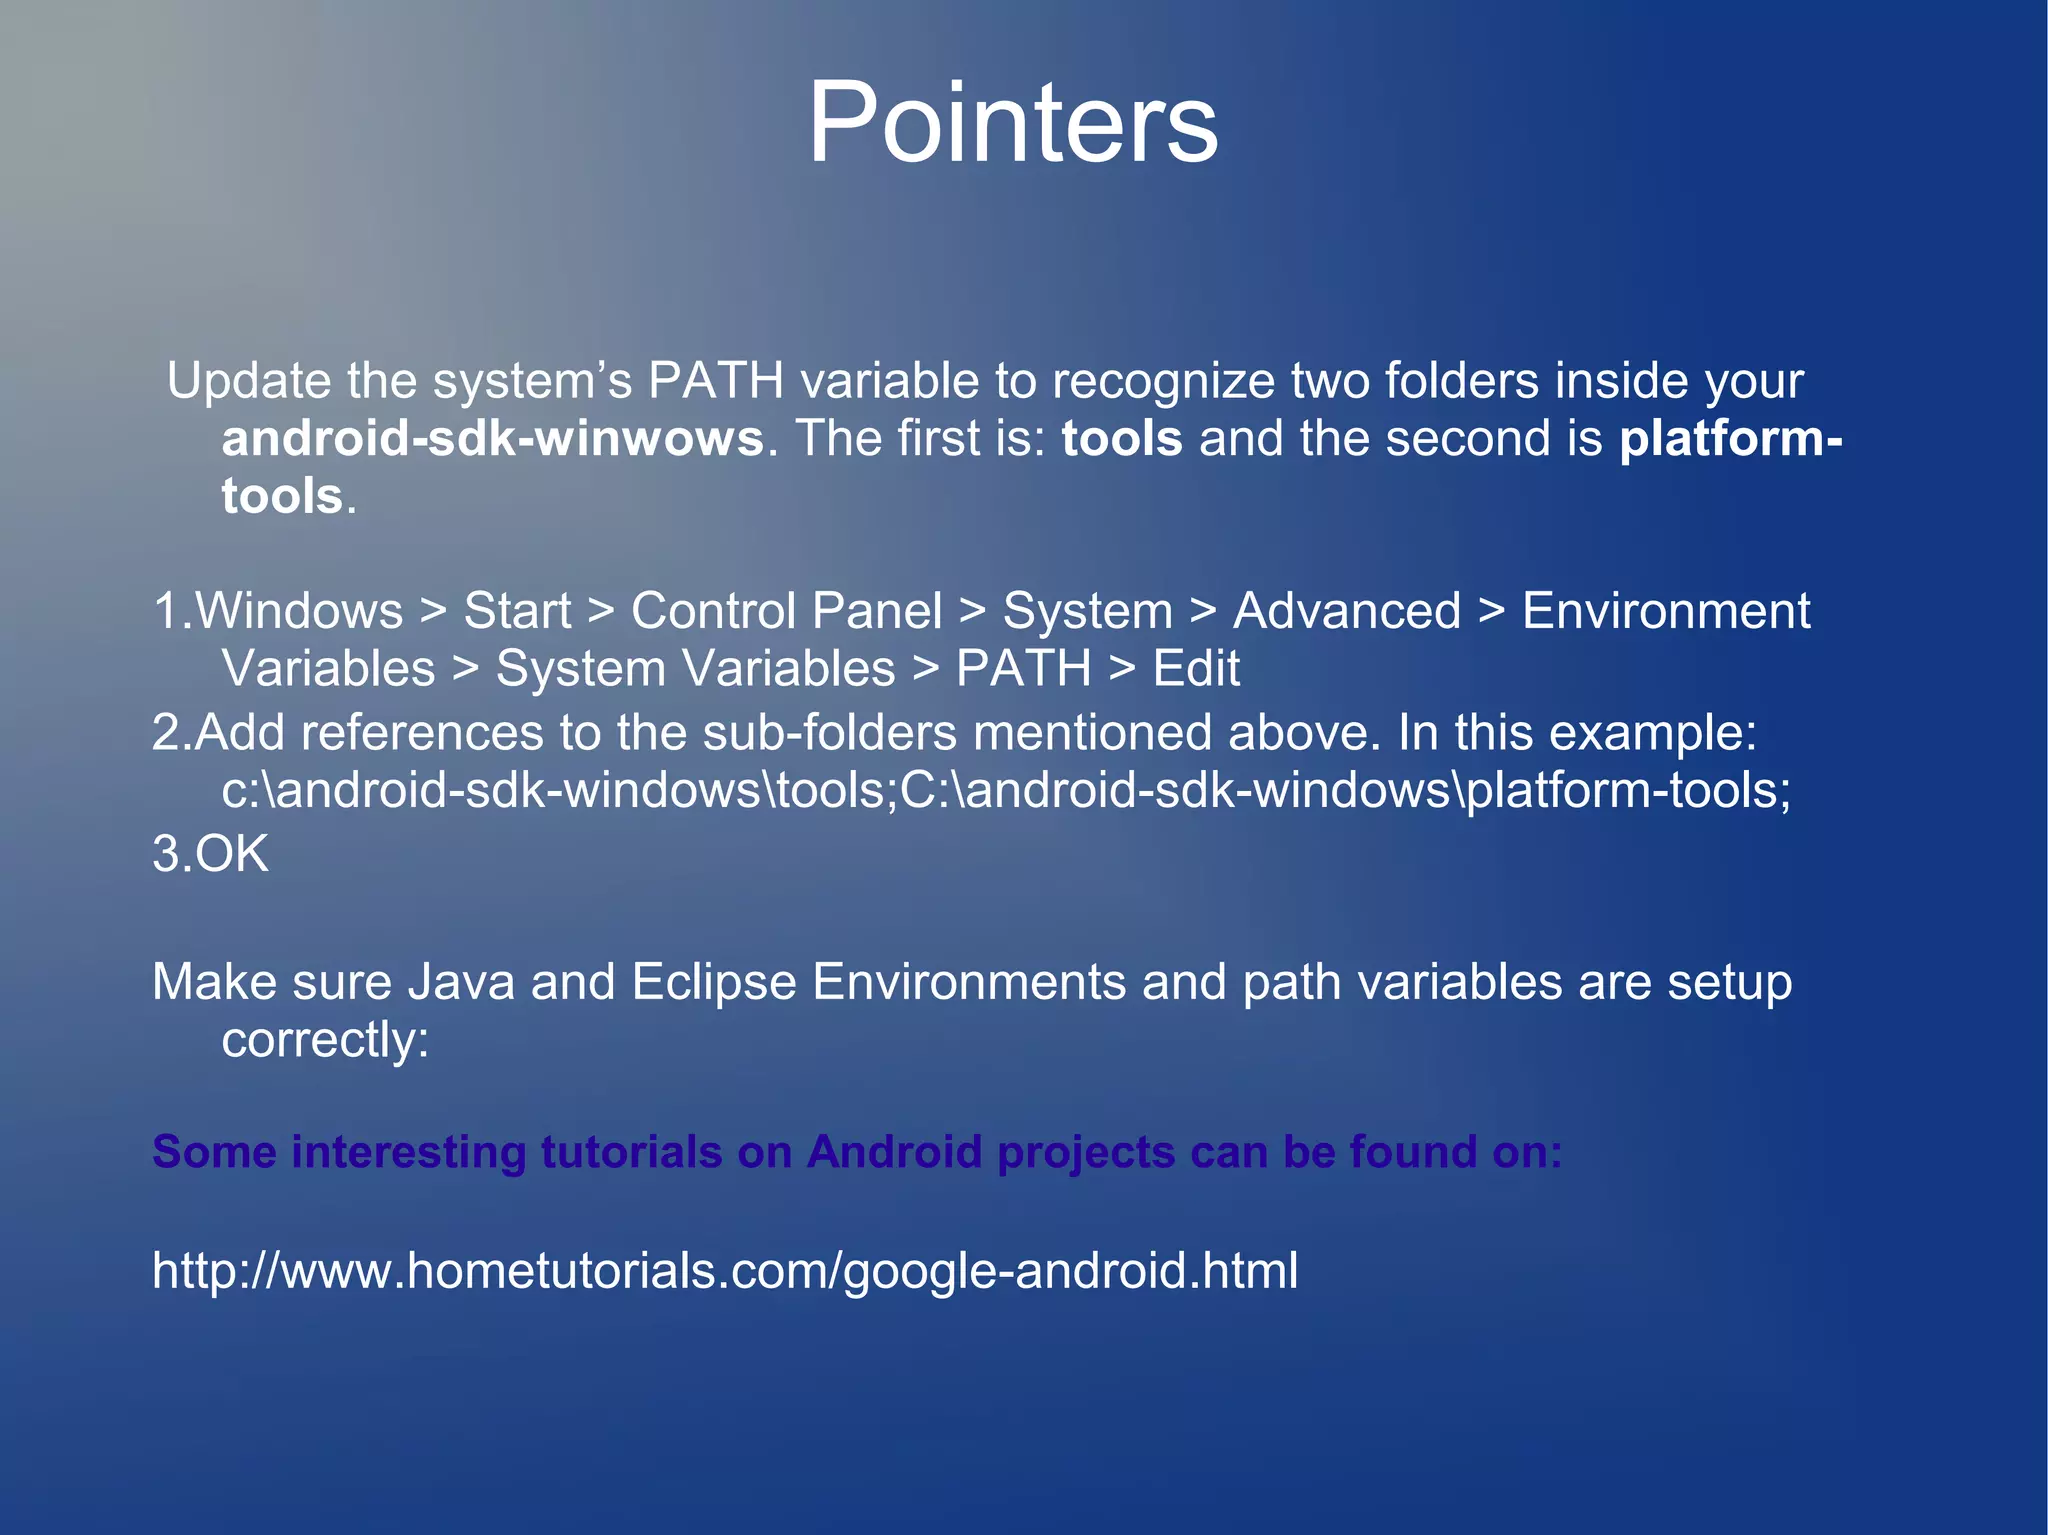
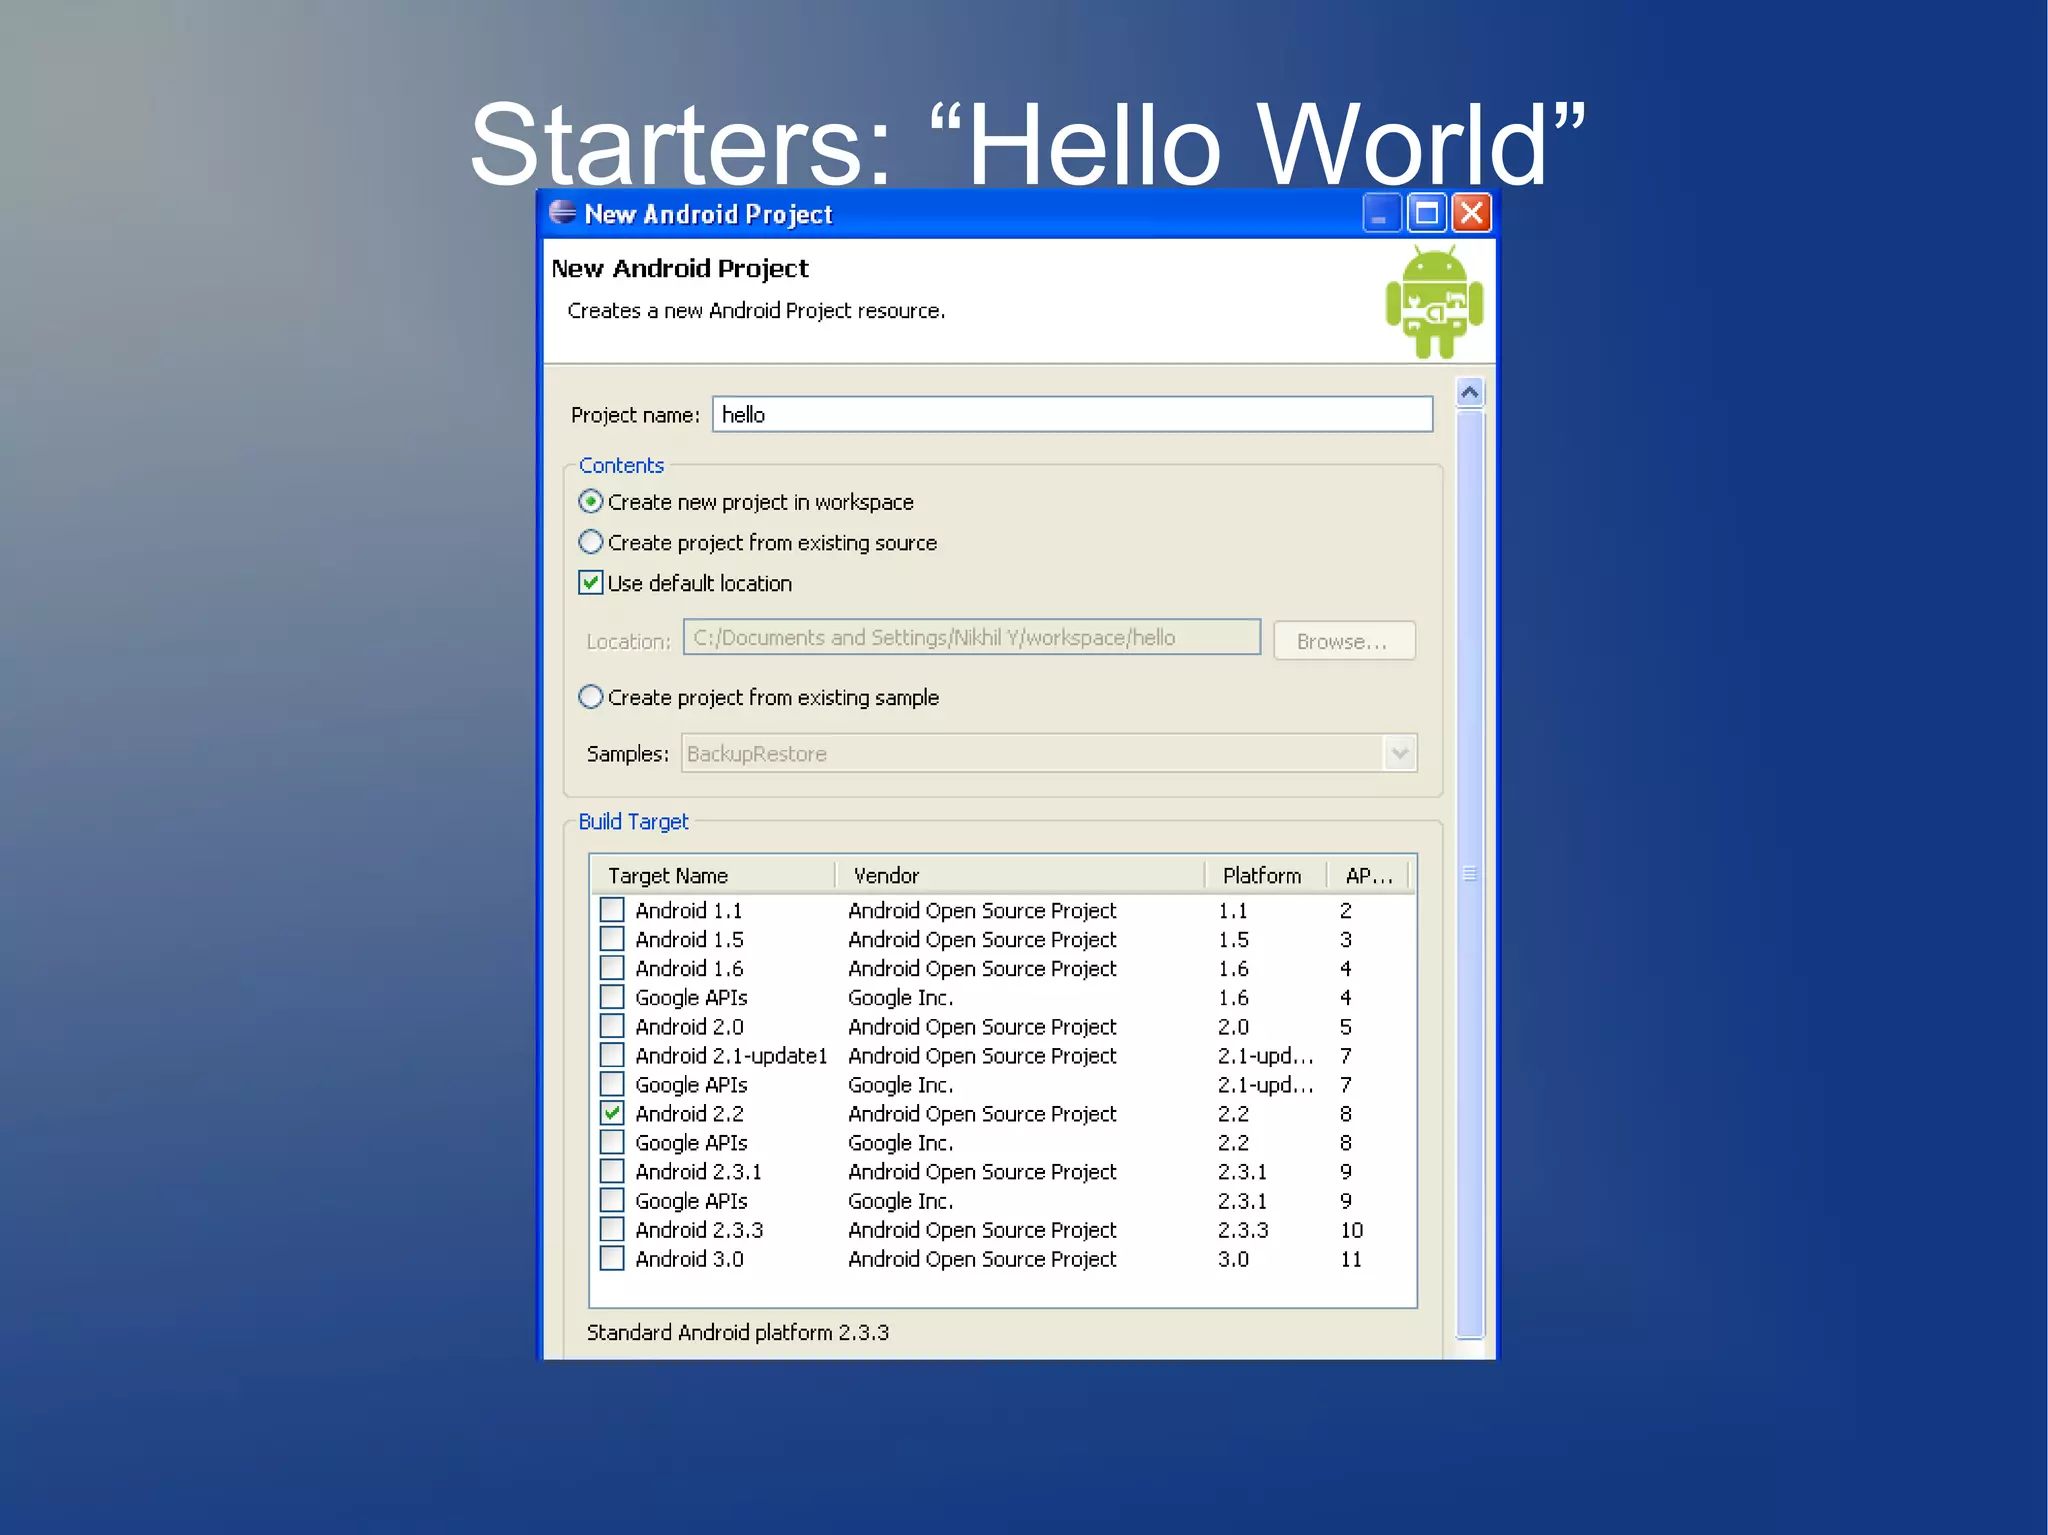

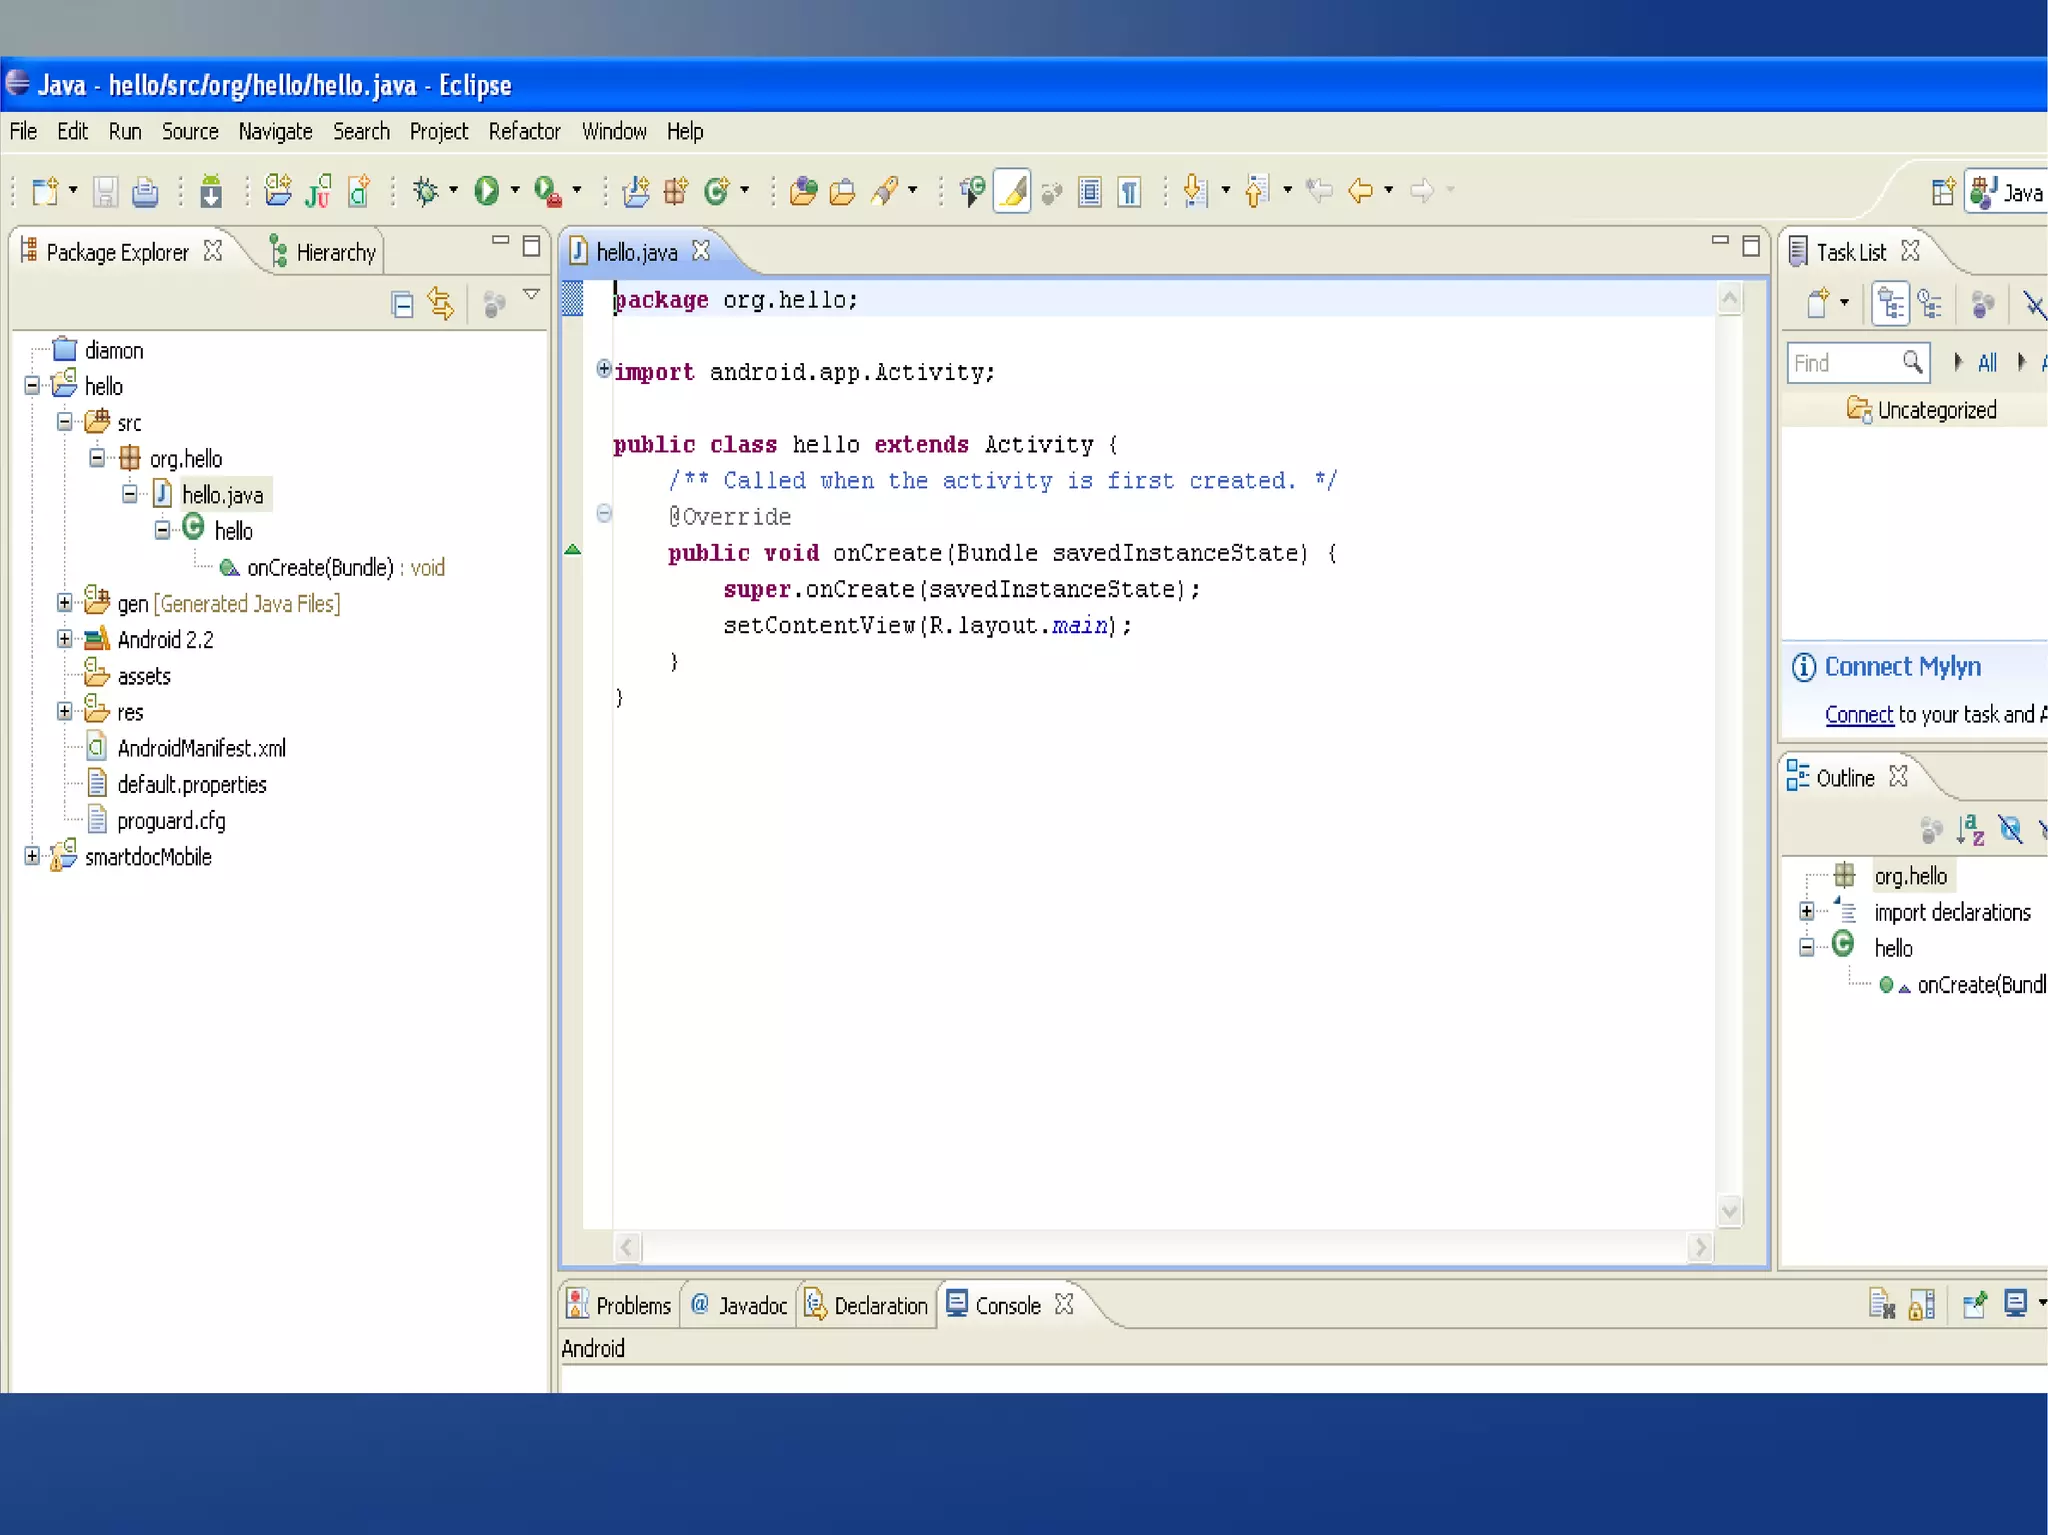
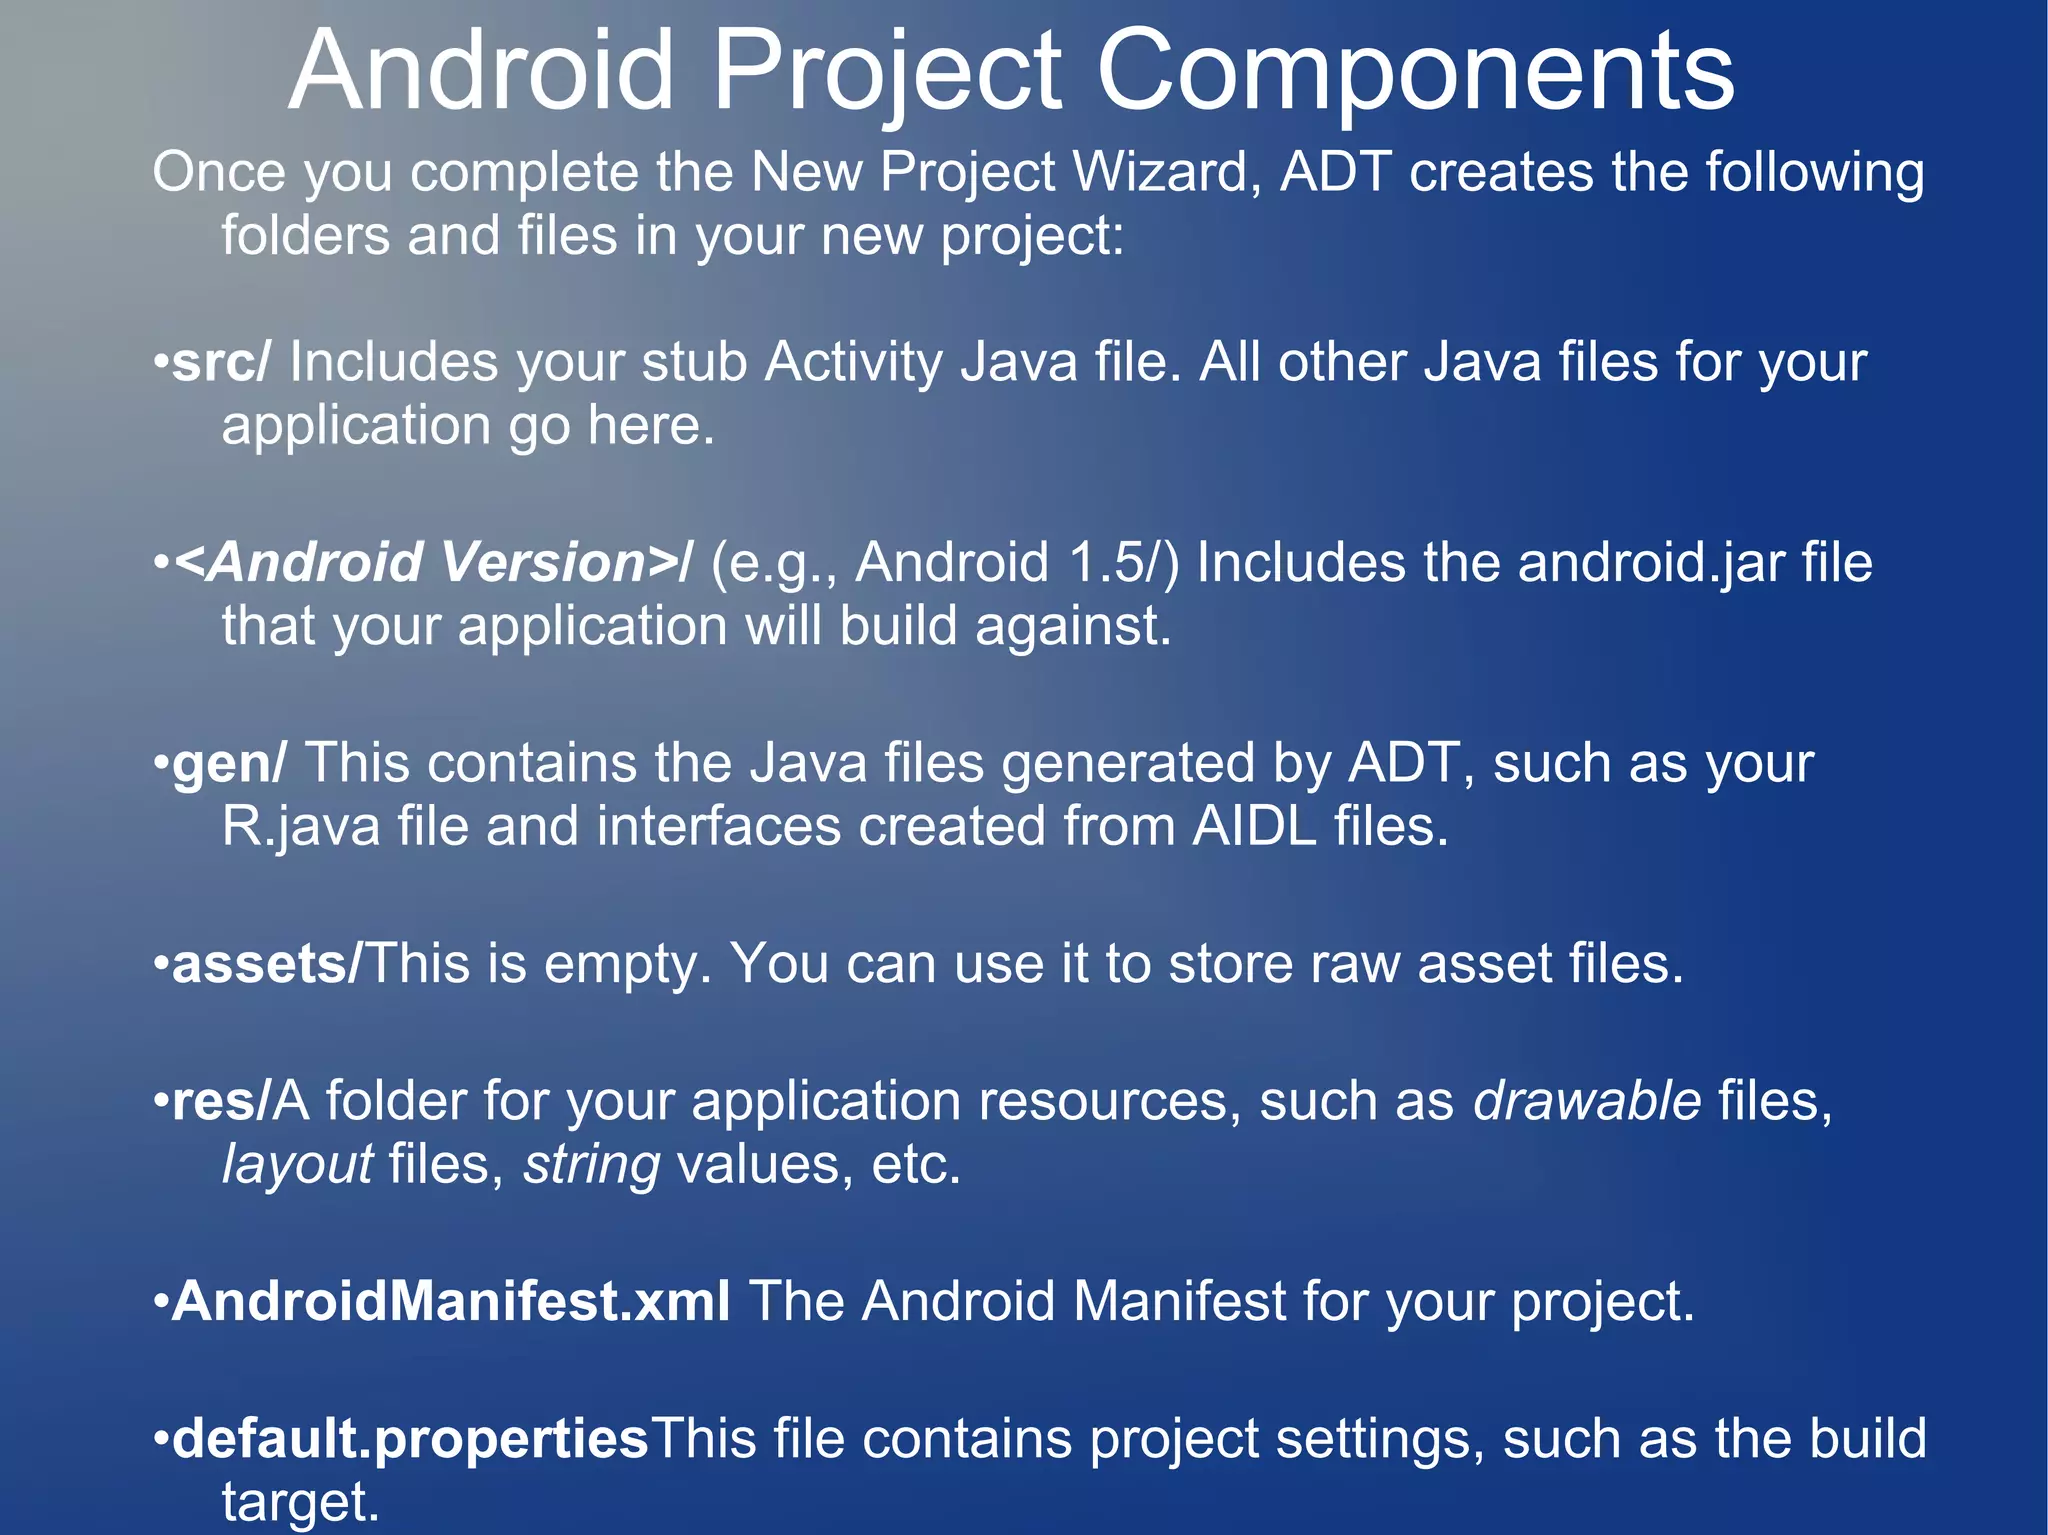
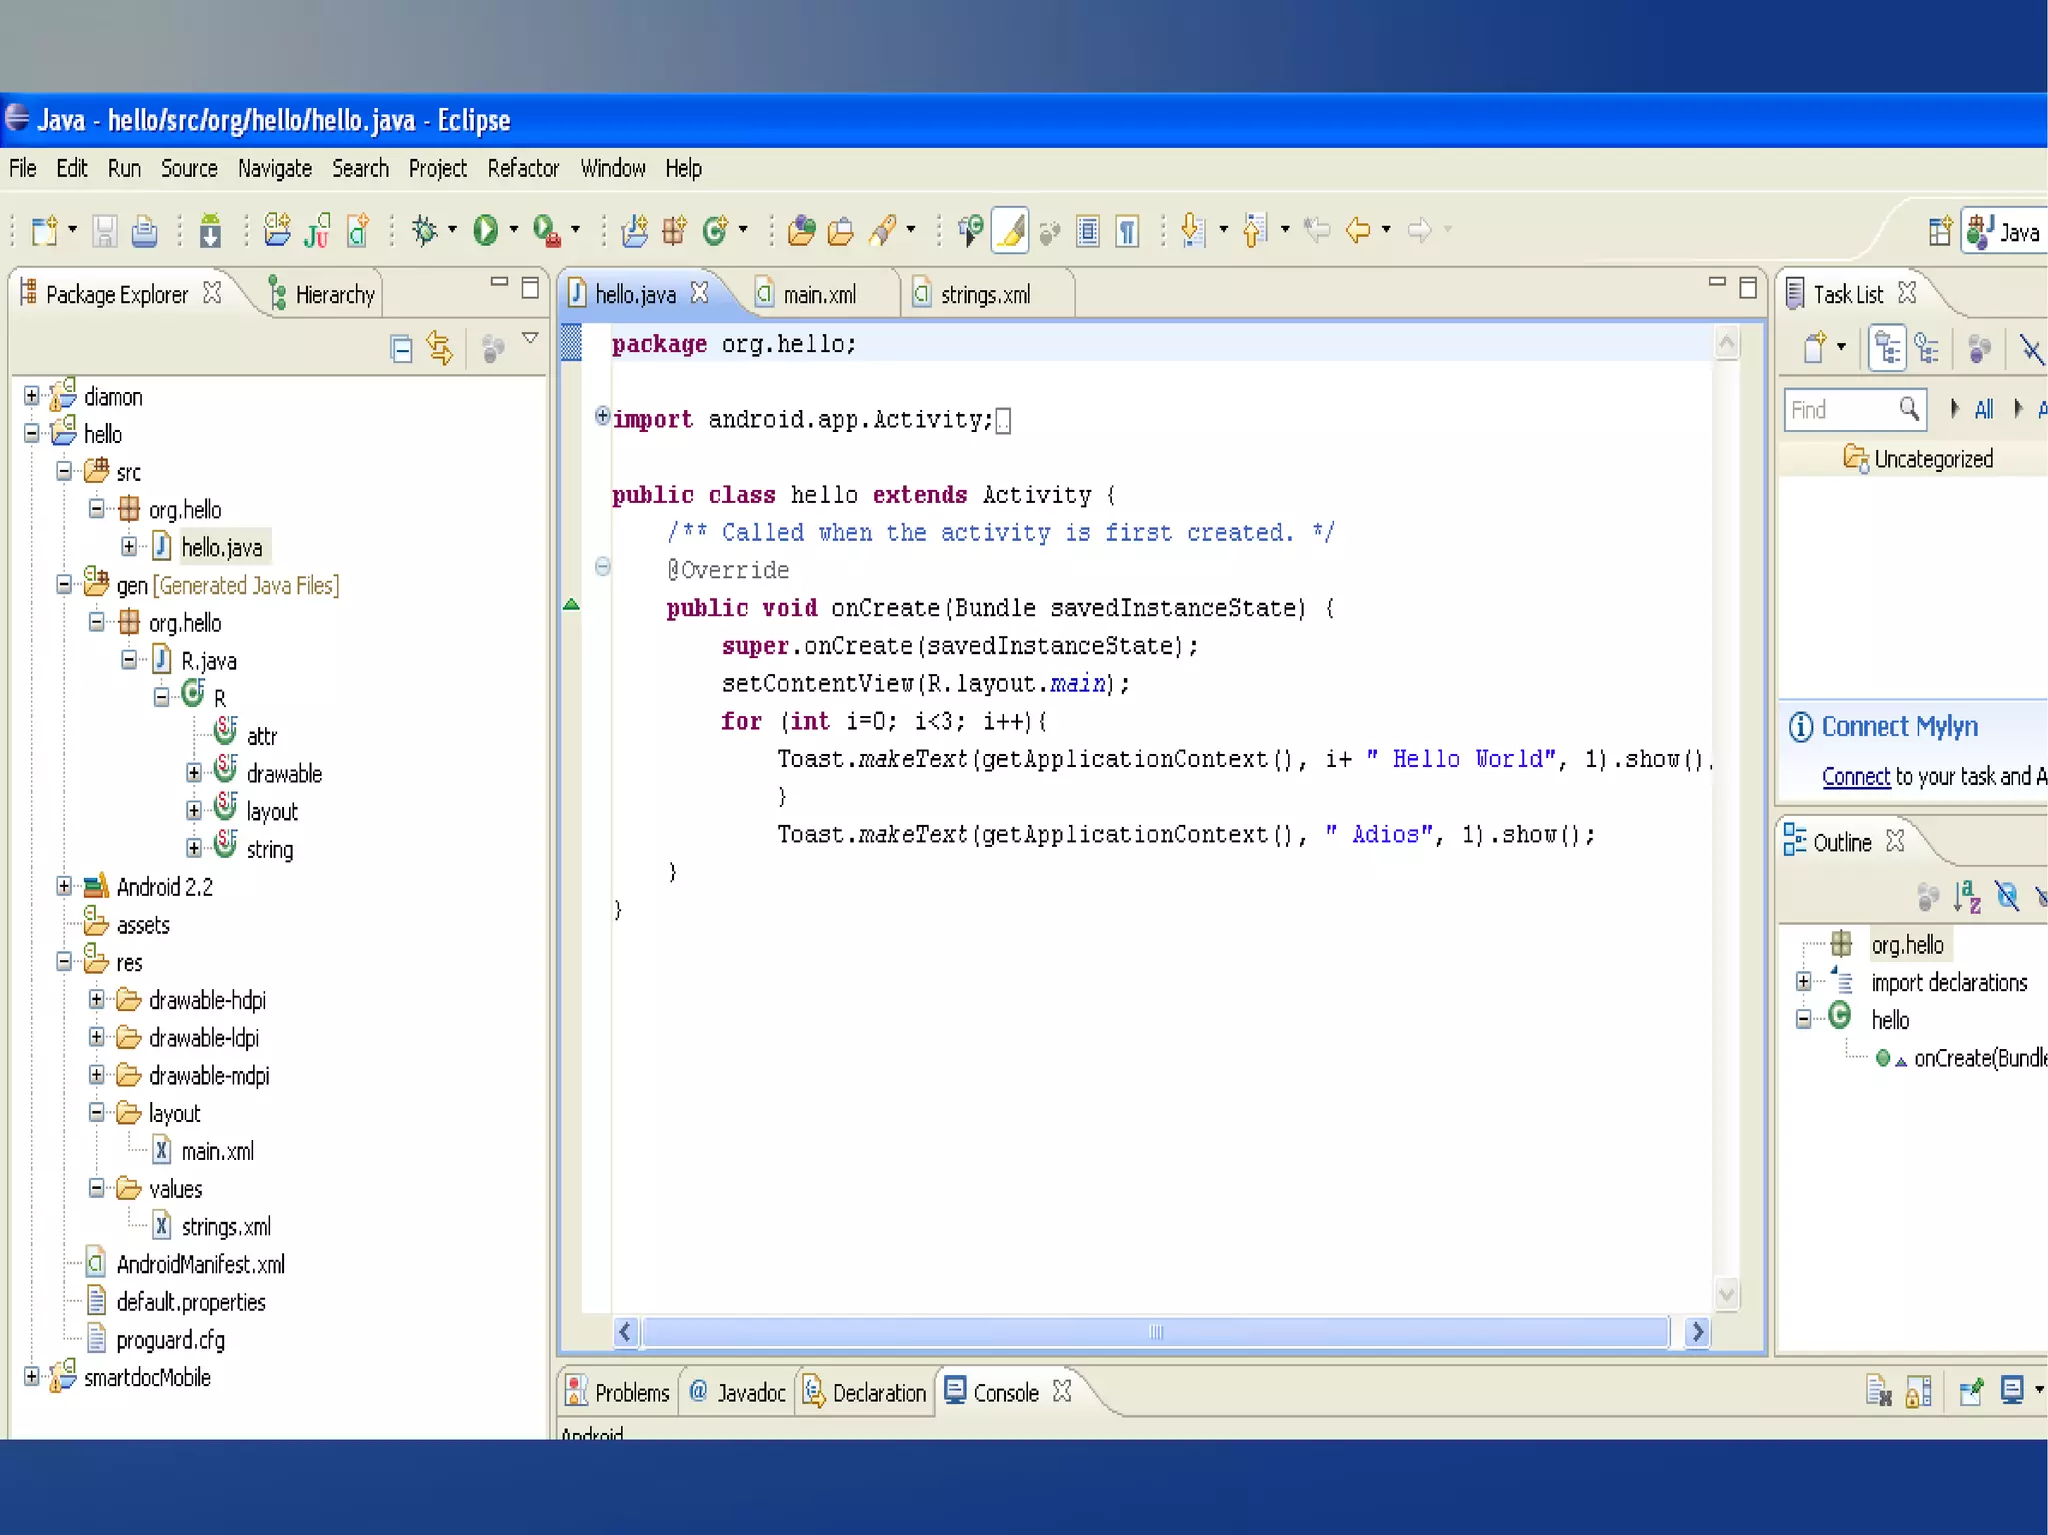
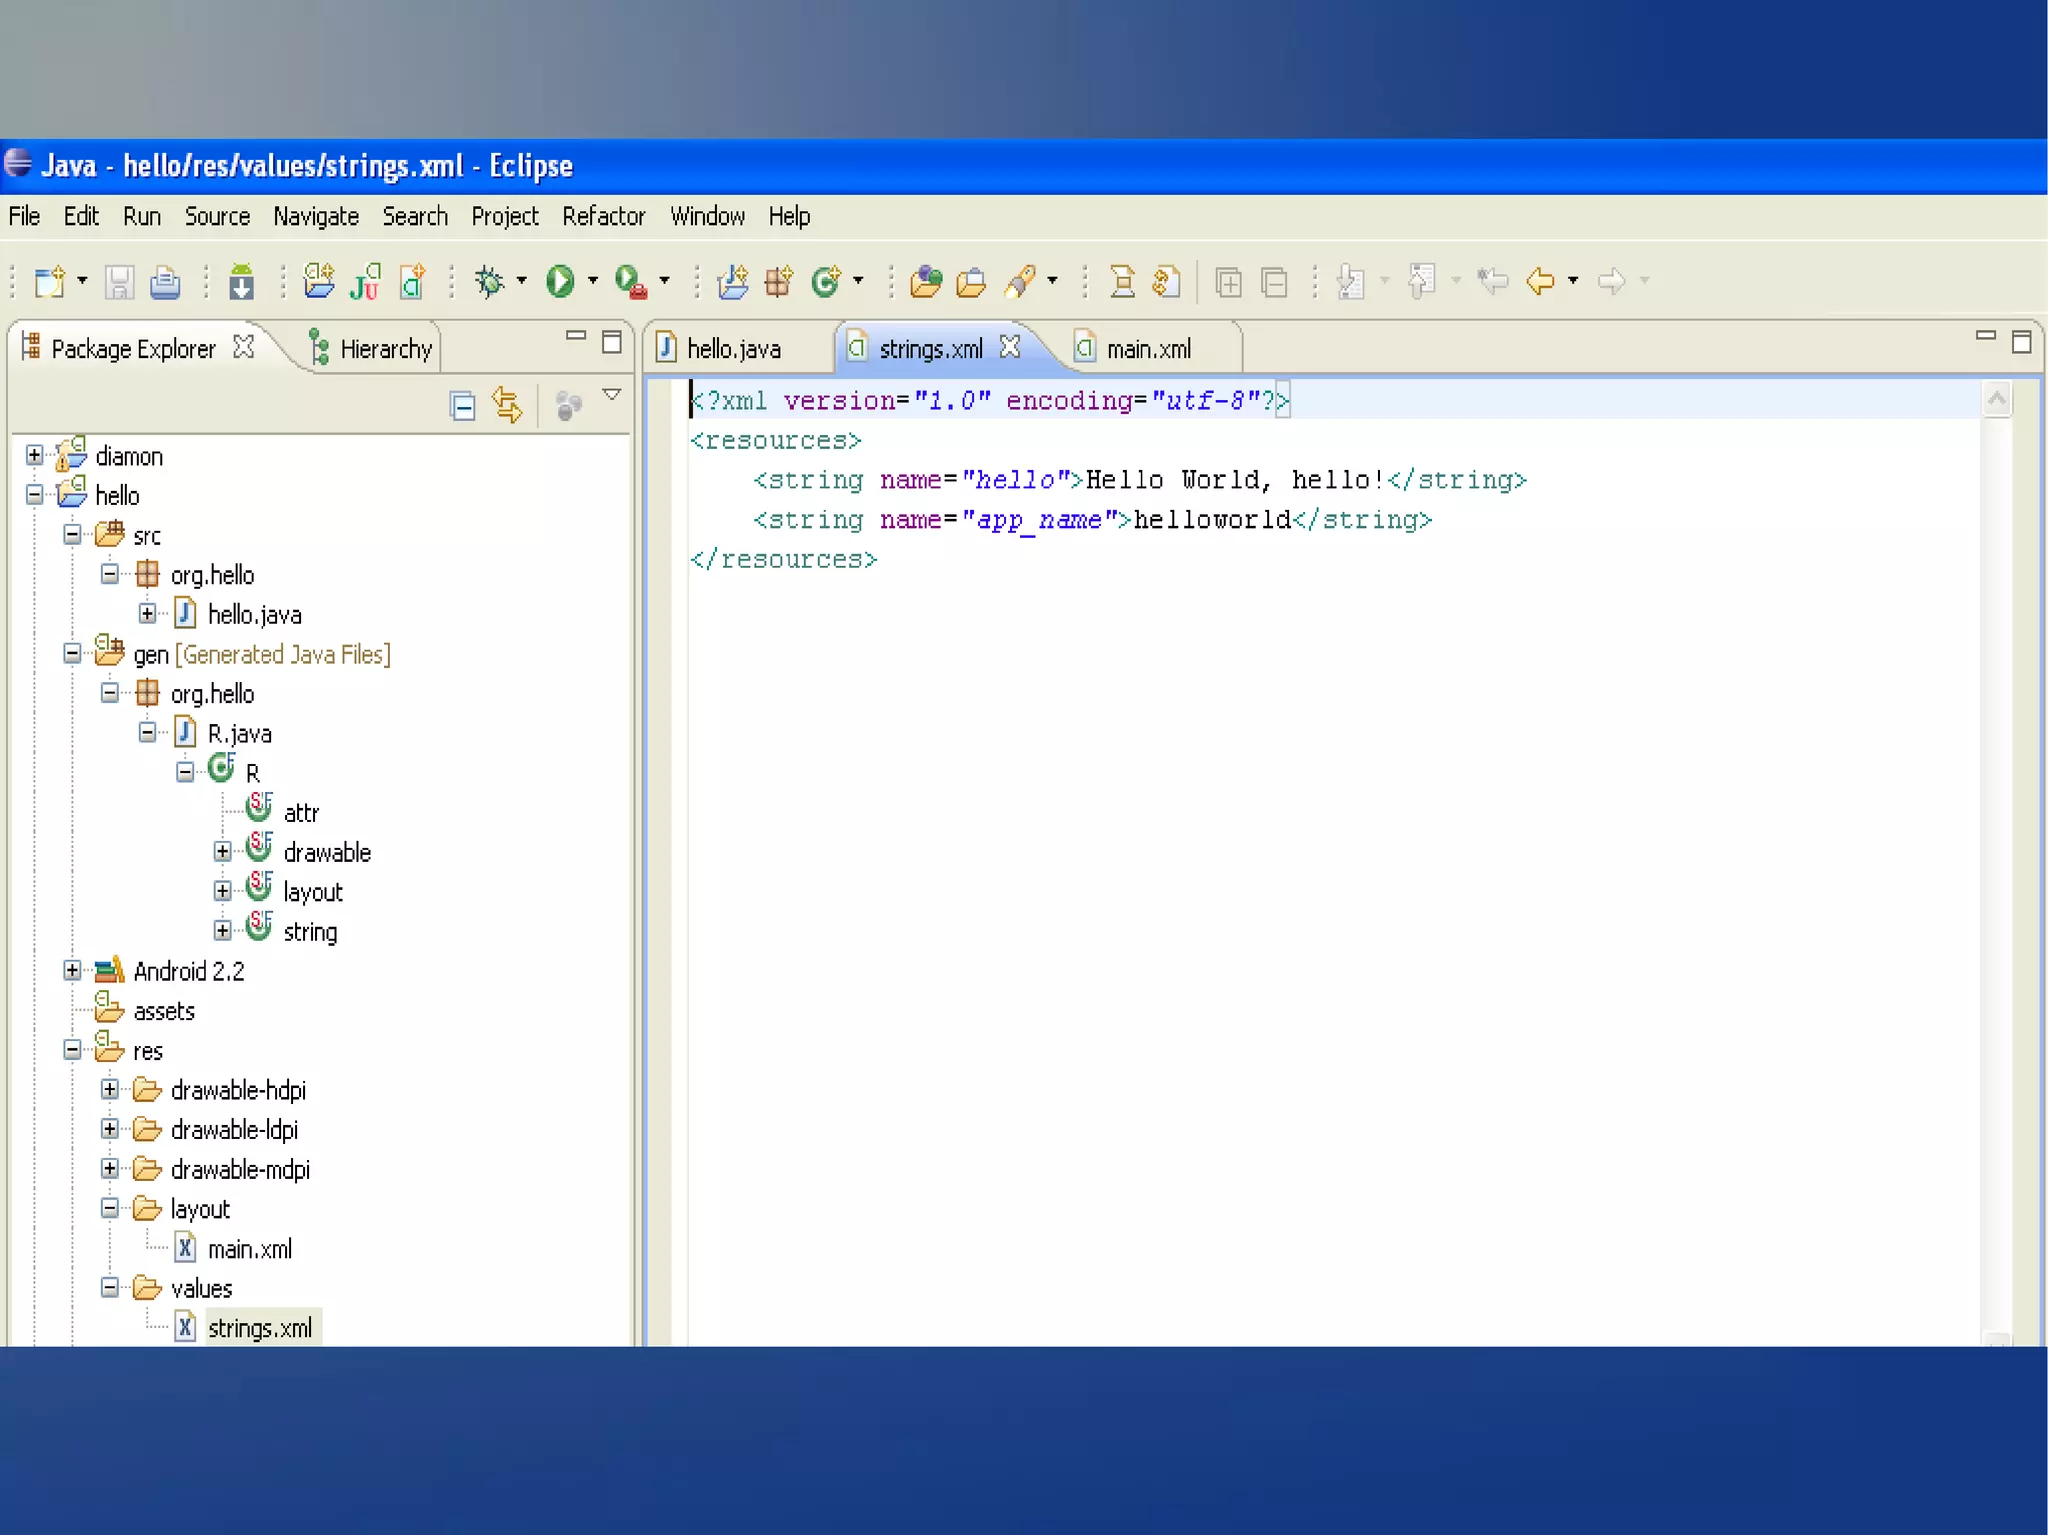
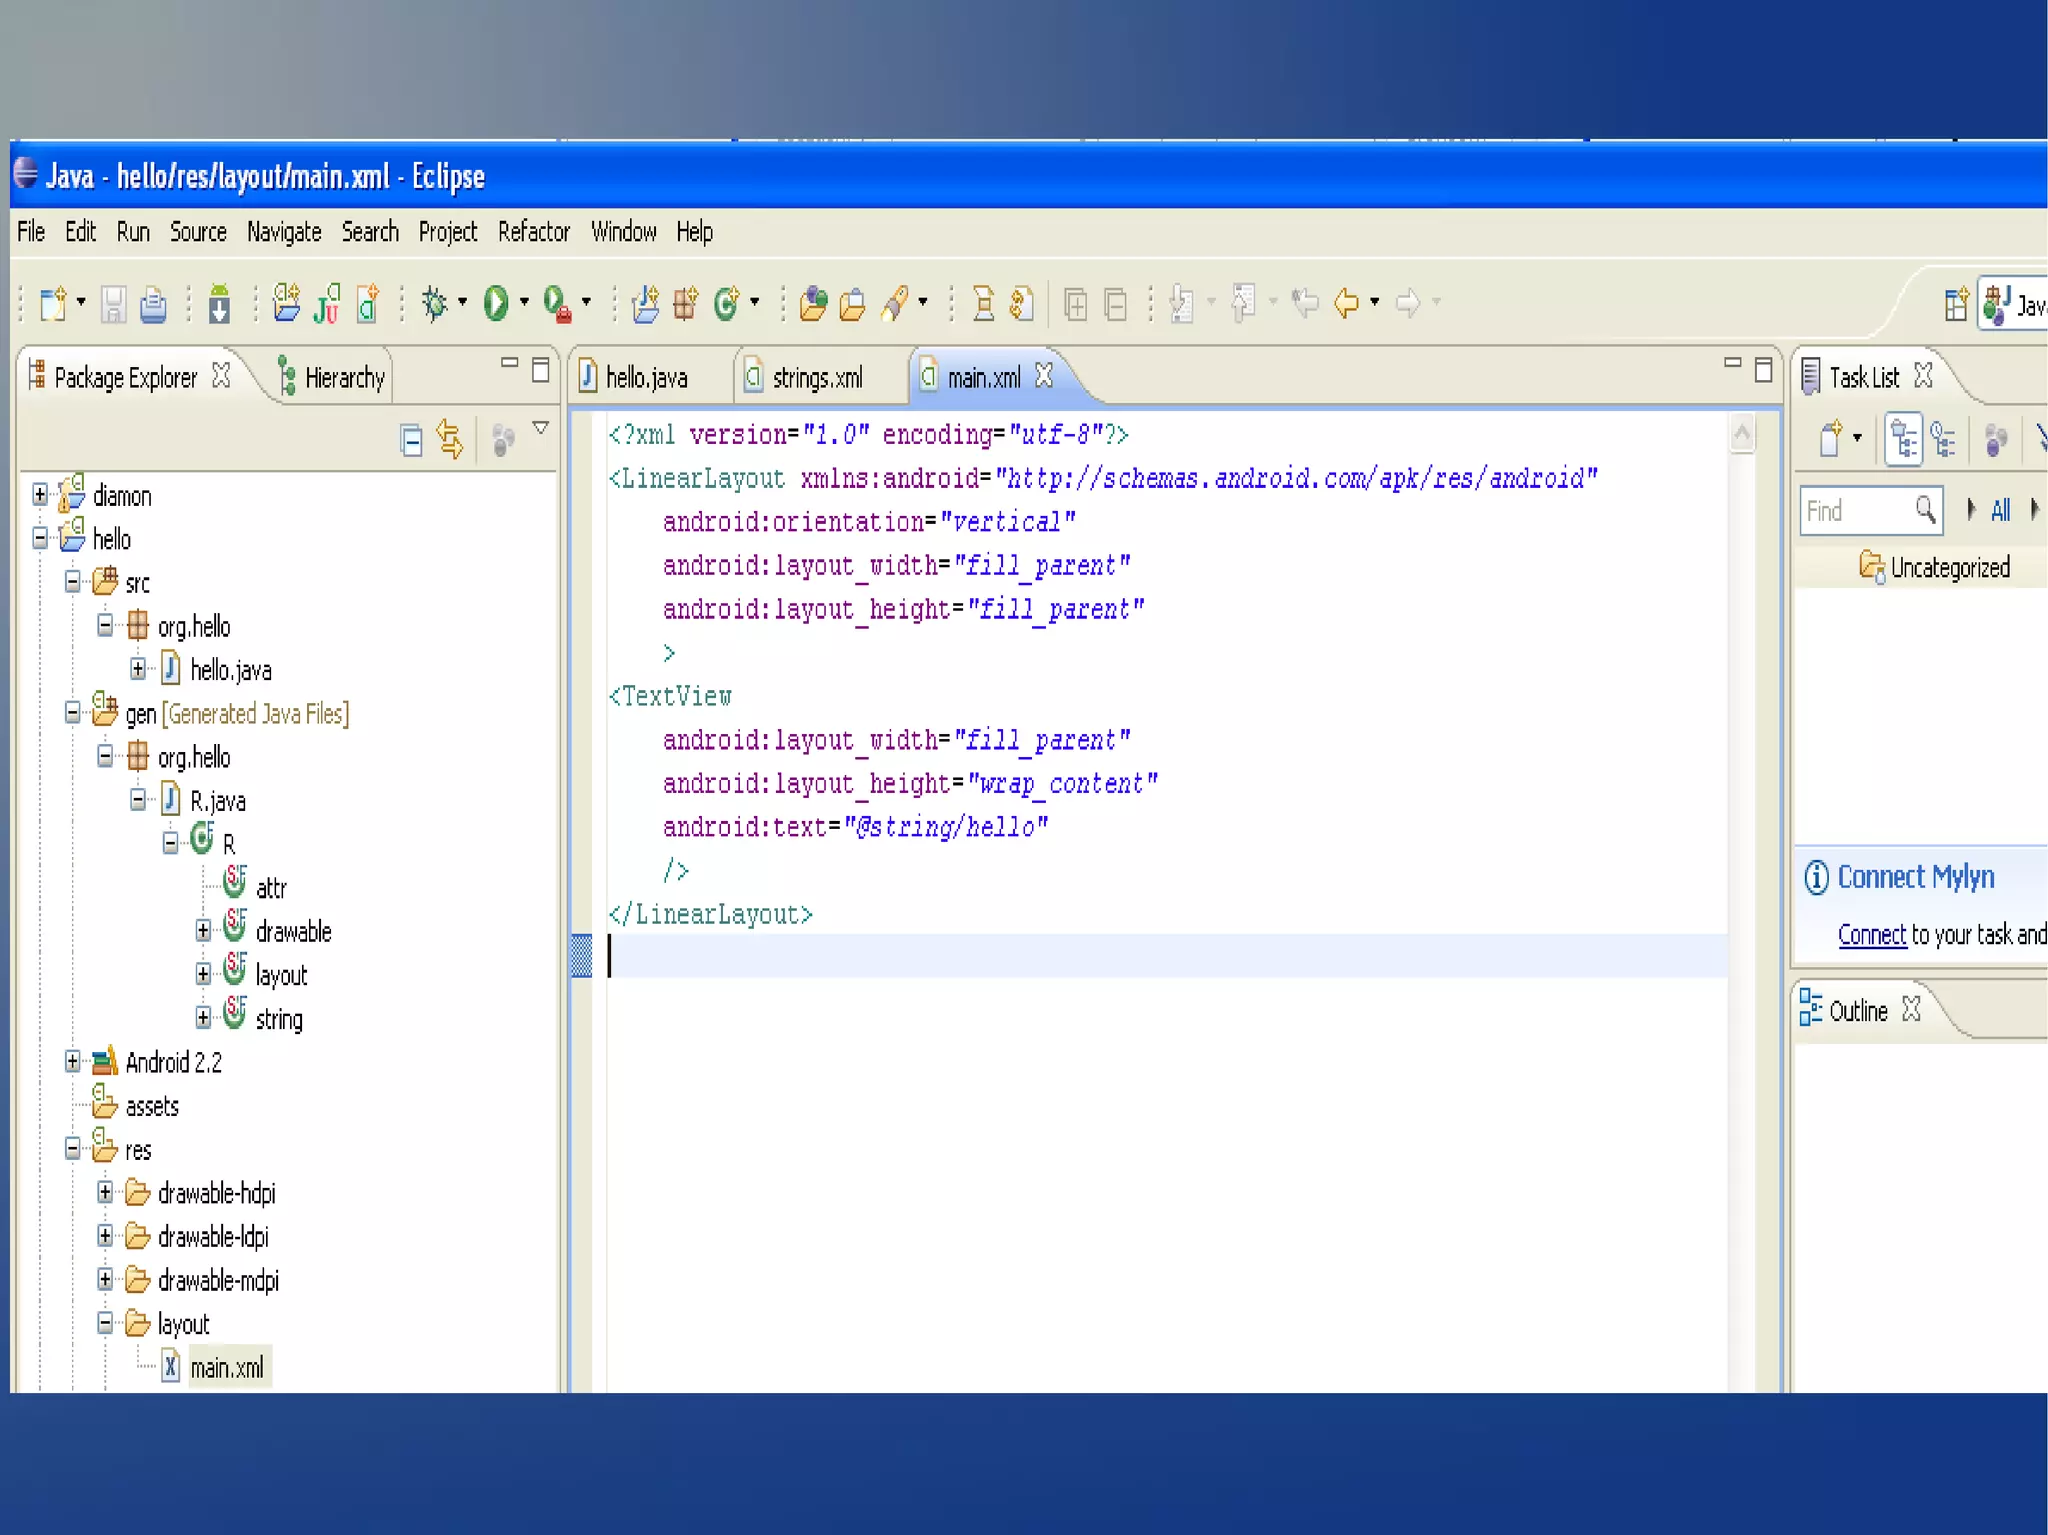
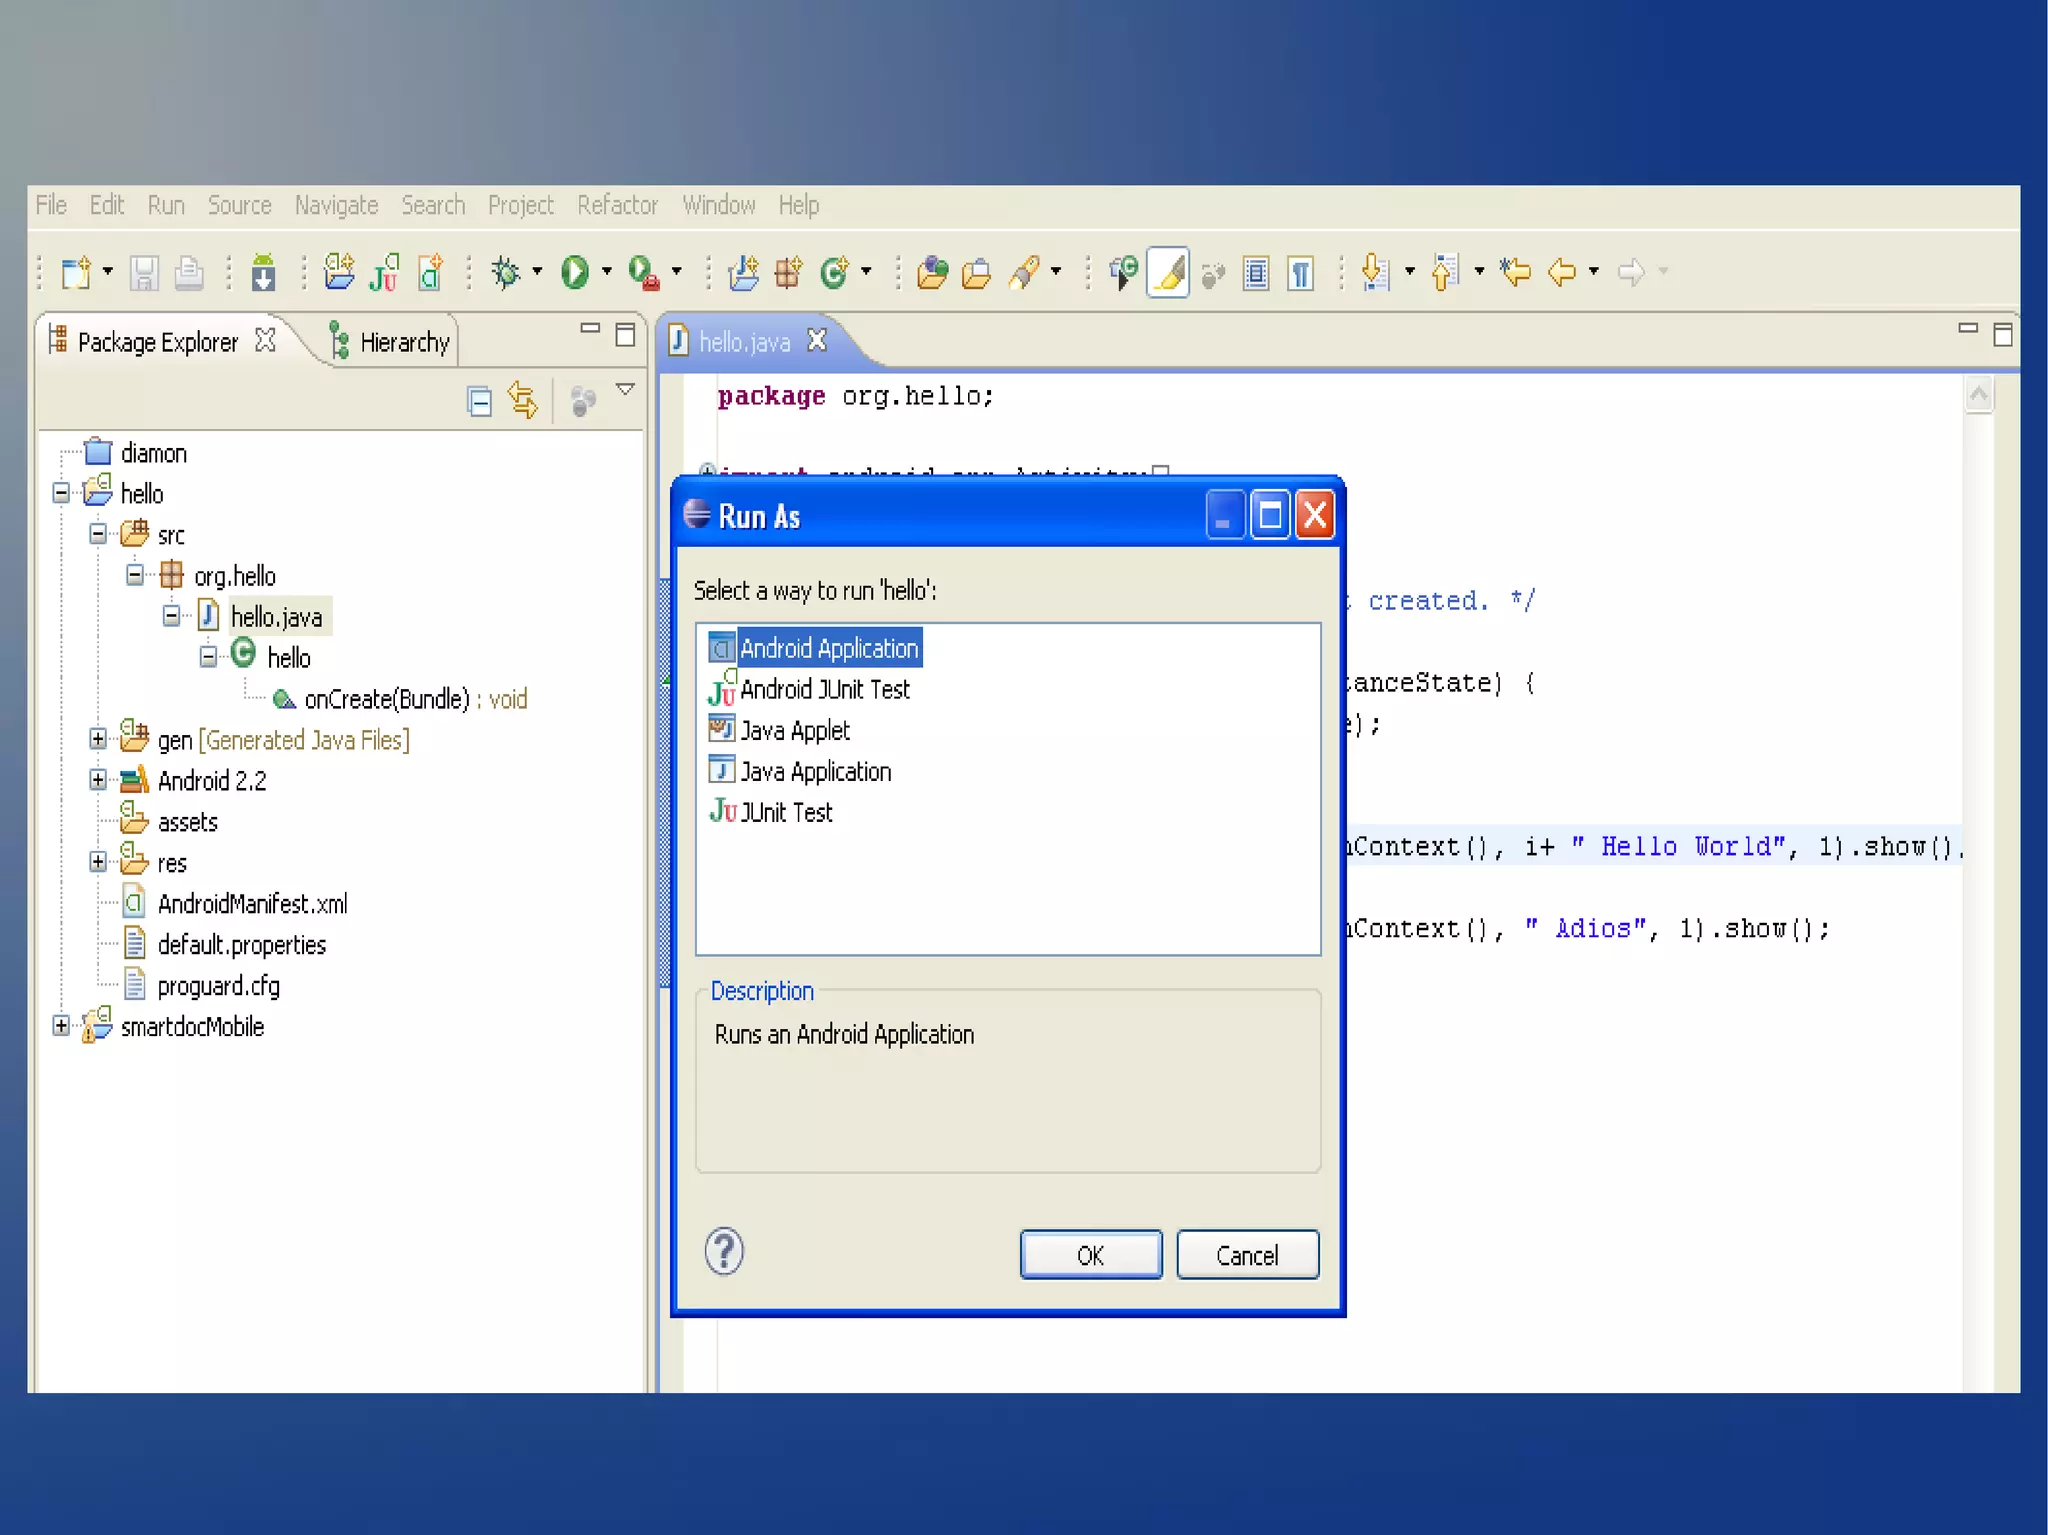
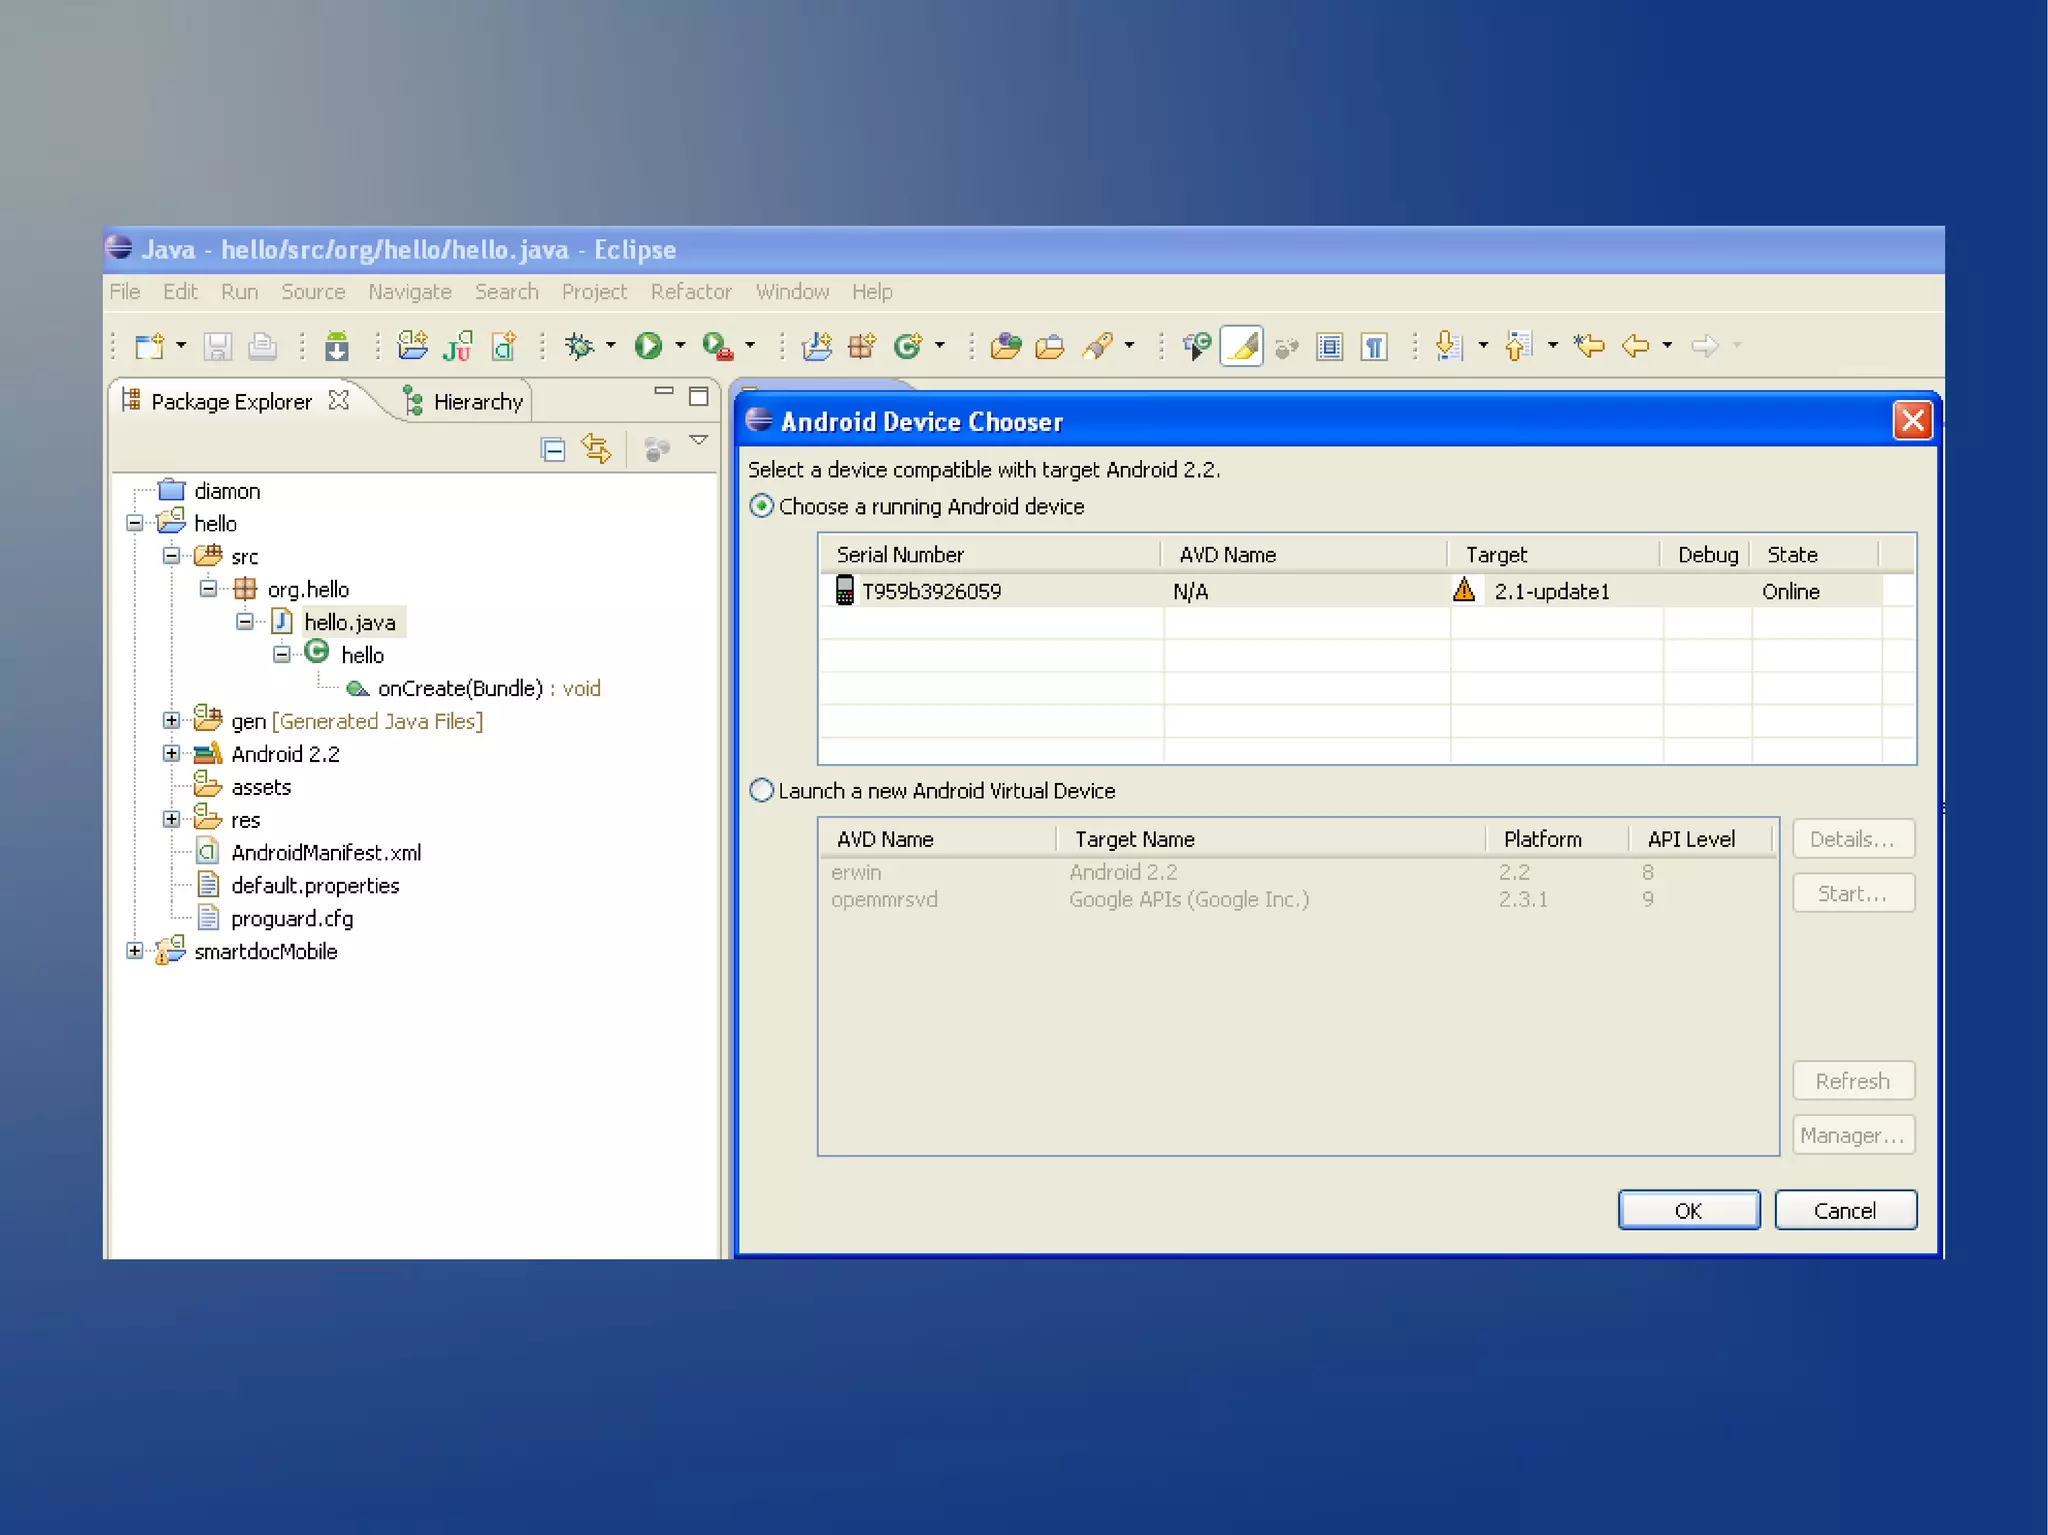
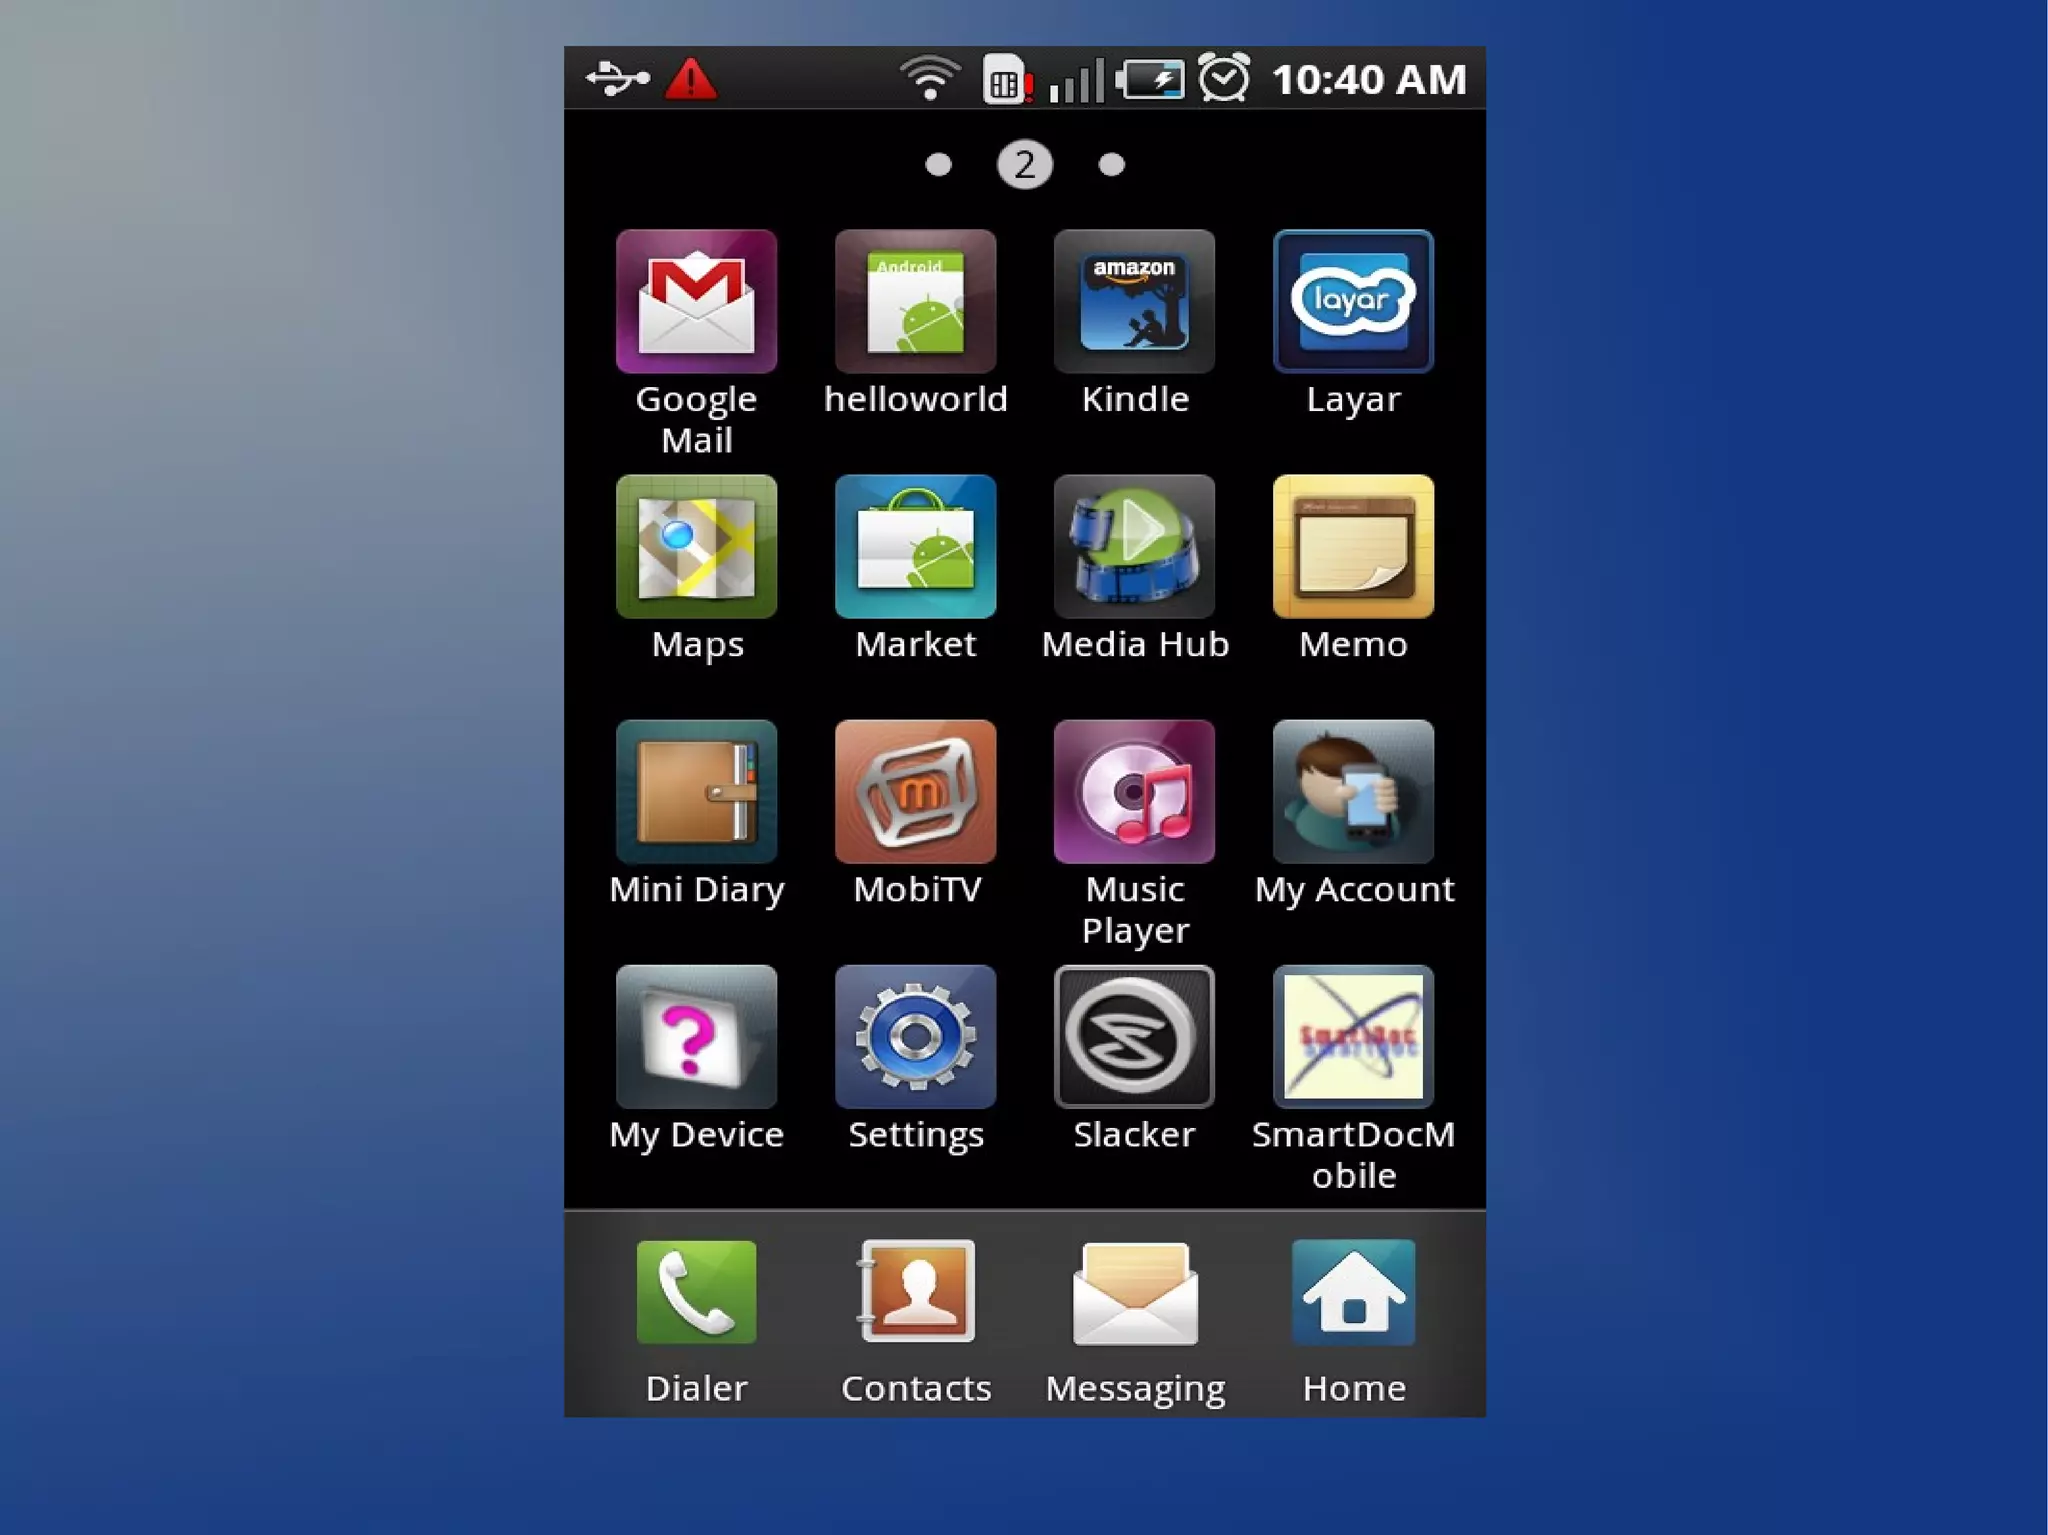
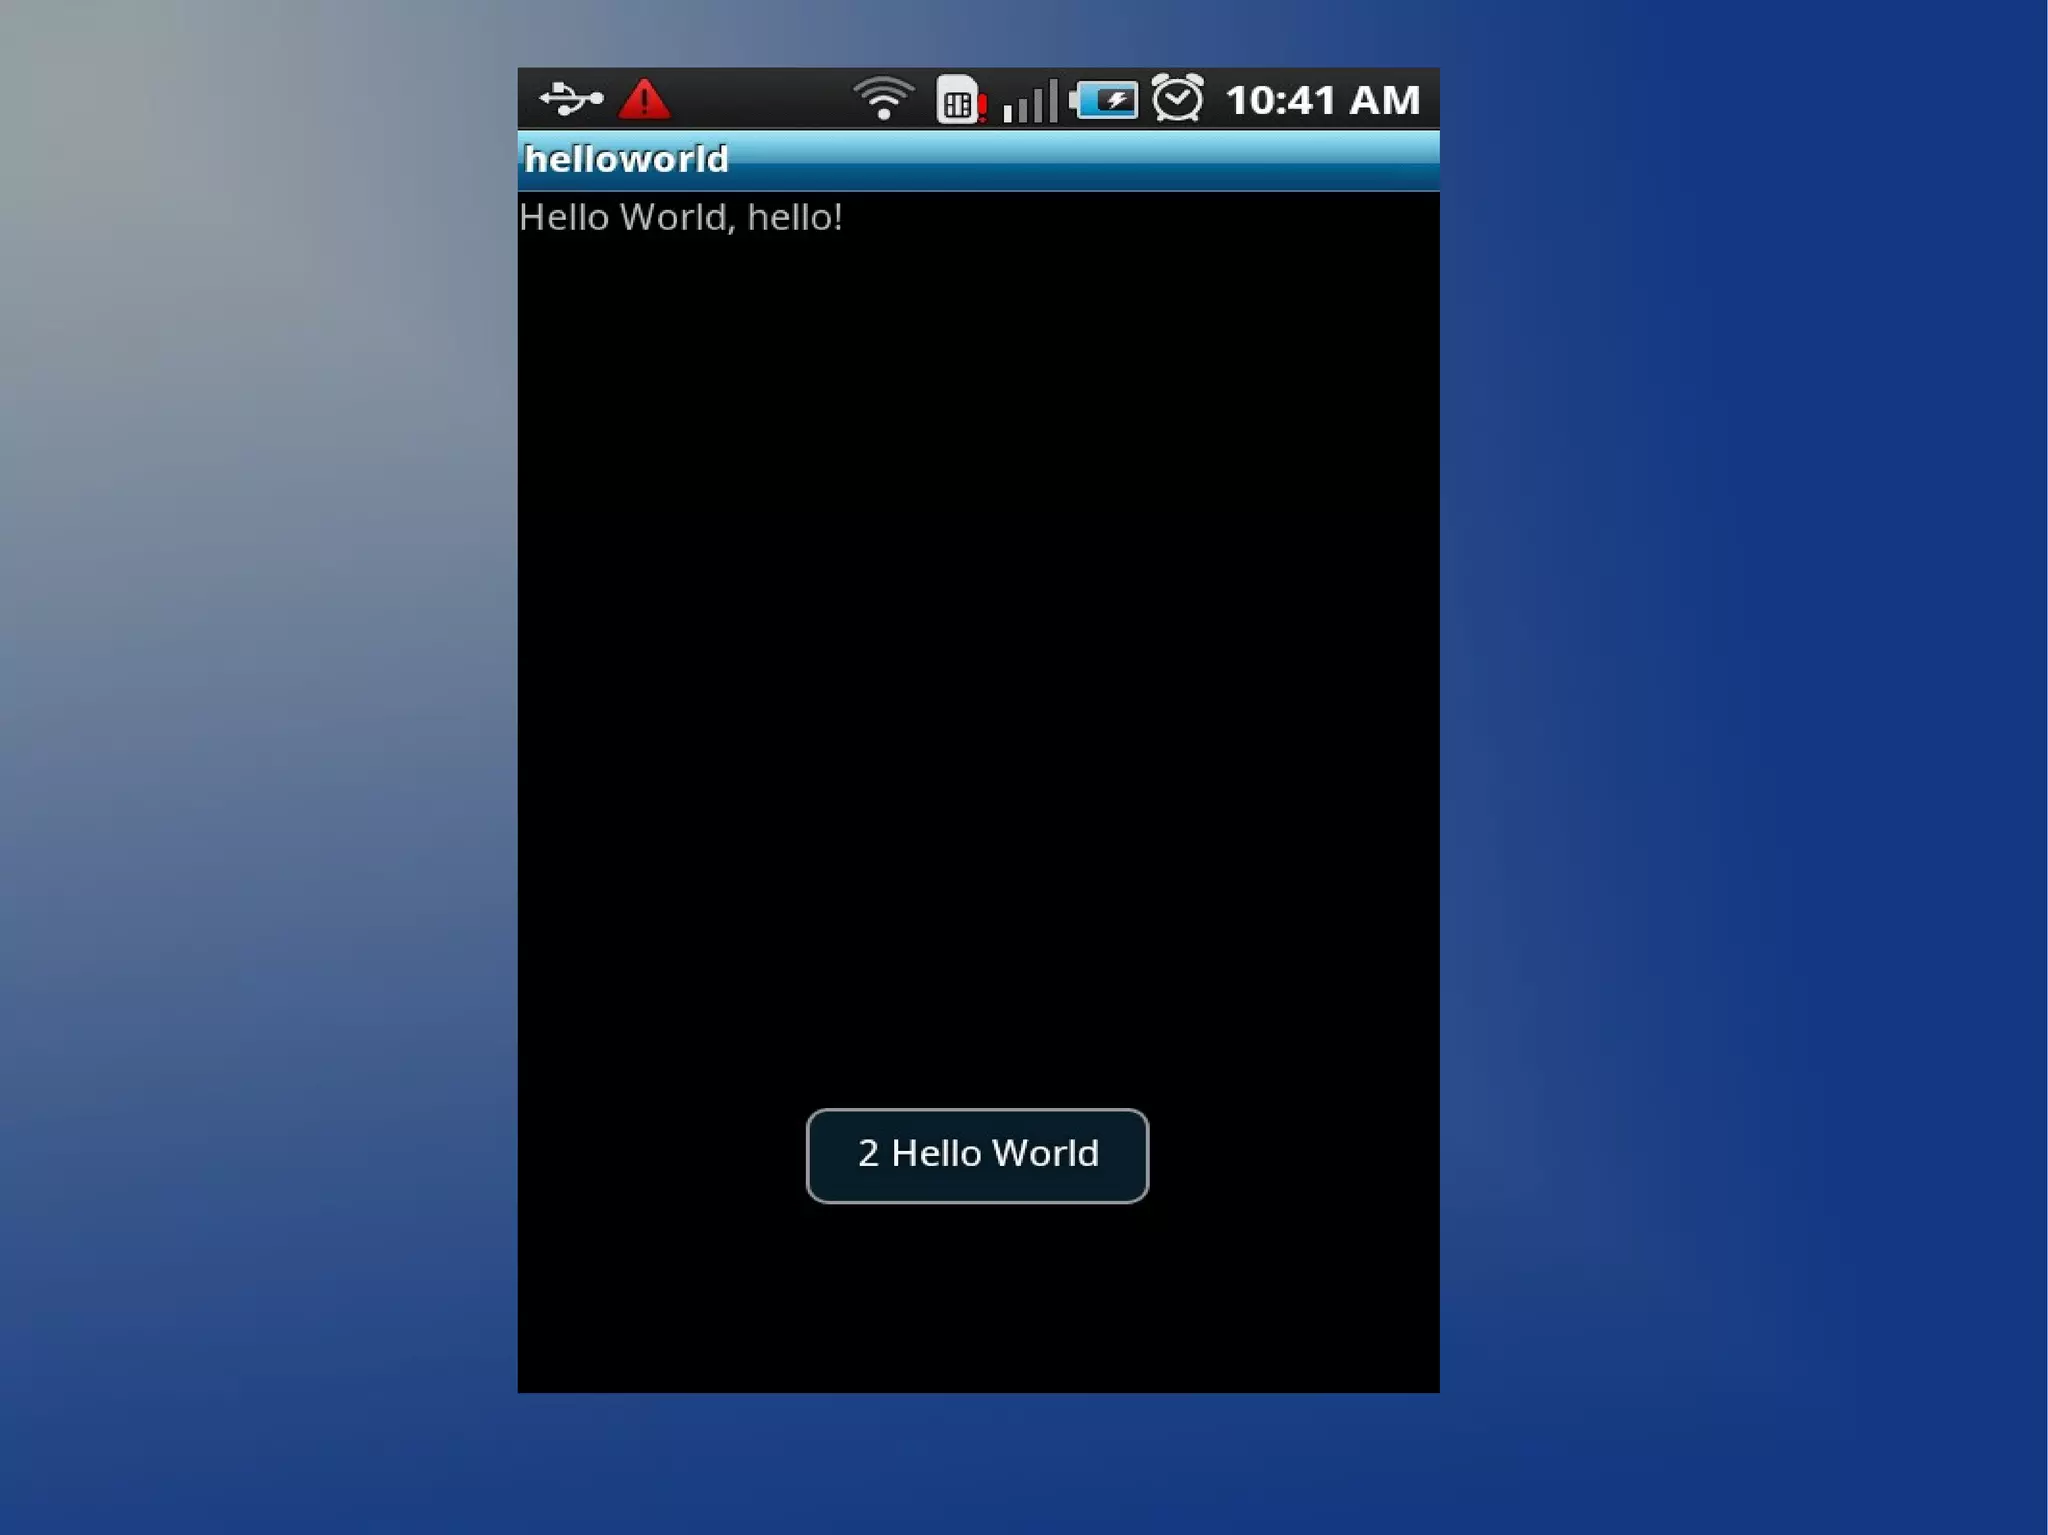


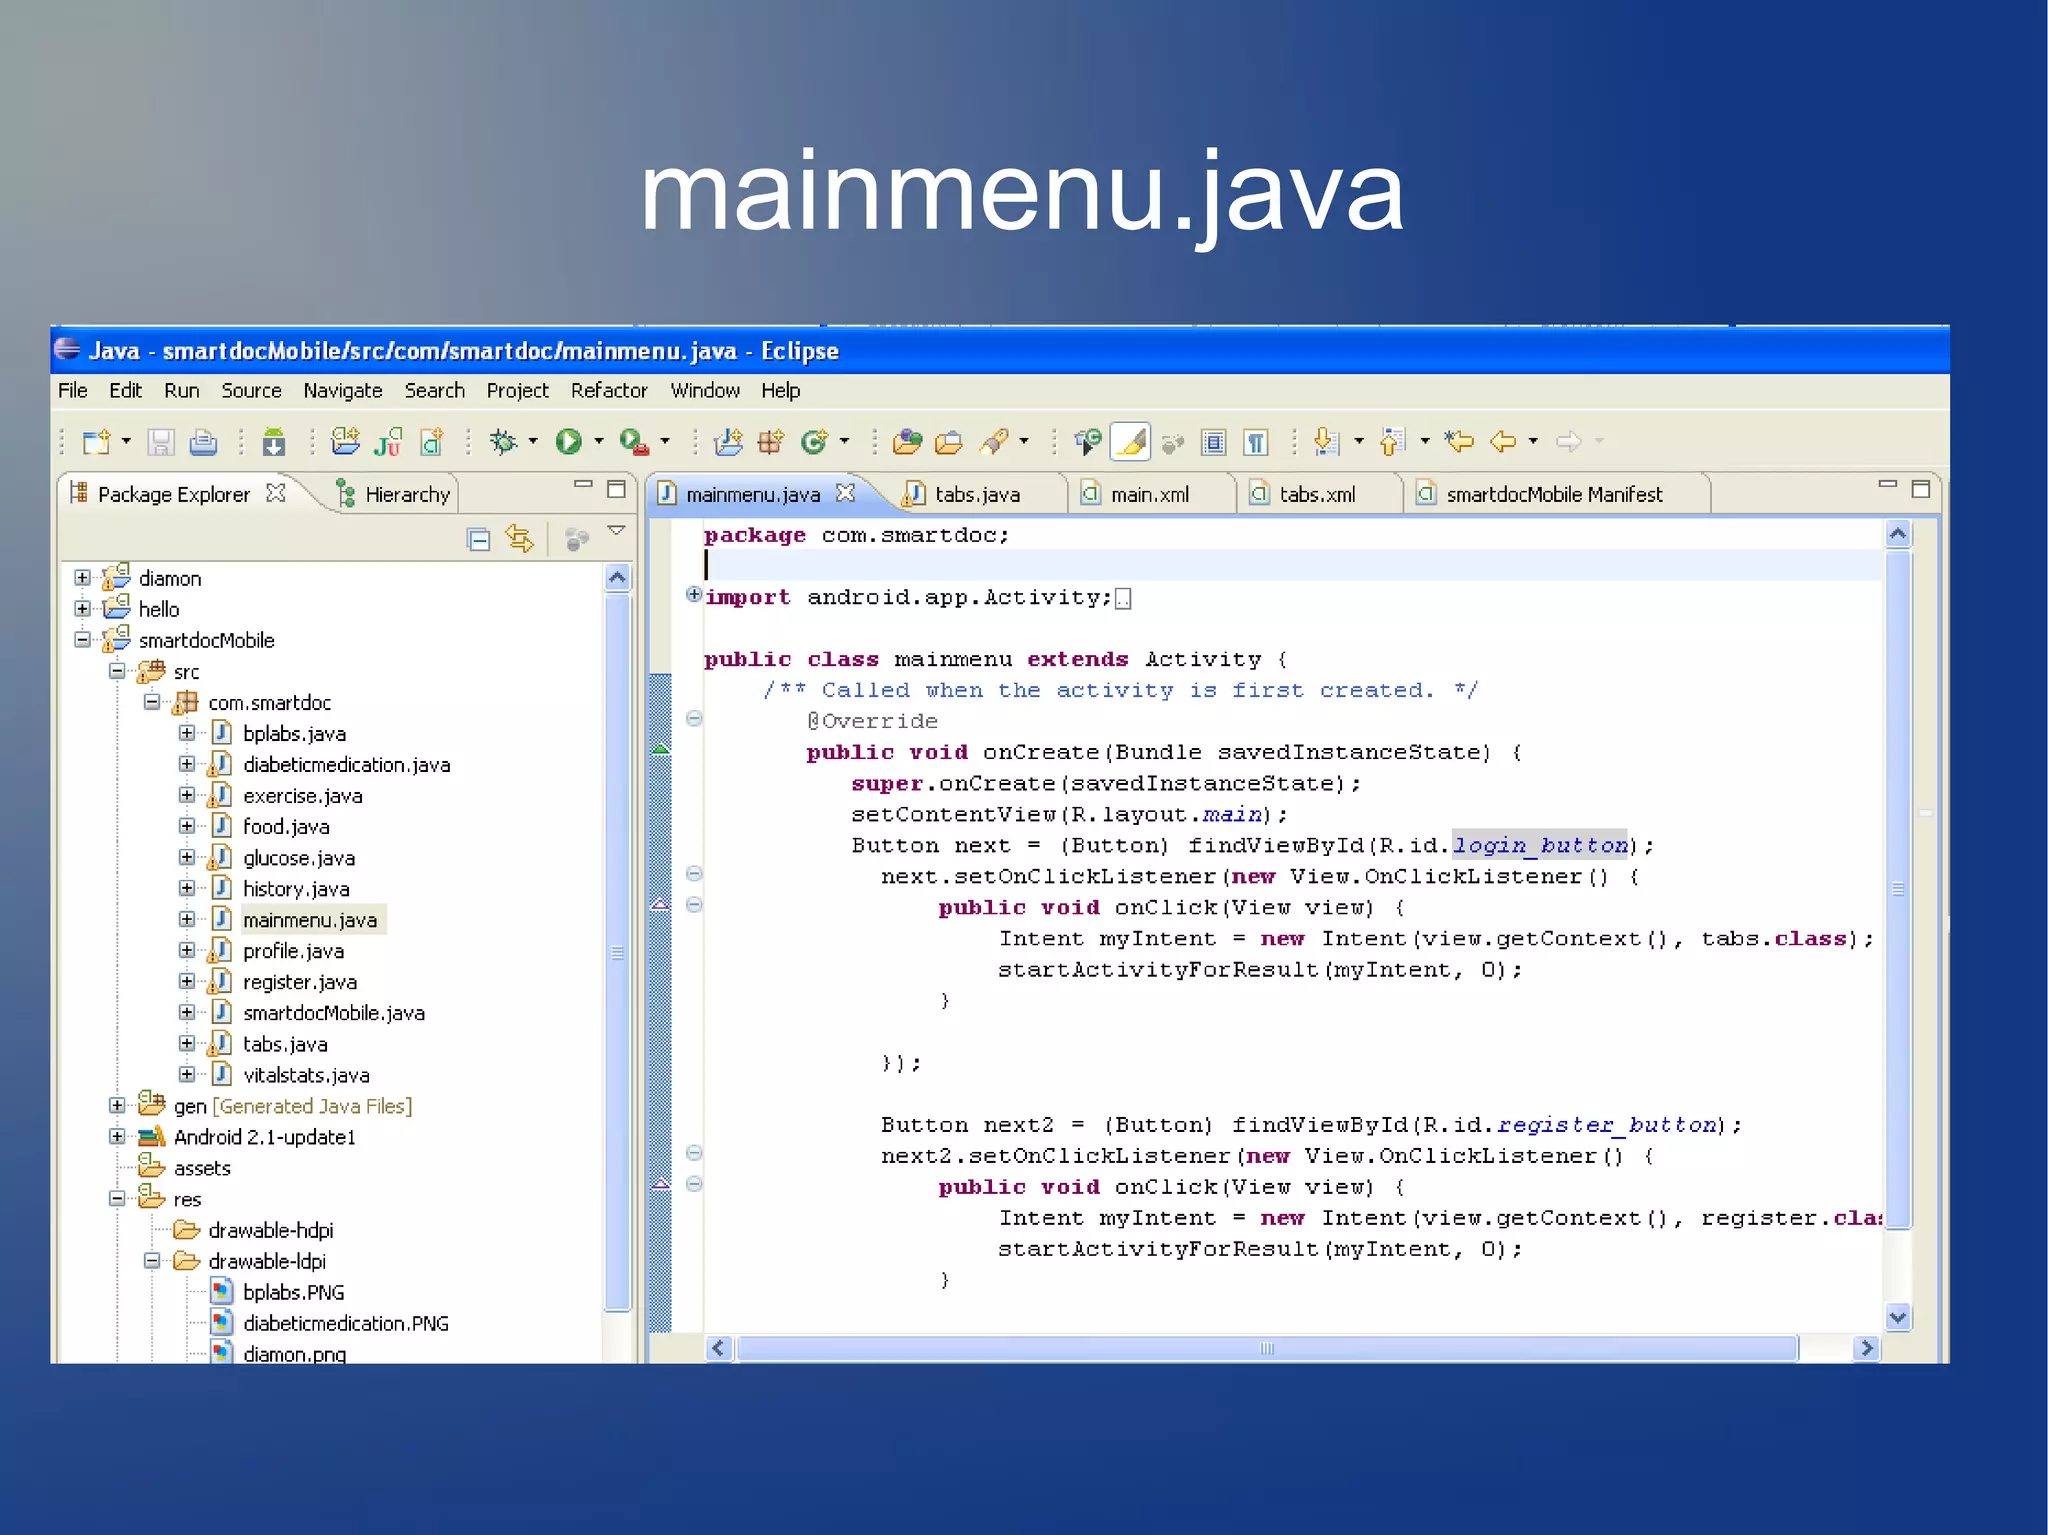
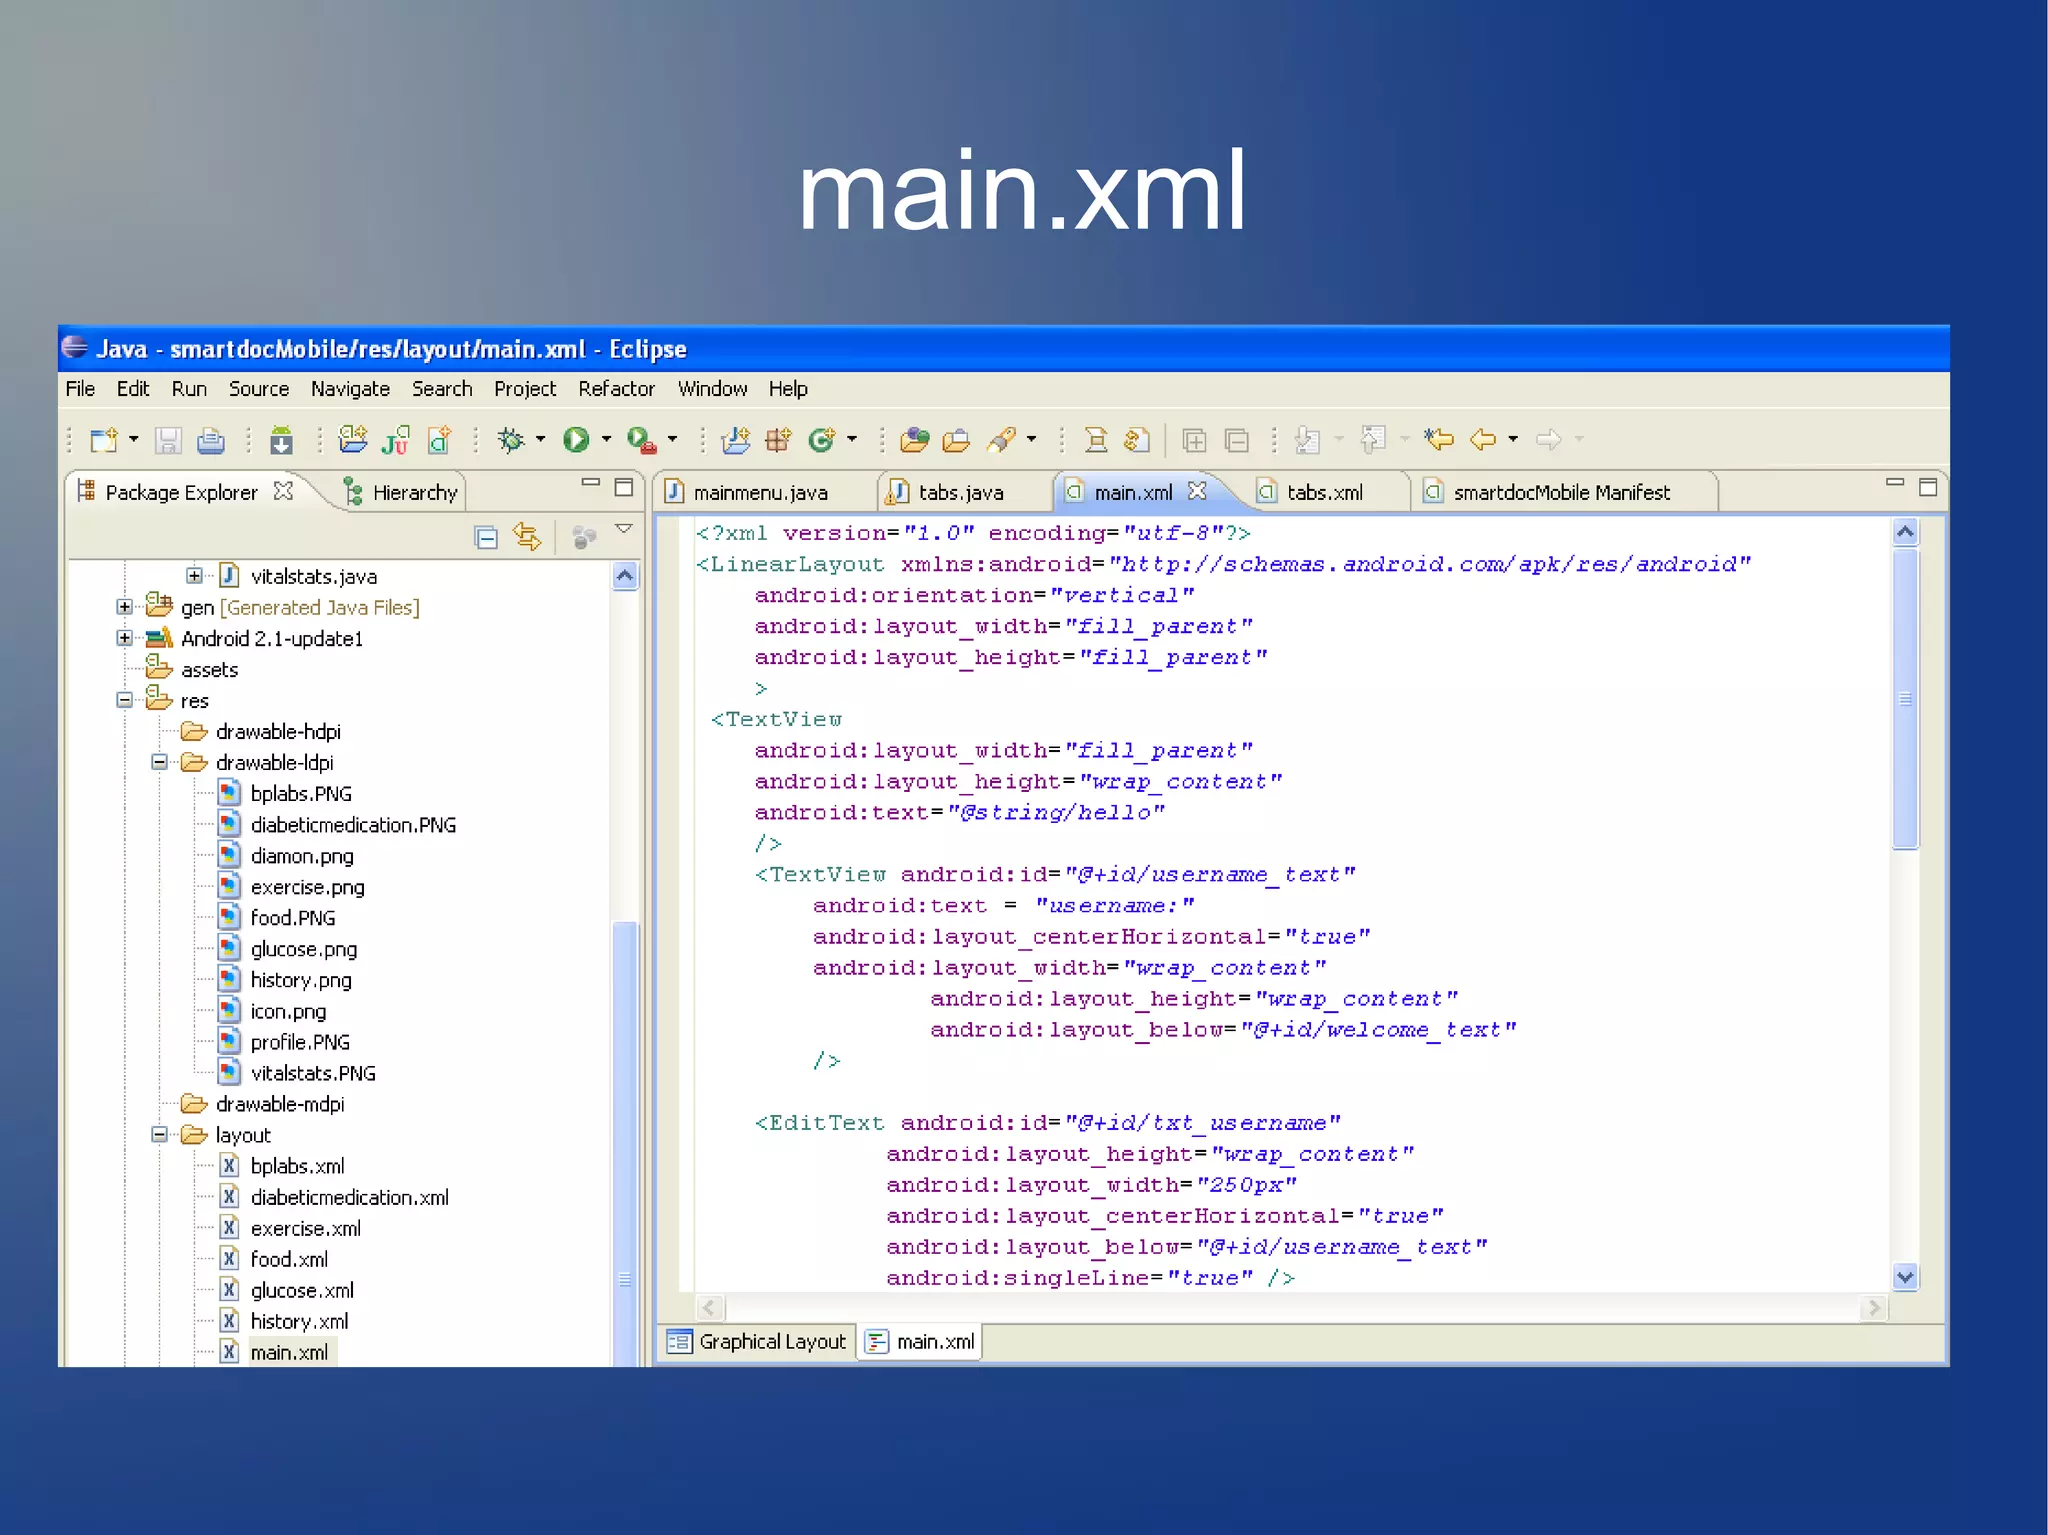
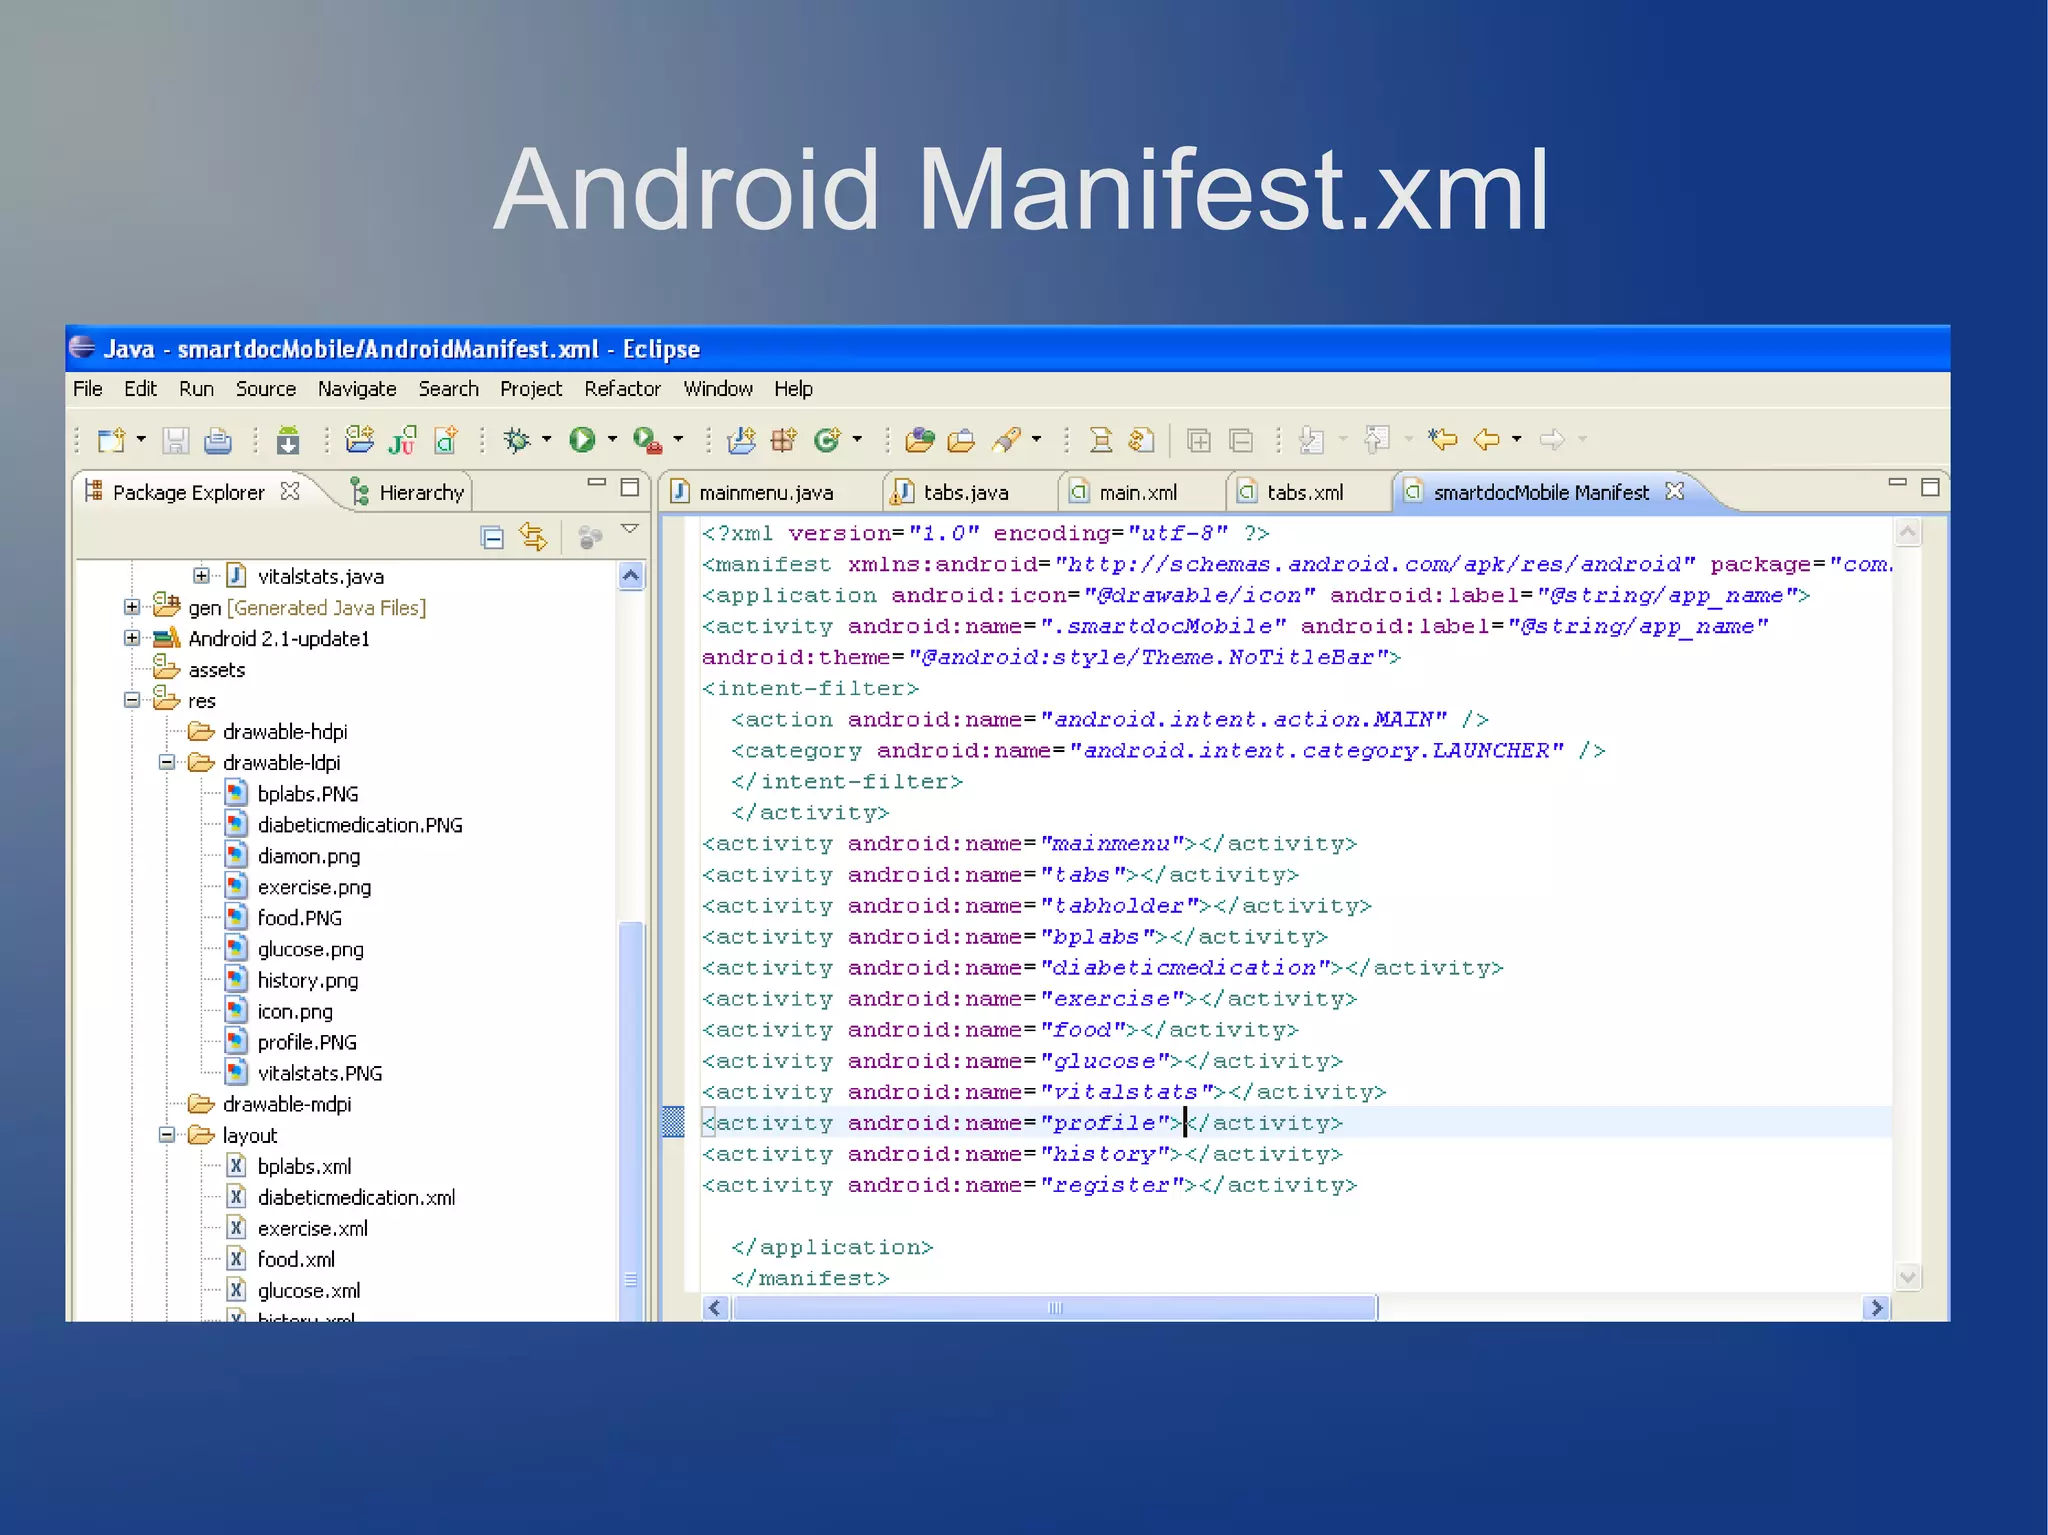

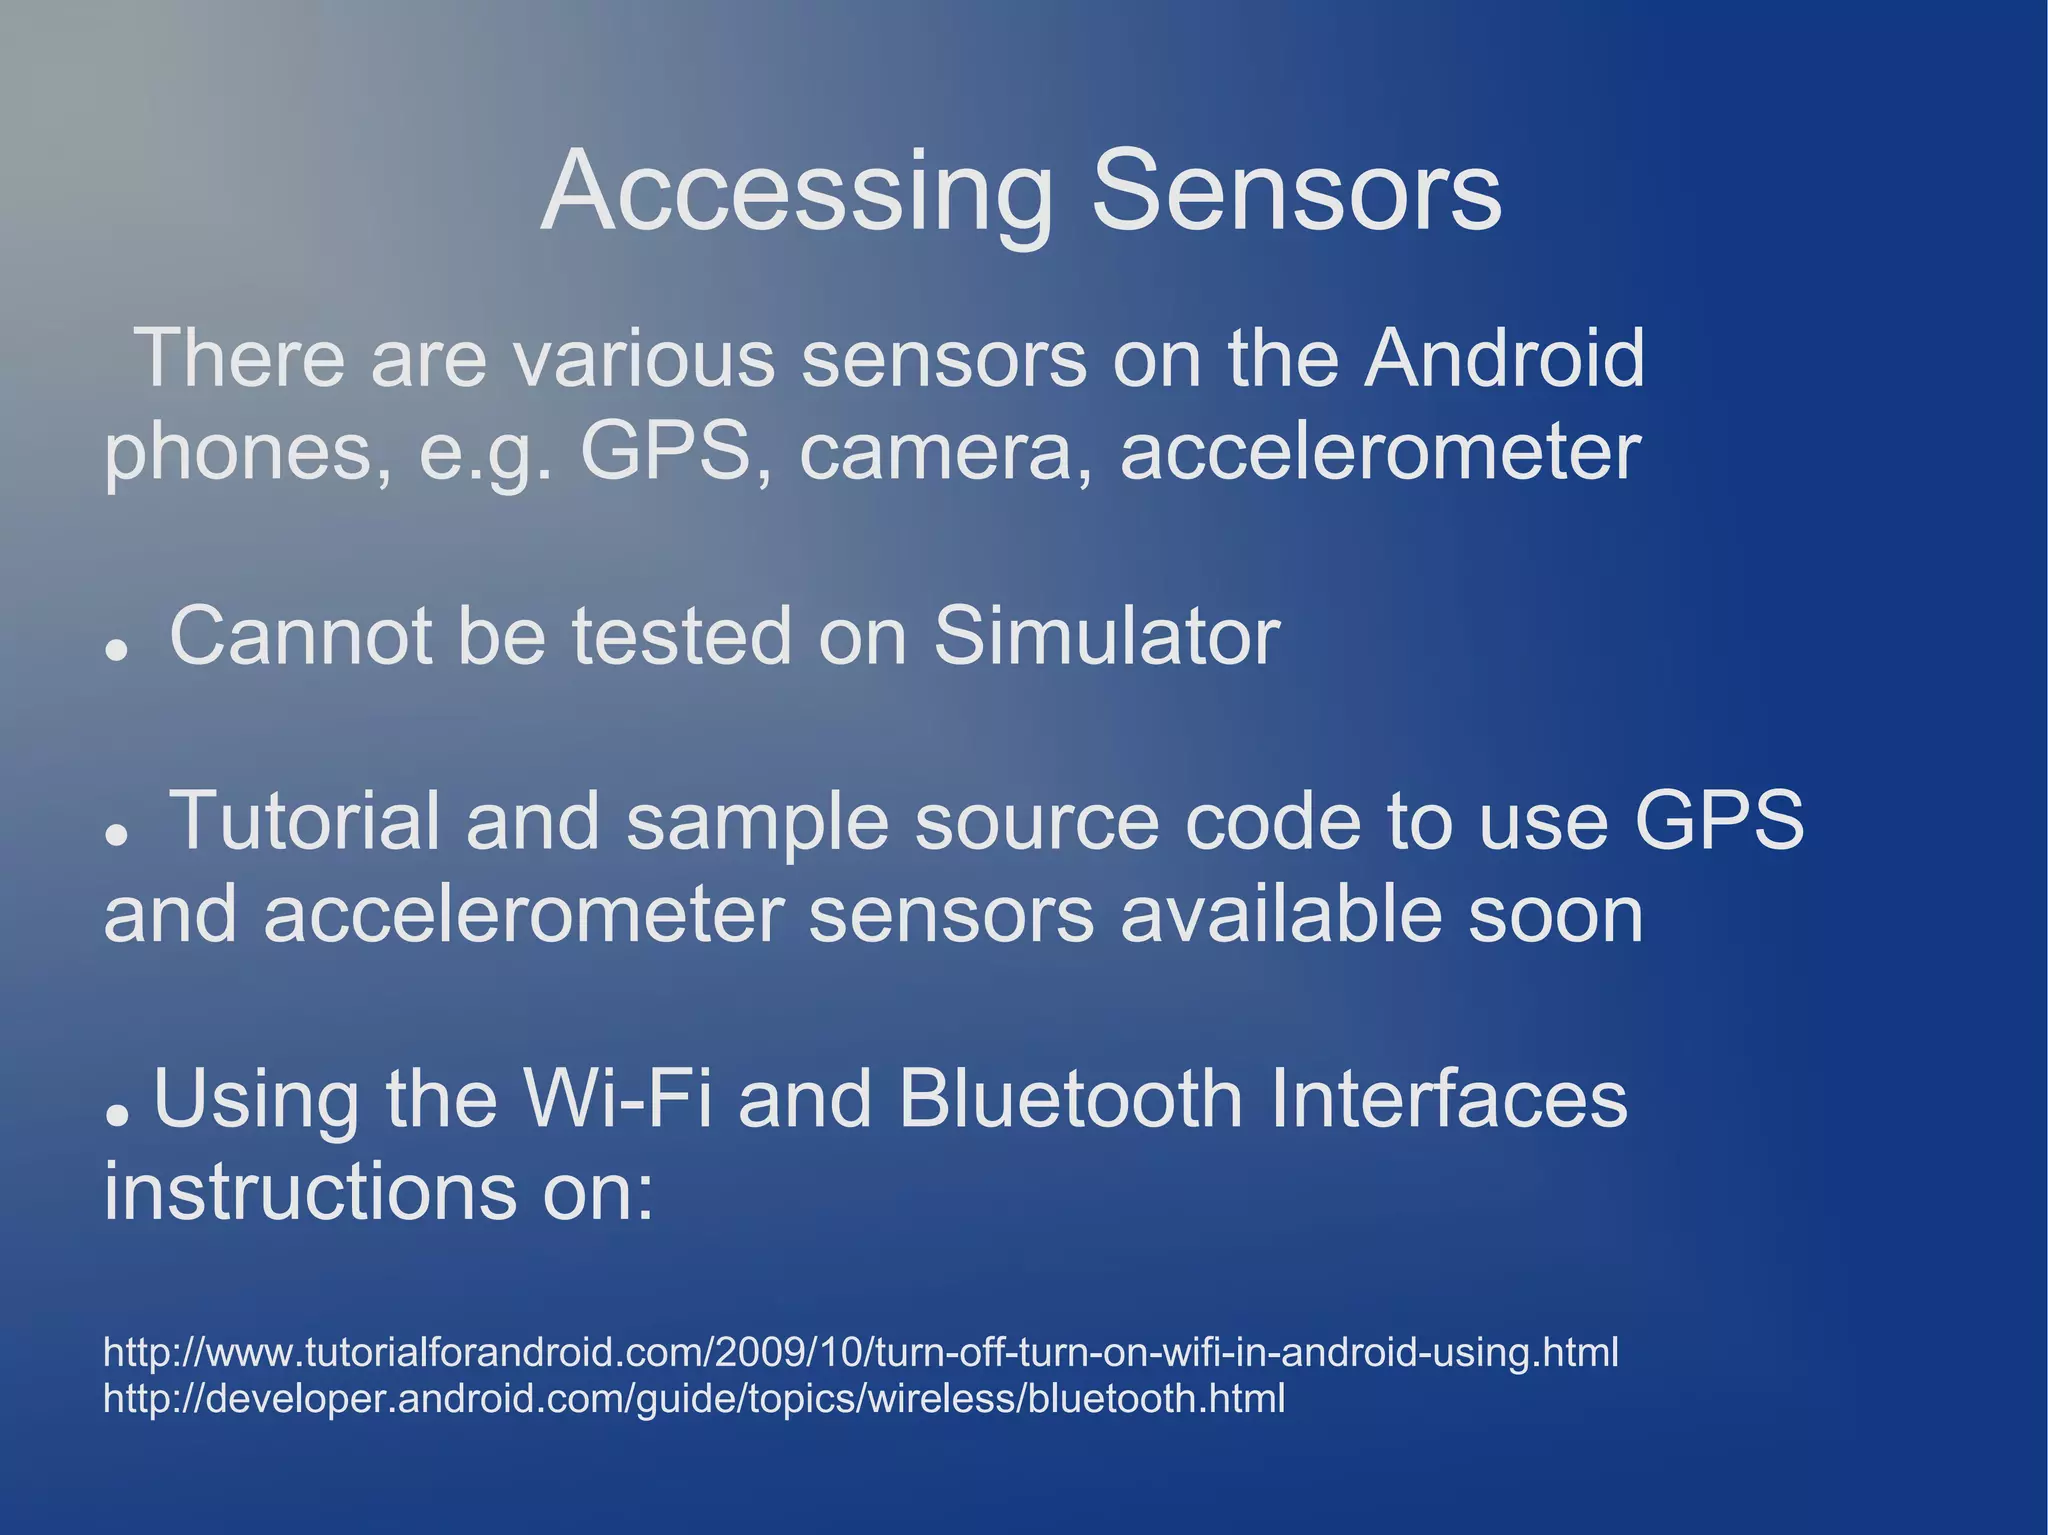
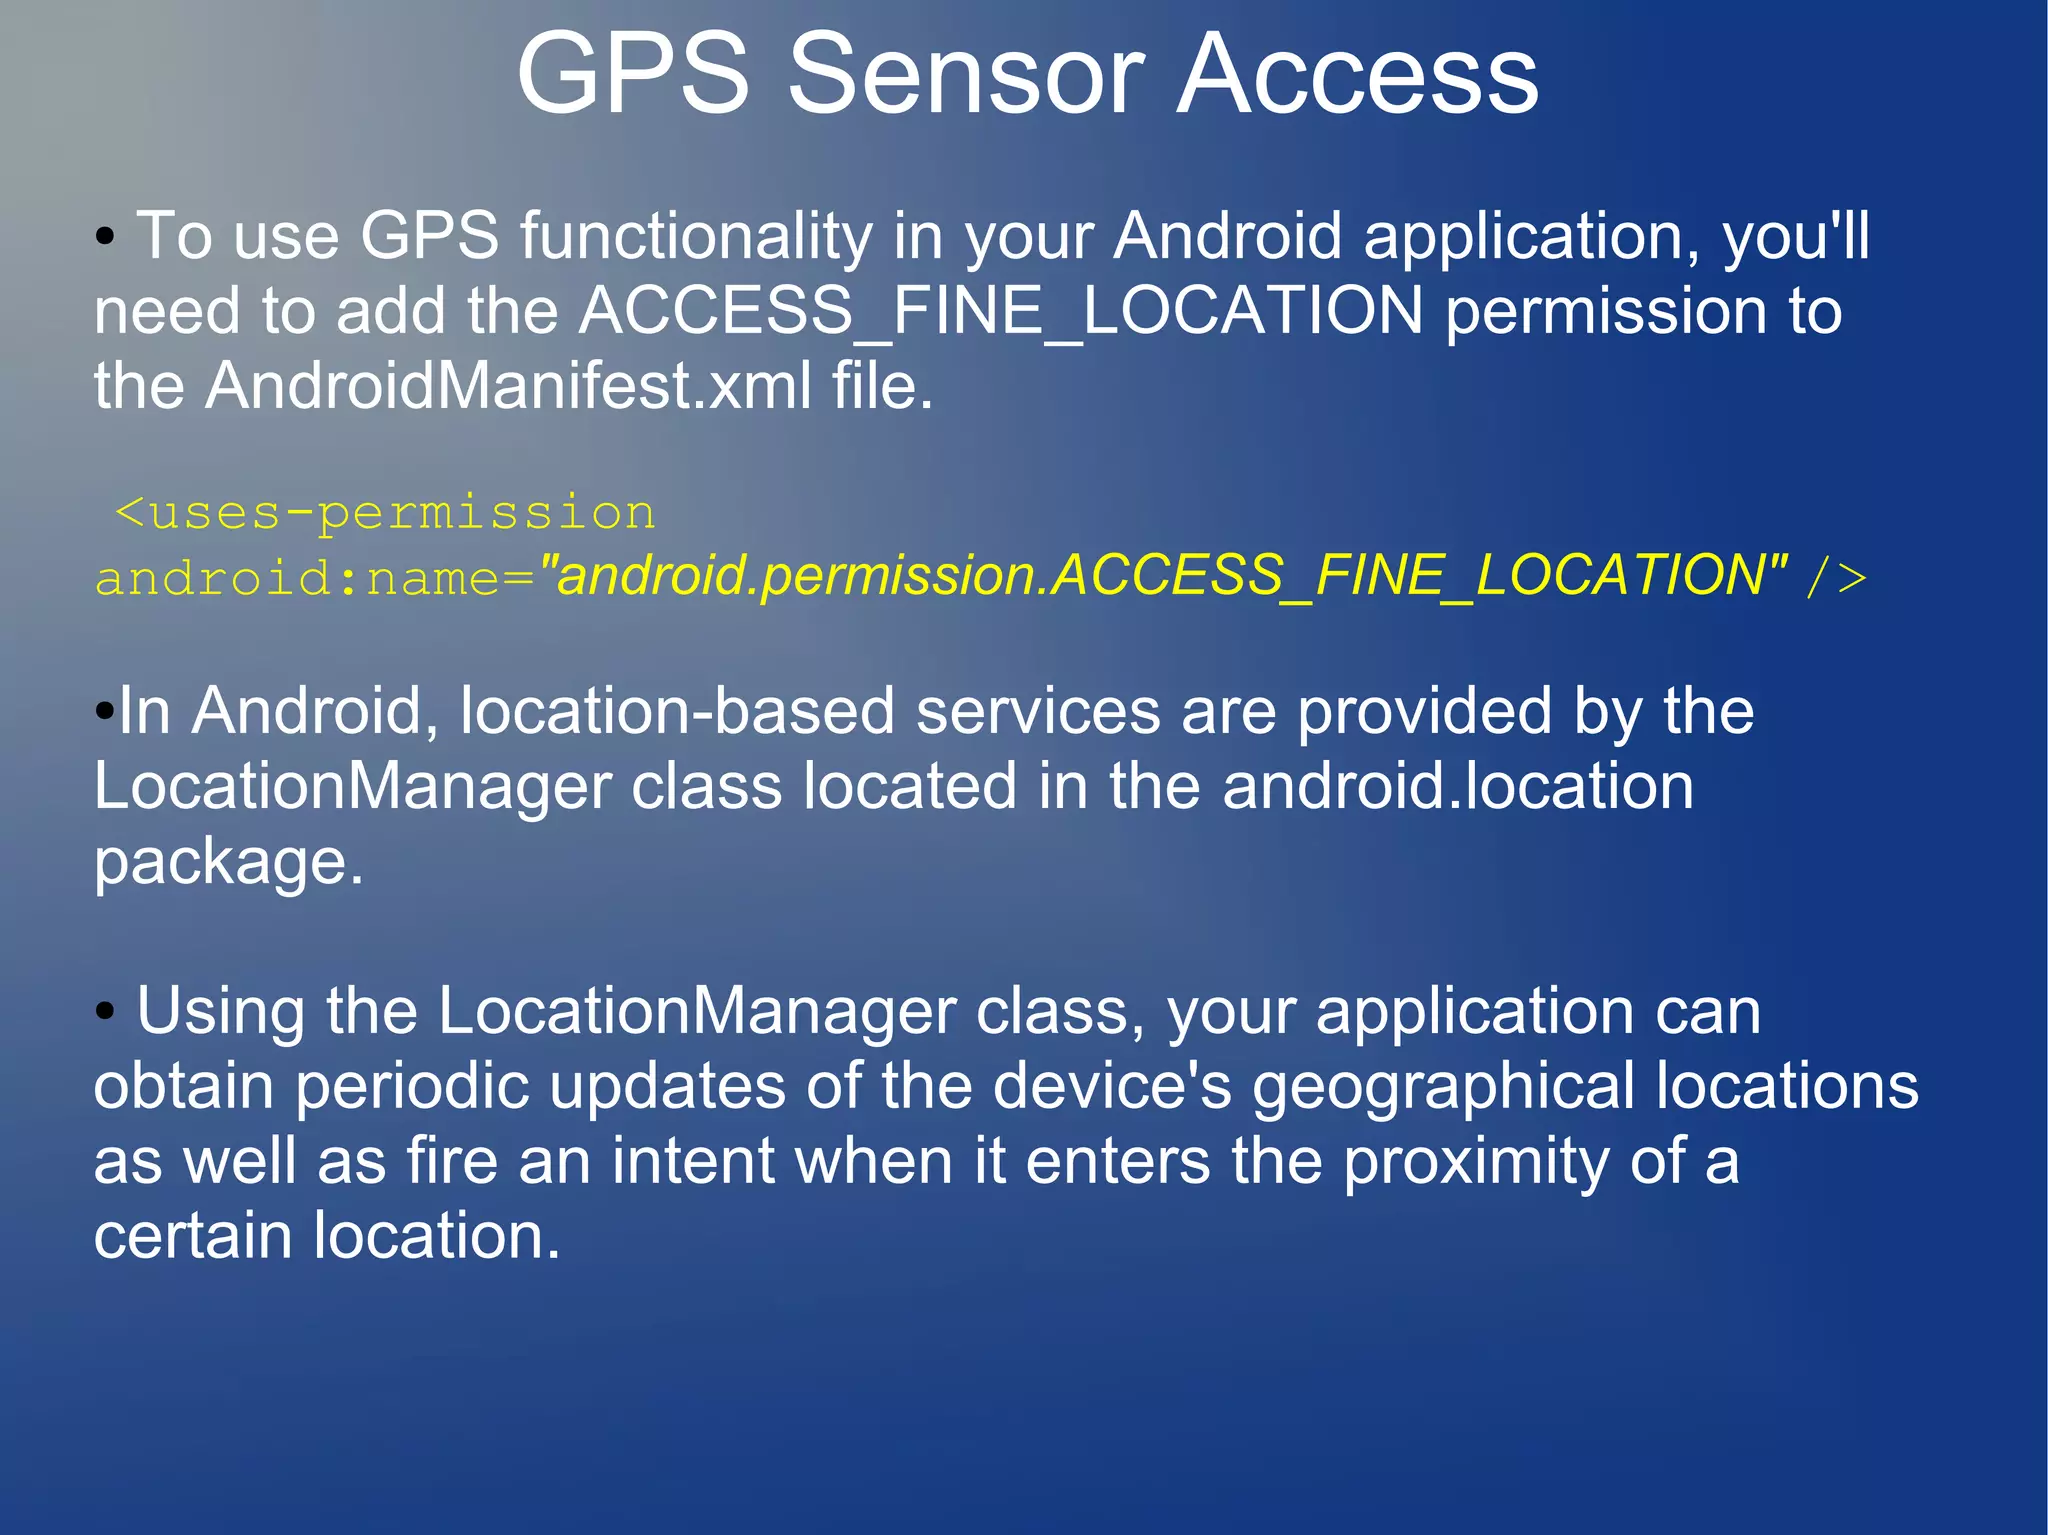
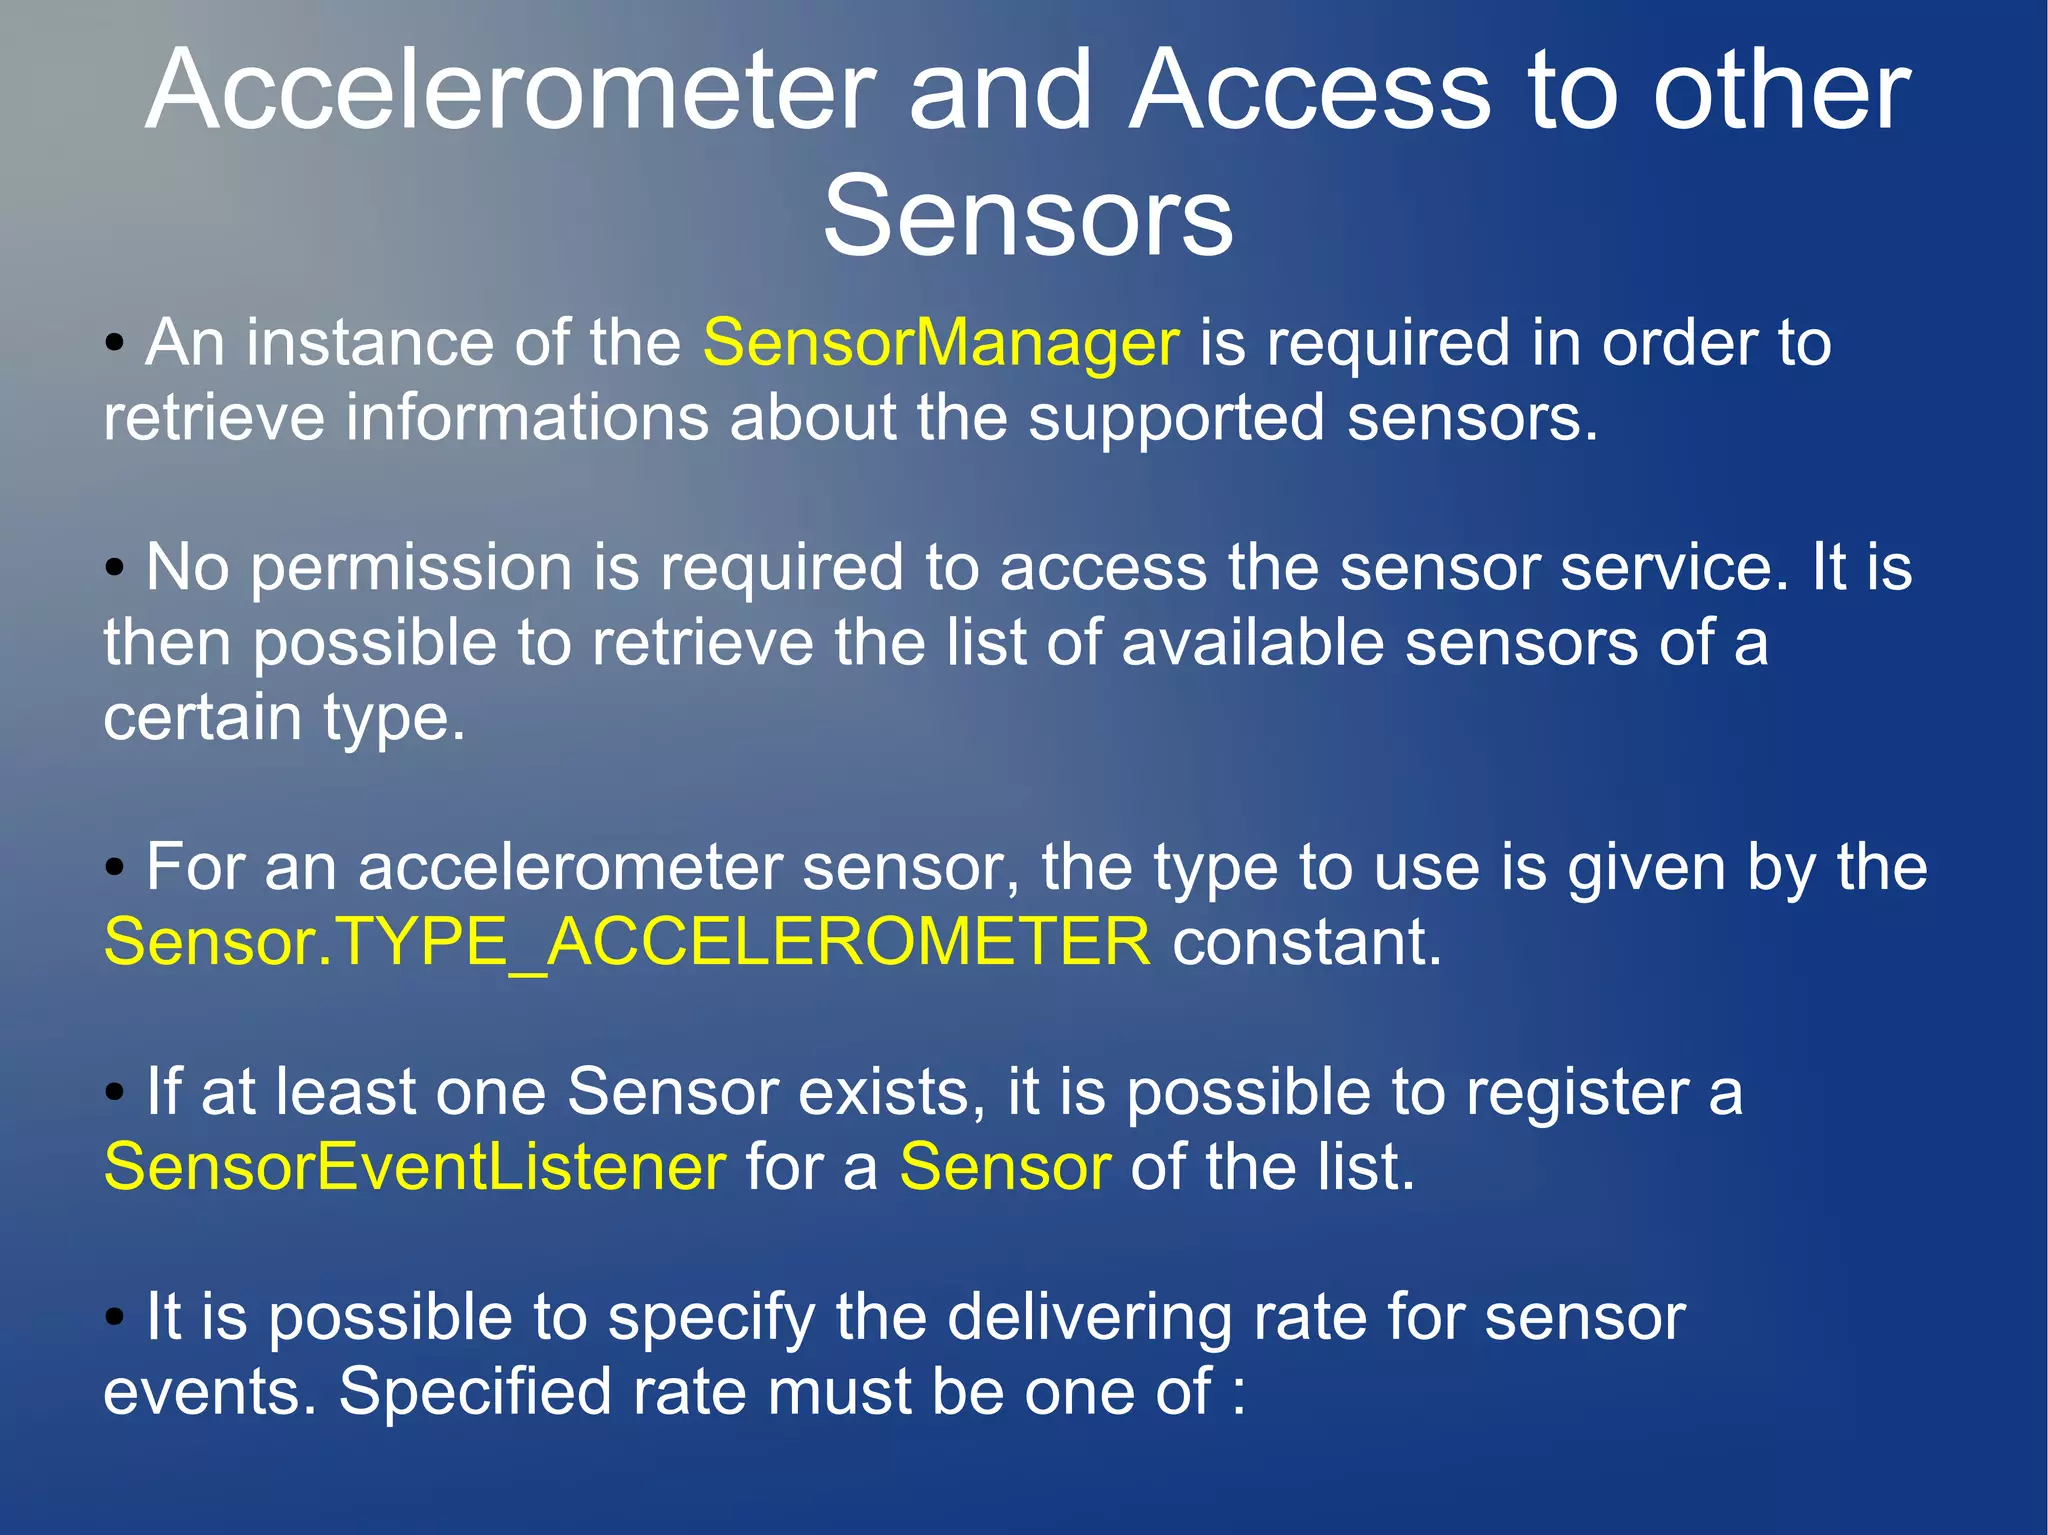
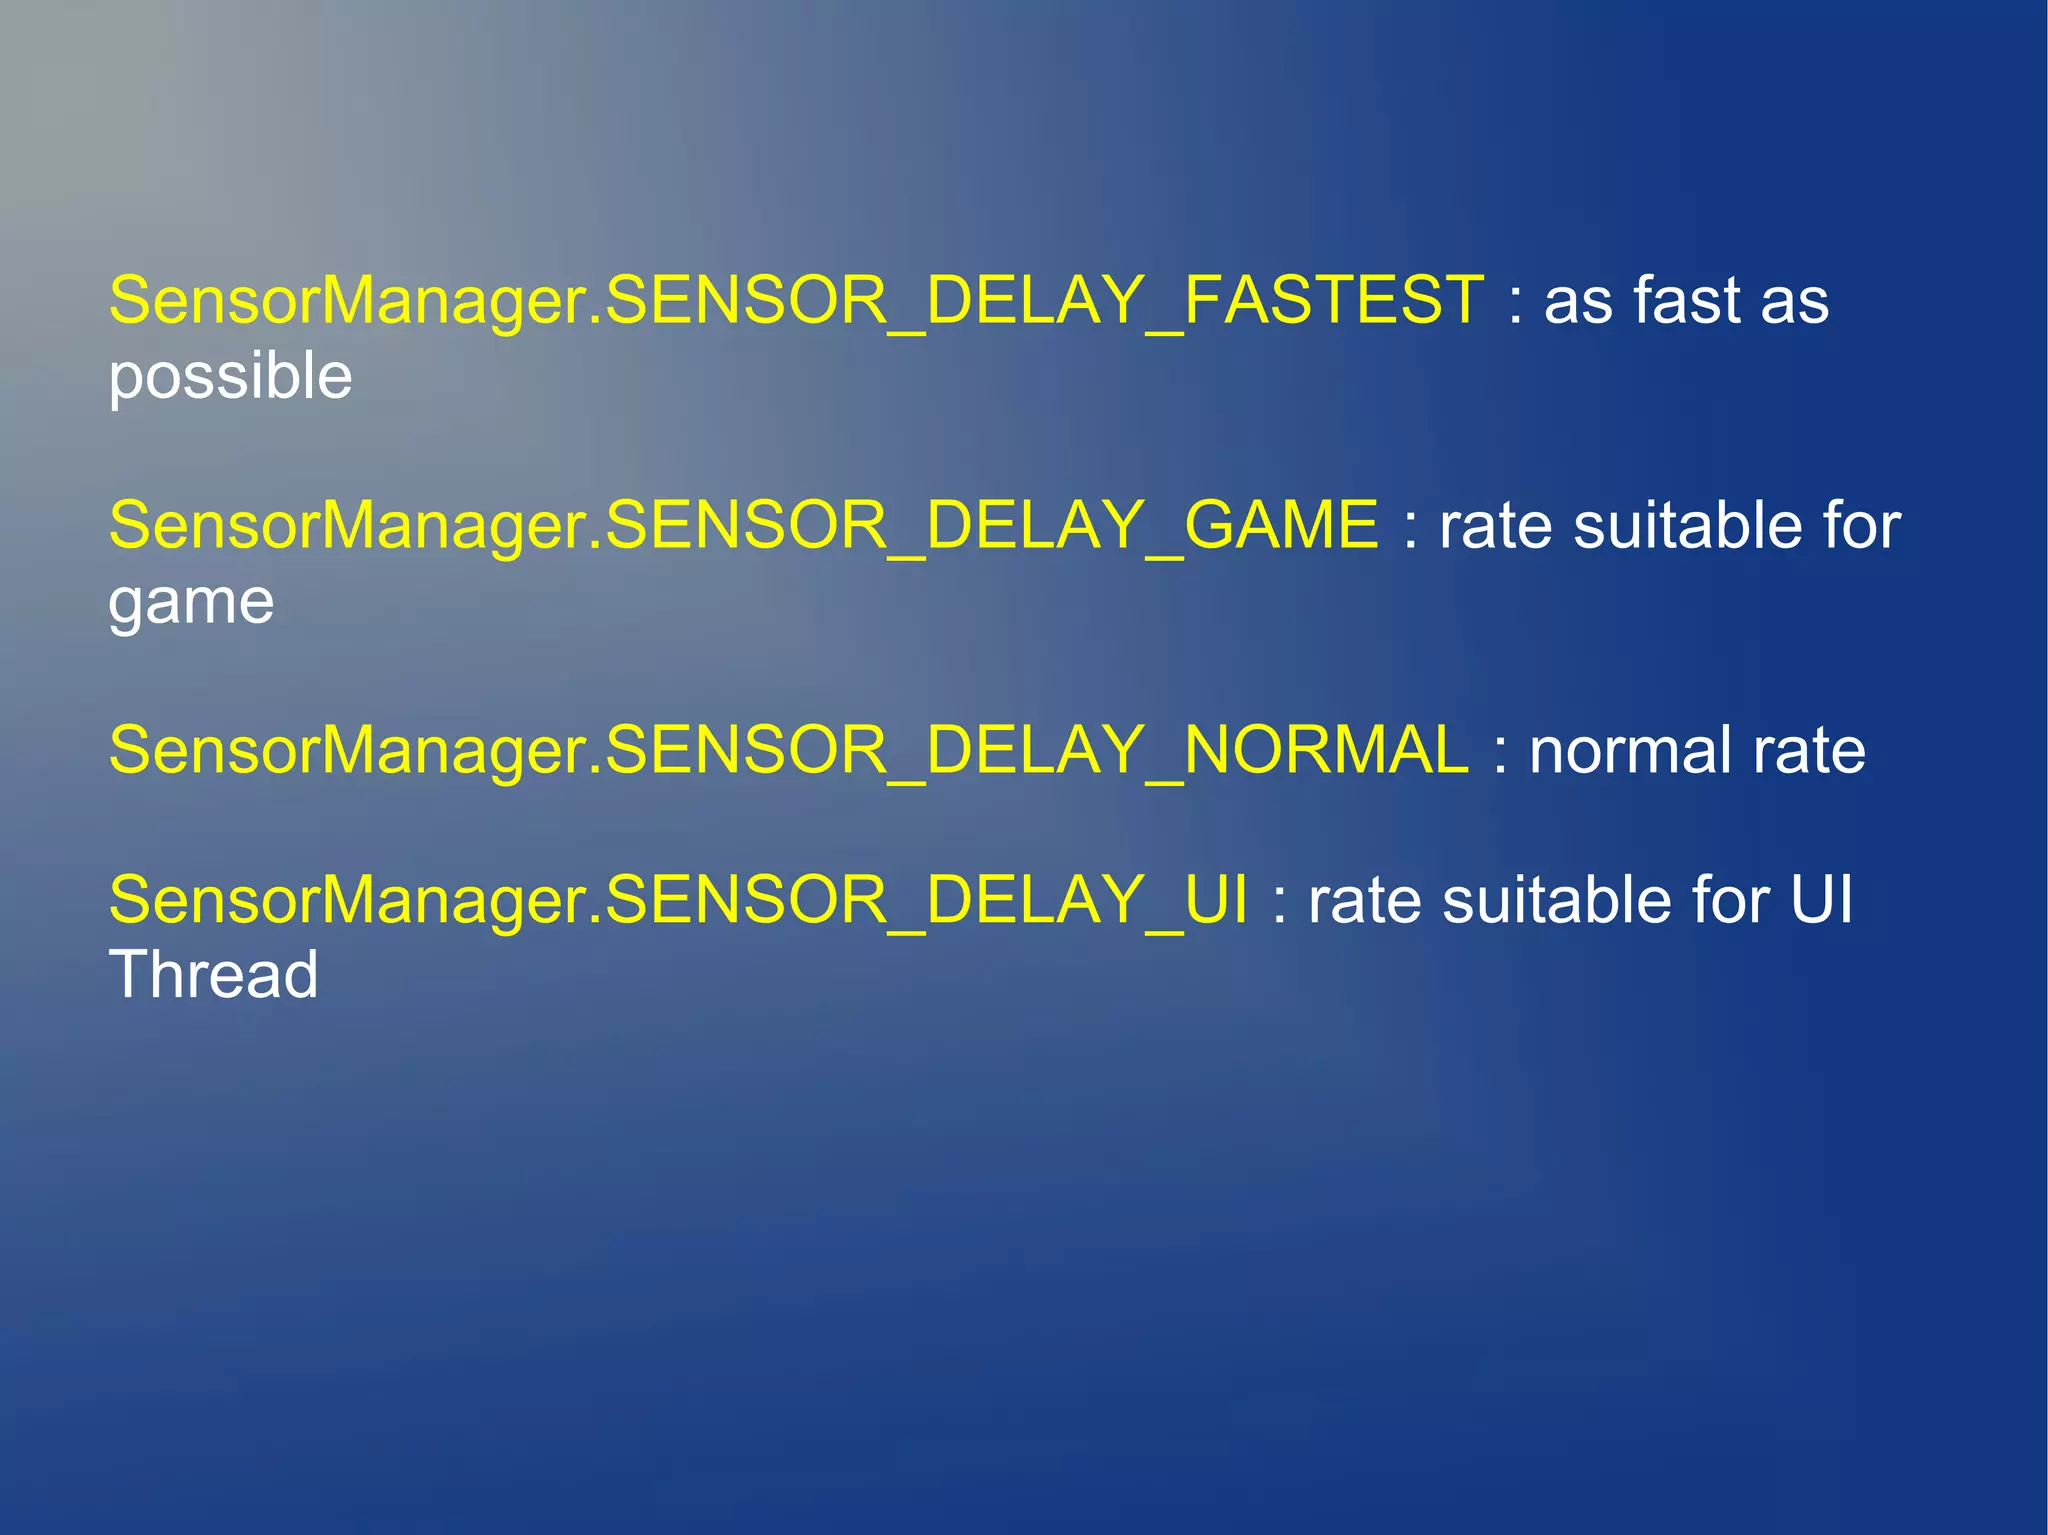
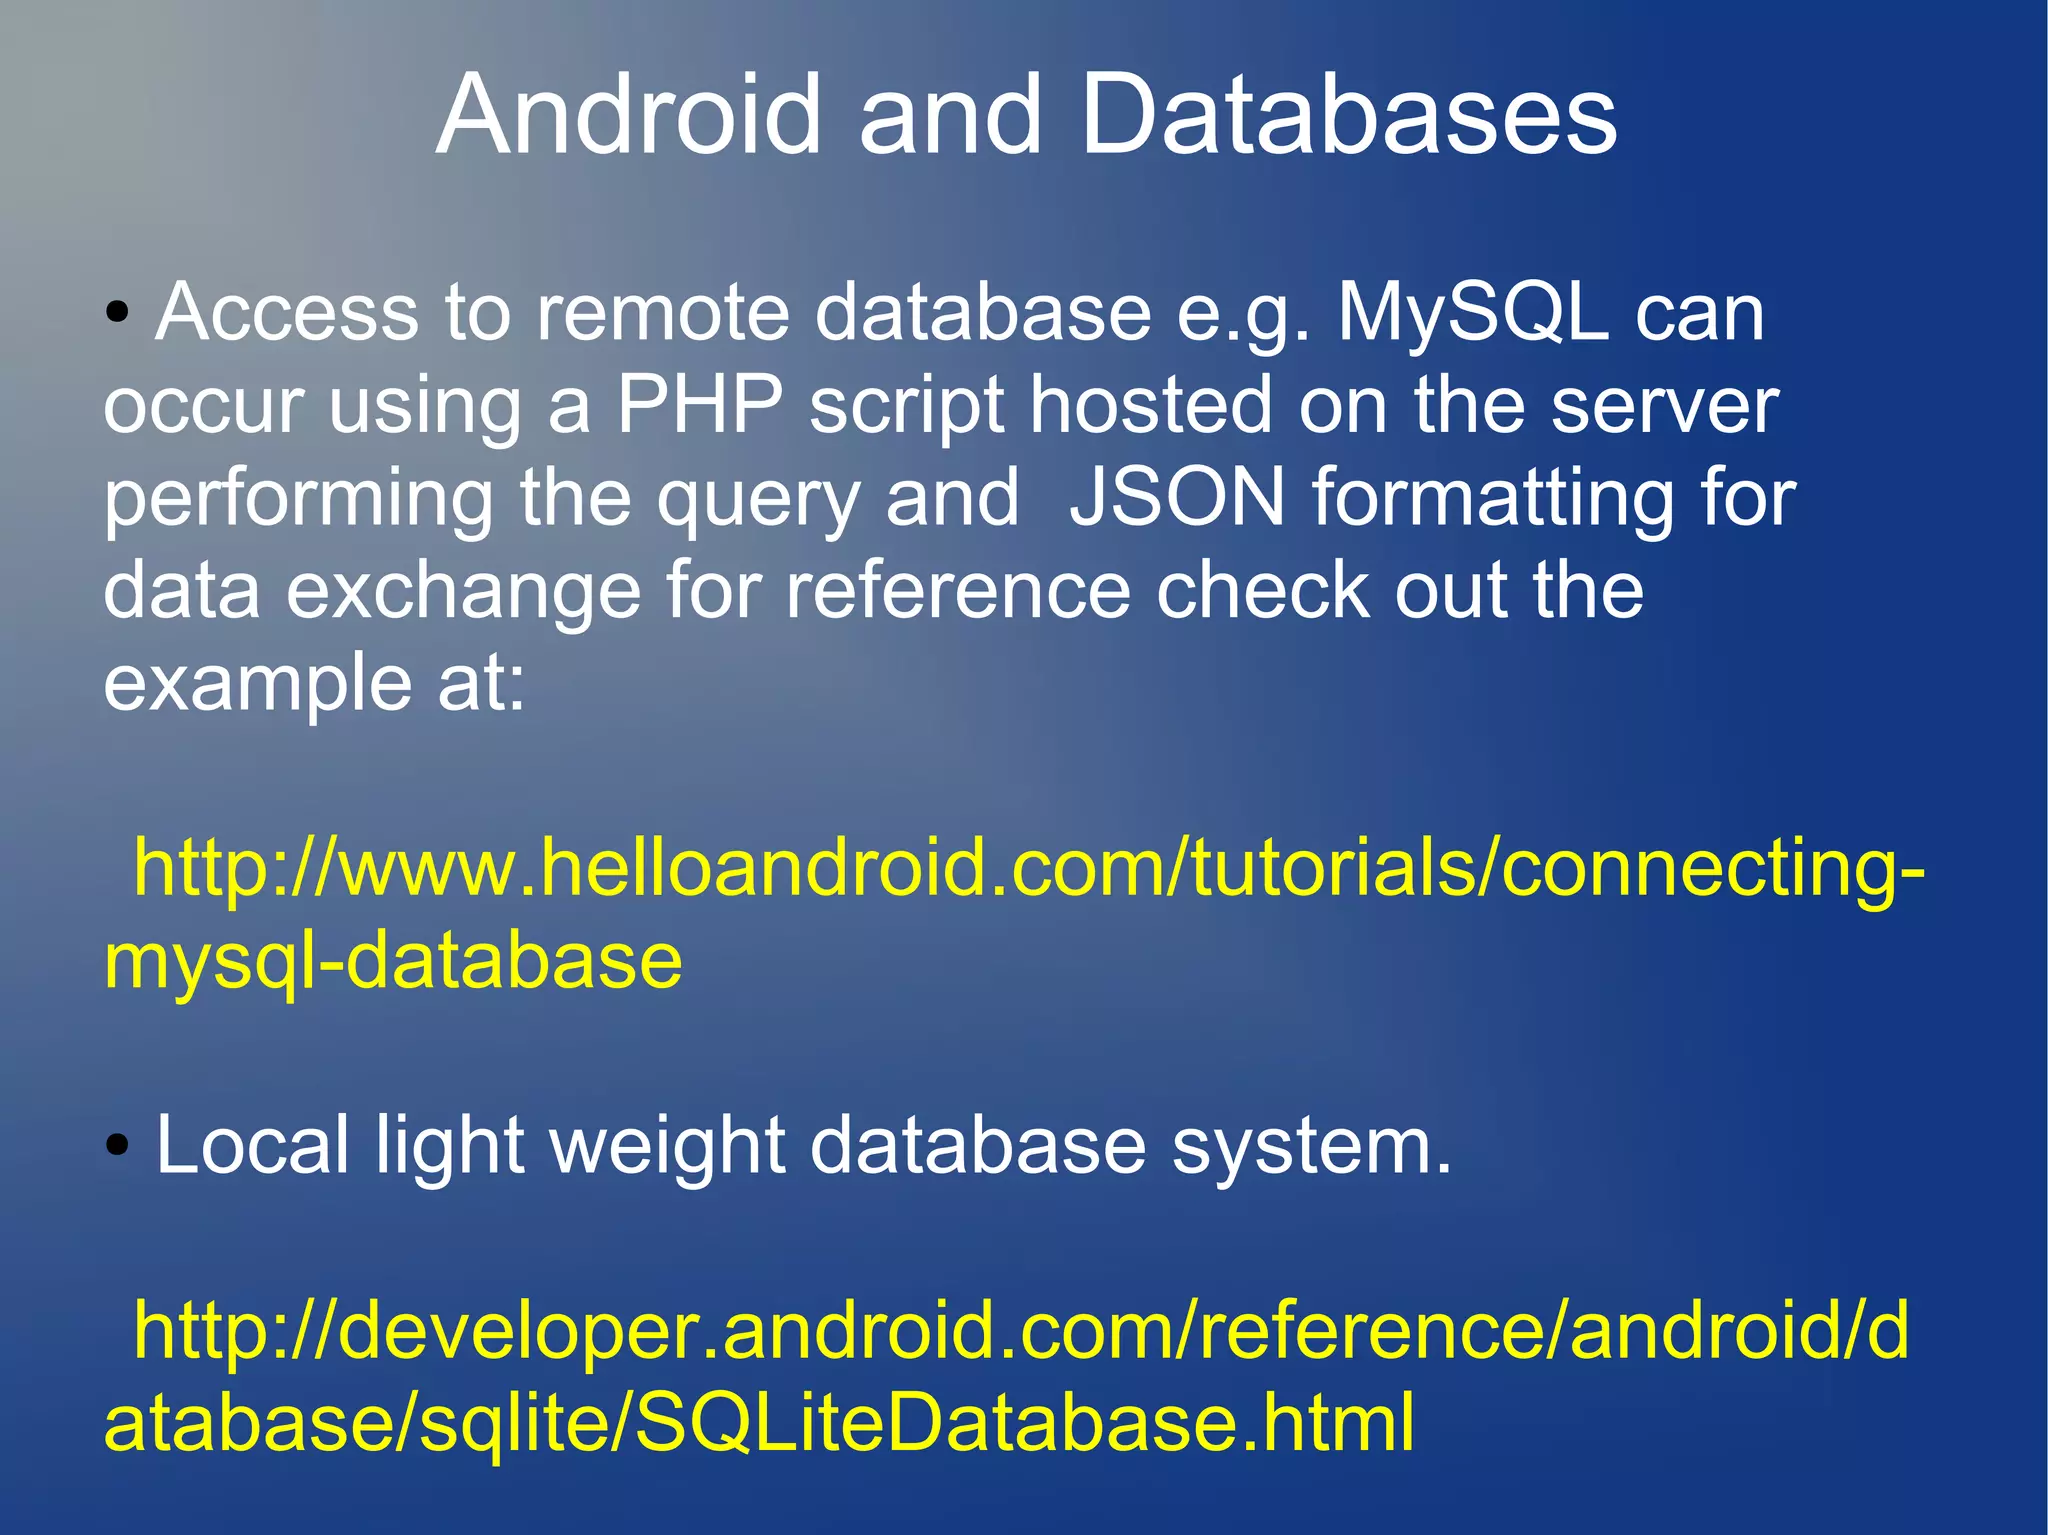


This document provides an overview of setting up the Android development environment and creating basic Android projects. It discusses downloading the necessary software including the Java Development Kit, Eclipse IDE, and Android SDK. It also explains how to install the Android Developer Tools plugin for Eclipse. The document demonstrates how to create a simple "Hello World" project and tabbed application. It discusses accessing sensors on Android devices like GPS and accelerometers. Finally, it covers using local SQLite and remote databases to store and access data.