Download as ODP, PPTX
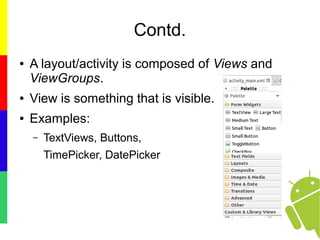
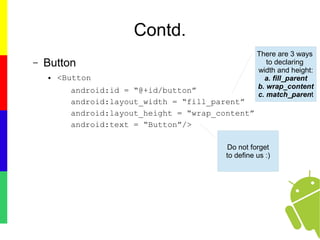
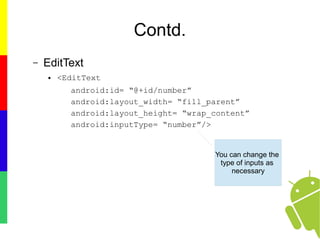
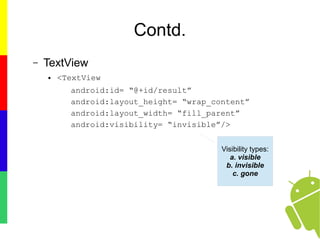
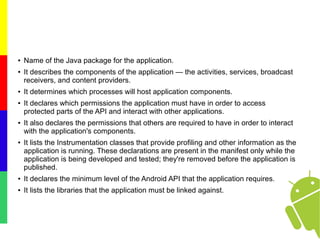
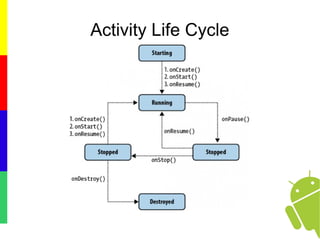

The document outlines key concepts of Android app development focusing on UI elements, layouts, and the use of XML. It details the Android manifest, views, viewgroups, and intents, providing examples for defining widths, heights, and visibility of views. Additionally, it highlights the importance of the manifest in declaring application components and permissions, as well as the activity life cycle.