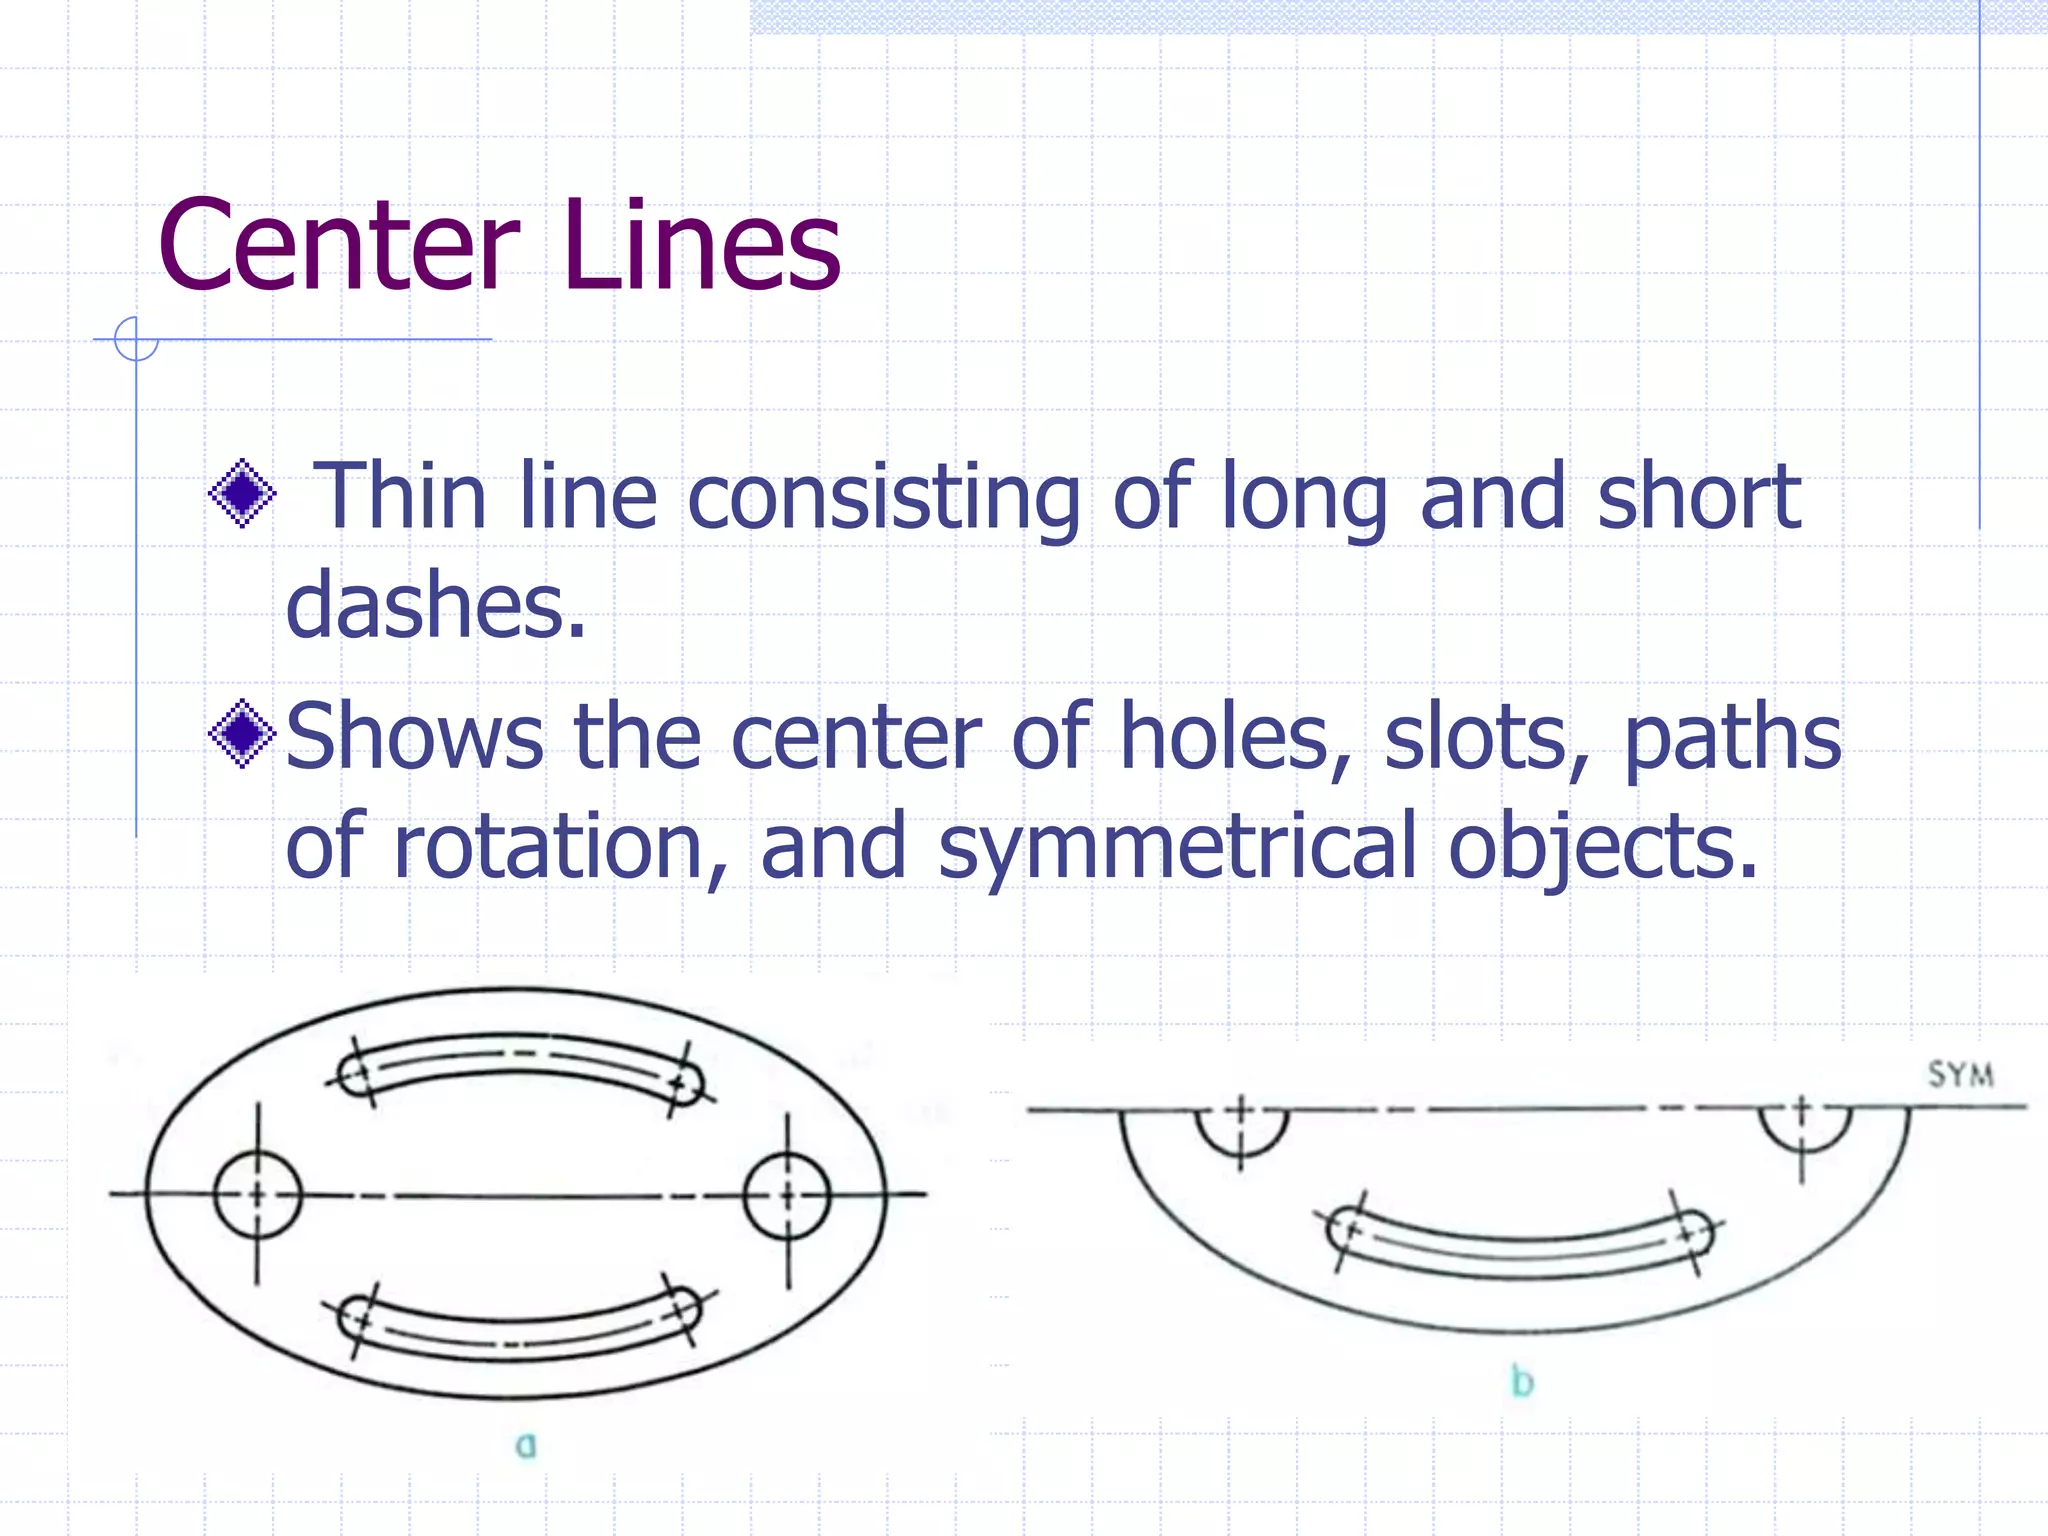
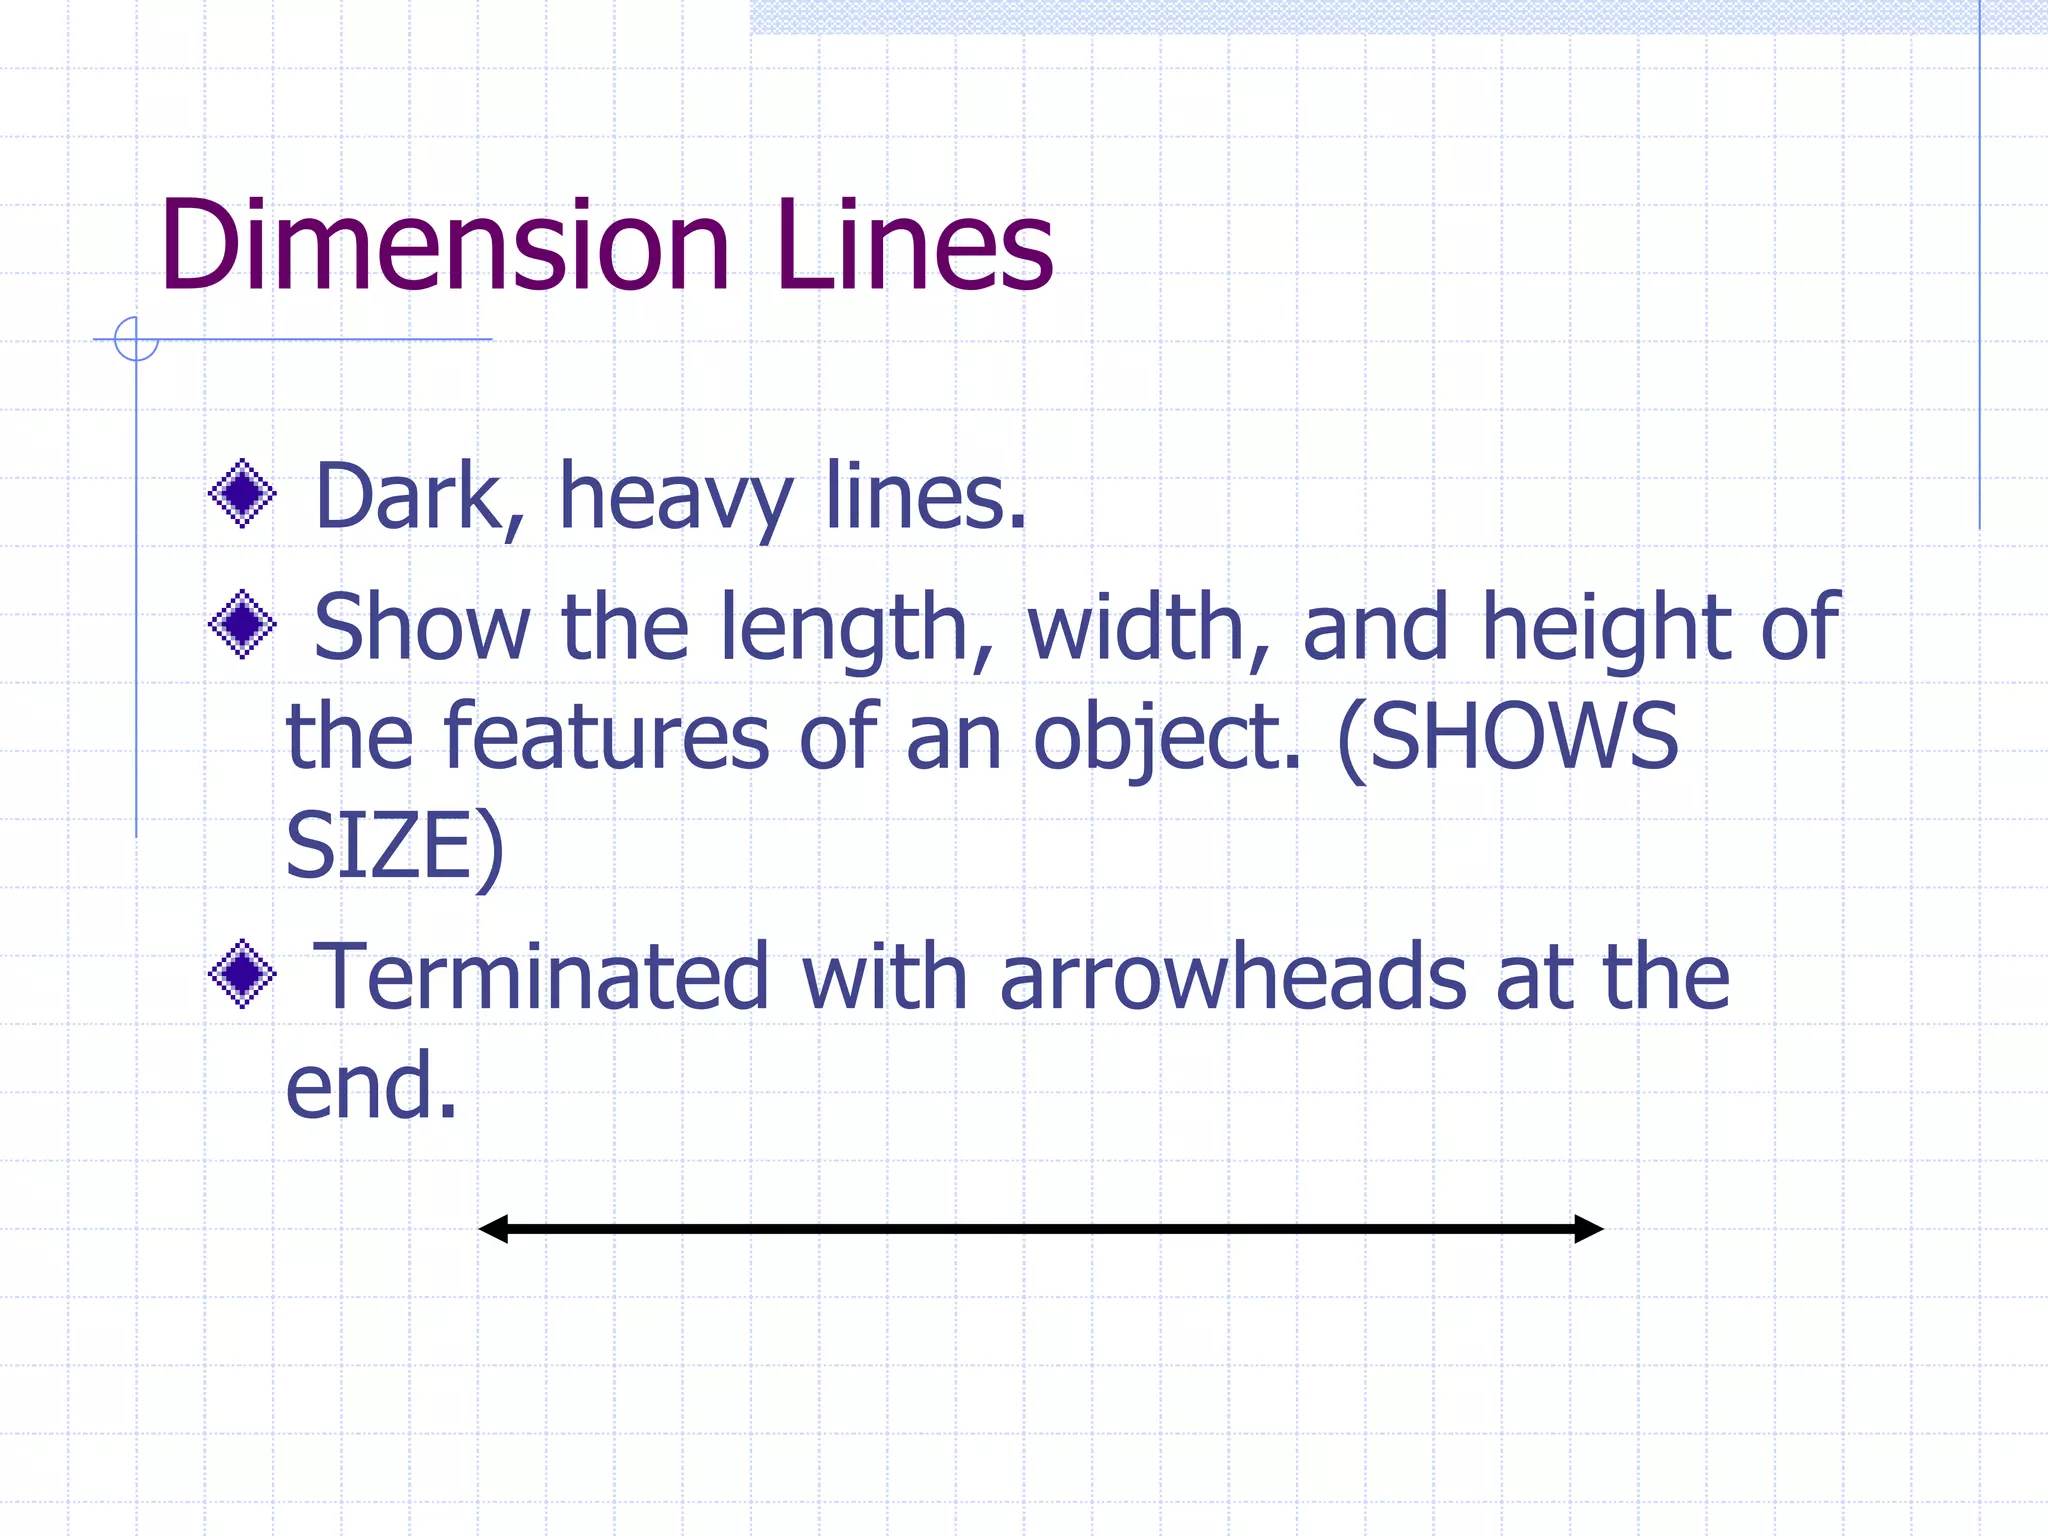
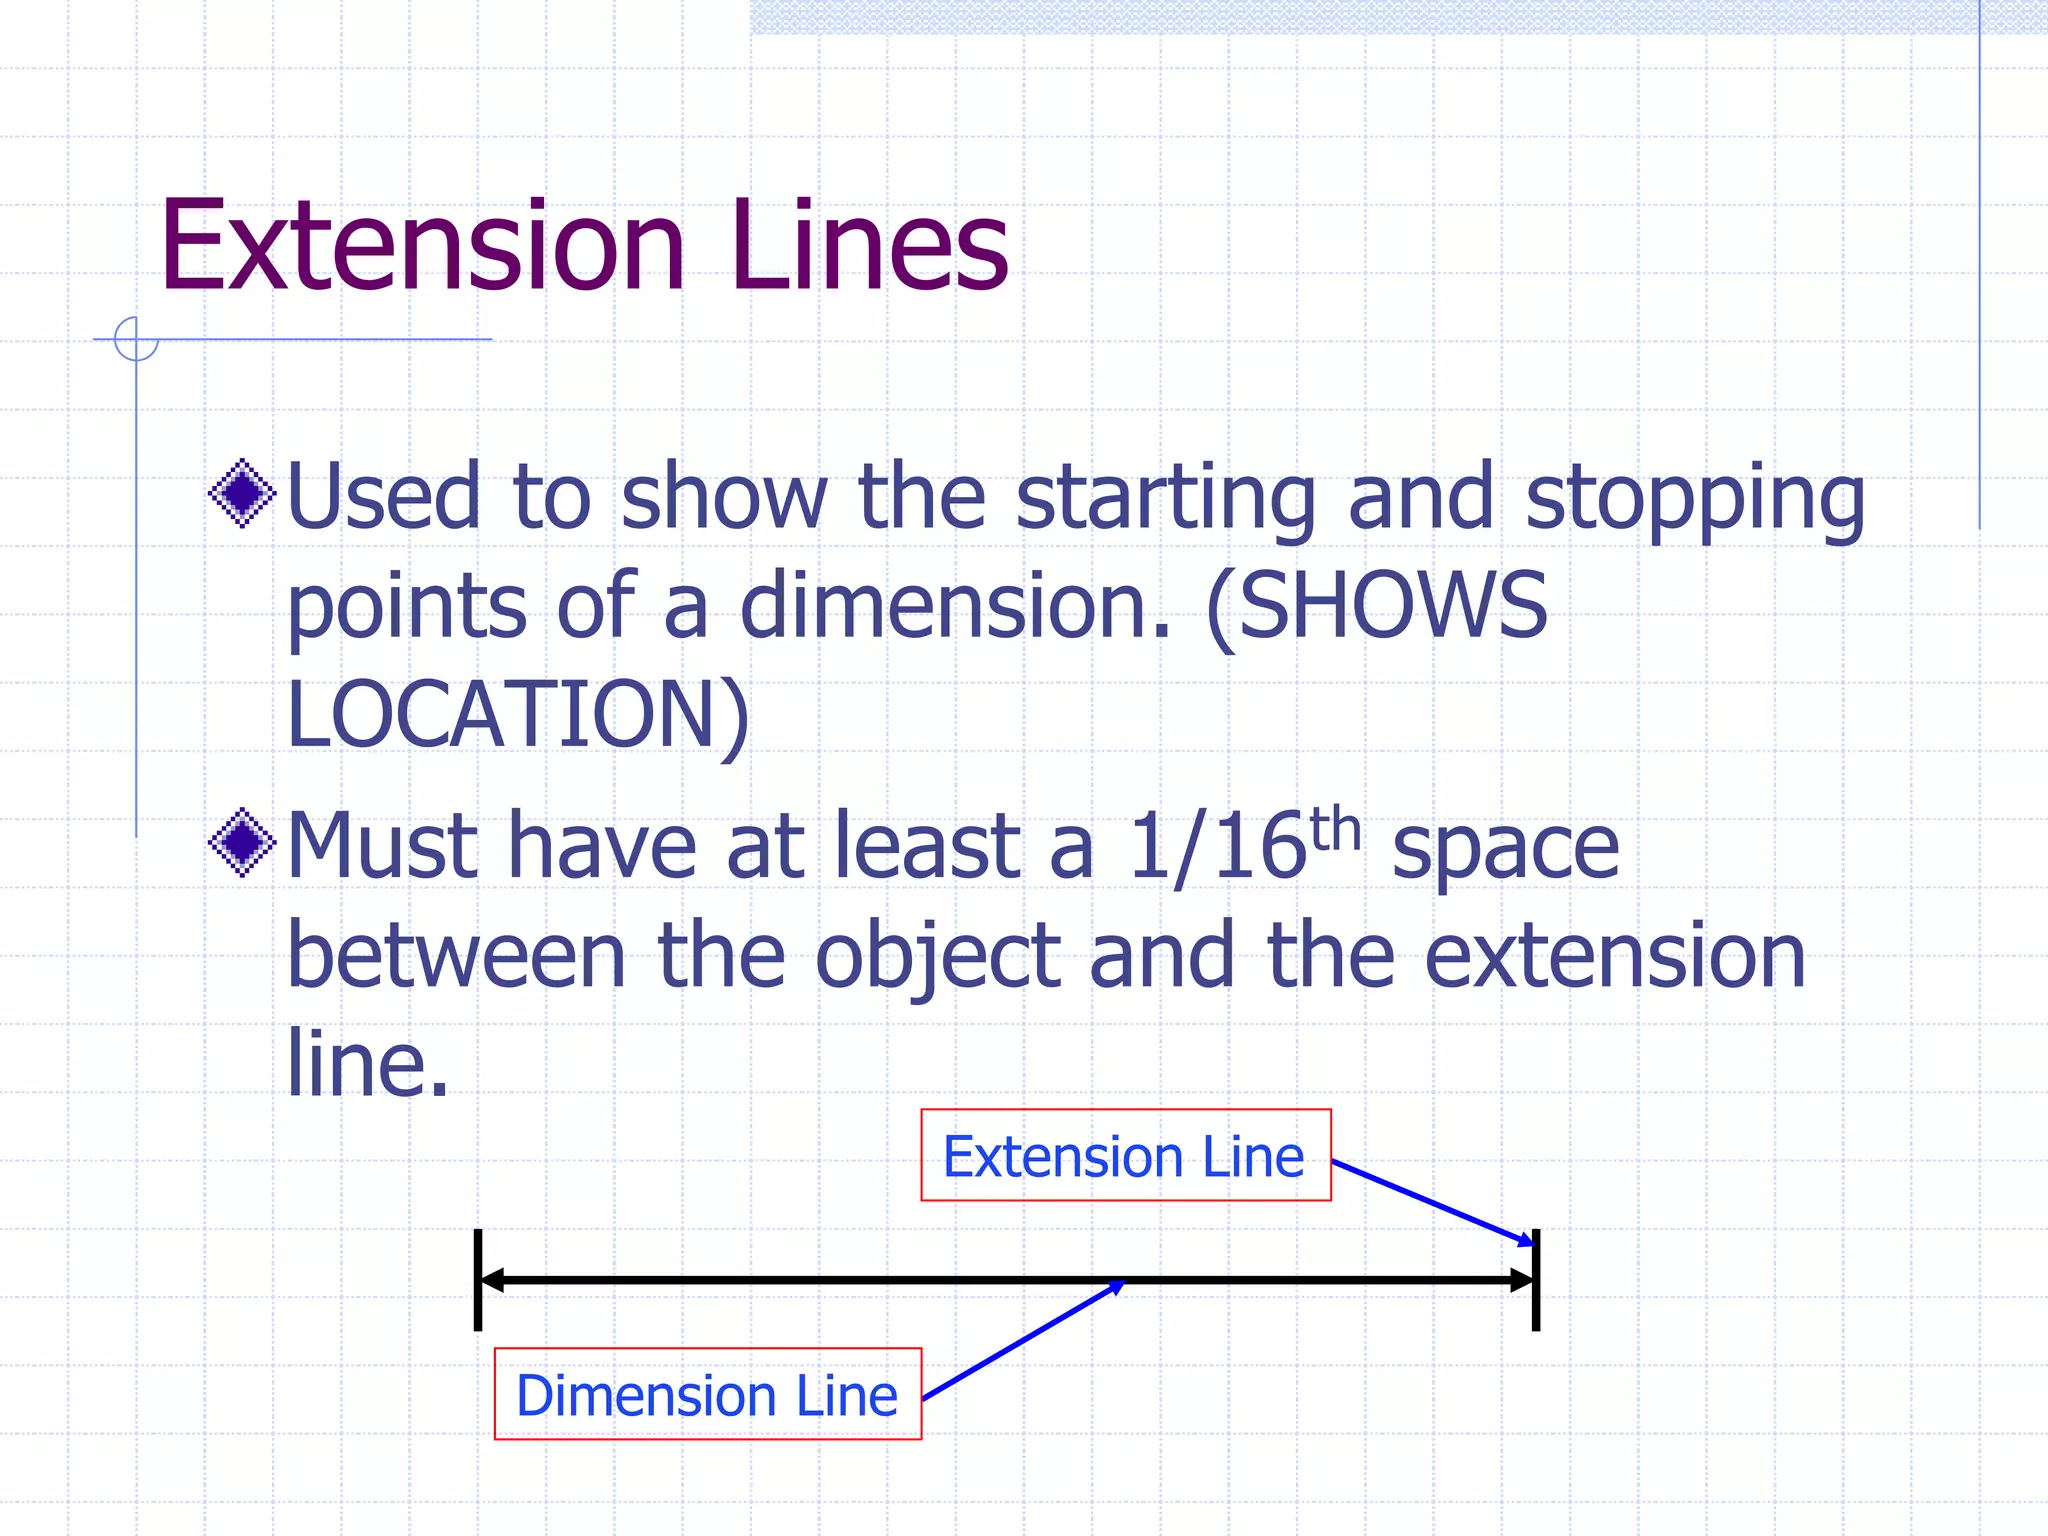
The document introduces the alphabet of lines used in technical drawings to convey different types of information. It describes five main line types - visible lines that show the outline and shape of objects, hidden lines that show hidden outlines, center lines that indicate the center of holes or symmetrical objects, dimension lines that show the size of features, and extension lines that show the location of dimensions. Being able to understand and properly employ these line types is essential for interpreting technical drawings.


