Download to read offline


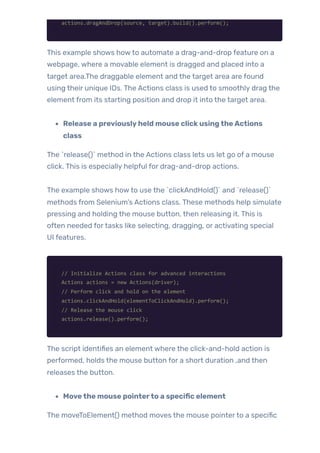
![web element. It is helpful for hovering over menus to reveal hidden
dropdowns.
// Initialize Actions class for advanced interactions
Actions actions = new Actions(driver);
// Hover over the menu to reveal the dropdown
actions.moveToElement(menu).perform();
// Locate the sub-menu element and click on it
submenu.click();
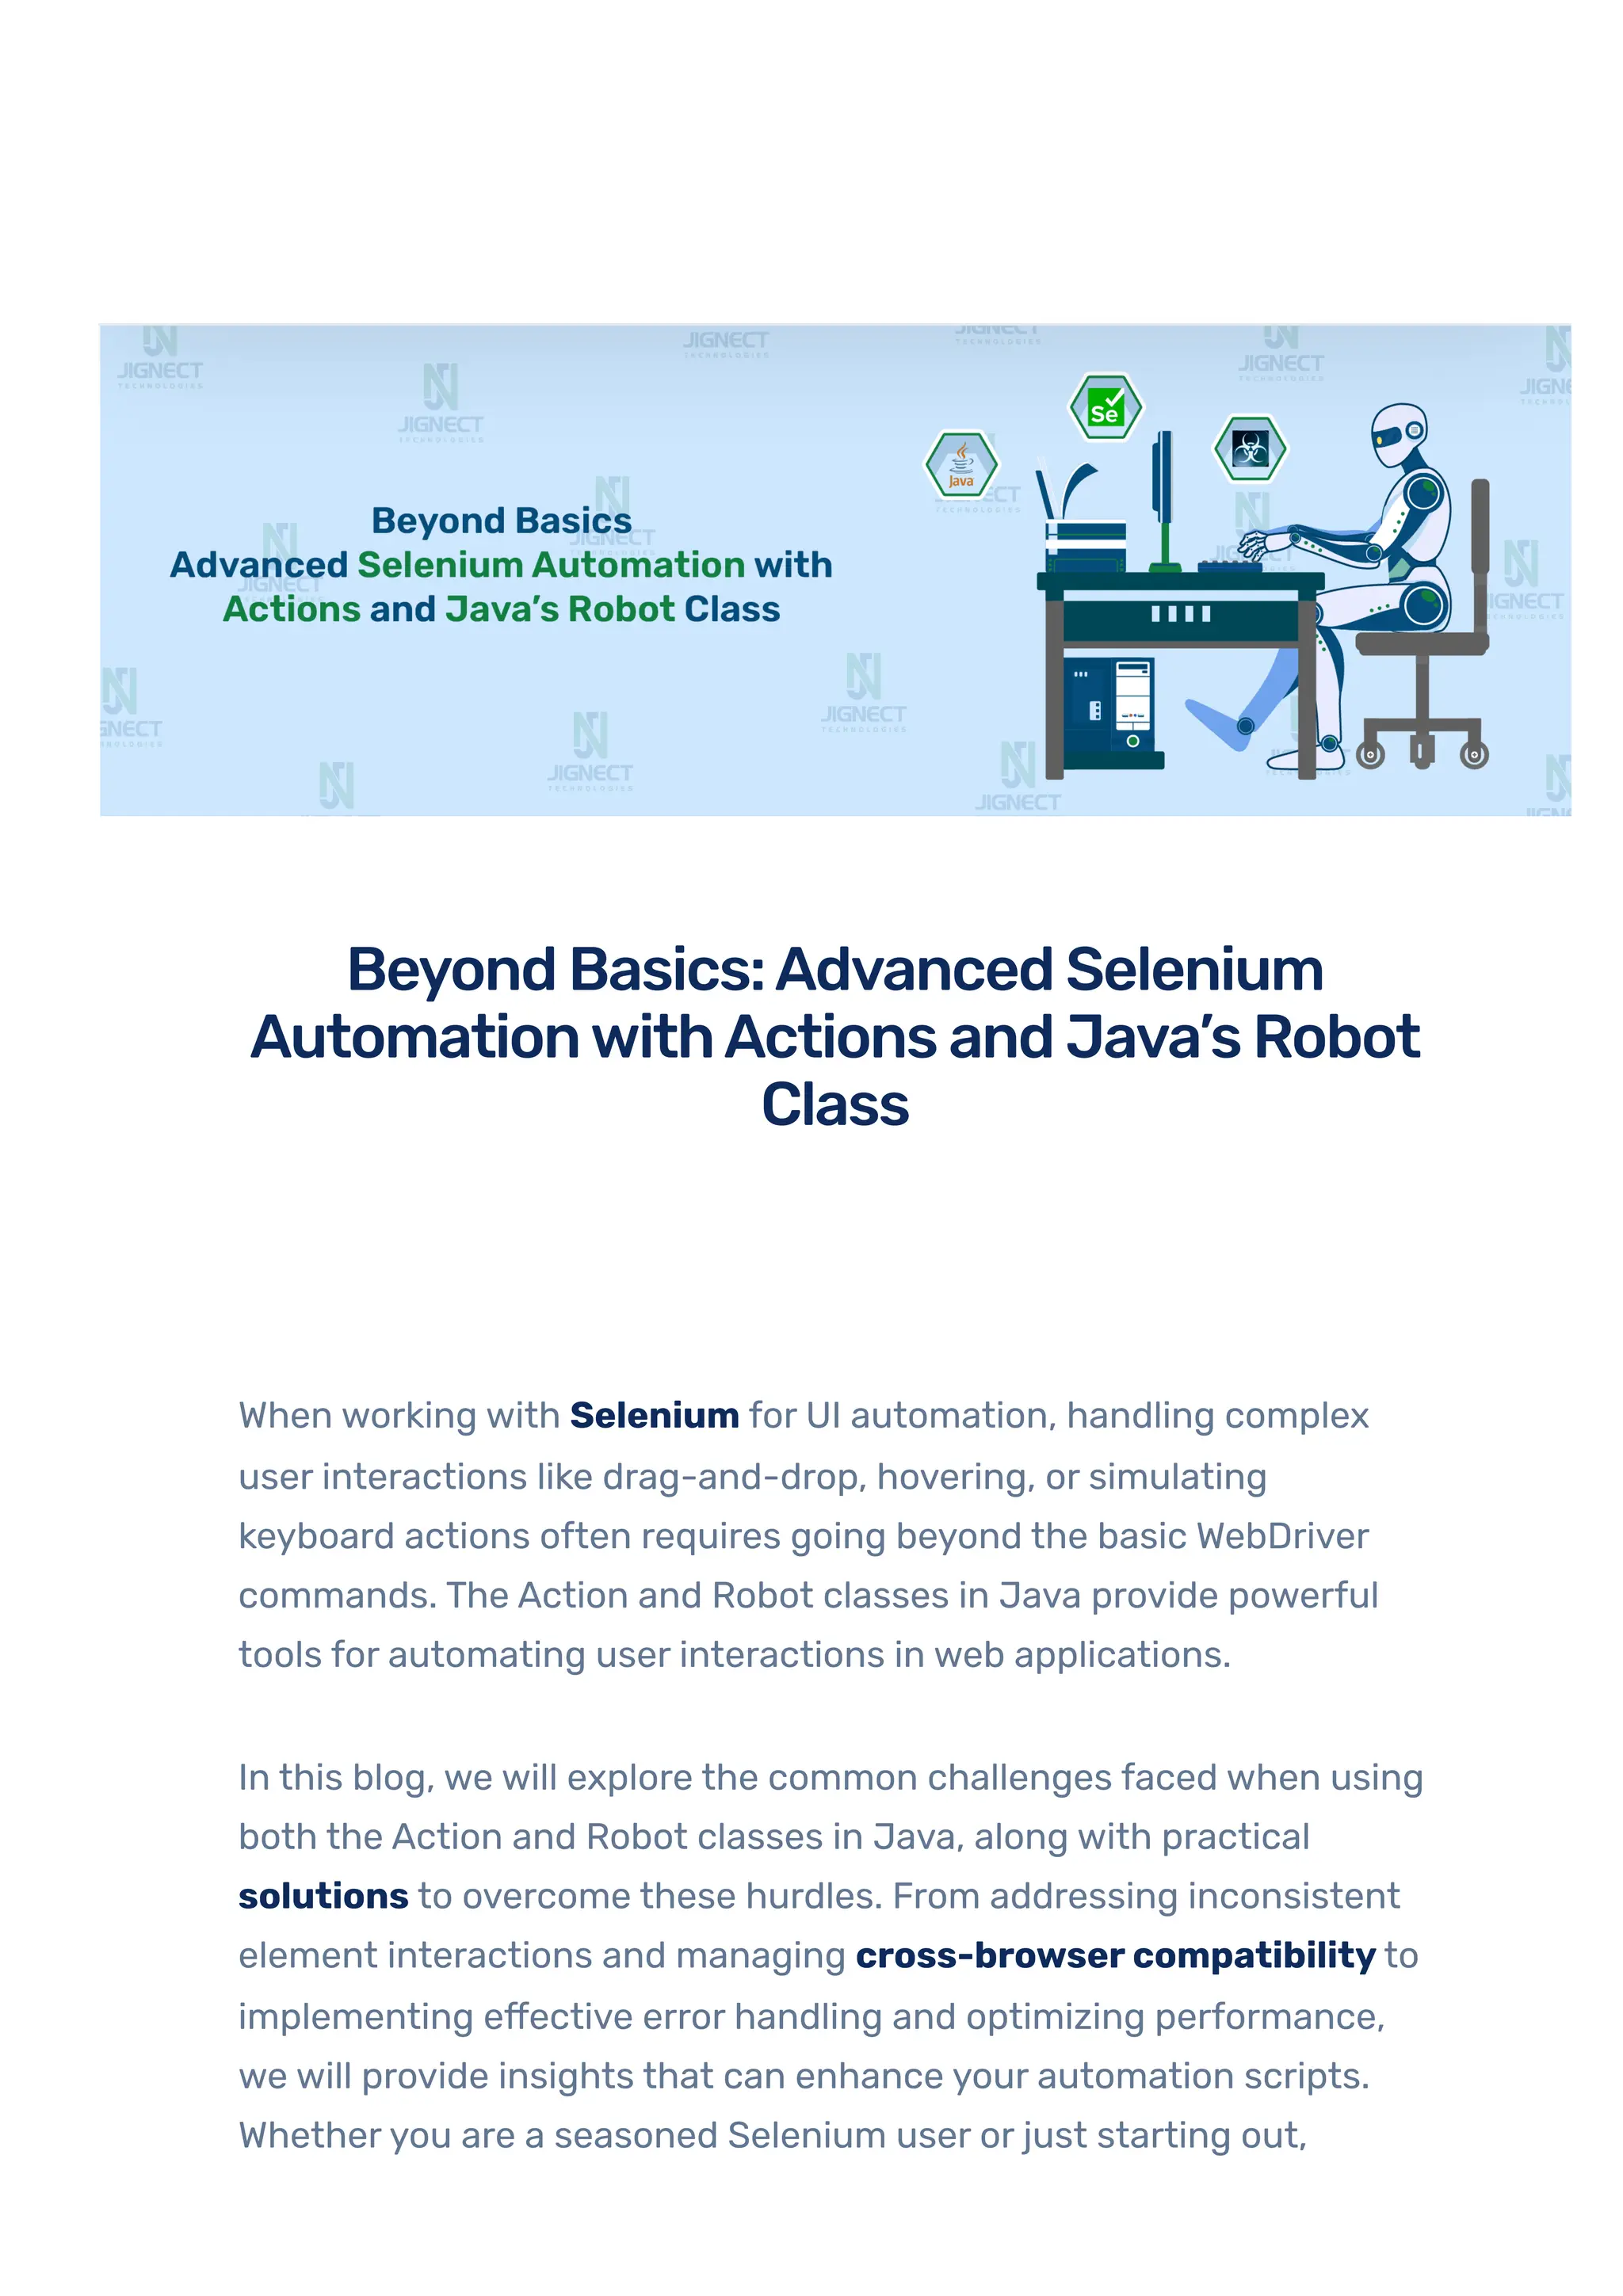
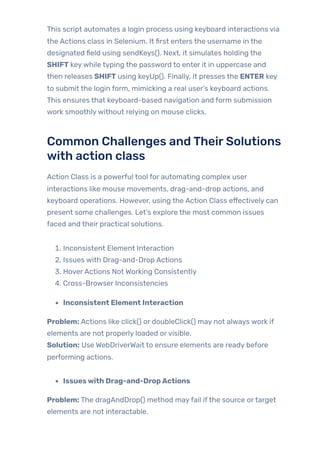
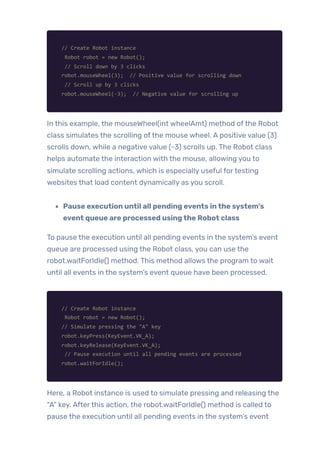
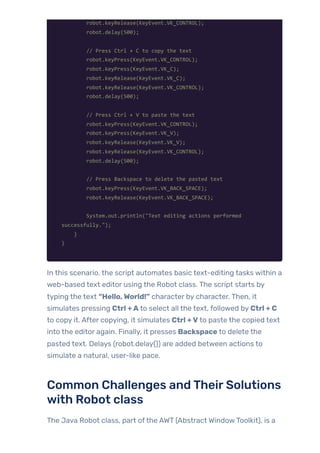
This example shows howto automatically move the mouse over a
menu element to open a dropdown and then click on an sub-menu
using Selenium’s `moveToElement()` method. Using the
moveToElement() method from the Actions class, it hovers overthe
menu, making the dropdown options visible. It then clicks a specific
option from the dropdown.
Real-World Scenario:Automatingweb-basedfile
management system usingAction class
Let’s consider a real-world scenario where we are testing a web-
based file management system that allows users to interact with files
using various mouse actions.
Imagine you are testing a cloud storage web application (similarto
Google Drive or Dropbox). The application has files and folders that
users can interact with using mouse actions. The test case involves
selecting a file, right-clicking to open a context menu, double-clicking
to open it, dragging it into a folder, and hovering over a folderto see a
tooltip.
public class FileManagementActions {
public static void main(String[] args) {
System.setProperty("webdriver.chrome.driver",](https://image.slidesharecdn.com/jignect-tech-beyond-basics-advanced-selenium-automation-with-actions-and-javas-r-250627073033-ed1b8b58/85/Advanced-Selenium-Automation-with-Actions-Robot-Class-7-320.jpg)
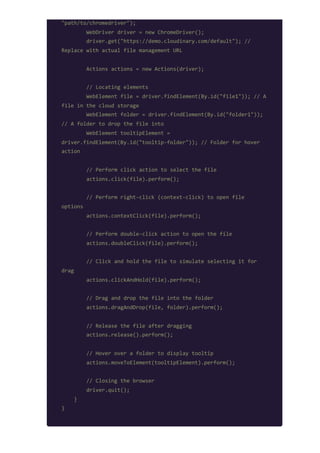
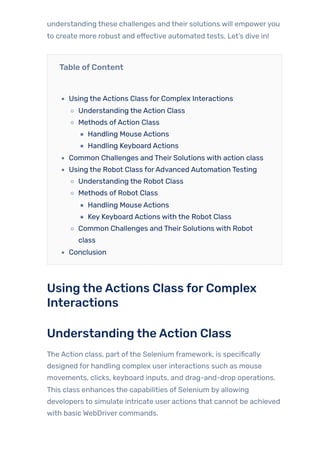
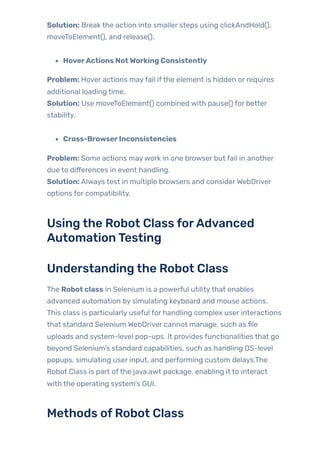
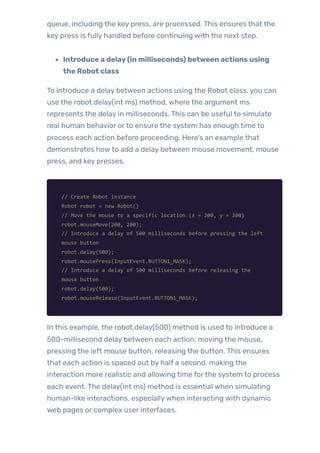
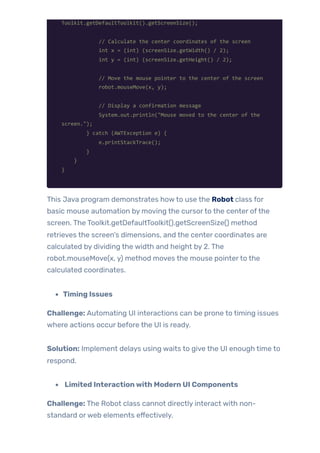
![Imagine you are testing a login form where users entertheir
credentials and submit the form using only keyboard actions. The test
case involves typing the username and password, holding the SHIFT
keyto enter a capitalized password, releasing it, and then pressing
ENTER to submit the form.
public class KeyboardActionsExample {
public static void main(String[] args) {
System.setProperty("webdriver.chrome.driver",
"path/to/chromedriver");
WebDriver driver = new ChromeDriver();
driver.get("https://practicetestautomation.com/practice-
test-login/"); // Replace with actual login page
Actions actions = new Actions(driver);
// Locate username and password fields
WebElement usernameField =
driver.findElement(By.xpath("//input[@id='username']"));
WebElement passwordField =
driver.findElement(By.xpath("//input[@id='password']"));
// Enter username
actions.sendKeys(usernameField, "testuser").perform();
// Press and hold SHIFT, enter password in uppercase, then
release SHIFT
actions.keyDown(Keys.SHIFT)
.sendKeys(passwordField, "password")
.keyUp(Keys.SHIFT)
.perform();
// Press ENTER to submit the form
actions.sendKeys(Keys.ENTER).perform();
// Closing the browser
driver.quit();
}
}](https://image.slidesharecdn.com/jignect-tech-beyond-basics-advanced-selenium-automation-with-actions-and-javas-r-250627073033-ed1b8b58/85/Advanced-Selenium-Automation-with-Actions-Robot-Class-11-320.jpg)

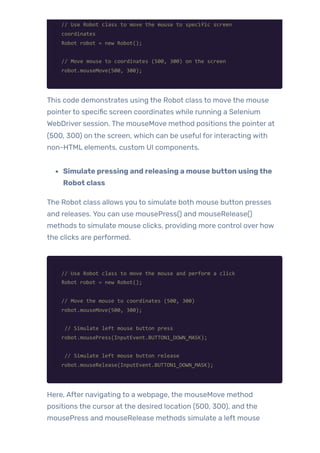
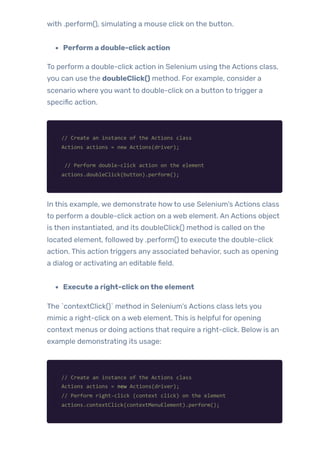
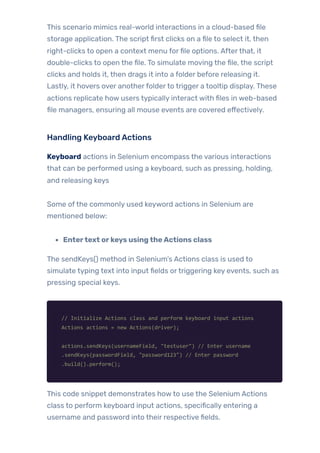
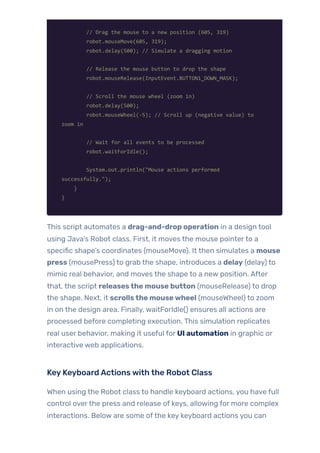
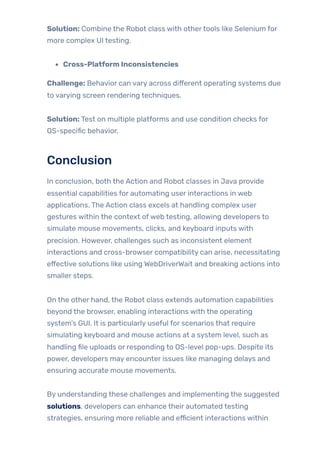
![Real-World Scenario:Automating a Drag-and-DropAction in
a Graphic DesignTool
Imagine you are testing a web-based graphic design tool (similarto
Canva or Figma) where users can move, drag, and drop elements
using the mouse. The test case involves moving the mouse to a
shape, clicking and holding it, dragging it to a new location, scrolling
the mouse wheel to zoom in, and then releasing the shape.
Additionally, delays are introduced to simulate real-user interactions,
and waitForIdle() ensures all events are processed before proceeding.
import java.awt.AWTException;
import java.awt.Robot;
import java.awt.event.InputEvent;
import org.openqa.selenium.WebDriver;
import org.openqa.selenium.chrome.ChromeDriver;
public class MouseActionsWithRobotClass {
public static void main(String[] args) throws AWTException {
// Set ChromeDriver path
System.setProperty("webdriver.chrome.driver",
"path/to/chromedriver");
// Initialize WebDriver
WebDriver driver = new ChromeDriver();
driver.get("https://www.globalsqa.com/demo-
site/draganddrop/#google_vignette");
// Initialize Robot class
Robot robot = new Robot();
// Move mouse to a shape at coordinates (483, 308)
robot.mouseMove(483, 308);
robot.delay(500); // Introduce a short delay for natural
interaction
// Simulate mouse press (left button down)
robot.mousePress(InputEvent.BUTTON1_DOWN_MASK);
robot.delay(500); // Hold the mouse button for half a
second](https://image.slidesharecdn.com/jignect-tech-beyond-basics-advanced-selenium-automation-with-actions-and-javas-r-250627073033-ed1b8b58/85/Advanced-Selenium-Automation-with-Actions-Robot-Class-19-320.jpg)
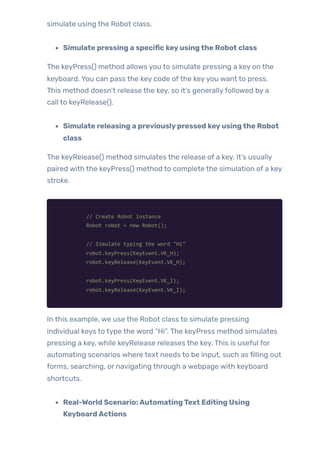
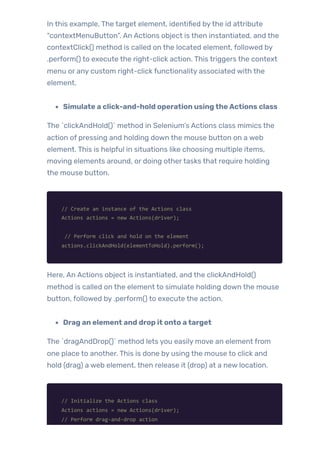
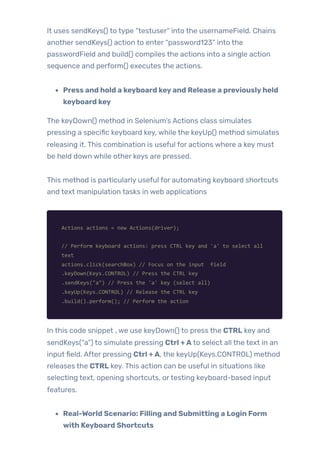
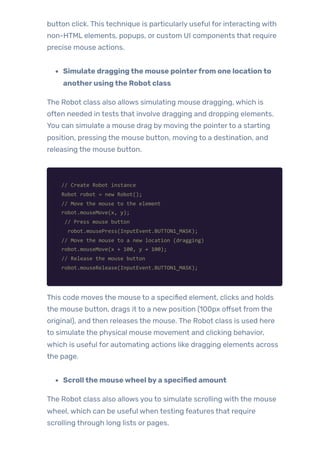
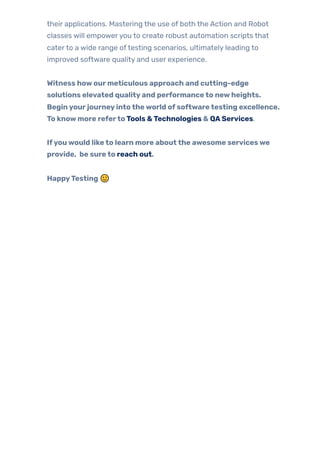
![Imagine you are testing a web-based text editor (similarto Google
Docs or Microsoft Word Online). The test case involves typing some
text into the editor, selecting it using Ctrl+A, copying it with Ctrl+C,
then pasting it with Ctrl+V. Finally, the user presses Backspace to
delete the text. The Robot class is used to simulate these keyboard
actions.
public class RobotKeyboardActions {
public static void main(String[] args) throws AWTException {
Robot robot = new Robot();
// Simulate typing "Hello" into the text editor
robot.keyPress(KeyEvent.VK_H);
robot.keyRelease(KeyEvent.VK_H);
robot.delay(100);
robot.keyPress(KeyEvent.VK_E);
robot.keyRelease(KeyEvent.VK_E);
robot.delay(100);
robot.keyPress(KeyEvent.VK_L);
robot.keyRelease(KeyEvent.VK_L);
robot.delay(100);
robot.keyPress(KeyEvent.VK_L);
robot.keyRelease(KeyEvent.VK_L);
robot.delay(100);
robot.keyPress(KeyEvent.VK_O);
robot.keyRelease(KeyEvent.VK_O);
robot.delay(100);
// Press SPACE
robot.keyPress(KeyEvent.VK_SPACE);
robot.keyRelease(KeyEvent.VK_SPACE);
robot.delay(100);
// Press Ctrl + A to select all text
robot.keyPress(KeyEvent.VK_CONTROL);
robot.keyPress(KeyEvent.VK_A);
robot.keyRelease(KeyEvent.VK_A);](https://image.slidesharecdn.com/jignect-tech-beyond-basics-advanced-selenium-automation-with-actions-and-javas-r-250627073033-ed1b8b58/85/Advanced-Selenium-Automation-with-Actions-Robot-Class-22-320.jpg)
![powerful utilityfor automating user interactions with the keyboard
and mouse. While it provides significant functionalityfortasks such
as GUI testing and automation, developers often encountervarious
challenges when using this class. Here, we explore some common
challenges and their potential solutions.
1. The Robot class has limitations due to its reliance on pixel-
based control.
2. Timing issues can occurwhen using the Robot class for
automation tasks.
3. The Robot class provides limited interaction capabilitieswith
modern UI components.
4. Cross-platform inconsistencies can arise when using the
Robot class for automation.
5. Securityrestrictions may limit the functionality ofthe Robot
class in certain environments.
Pixel-Based Control Limitation
Challenge: The Robot class relies on pixel-based control, making it
dependent on screen resolution and element positioning. This can
lead to inconsistencies across different screen setups.
Solution: Use screen resolution detection and dynamic positioning to
calculate element locations. Combine GraphicsEnvironment and
Toolkit to fetch the screen dimensions and adjust mouse actions
accordingly.
public class RobotExample {
public static void main(String[] args) {
try {
// Create an instance of the Robot class
Robot robot = new Robot();
// Get the screen size using Toolkit
Dimension screenSize =](https://image.slidesharecdn.com/jignect-tech-beyond-basics-advanced-selenium-automation-with-actions-and-javas-r-250627073033-ed1b8b58/85/Advanced-Selenium-Automation-with-Actions-Robot-Class-24-320.jpg)

When working with Selenium for UI automation, handling complex user interactions like drag-and-drop, hovering, or simulating keyboard actions often requires going beyond the basic WebDriver commands. The Action and Robot classes in Java provide powerful tools for automating user interactions in web applications. In this blog, we will explore the common challenges faced when using both the Action and Robot classes in Java, along with practical solutions to overcome these hurdles. From addressing inconsistent element interactions and managing cross-browser compatibility to implementing effective error handling and optimizing performance, we will provide insights that can enhance your automation scripts. Whether you are a seasoned Selenium user or just starting out, understanding these challenges and their solutions will empower you to create more robust and effective automated tests. Let’s dive in!


![Getting Started with Apache Spark: Big Data Made Simple [Free Meetup]](https://cdn.slidesharecdn.com/ss_thumbnails/apachesparkgettingstarted-260203175547-8361bcc3-thumbnail.jpg?width=640&height=640&fit=bounds)


