Downloaded 240 times

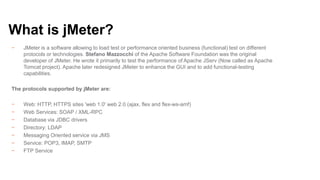
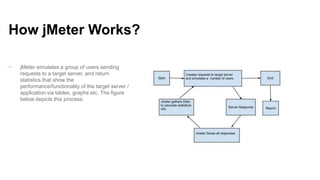
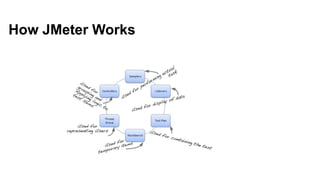


jMeter is an open source load and performance testing tool. It is a 100% Java application that simulates user load on servers and applications. It can test websites, web services, databases, and other application components. jMeter works by recording user actions as test plans that can then be replayed concurrently to simulate multiple users accessing the system. Key components of a jMeter test plan include thread groups, samplers, listeners, and assertions. Listeners and reports provide output on system performance during the load test.