Download as PDF, PPTX

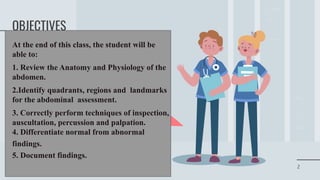


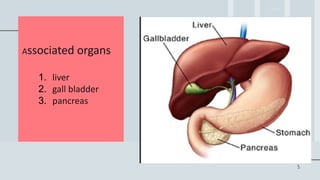


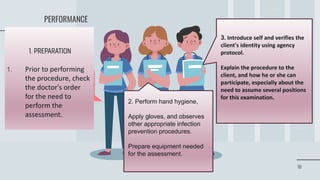


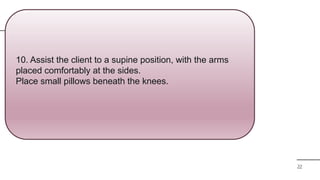


The document outlines objectives and techniques for conducting an abdominal assessment in nursing, including anatomy, assessment techniques, and documentation of findings. It covers inspection, auscultation, percussion, and palpation, detailing normal and abnormal abdominal findings. Additionally, it emphasizes the importance of patient preparation and communication during the assessment process.


