Download to read offline
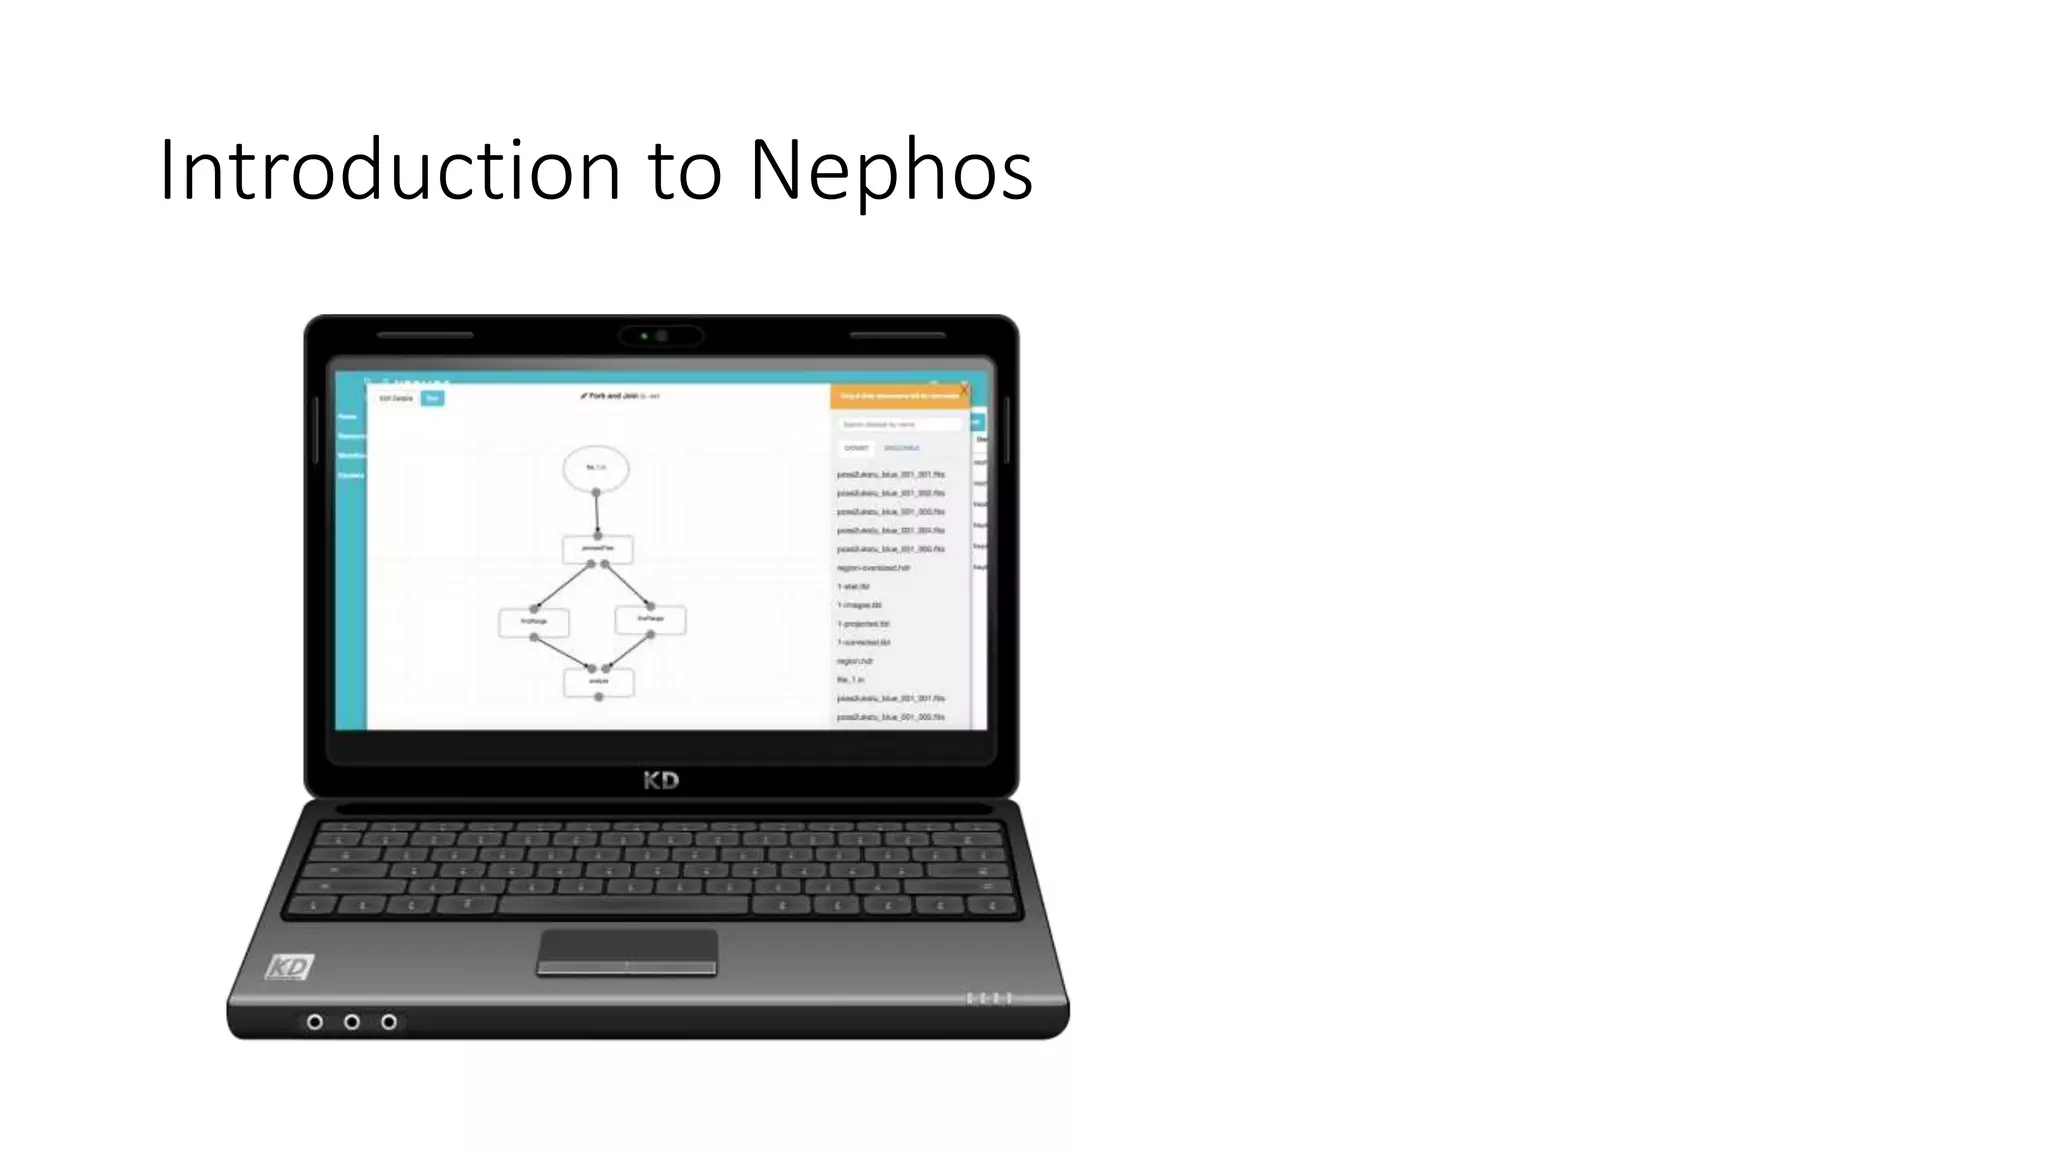


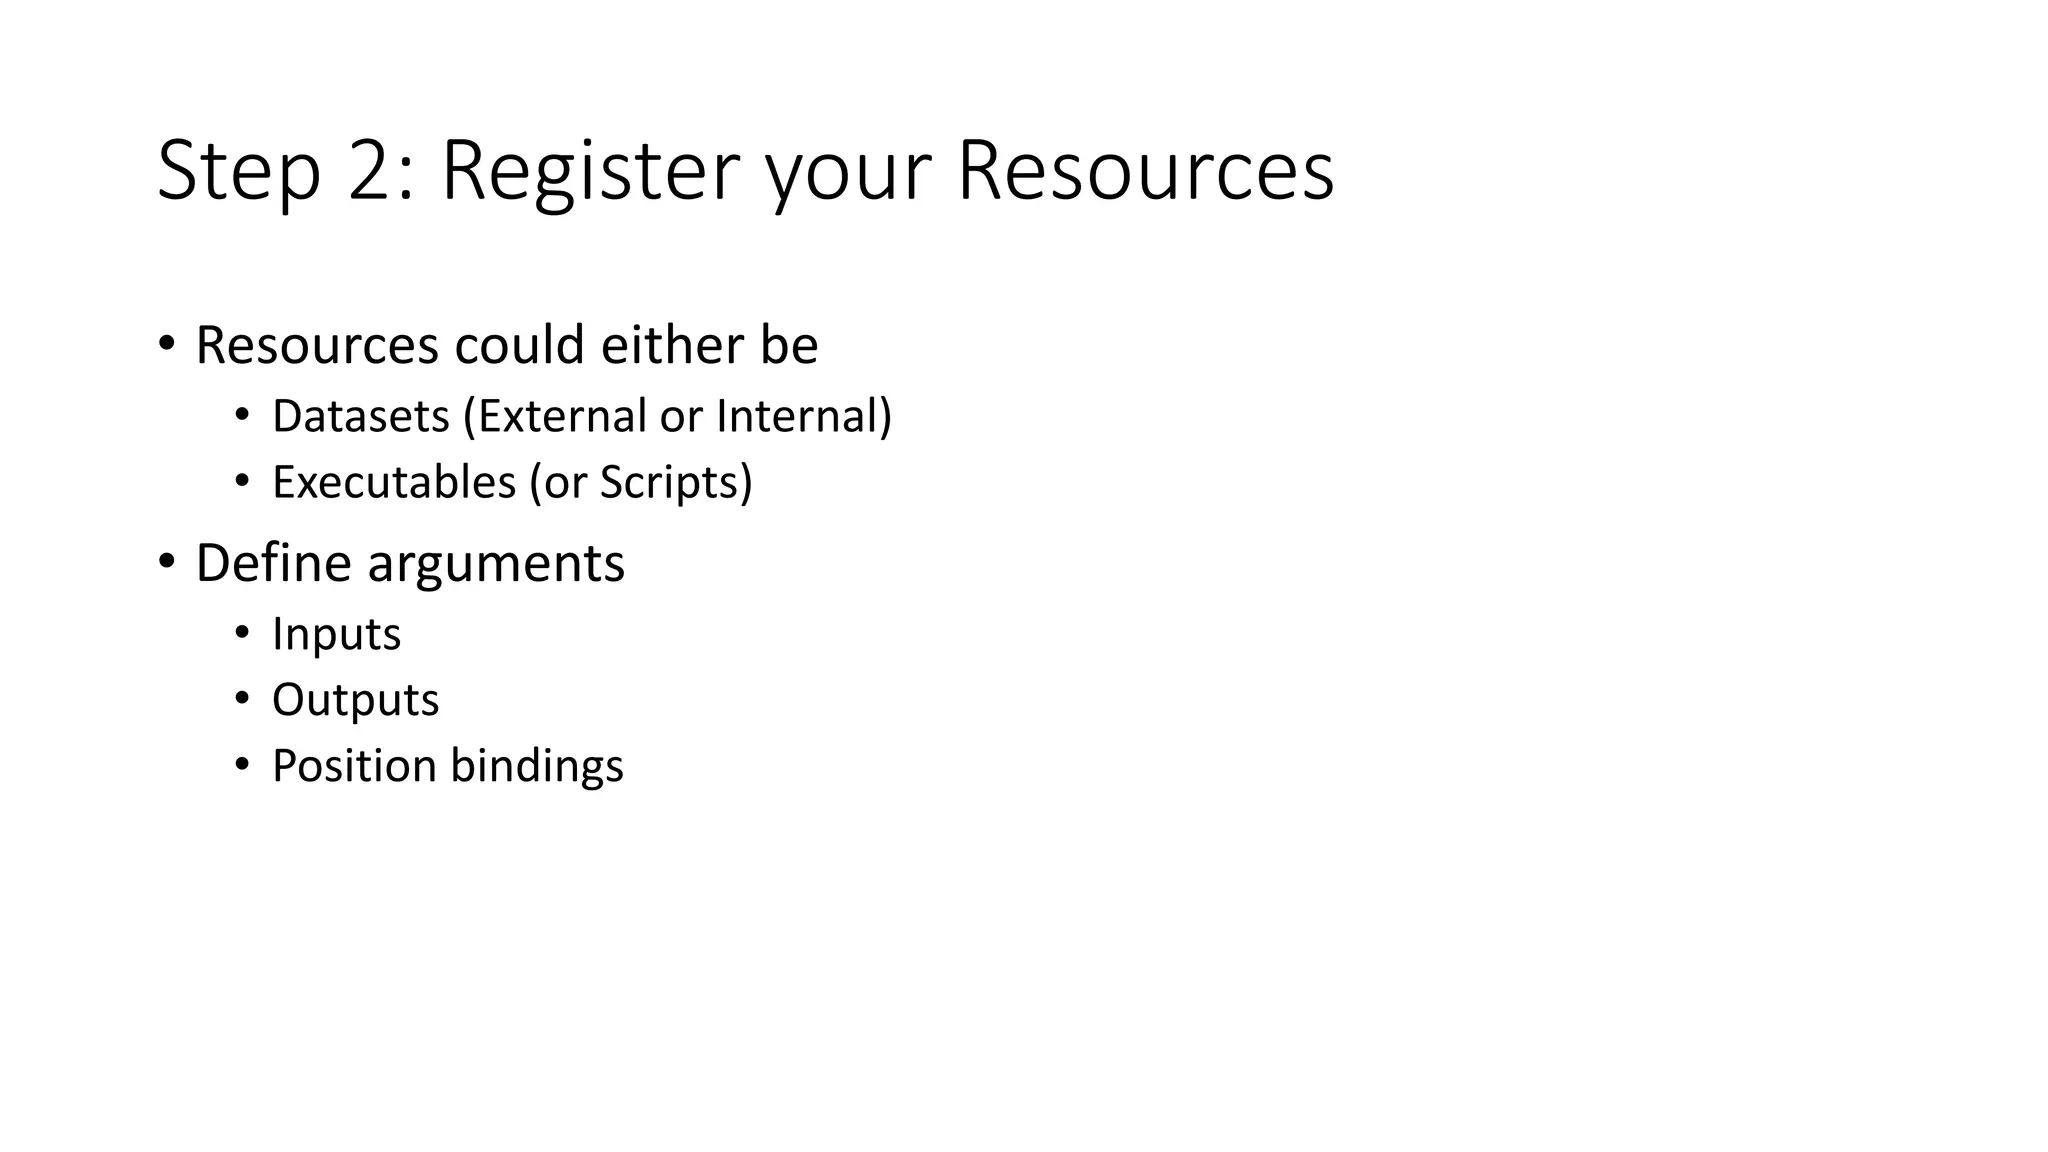
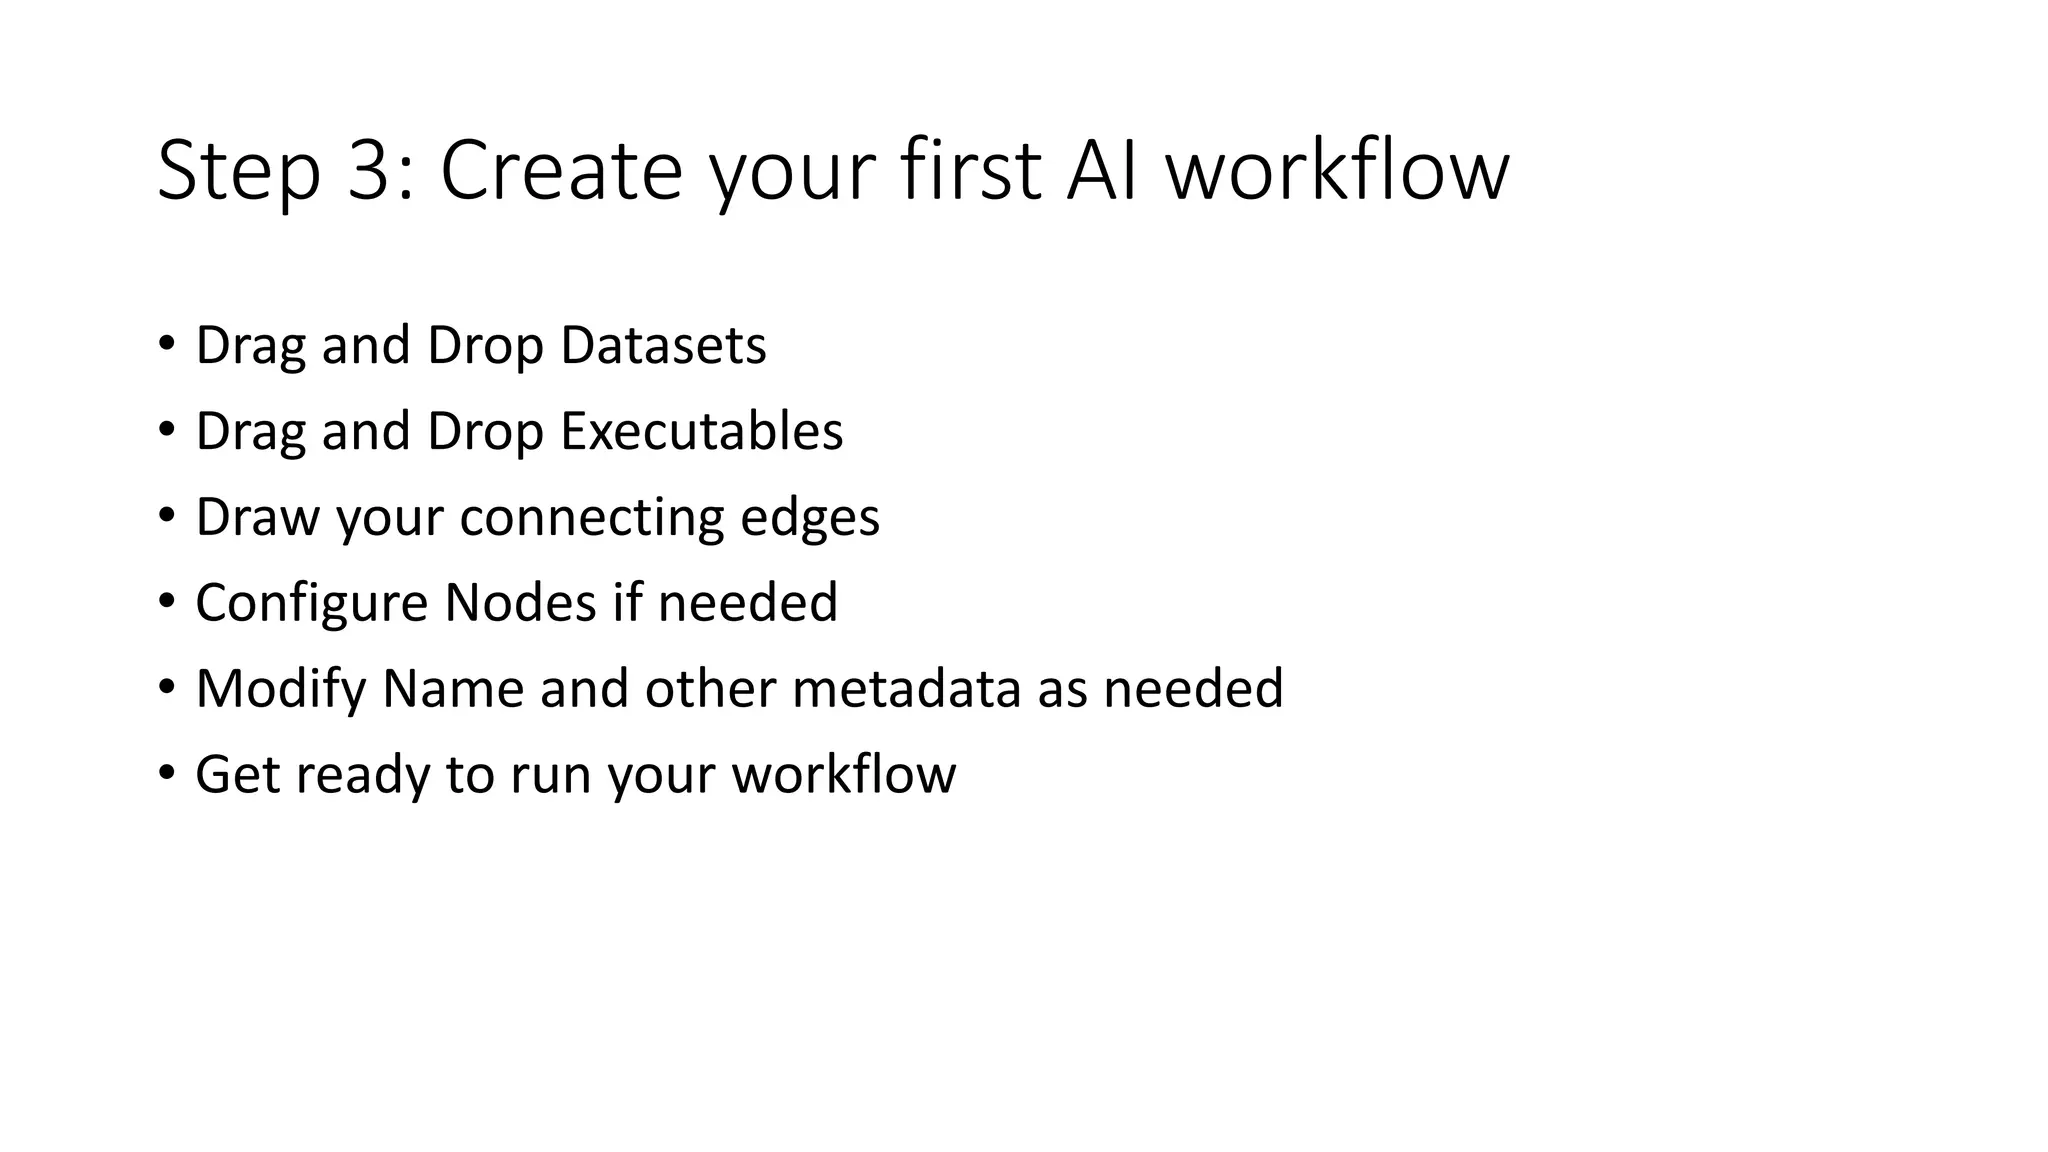

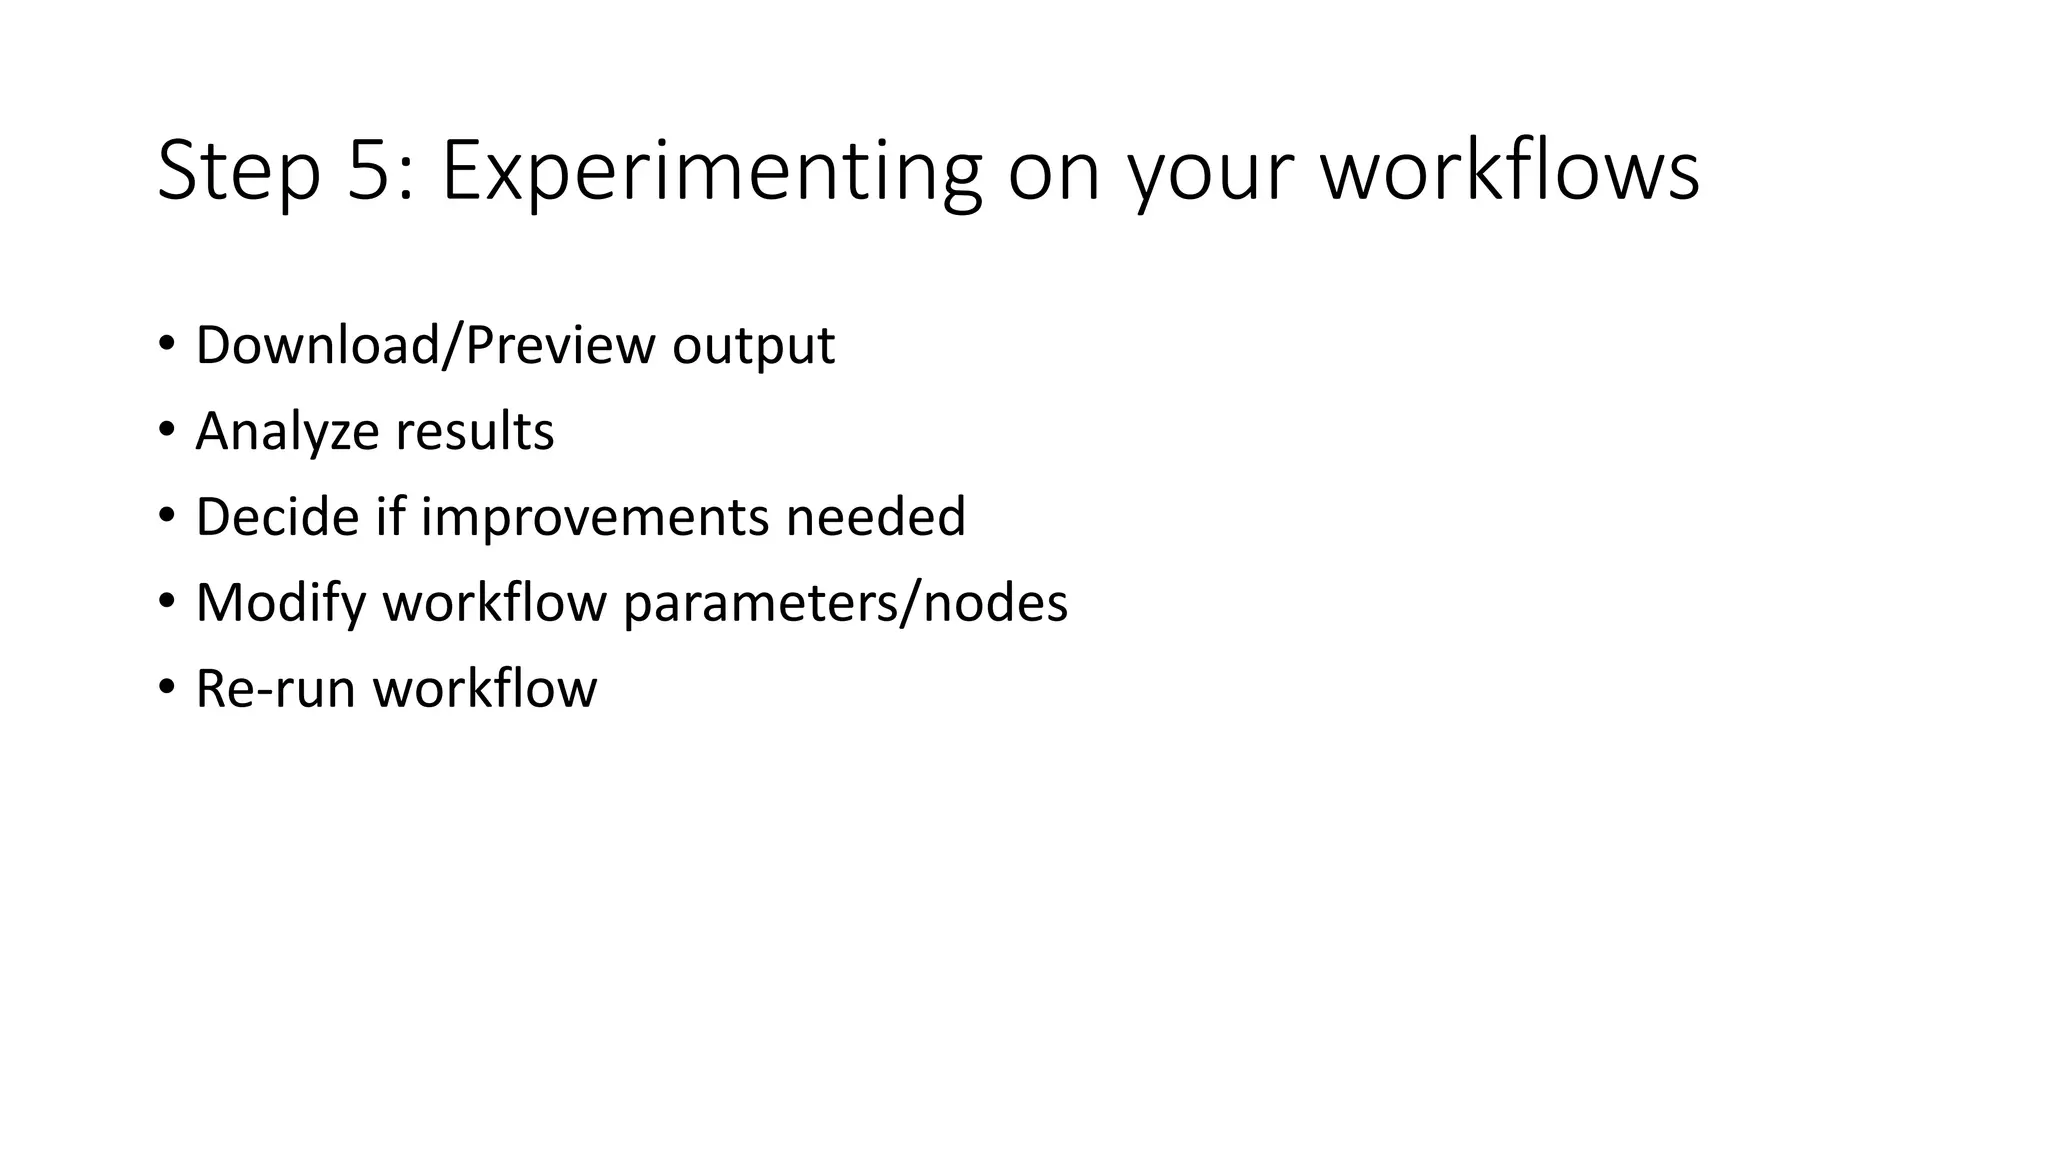
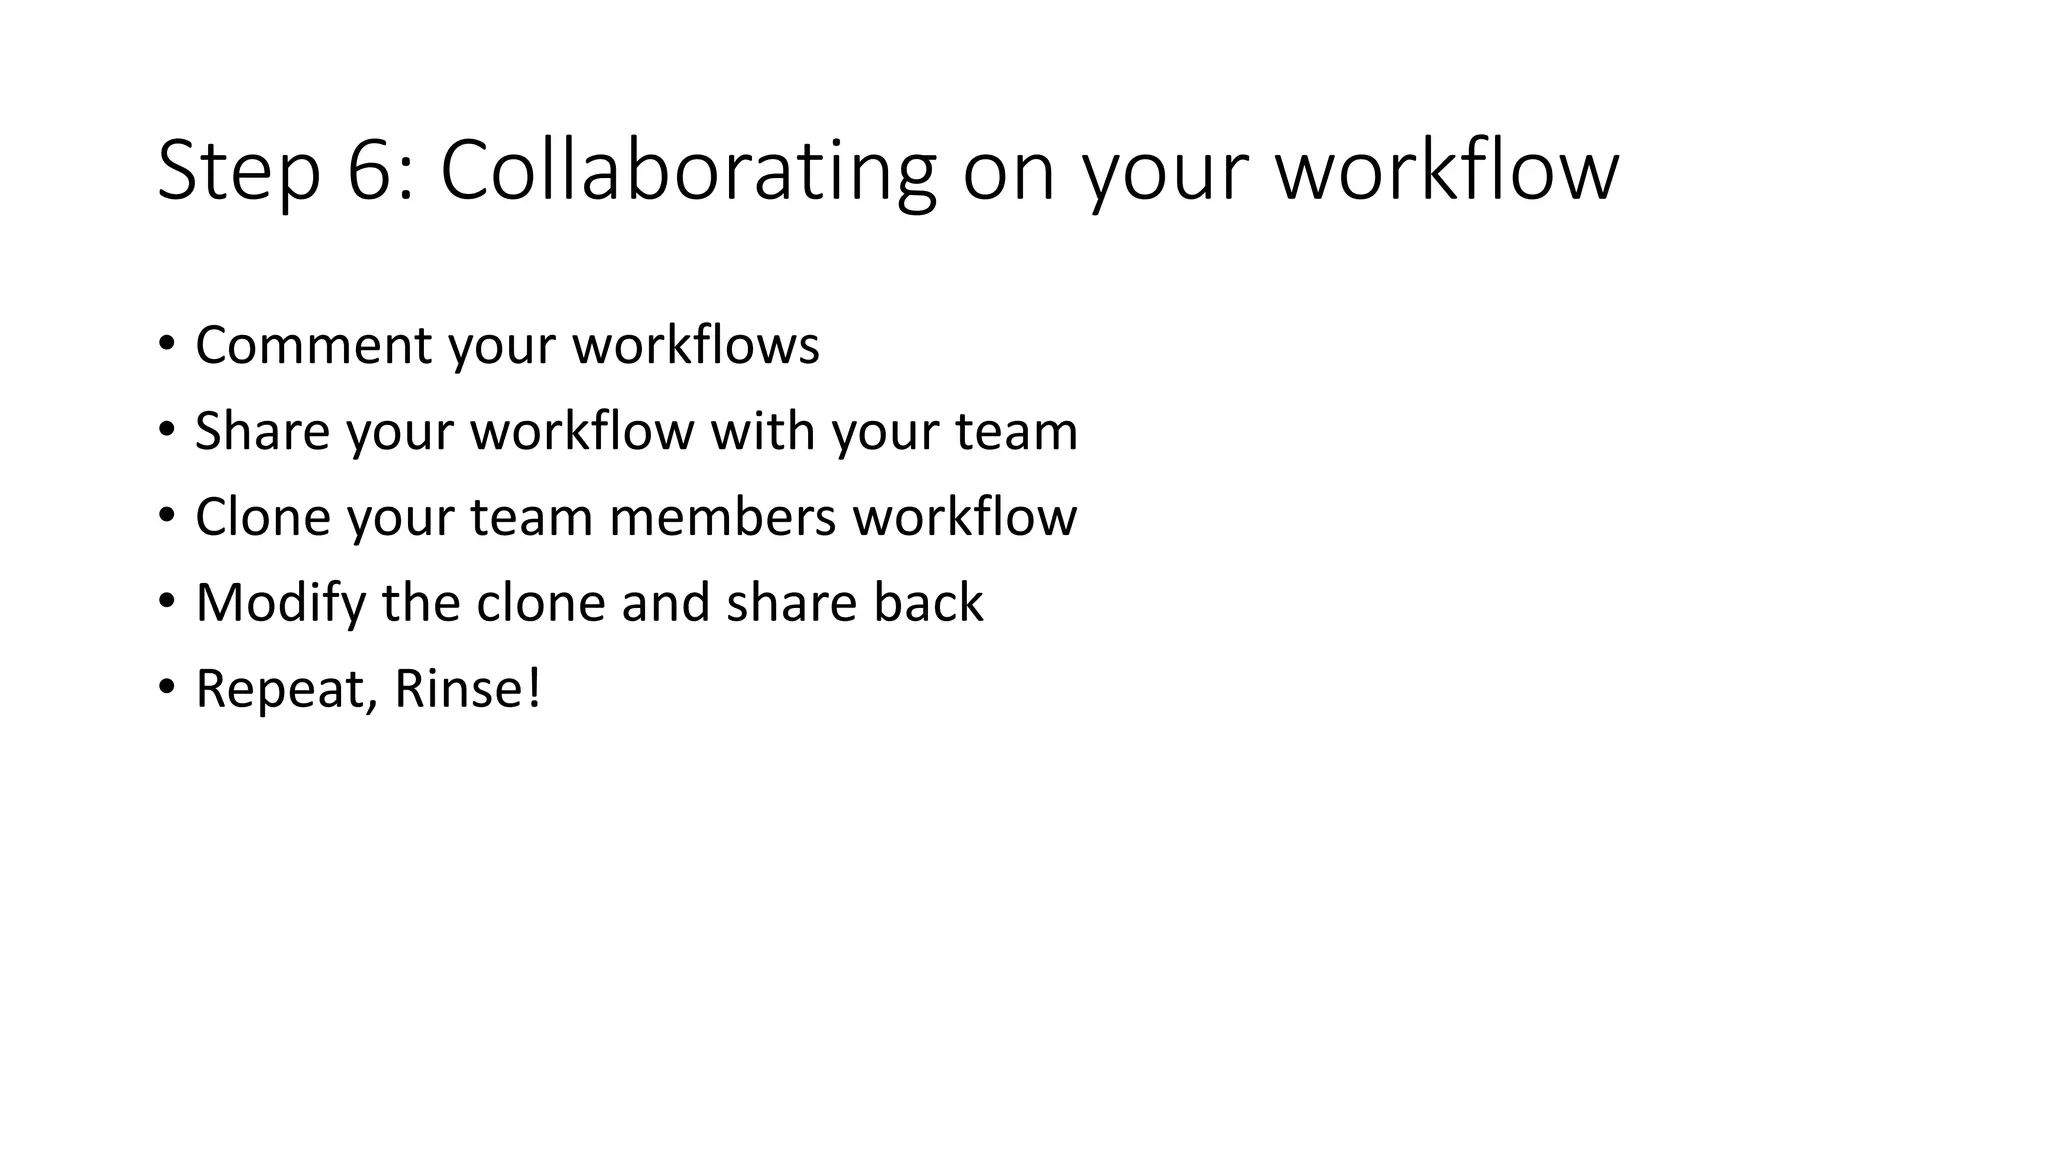
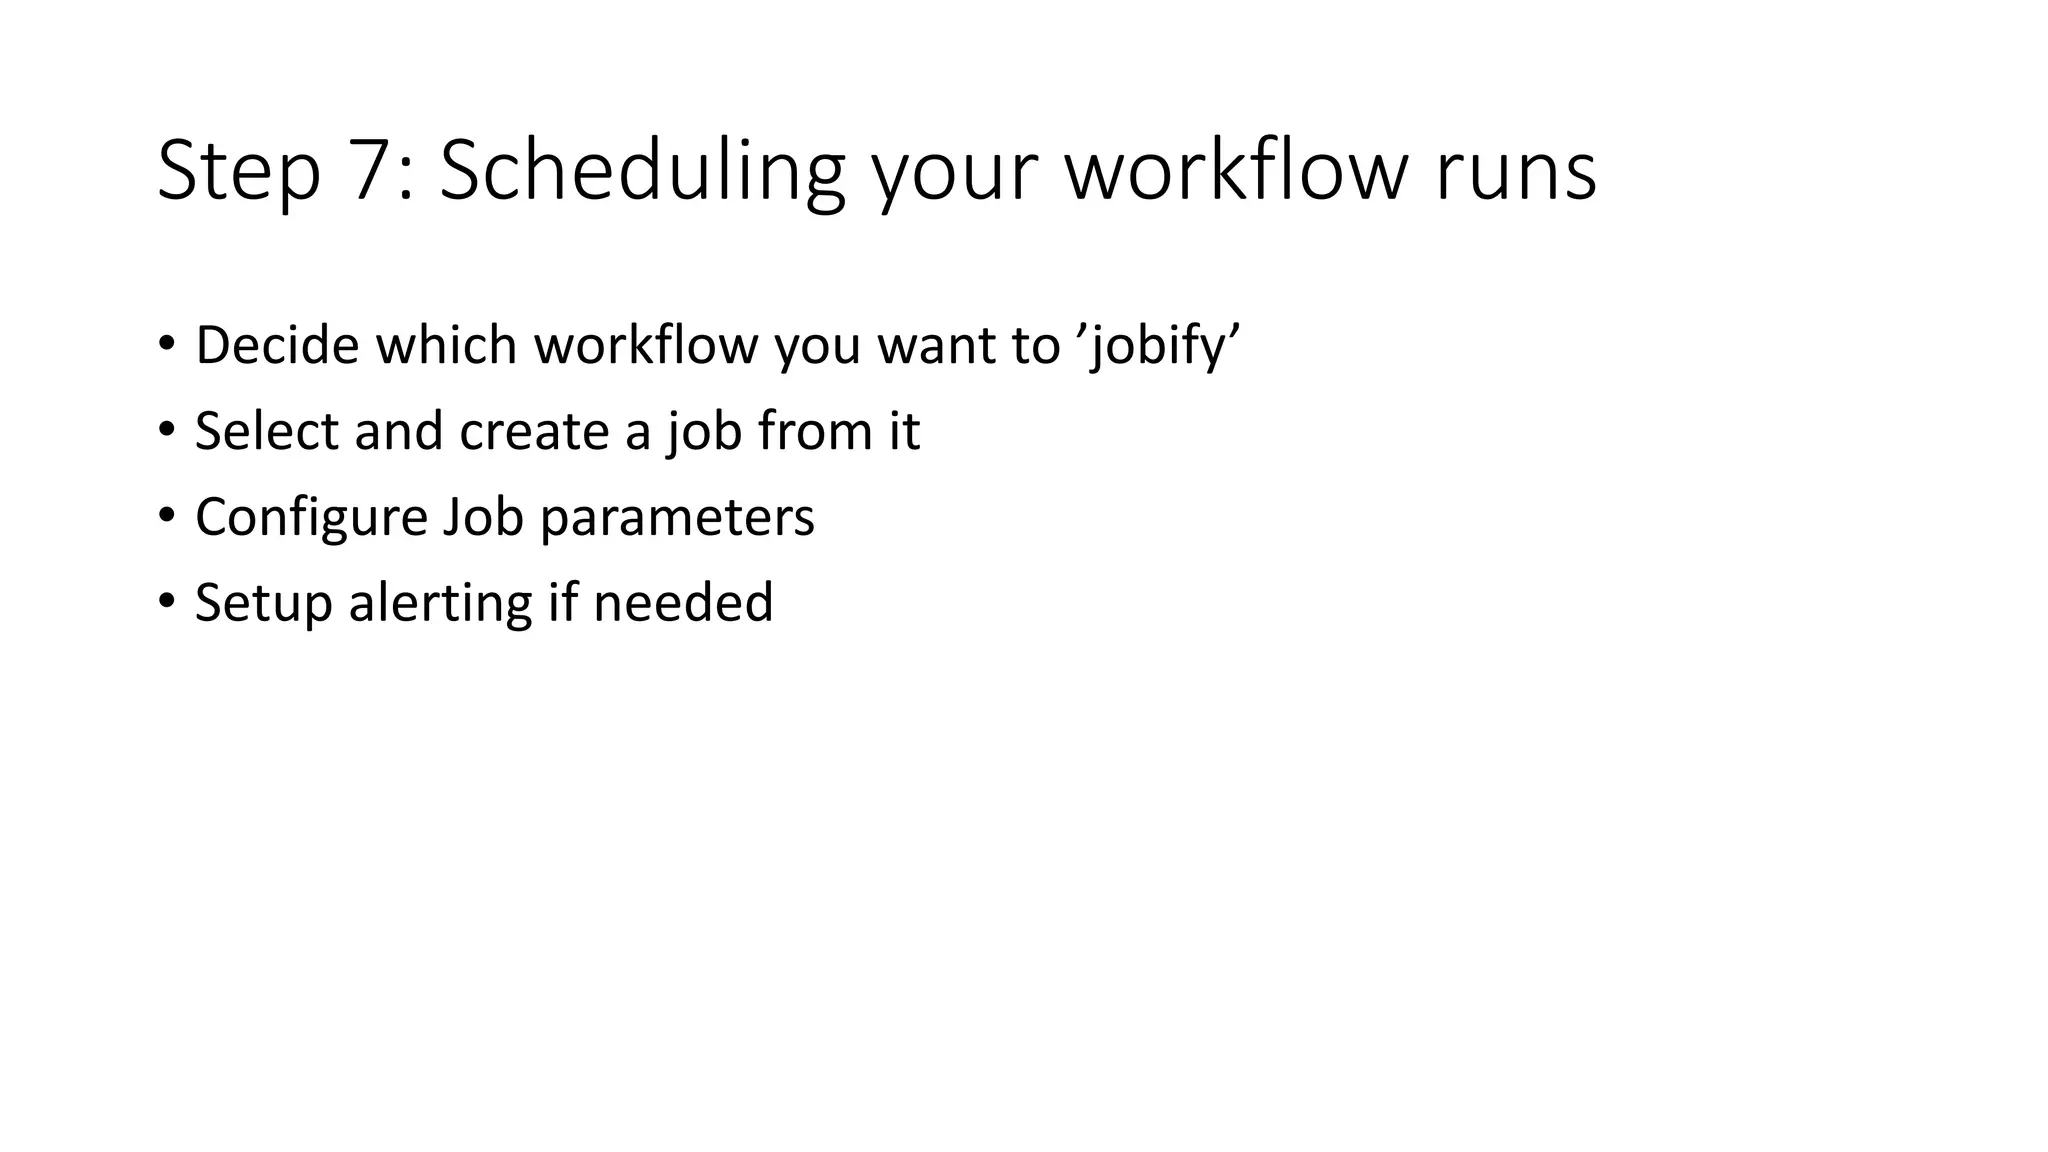


1) Nephos is a hybrid cloud-enabled AI workflow service that allows users to visually build and run AI workflows in the cloud. It provides a visual workflow editor to drag and drop datasets, executables, and draw connecting edges to create workflows. 2) The 7 steps to using Nephos include: setting up a cloud cluster, registering resources like datasets and executables, creating the first AI workflow, running the workflow, experimenting on workflows, collaborating with others, and scheduling recurring workflow runs as jobs. 3) Key features of Nephos include supporting hybrid clouds, using open source technologies like Pegasus and Docker, and being built by experienced AI practitioners to simplify complex AI workflows.


![Vibe Coding vs. Spec-Driven Development [Free Meetup]](https://cdn.slidesharecdn.com/ss_thumbnails/vibecodingvsspecdrivendevelopment-251209105622-43f455e7-thumbnail.jpg?width=640&height=640&fit=bounds)


