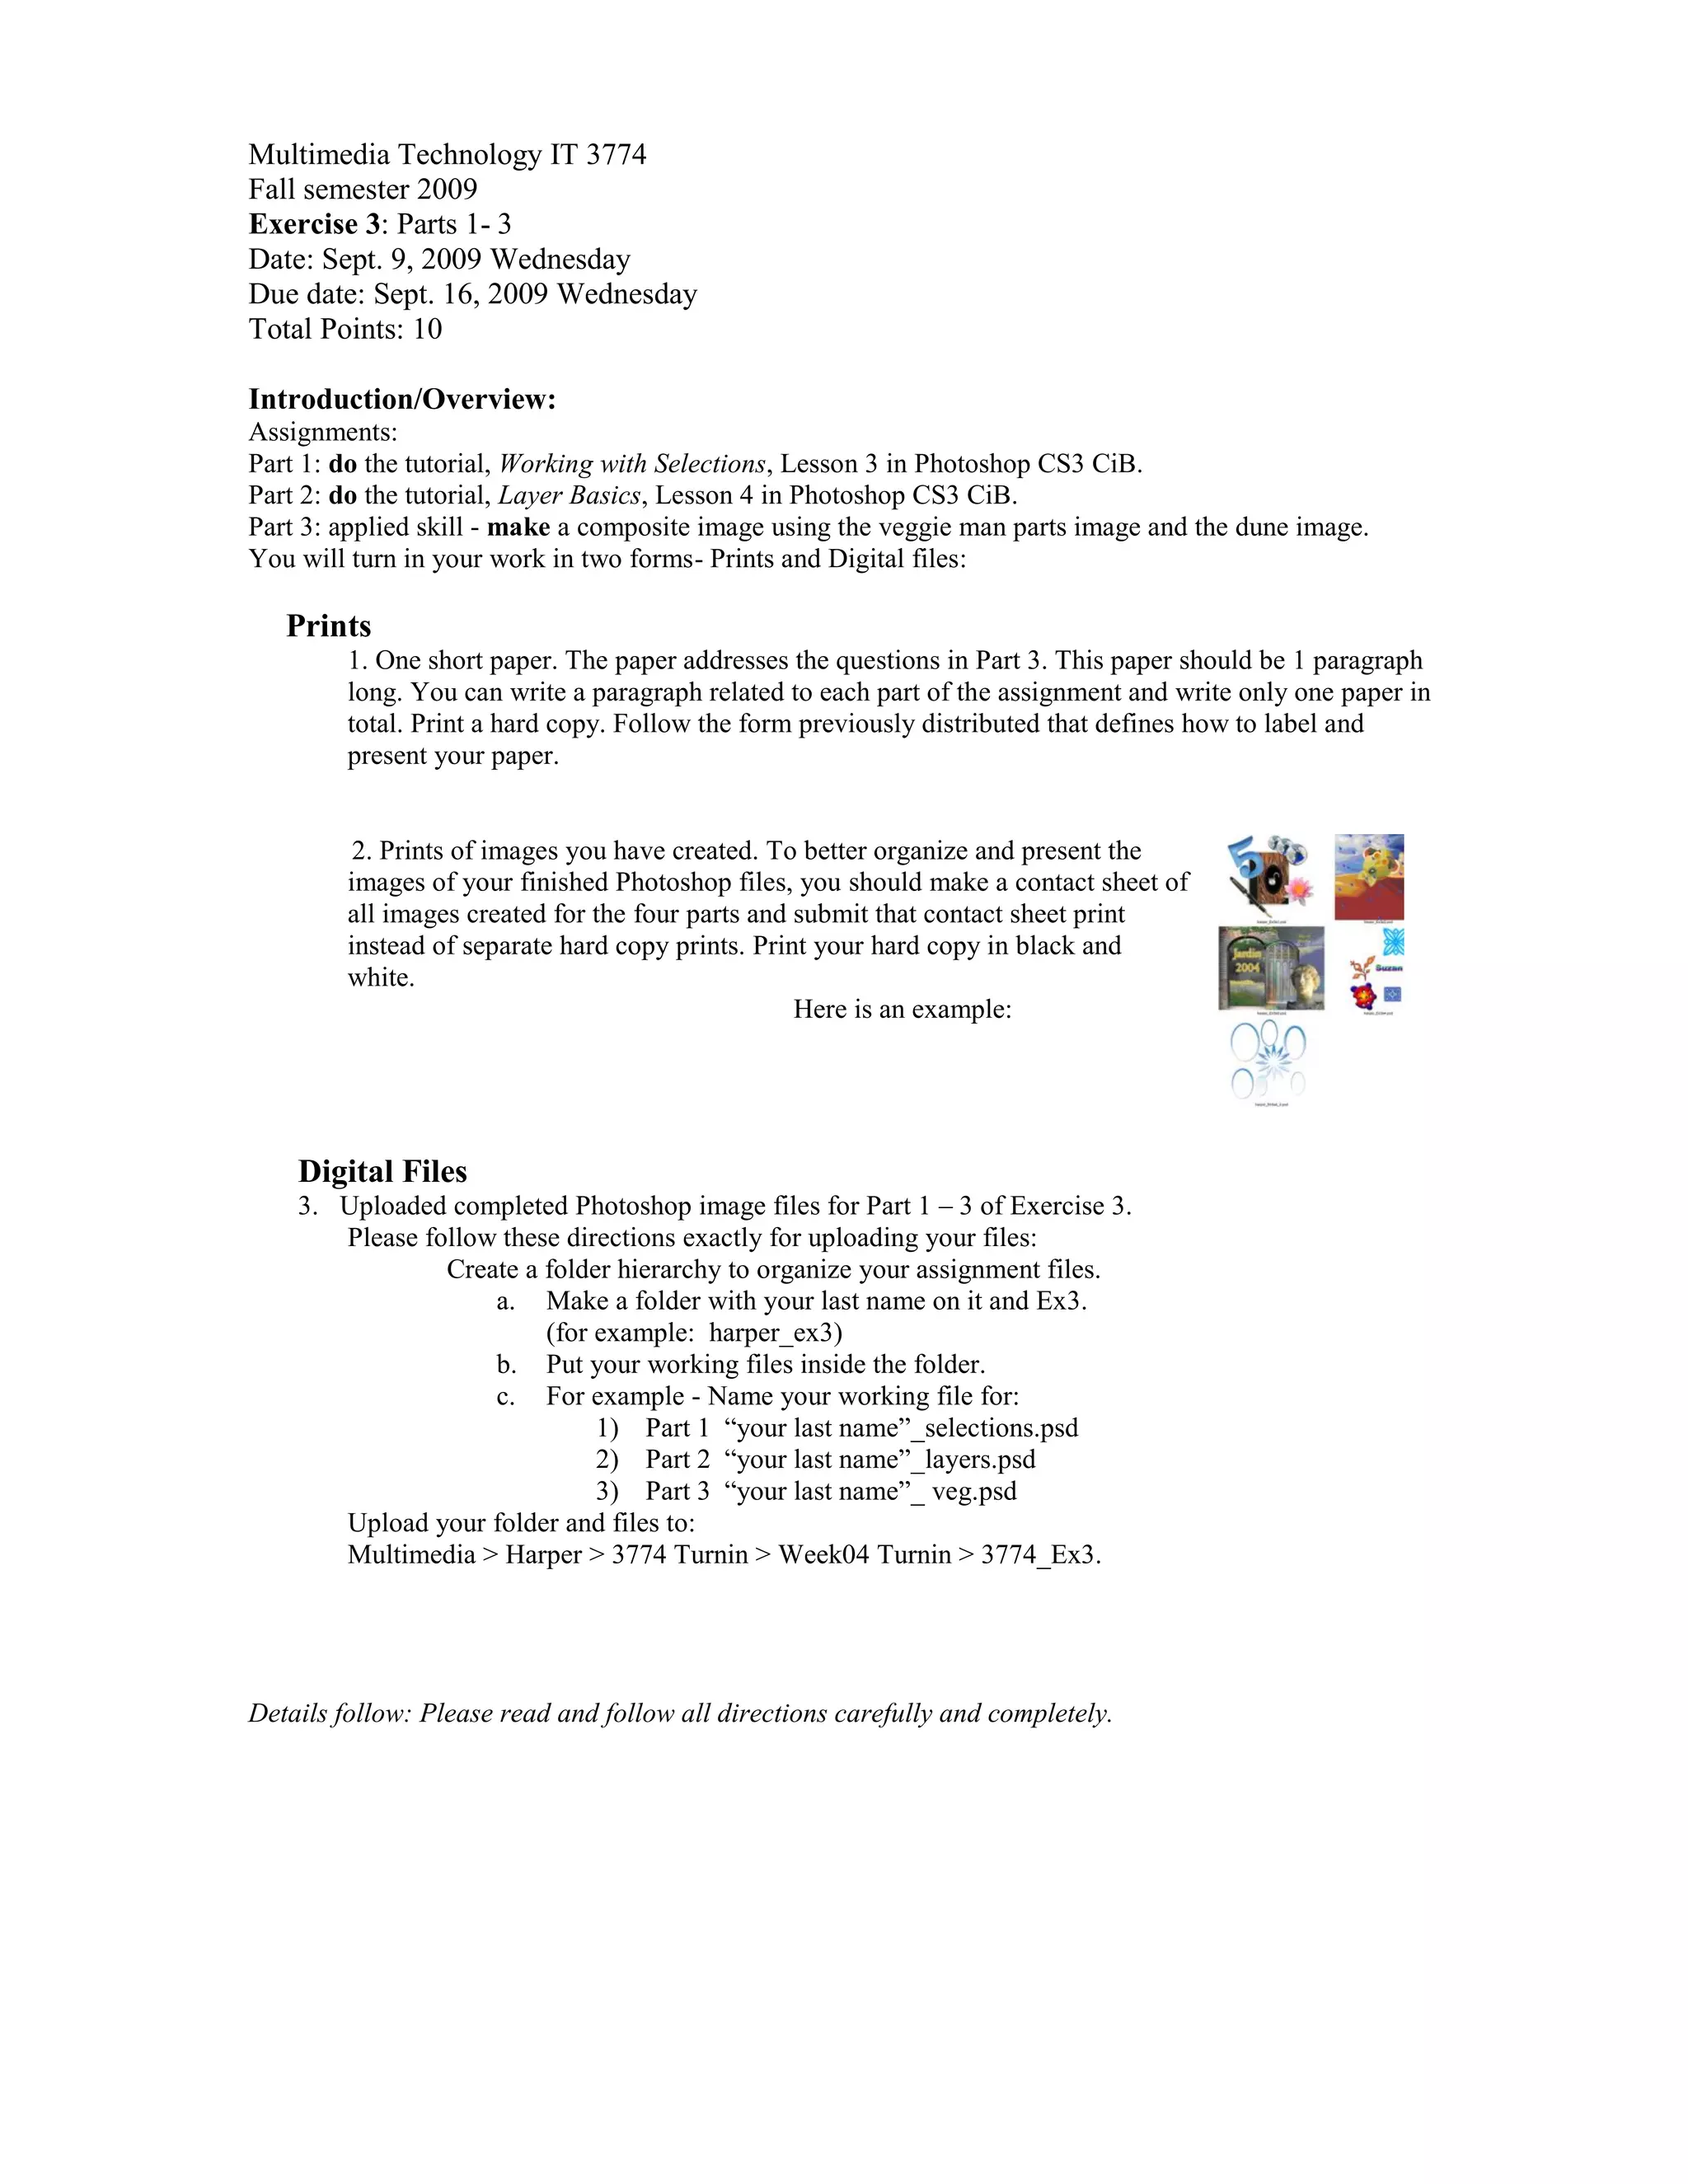
Assignment Description Congratulations! If you are seeing this .docxlesleyryder69361
Assignment Description:
Congratulations! If you are seeing this assignment you are getting ready to complete the semester. Kudos for a job well done!
In the last two weeks of the course you will reflect and communicate on what you learned both in written and oral form. We will evaluate you on your ability to communicate major concepts from the course through oral and written communication.
There will be two parts to this assignment – a reflection paper and an oral communication.
The Paper/Reflection – Due by
1. Your reflection should be 750-1000 words double spaced in Microsoft Word (If you are using another word processing application please convert your final submission into .doc)
2. There should be 3 parts to your paper.
a. Each part will be a reflection on one aspect of the course
b. The ‘parts’ includeMap Analysis and Interpretation (weeks 1 –3), Projections and Coordinate Systems (weeks 4 and 5), Spatial Data Analysis (weeks 6-8), and Map Interpretation(Weeks 9 and 10)
c. Pick three of these parts to reflect on (3 out of the 4 mentioned above)
3. Content for each section
a. Choose a lab that is associated with the part(s) of the course you chose
b. Choose a concept/learning objective in one lab from each of the three ‘parts’ above.
1. For example: From lab #5 one of the learning objectives might have been ‘Identify and distinguish between different types of data’ This is a concept you should explore in more detail for this assignment.
c. Define the learning objective/concept in your own words. Please draw on course materials such as lectures and labs for the explanation of the concept.
d. Explain how you used/accomplished this concept/learning objective in a lab you completed this semester. For example, if you were selecting Projections and Coordinate Systems (For Example: Learning objective: Assign projections to different geographic areas based on location and geographic extent) you can explain what projections are (in your own words/as used in the course) and then discuss how you assigned them to different locations. Please be specific about what lab(s) you are referring to and what questions in the labs demonstrate the concept you chose.
e. Explain what successes or difficulties you had dealing with this learning/ objective/concept.
f. Finally do some independent research. Investigate how this concept has been employed to understand or solve real life problems. For the example of projections you might cite how a poor understanding of projections caused experts to totally misinterpret a misslie threat from North Korea. Feel free to use this example if your paper.
g. You will complete this flow 3 times – once for each section of the class you choose. Each reflection should be about 3 pages – so you should 3-4 pages total.
4. To finish write a short conclusion that reflects on your entire experience in the class. Where did you succeeded? Where did you struggle? Is there something in the course you will take with you once our.
For this Applied Knowledge Assessment, you will use the concepts.docxAKHIL969626
For this Applied Knowledge Assessment, you will use the concepts learned throughout this unit. You will develop your understanding of nets, perimeter, and area. Refer back to individual lessons if you need help.
Nets in the Kitchen
This assessment is worth 75 points. Show all work on this sheet and submit one document for full credit.
Part 1: Nets
Recall (refer to page 12 in your textbook if necessary) that a net is a two-dimensional pattern that you can fold to form a three-dimensional figure. You are to create nets for two different boxes from your house. Some good box examples include: cereal boxes, pasta boxes, cracker boxes, etc.
1. Rummage through your house and locate the two different boxes that you will use for this activity.
2. In the space provided below, describe what your original box looks like in a few sentences. You may also take pictures of your box and insert them into this document; however, this is not mandatory. When describing each three-dimensional figure, be sure to use complete sentences and proper grammar/spelling.
3. Create a net for each box. You may cut the box to help you unfold it into a two-dimensional piece.
4. Sketch your net in the space provided below. You must sketch your net by hand. The size of the net will not be drawn to scale. Draw each net to fit in the provided space. Use a ruler or other straight edge to make neat, straight lines.
Part 2: Perimeter and Area
Part 2 of this assessment will focus on perimeter and area. Choose one of your boxes from Part 1 to complete this activity. You will need a ruler. If you do not have one available, you may visit the following link to print and cut out a ruler:
http://www.vendian.org/mncharity/dir3/paper_rulers/UnstableURL/ruler_foot.pdf
1. Measure the top of your box. Draw a picture of the top of the box. Include your measurements and label the units. You may use inches or centimeters for the units. (Be sure to use the same units for the remainder of Part 2.)
2. What is the perimeter and area of the top of the box? Show all work and include the proper units.
3. Measure the front of your box. Draw a picture of the front of the box. Include your measurements and label the units.
4. What is the perimeter and area of the front of the box? Show all work and include the proper units.
5. Measure the bottom of the box. Draw a picture of the bottom of the box. Include your measurements and label the units.
6. What is the perimeter and area of the bottom of the box? Show all work and include the proper units.
7. Compare the areas of the pieces of the box. Which pieces have the same area? Why?
8. There are some pieces of the box that we did not measure. Use your knowledge of area and your findings from the previous questions to infer which pieces of the box will have the same area (you do not need to calculate the actual areas here). Be sure to list all parts of the box (top, bottom, front, back, side 1, and side 2).
Directions for Inserting an Image i ...
For more classes visit
www.snaptutorial.com
Lab Assignment 1: Beginning HTML
Due CIS 273 Week 2 and worth 40 points
Deliverable: One (1) Web page (.htm
Securing your Kubernetes cluster_ a step-by-step guide to success !KatiaHIMEUR1
Today, after several years of existence, an extremely active community and an ultra-dynamic ecosystem, Kubernetes has established itself as the de facto standard in container orchestration. Thanks to a wide range of managed services, it has never been so easy to set up a ready-to-use Kubernetes cluster.
However, this ease of use means that the subject of security in Kubernetes is often left for later, or even neglected. This exposes companies to significant risks.
In this talk, I'll show you step-by-step how to secure your Kubernetes cluster for greater peace of mind and reliability.
UiPath Test Automation using UiPath Test Suite series, part 4DianaGray10
Welcome to UiPath Test Automation using UiPath Test Suite series part 4. In this session, we will cover Test Manager overview along with SAP heatmap.
The UiPath Test Manager overview with SAP heatmap webinar offers a concise yet comprehensive exploration of the role of a Test Manager within SAP environments, coupled with the utilization of heatmaps for effective testing strategies.
Participants will gain insights into the responsibilities, challenges, and best practices associated with test management in SAP projects. Additionally, the webinar delves into the significance of heatmaps as a visual aid for identifying testing priorities, areas of risk, and resource allocation within SAP landscapes. Through this session, attendees can expect to enhance their understanding of test management principles while learning practical approaches to optimize testing processes in SAP environments using heatmap visualization techniques
What will you get from this session?
1. Insights into SAP testing best practices
2. Heatmap utilization for testing
3. Optimization of testing processes
4. Demo
Topics covered:
Execution from the test manager
Orchestrator execution result
Defect reporting
SAP heatmap example with demo
Speaker:
Deepak Rai, Automation Practice Lead, Boundaryless Group and UiPath MVP
A tale of scale & speed: How the US Navy is enabling software delivery from l...sonjaschweigert1
Rapid and secure feature delivery is a goal across every application team and every branch of the DoD. The Navy’s DevSecOps platform, Party Barge, has achieved:
- Reduction in onboarding time from 5 weeks to 1 day
- Improved developer experience and productivity through actionable findings and reduction of false positives
- Maintenance of superior security standards and inherent policy enforcement with Authorization to Operate (ATO)
Development teams can ship efficiently and ensure applications are cyber ready for Navy Authorizing Officials (AOs). In this webinar, Sigma Defense and Anchore will give attendees a look behind the scenes and demo secure pipeline automation and security artifacts that speed up application ATO and time to production.
We will cover:
- How to remove silos in DevSecOps
- How to build efficient development pipeline roles and component templates
- How to deliver security artifacts that matter for ATO’s (SBOMs, vulnerability reports, and policy evidence)
- How to streamline operations with automated policy checks on container images
zkStudyClub - Reef: Fast Succinct Non-Interactive Zero-Knowledge Regex ProofsAlex Pruden
This paper presents Reef, a system for generating publicly verifiable succinct non-interactive zero-knowledge proofs that a committed document matches or does not match a regular expression. We describe applications such as proving the strength of passwords, the provenance of email despite redactions, the validity of oblivious DNS queries, and the existence of mutations in DNA. Reef supports the Perl Compatible Regular Expression syntax, including wildcards, alternation, ranges, capture groups, Kleene star, negations, and lookarounds. Reef introduces a new type of automata, Skipping Alternating Finite Automata (SAFA), that skips irrelevant parts of a document when producing proofs without undermining soundness, and instantiates SAFA with a lookup argument. Our experimental evaluation confirms that Reef can generate proofs for documents with 32M characters; the proofs are small and cheap to verify (under a second).
Paper: https://eprint.iacr.org/2023/1886
SAP Sapphire 2024 - ASUG301 building better apps with SAP Fiori.pdfPeter Spielvogel
Building better applications for business users with SAP Fiori.
• What is SAP Fiori and why it matters to you
• How a better user experience drives measurable business benefits
• How to get started with SAP Fiori today
• How SAP Fiori elements accelerates application development
• How SAP Build Code includes SAP Fiori tools and other generative artificial intelligence capabilities
• How SAP Fiori paves the way for using AI in SAP apps
Why You Should Replace Windows 11 with Nitrux Linux 3.5.0 for enhanced perfor...SOFTTECHHUB
The choice of an operating system plays a pivotal role in shaping our computing experience. For decades, Microsoft's Windows has dominated the market, offering a familiar and widely adopted platform for personal and professional use. However, as technological advancements continue to push the boundaries of innovation, alternative operating systems have emerged, challenging the status quo and offering users a fresh perspective on computing.
One such alternative that has garnered significant attention and acclaim is Nitrux Linux 3.5.0, a sleek, powerful, and user-friendly Linux distribution that promises to redefine the way we interact with our devices. With its focus on performance, security, and customization, Nitrux Linux presents a compelling case for those seeking to break free from the constraints of proprietary software and embrace the freedom and flexibility of open-source computing.
Smart TV Buyer Insights Survey 2024 by 91mobiles.pdf91mobiles
91mobiles recently conducted a Smart TV Buyer Insights Survey in which we asked over 3,000 respondents about the TV they own, aspects they look at on a new TV, and their TV buying preferences.
Observability Concepts EVERY Developer Should Know -- DeveloperWeek Europe.pdfPaige Cruz
Monitoring and observability aren’t traditionally found in software curriculums and many of us cobble this knowledge together from whatever vendor or ecosystem we were first introduced to and whatever is a part of your current company’s observability stack.
While the dev and ops silo continues to crumble….many organizations still relegate monitoring & observability as the purview of ops, infra and SRE teams. This is a mistake - achieving a highly observable system requires collaboration up and down the stack.
I, a former op, would like to extend an invitation to all application developers to join the observability party will share these foundational concepts to build on:
Dev Dives: Train smarter, not harder – active learning and UiPath LLMs for do...UiPathCommunity
💥 Speed, accuracy, and scaling – discover the superpowers of GenAI in action with UiPath Document Understanding and Communications Mining™:
See how to accelerate model training and optimize model performance with active learning
Learn about the latest enhancements to out-of-the-box document processing – with little to no training required
Get an exclusive demo of the new family of UiPath LLMs – GenAI models specialized for processing different types of documents and messages
This is a hands-on session specifically designed for automation developers and AI enthusiasts seeking to enhance their knowledge in leveraging the latest intelligent document processing capabilities offered by UiPath.
Speakers:
👨🏫 Andras Palfi, Senior Product Manager, UiPath
👩🏫 Lenka Dulovicova, Product Program Manager, UiPath
LF Energy Webinar: Electrical Grid Modelling and Simulation Through PowSyBl -...DanBrown980551
Do you want to learn how to model and simulate an electrical network from scratch in under an hour?
Then welcome to this PowSyBl workshop, hosted by Rte, the French Transmission System Operator (TSO)!
During the webinar, you will discover the PowSyBl ecosystem as well as handle and study an electrical network through an interactive Python notebook.
PowSyBl is an open source project hosted by LF Energy, which offers a comprehensive set of features for electrical grid modelling and simulation. Among other advanced features, PowSyBl provides:
- A fully editable and extendable library for grid component modelling;
- Visualization tools to display your network;
- Grid simulation tools, such as power flows, security analyses (with or without remedial actions) and sensitivity analyses;
The framework is mostly written in Java, with a Python binding so that Python developers can access PowSyBl functionalities as well.
What you will learn during the webinar:
- For beginners: discover PowSyBl's functionalities through a quick general presentation and the notebook, without needing any expert coding skills;
- For advanced developers: master the skills to efficiently apply PowSyBl functionalities to your real-world scenarios.
PHP Frameworks: I want to break free (IPC Berlin 2024)Ralf Eggert
In this presentation, we examine the challenges and limitations of relying too heavily on PHP frameworks in web development. We discuss the history of PHP and its frameworks to understand how this dependence has evolved. The focus will be on providing concrete tips and strategies to reduce reliance on these frameworks, based on real-world examples and practical considerations. The goal is to equip developers with the skills and knowledge to create more flexible and future-proof web applications. We'll explore the importance of maintaining autonomy in a rapidly changing tech landscape and how to make informed decisions in PHP development.
This talk is aimed at encouraging a more independent approach to using PHP frameworks, moving towards a more flexible and future-proof approach to PHP development.
GraphRAG is All You need? LLM & Knowledge GraphGuy Korland
Guy Korland, CEO and Co-founder of FalkorDB, will review two articles on the integration of language models with knowledge graphs.
1. Unifying Large Language Models and Knowledge Graphs: A Roadmap.
https://arxiv.org/abs/2306.08302
2. Microsoft Research's GraphRAG paper and a review paper on various uses of knowledge graphs:
https://www.microsoft.com/en-us/research/blog/graphrag-unlocking-llm-discovery-on-narrative-private-data/
Epistemic Interaction - tuning interfaces to provide information for AI supportAlan Dix
Paper presented at SYNERGY workshop at AVI 2024, Genoa, Italy. 3rd June 2024
https://alandix.com/academic/papers/synergy2024-epistemic/
As machine learning integrates deeper into human-computer interactions, the concept of epistemic interaction emerges, aiming to refine these interactions to enhance system adaptability. This approach encourages minor, intentional adjustments in user behaviour to enrich the data available for system learning. This paper introduces epistemic interaction within the context of human-system communication, illustrating how deliberate interaction design can improve system understanding and adaptation. Through concrete examples, we demonstrate the potential of epistemic interaction to significantly advance human-computer interaction by leveraging intuitive human communication strategies to inform system design and functionality, offering a novel pathway for enriching user-system engagements.
1. Multimedia Technology IT 3774
Fall semester 2009
Exercise 3: Parts 1- 3
Date: Sept. 9, 2009 Wednesday
Due date: Sept. 16, 2009 Wednesday
Total Points: 10
Introduction/Overview:
Assignments:
Part 1: do the tutorial, Working with Selections, Lesson 3 in Photoshop CS3 CiB.
Part 2: do the tutorial, Layer Basics, Lesson 4 in Photoshop CS3 CiB.
Part 3: applied skill - make a composite image using the veggie man parts image and the dune image.
You will turn in your work in two forms- Prints and Digital files:
Prints
1. One short paper. The paper addresses the questions in Part 3. This paper should be 1 paragraph
long. You can write a paragraph related to each part of the assignment and write only one paper in
total. Print a hard copy. Follow the form previously distributed that defines how to label and
present your paper.
2. Prints of images you have created. To better organize and present the
images of your finished Photoshop files, you should make a contact sheet of
all images created for the four parts and submit that contact sheet print
instead of separate hard copy prints. Print your hard copy in black and
white.
Here is an example:
Digital Files
3. Uploaded completed Photoshop image files for Part 1 – 3 of Exercise 3.
Please follow these directions exactly for uploading your files:
Create a folder hierarchy to organize your assignment files.
a. Make a folder with your last name on it and Ex3.
(for example: harper_ex3)
b. Put your working files inside the folder.
c. For example - Name your working file for:
1) Part 1 “your last name”_selections.psd
2) Part 2 “your last name”_layers.psd
3) Part 3 “your last name”_ veg.psd
Upload your folder and files to:
Multimedia > Harper > 3774 Turnin > Week04 Turnin > 3774_Ex3.
Details follow: Please read and follow all directions carefully and completely.
2. Exercise 3: Tutorials and Activity Parts 1 – 3
Part 1 and 2: Tutorials and applied exercise covering Working with Selections
and Layer basics.
Part 1: Tutorial
1. Do the tutorial in PS CS3 CIB Lesson 3 Working with Selections. Use the assets from the Lesson
3 folder on the CD that came with your book.
2. Use Photoshop CS4 only.
3. Leave all the layers in tact; do not flatten your file.
Part 2: Tutorial
1. Do the tutorial in PS 5 CIB Lesson 4 Layer Basics. Use the assets from the Lesson 4 folder on the
CD that came with your book.
2. Use Photoshop CS4 only.
3. Leave all the layers in tact; do not flatten your file.
Part 3: Applied exercise covering selection techniques, layers and layer styles.
Composite Image Activity – There will be an in class demo detailing this process.
1. Use two image files: 02Start.psd and dune.tif to create your composite image.
2. Download/Copy the necessary files from: Multimedia > Harper > 3774_Resources > Week 3 >
Vegeman assets Ex3.
3. Use the selected elements in the 02Start.psd and arrange them in the image dune.tif to create a
combined image that tells a story about a vegetable being in the desert. You can incorporate other
images into this composite as well. Practice selection techniques to do this.
a. Use selection tools to select parts from the 02Start.psd and move and arrange the parts into
the dune image.
b. Save every veggie being element on its own layer in the Photoshop file.
c. Arrange the stacking order of the layers to enhance the image elements.
d. Play with the image and add/create some graphic elements that tell a story.
e. Transform shapes and change colors of objects.
f. Create the expression for the Veggie being.
g. Add layer styles to change the texture or shape of an object.
h. Name every layer.
4. Important: Leave all the layers in tact; do not flatten your file.
5. Write a paragraph that answers these questions:
a. How long did it take to do this assignments (minutes to hours)?
b. What did you learn about selecting parts of an image, managing layers and compositing an image?
c. Did you encounter any maneuvers that were difficult to work through? Discuss how you solved any problems.
3. Turn in:
1. Evaluation Document: Write your name on the evaluation sheet included with the written
Exercise and place it with the other printed documents in your folder.
2. Prints: You can make one document that includes all the paragraphs asked for in Ex. 3. Follow
the form listed in the handout defining how to label and present your document. Print your word
document. Place your printed files into the folder with your name on it at the beginning of class.
3. Prints: You can make one contact sheet that includes all the images you worked on. Follow the
form listed in the handout defining how to label and present your document. Print a black and
white print of your finished Photoshop files as a contact sheet. Type or write your name at the top
of the print. Place your printed files into the folder with your name on it at the beginning of class.
4. Digital files: Upload all your Photoshop files for Exercise 3 to the appropriate Week and Exercise
folder.
Create a folder hierarchy to organize your assignment files.
a. Make a folder with your last name on it and Ex3. (for example: harper_ex3)
b. Put your working files inside the folder. Name your working files for Part 1-3: for example
“your last name”_ex3p1.psd.
Upload to: Multimedia > Harper > 3774 Turnin > Week04 Turnin > 3774 _Ex3.