Downloaded 401 times


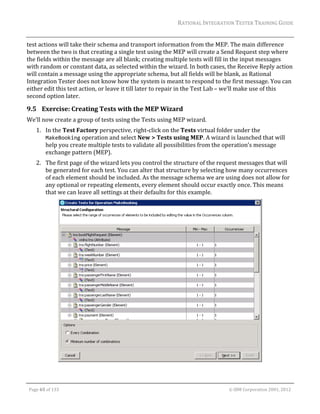
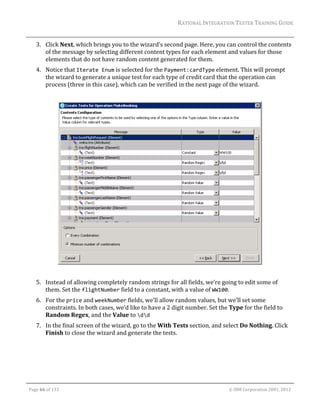

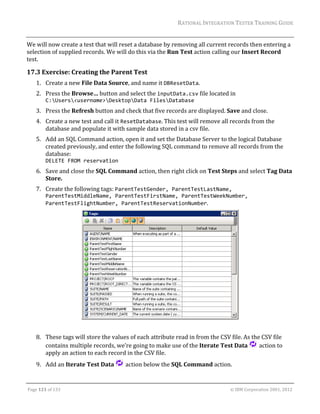
![RATIONAL INTEGRATION TESTER TRAINING GUIDE
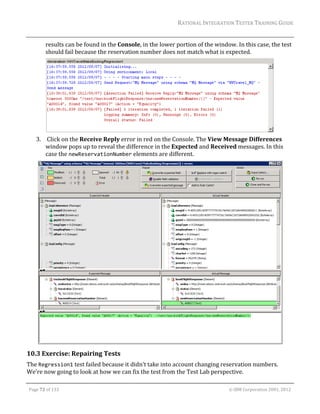
New test tags need to be created within individual tests or stubs. For the most part, they will be
created from the Tag Data Store, but can also be created within certain test actions:
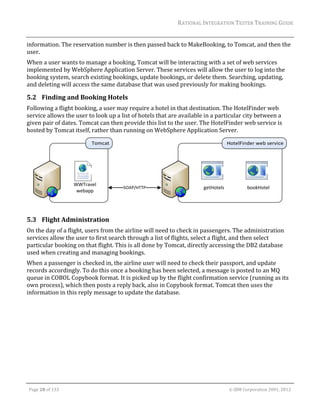
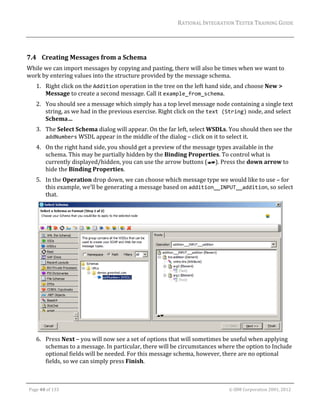
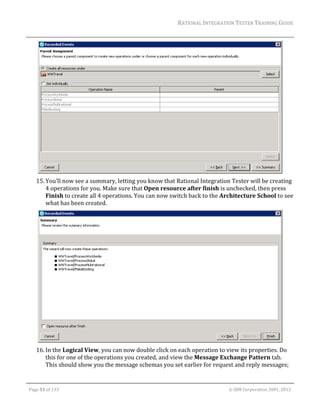
Create one manually by clicking on the icon within the Tag Data Store. In the Create Tag
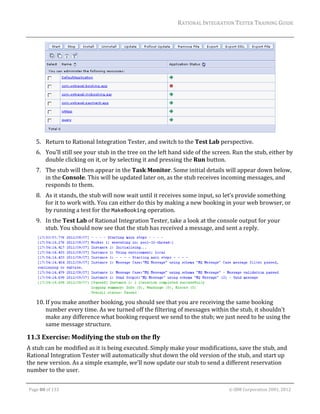
dialog, enter the name, optional default value, and description for the new tag.
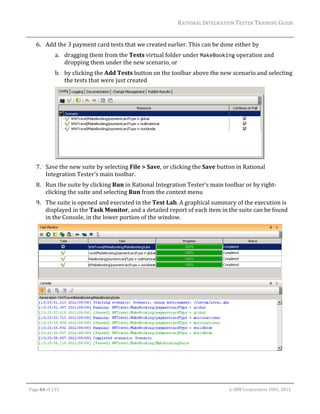
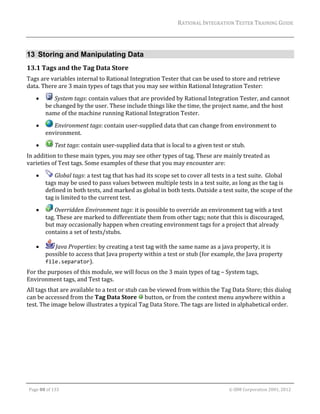
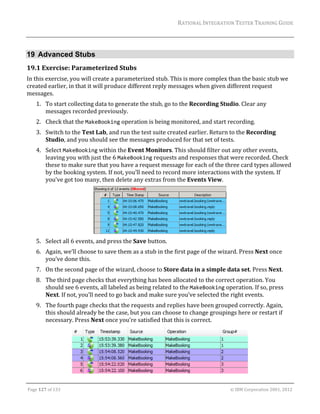
Create multiple tags by pasting a list of tag names directly into the tag data store window.
First create a list of tag names in a text‐based file – the names may contain / characters to
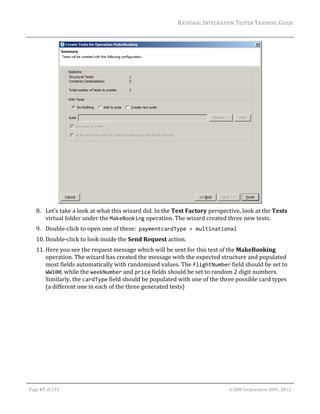
create a hierarchy as mentioned above (e.g., MYTEST/Name). Next, copy the list of tag names
and paste it into the data store window (press Ctrl + V or click the paste icon ). Blank
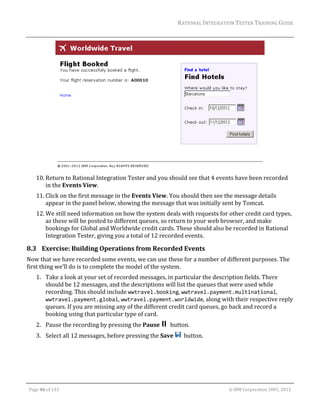
lines will be ignored when pasting tags.
Use the Quick Tag option within a test step to automatically create a tag with a name
corresponding to a particular message field.
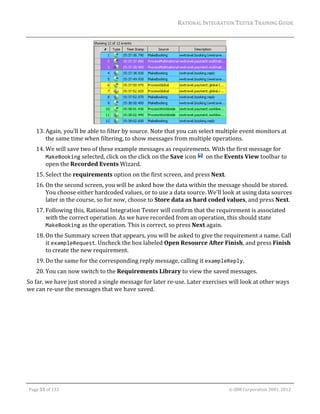
13.3 Using Tags
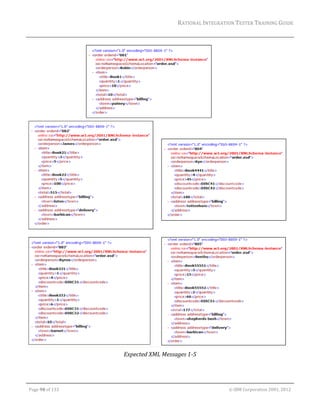
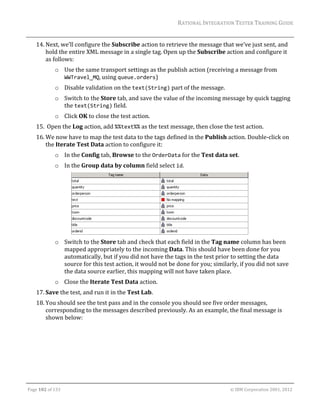
As seen above, tags may be given values when they are created. Test tags may also be given new
values during the execution of a test or stub. This will usually be done on the Store tab of a test
action; in that case, the tag is referenced simply by its name.
To retrieve the value of a tag, you will need to surround the tag name with two percentage signs at
each end. This means that you can store a value in a tag called myTag simply by referring to its
name, myTag, but to retrieve the value of that tag, you will need to refer to it as %%myTag%%.
Some features of Rational Integration Tester use ECMA Script – within any of these scripts, tags can
be referenced by their name, unless that name clashes with a reserved word or variable. In that
case, you can reference the tag as tags["myTag"].
13.4 Exercise: Testing with Tags
1. Go to the Test Factory, and create a new test based on the basicTemplate we created
earlier. Call it tagTest.
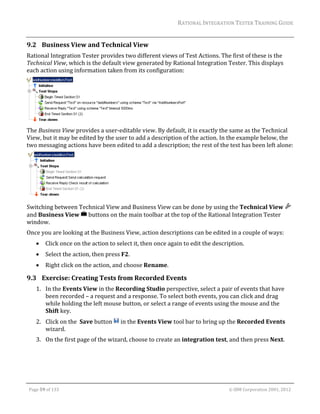
2. We’re going to add another step to the test, to log the name of the test, and the environment
being used. Right click on the Test Steps, and select New > Flow > Log.
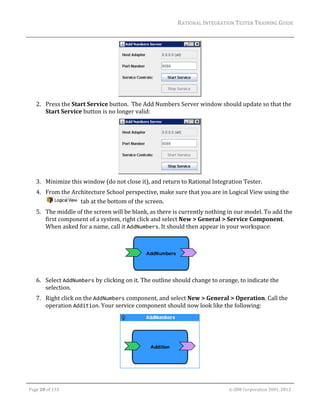
3. A new Log step should appear in your test. Drag and drop this step so that it appears as the
first of the Test Steps.
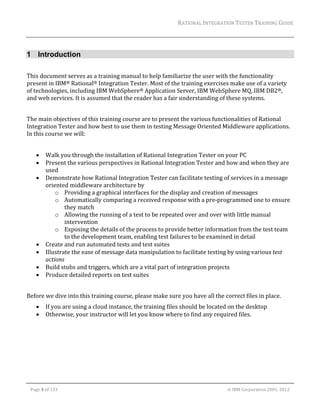
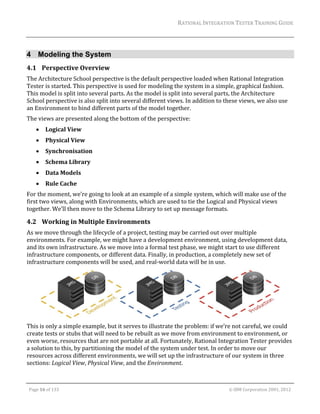
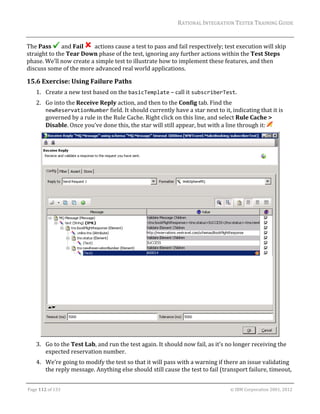
4. Double click the Log action to edit it.
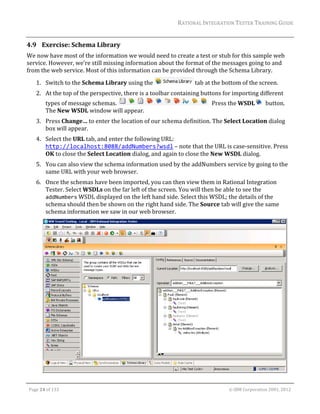
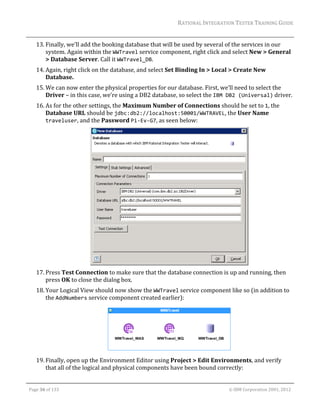
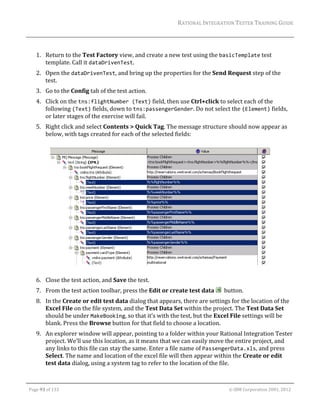
5. In the Output Message, right click and select Insert Tag > TEST > NAME. You should see the
text %%TEST/NAME%% appear in the Output message.
6. Press Enter to add a new line. Right click again, and select Insert Tag > ENVIRONMENT >
NAME. Similarly, you should see %%ENVIRONMENT/NAME%% appear.
7. The %% signs designate a tag, and this part of the text will be replaced when we run the Log
action. However, we can also add some extra text. Add some context so that you know what
is being logged later on. For example:
Page 91 of 133 © IBM Corporation 2001, 2012](https://image.slidesharecdn.com/201210233115rationalintegrationtestertr-121116143746-phpapp01/85/2012-10-23_3115_rational_integration_tester_tr-93-320.jpg)


![RATIONAL INTEGRATION TESTER TRAINING GUIDE
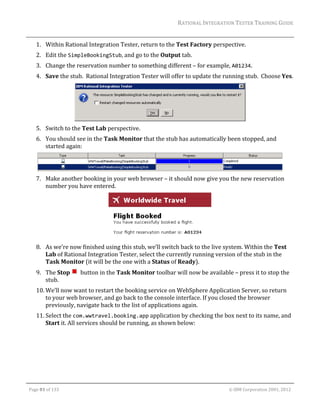
5. In Test Factory, create a new empty test under the MakeBooking operation, and call it
MonitorTest.
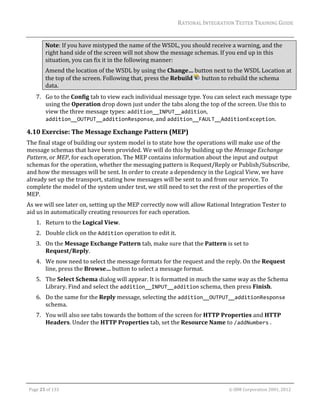
6. Add two Log actions to the test, one to say “Starting Test”, and the other to say “Test
Finished”.
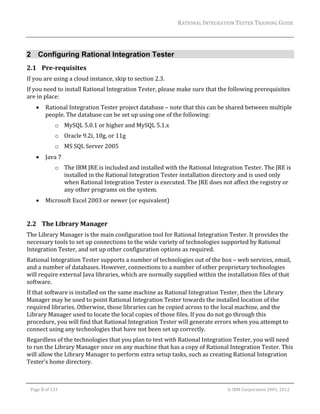
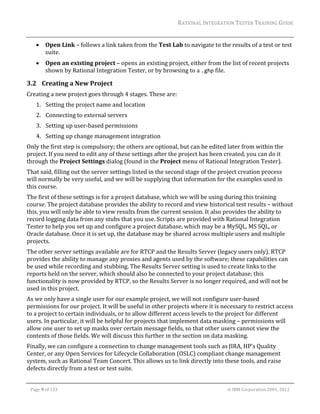
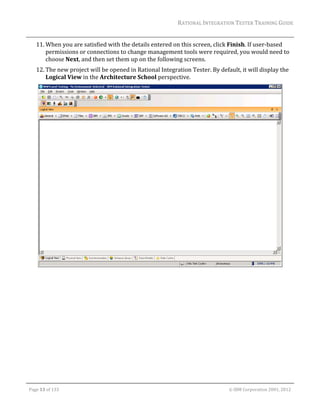
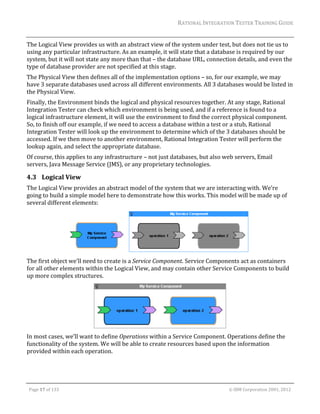
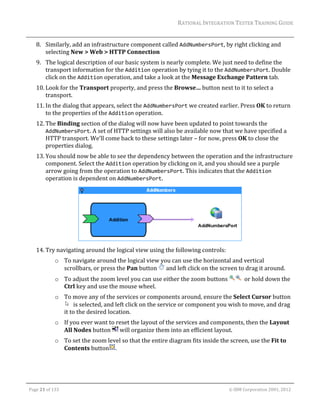
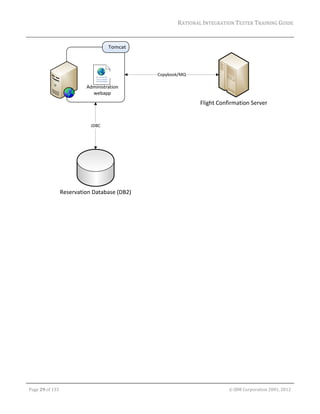
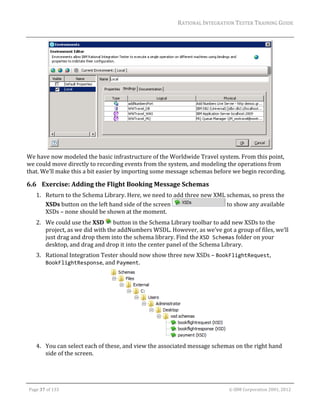
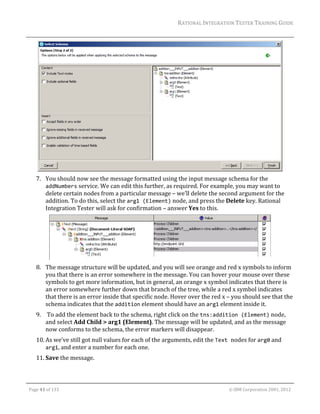
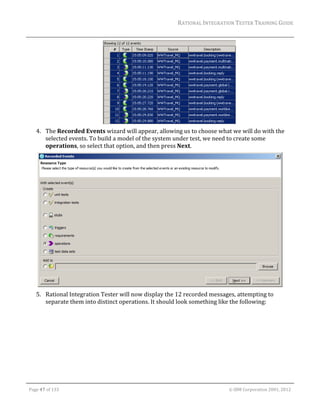
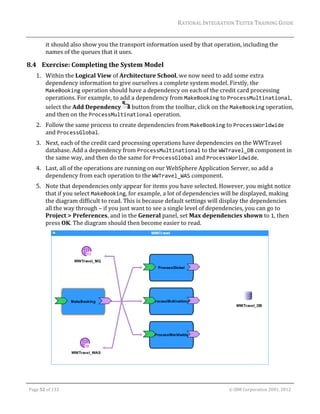
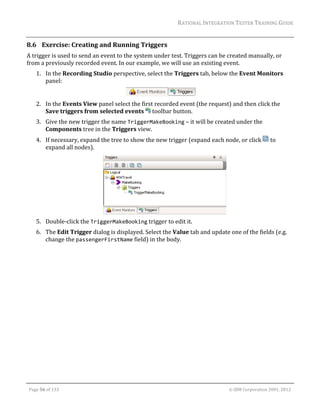
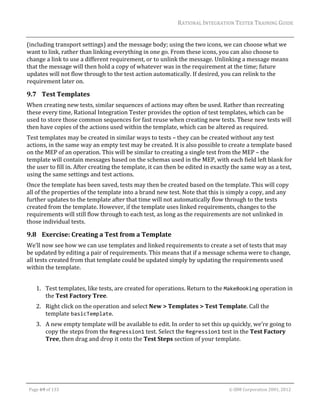
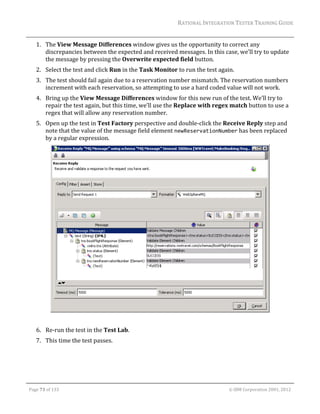
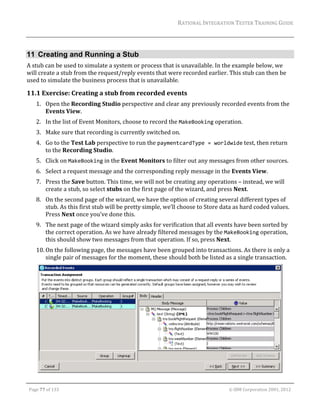
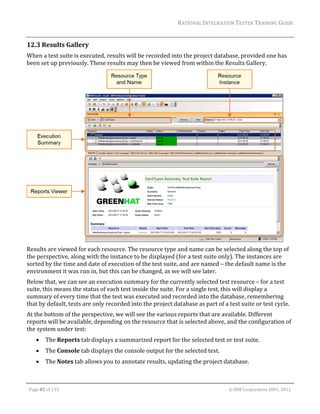
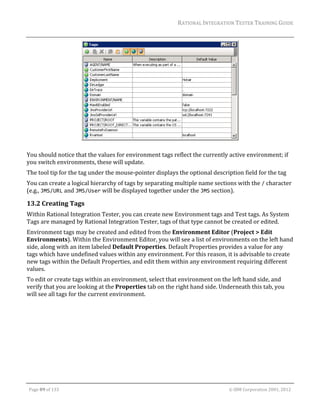
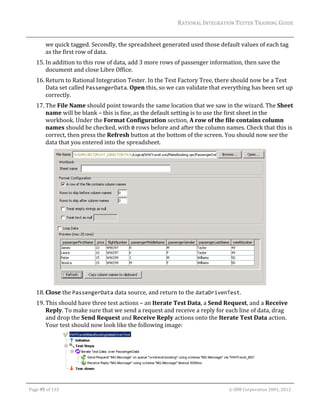
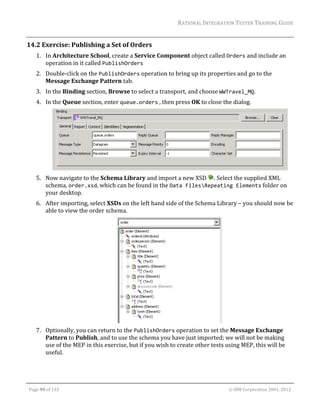
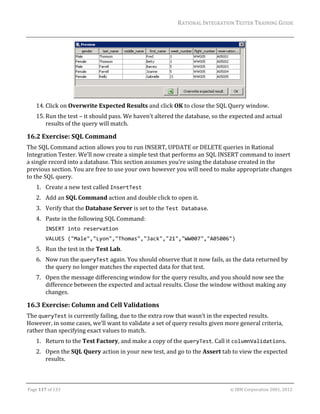
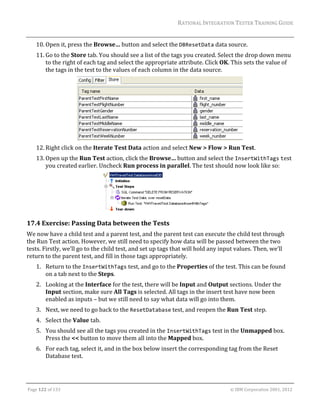
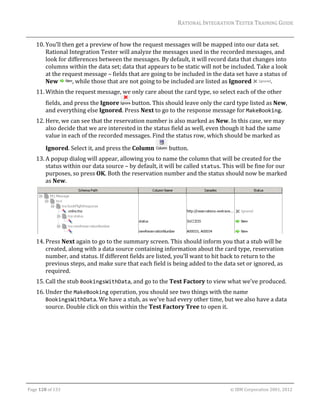
7. As we will update our log file by hand, we will need the test to pause for a short period. To
do this, we’ll use a Sleep action. Set it to for a Fixed delay, of 20000ms. Your test steps
should now look like the following:
8. Switch to the Monitoring tab of the test, and choose Add – it should automatically find the
log file location we selected in Architecture School.
9. Find the Actions tab, and switch to that to tell the test how to respond to changes within the
log file.
10. Press the Add button to add a new action.
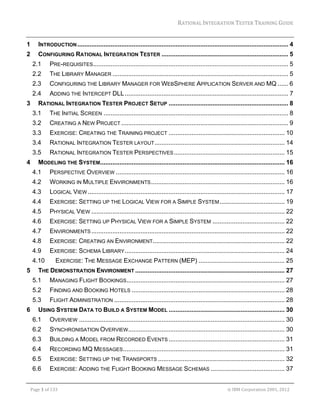
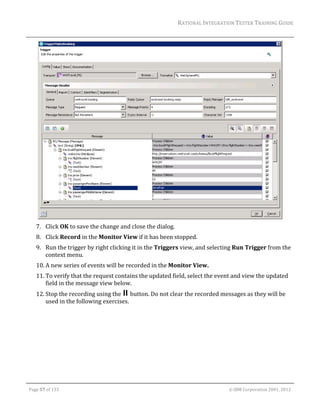
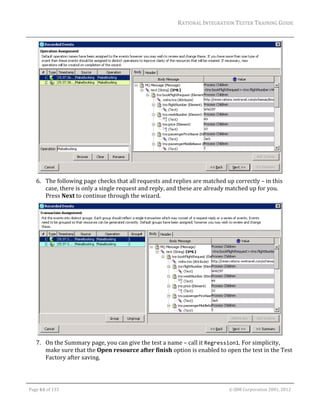
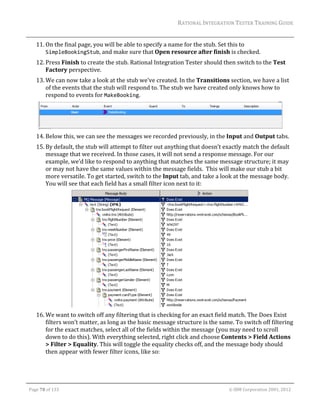
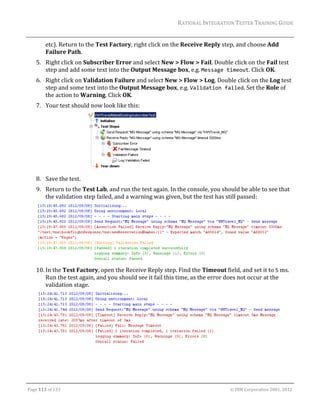
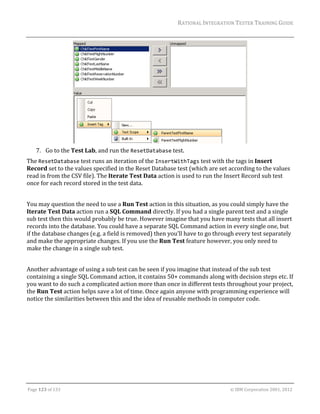
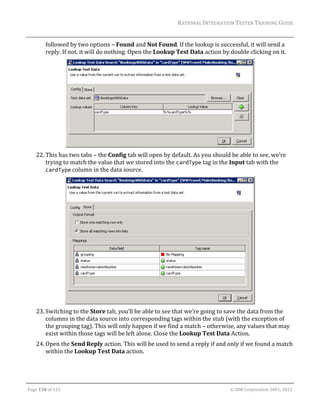
11. Double click in the Match field. It should bring up an Edit Regex window, with a copy of the
log file as it currently stands.
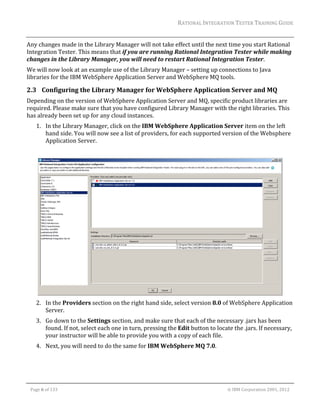
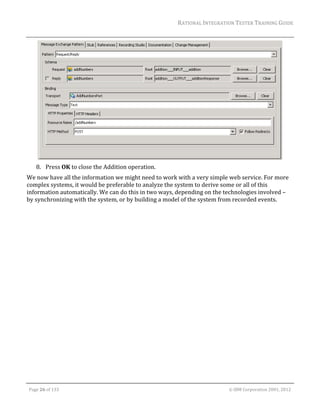
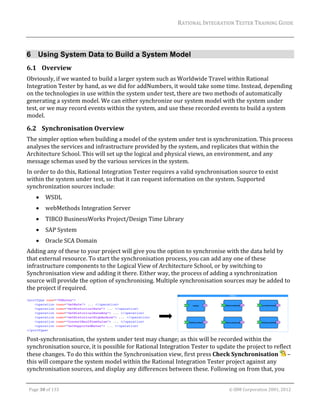
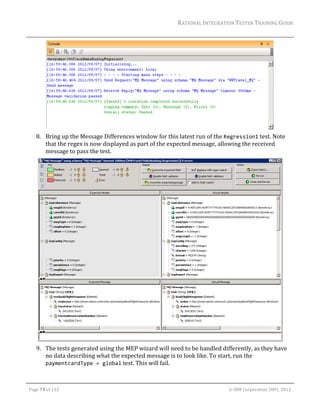
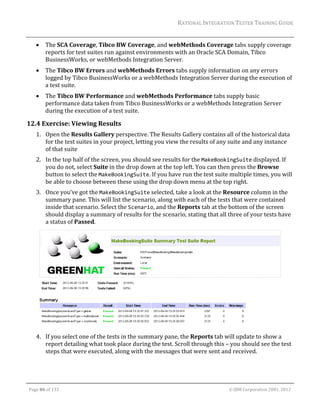
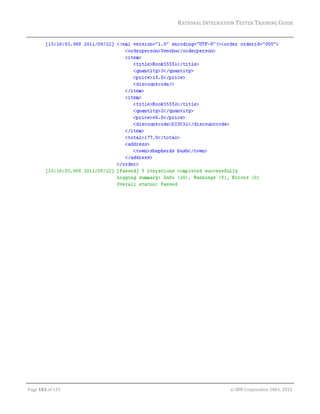
12. We want to respond if an error is logged – select the text [ERROR].
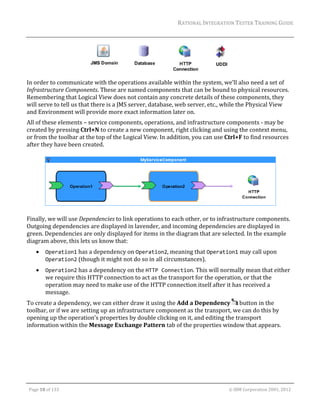
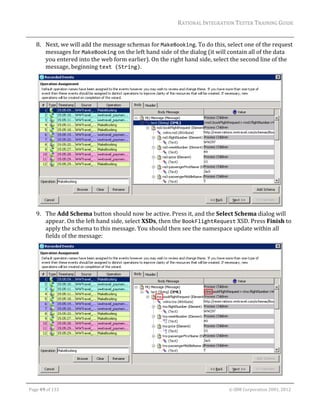
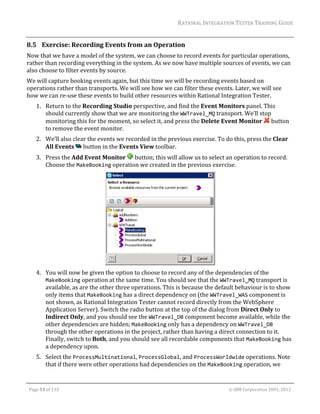
13. A popup will appear with regexes that match the selected text. Choose the Exact option ‐
[ERROR]. It should now appear at the bottom of the dialog, and the [ERROR] text should
now be highlighted, as below. Press OK to return to the test.
14. Under Action, choose Treat as error, and mark the Enabled checkbox.
15. Save the test, and go to Test Lab.
Page 125 of 133 © IBM Corporation 2001, 2012](https://image.slidesharecdn.com/201210233115rationalintegrationtestertr-121116143746-phpapp01/85/2012-10-23_3115_rational_integration_tester_tr-127-320.jpg)
![RATIONAL INTEGRATION TESTER TRAINING GUIDE
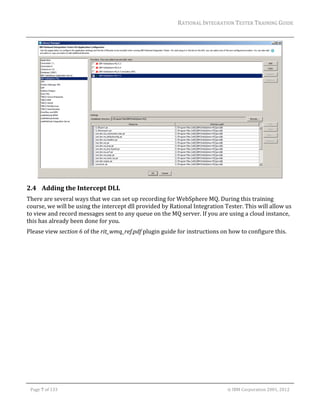
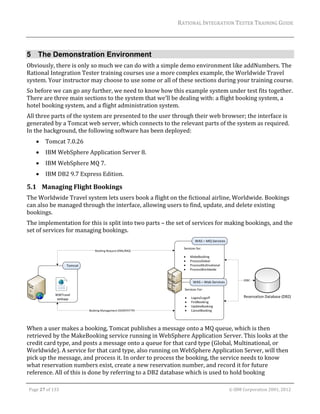
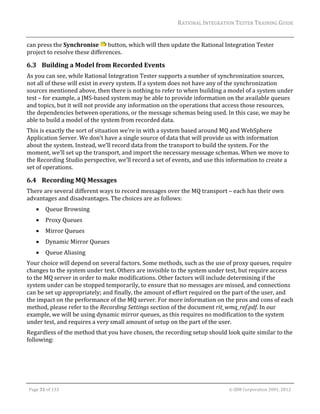
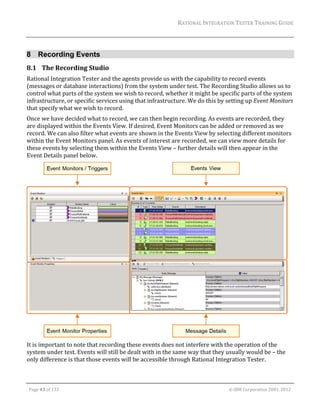
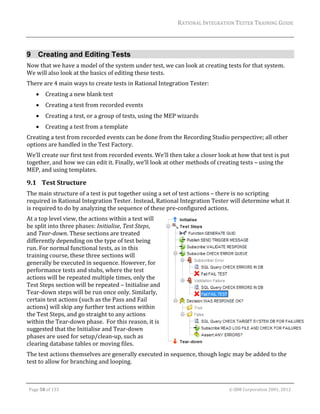
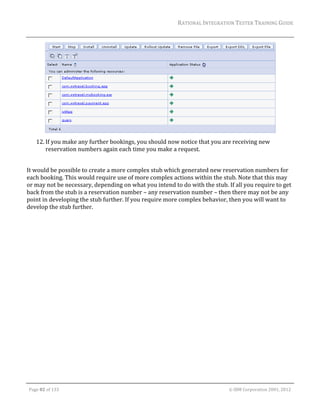
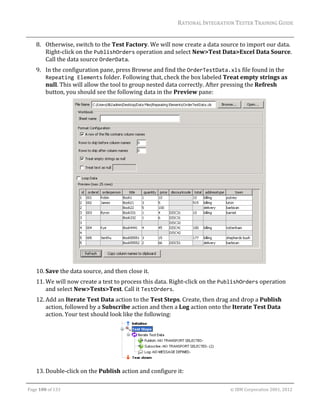
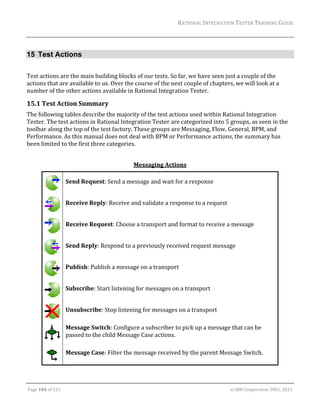
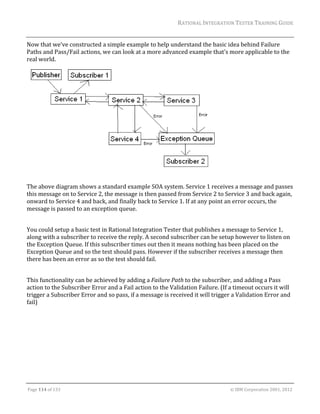
16. Run the test. While it is sleeping, edit the example.log file provided in the Data Files
folder on your desktop to add another line starting with [ERROR], and save the log file.
17. Rational Integration Tester should detect the change, and the test will fail.
Note: If Rational Integration Tester does not show any errors, make sure that you have edited and
saved the file within the 20 seconds provided by the Sleep action. In addition, default settings for
reading the log file (set in Architecture School) state that new entries in the log file must end in a
new line – simply adding [ERROR] without a new line will not register an error in your test.
Page 126 of 133 © IBM Corporation 2001, 2012](https://image.slidesharecdn.com/201210233115rationalintegrationtestertr-121116143746-phpapp01/85/2012-10-23_3115_rational_integration_tester_tr-128-320.jpg)


This document is a training guide for Rational Integration Tester. It introduces the tool and provides exercises to learn how to use its main features. These include configuring the Library Manager, setting up projects and models, recording events from transports like MQ, creating and editing tests, running tests, building stubs, automating tests with suites, manipulating test data with tags, and more advanced topics. The goal is to explain how Rational Integration Tester can facilitate testing of services in a message-oriented middleware architecture.


