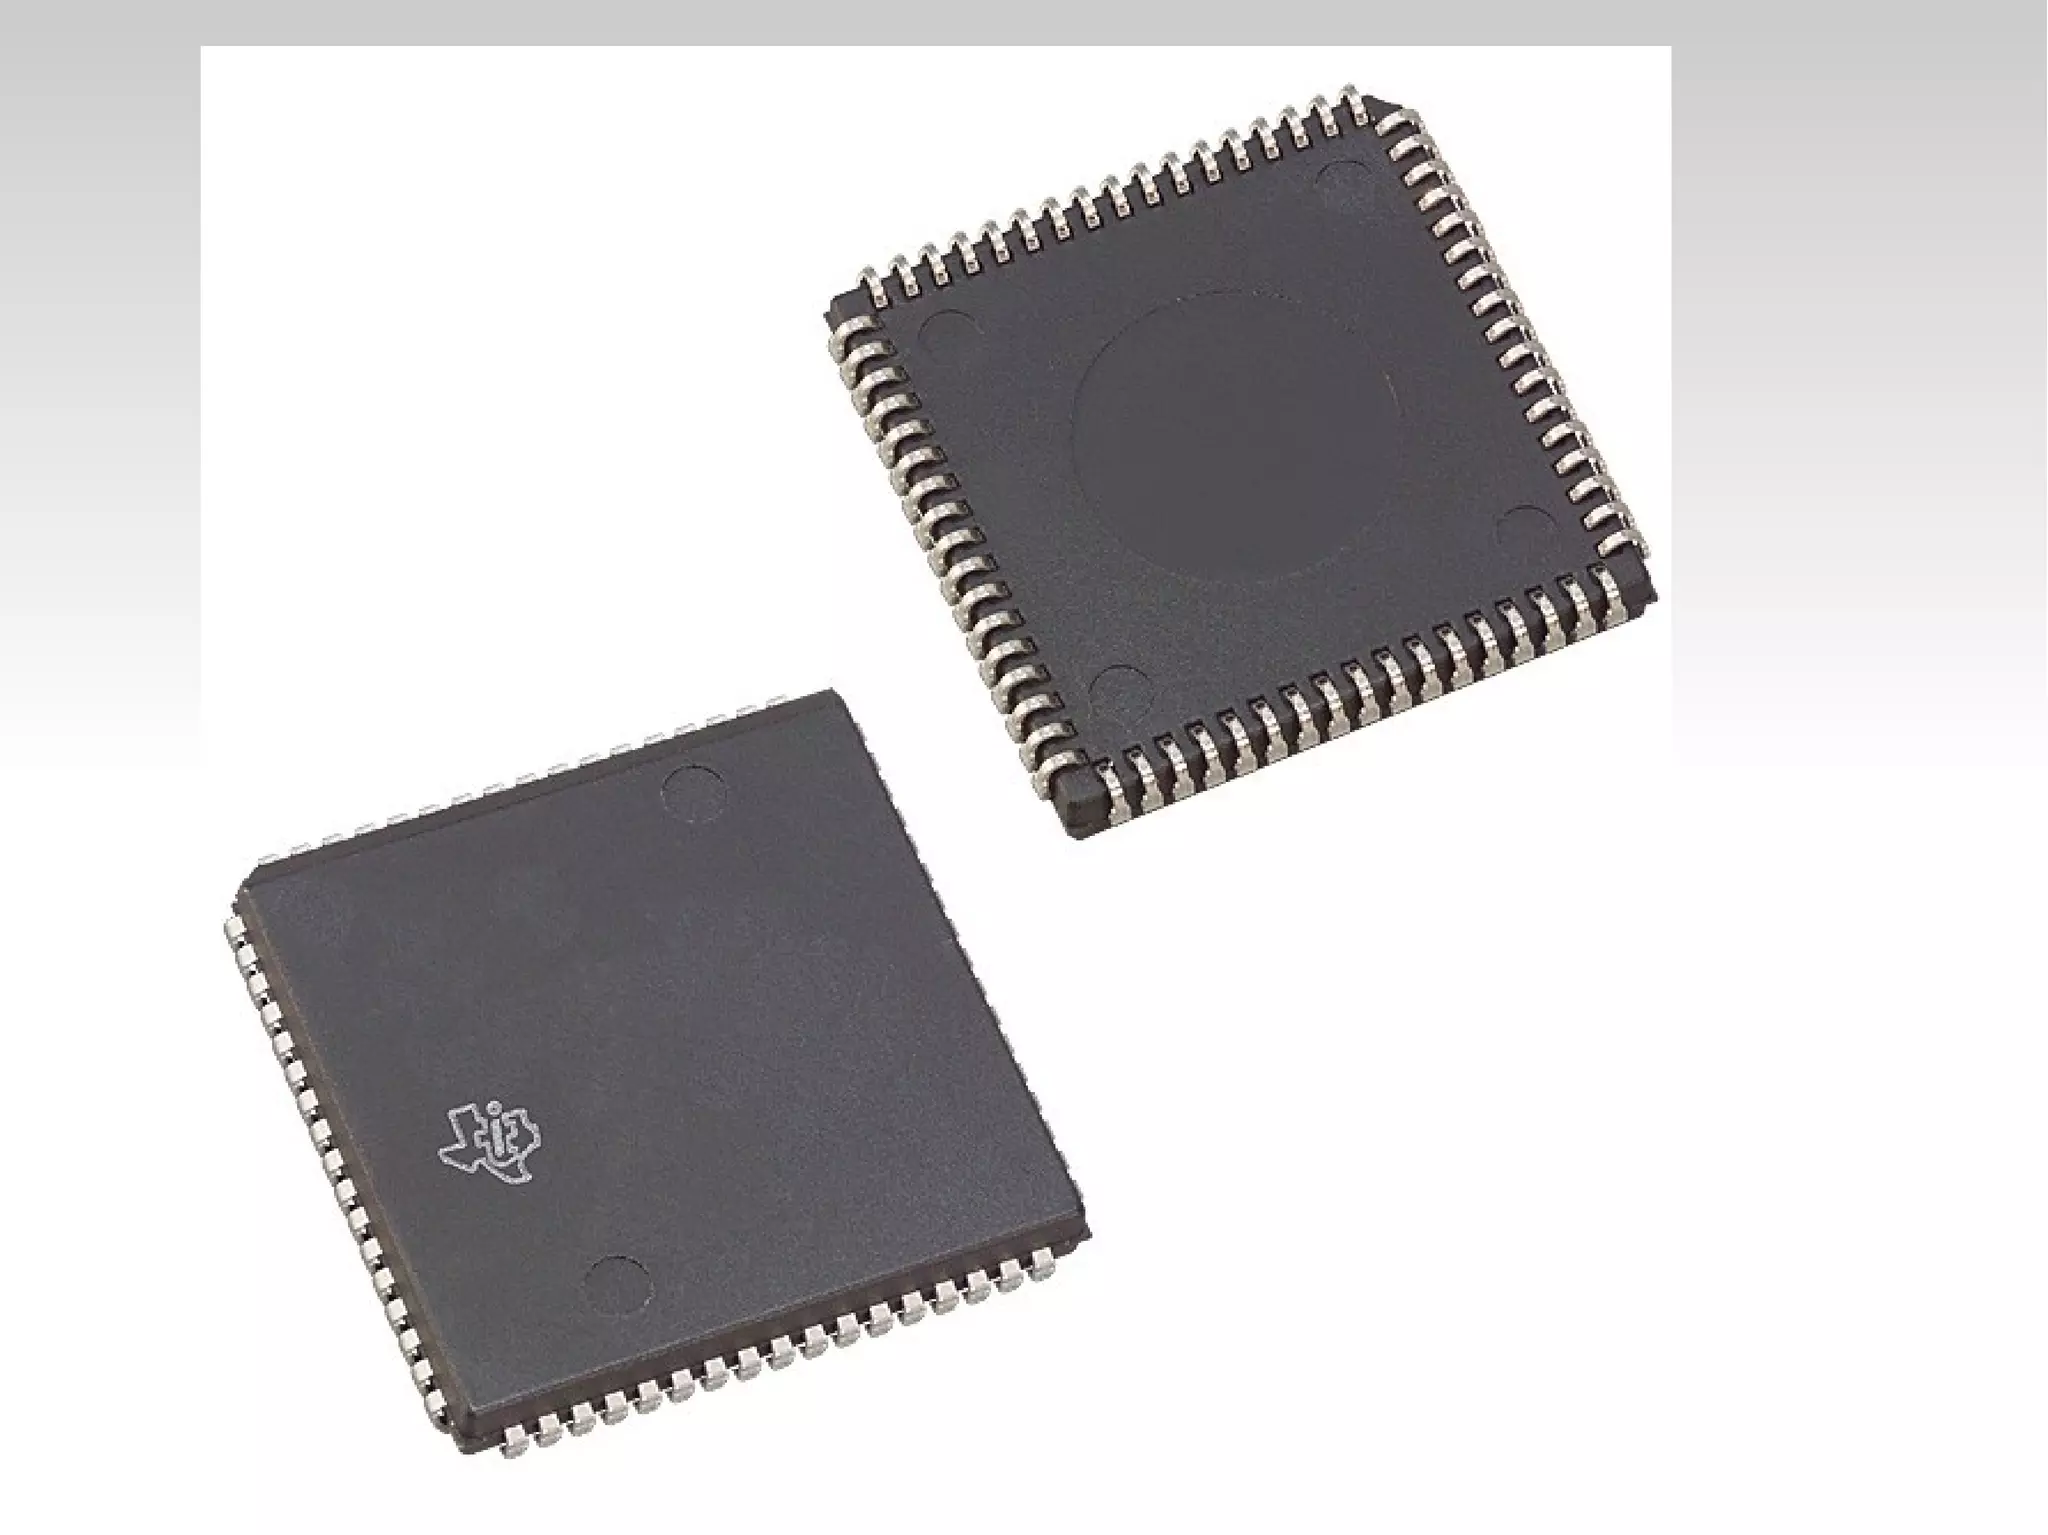
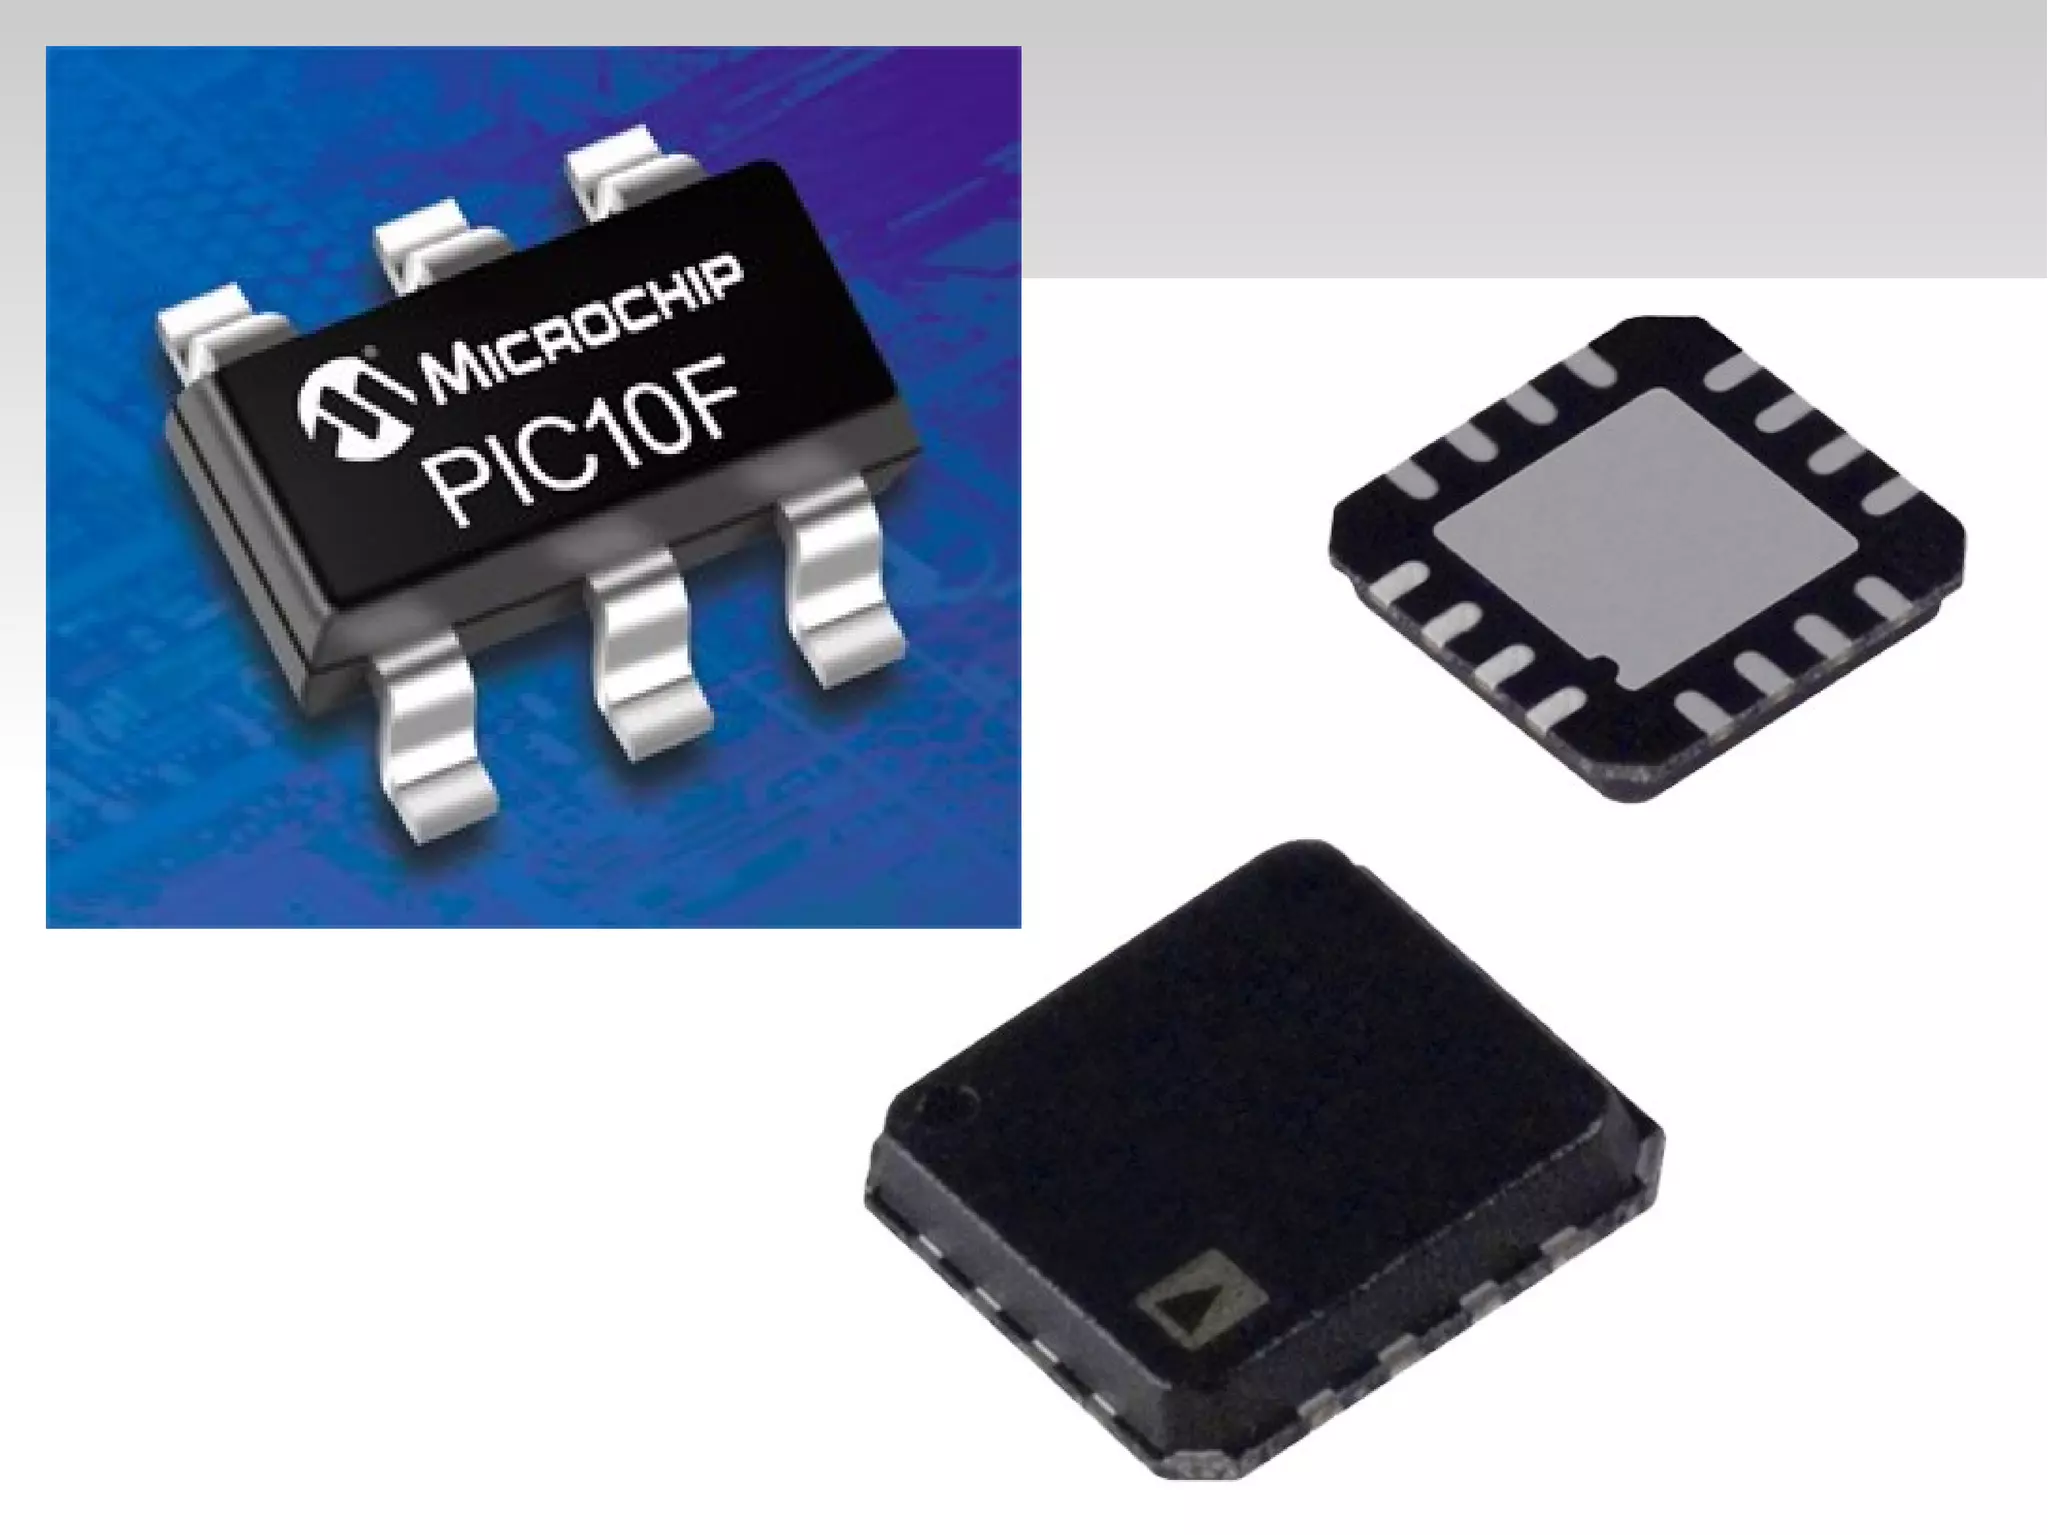
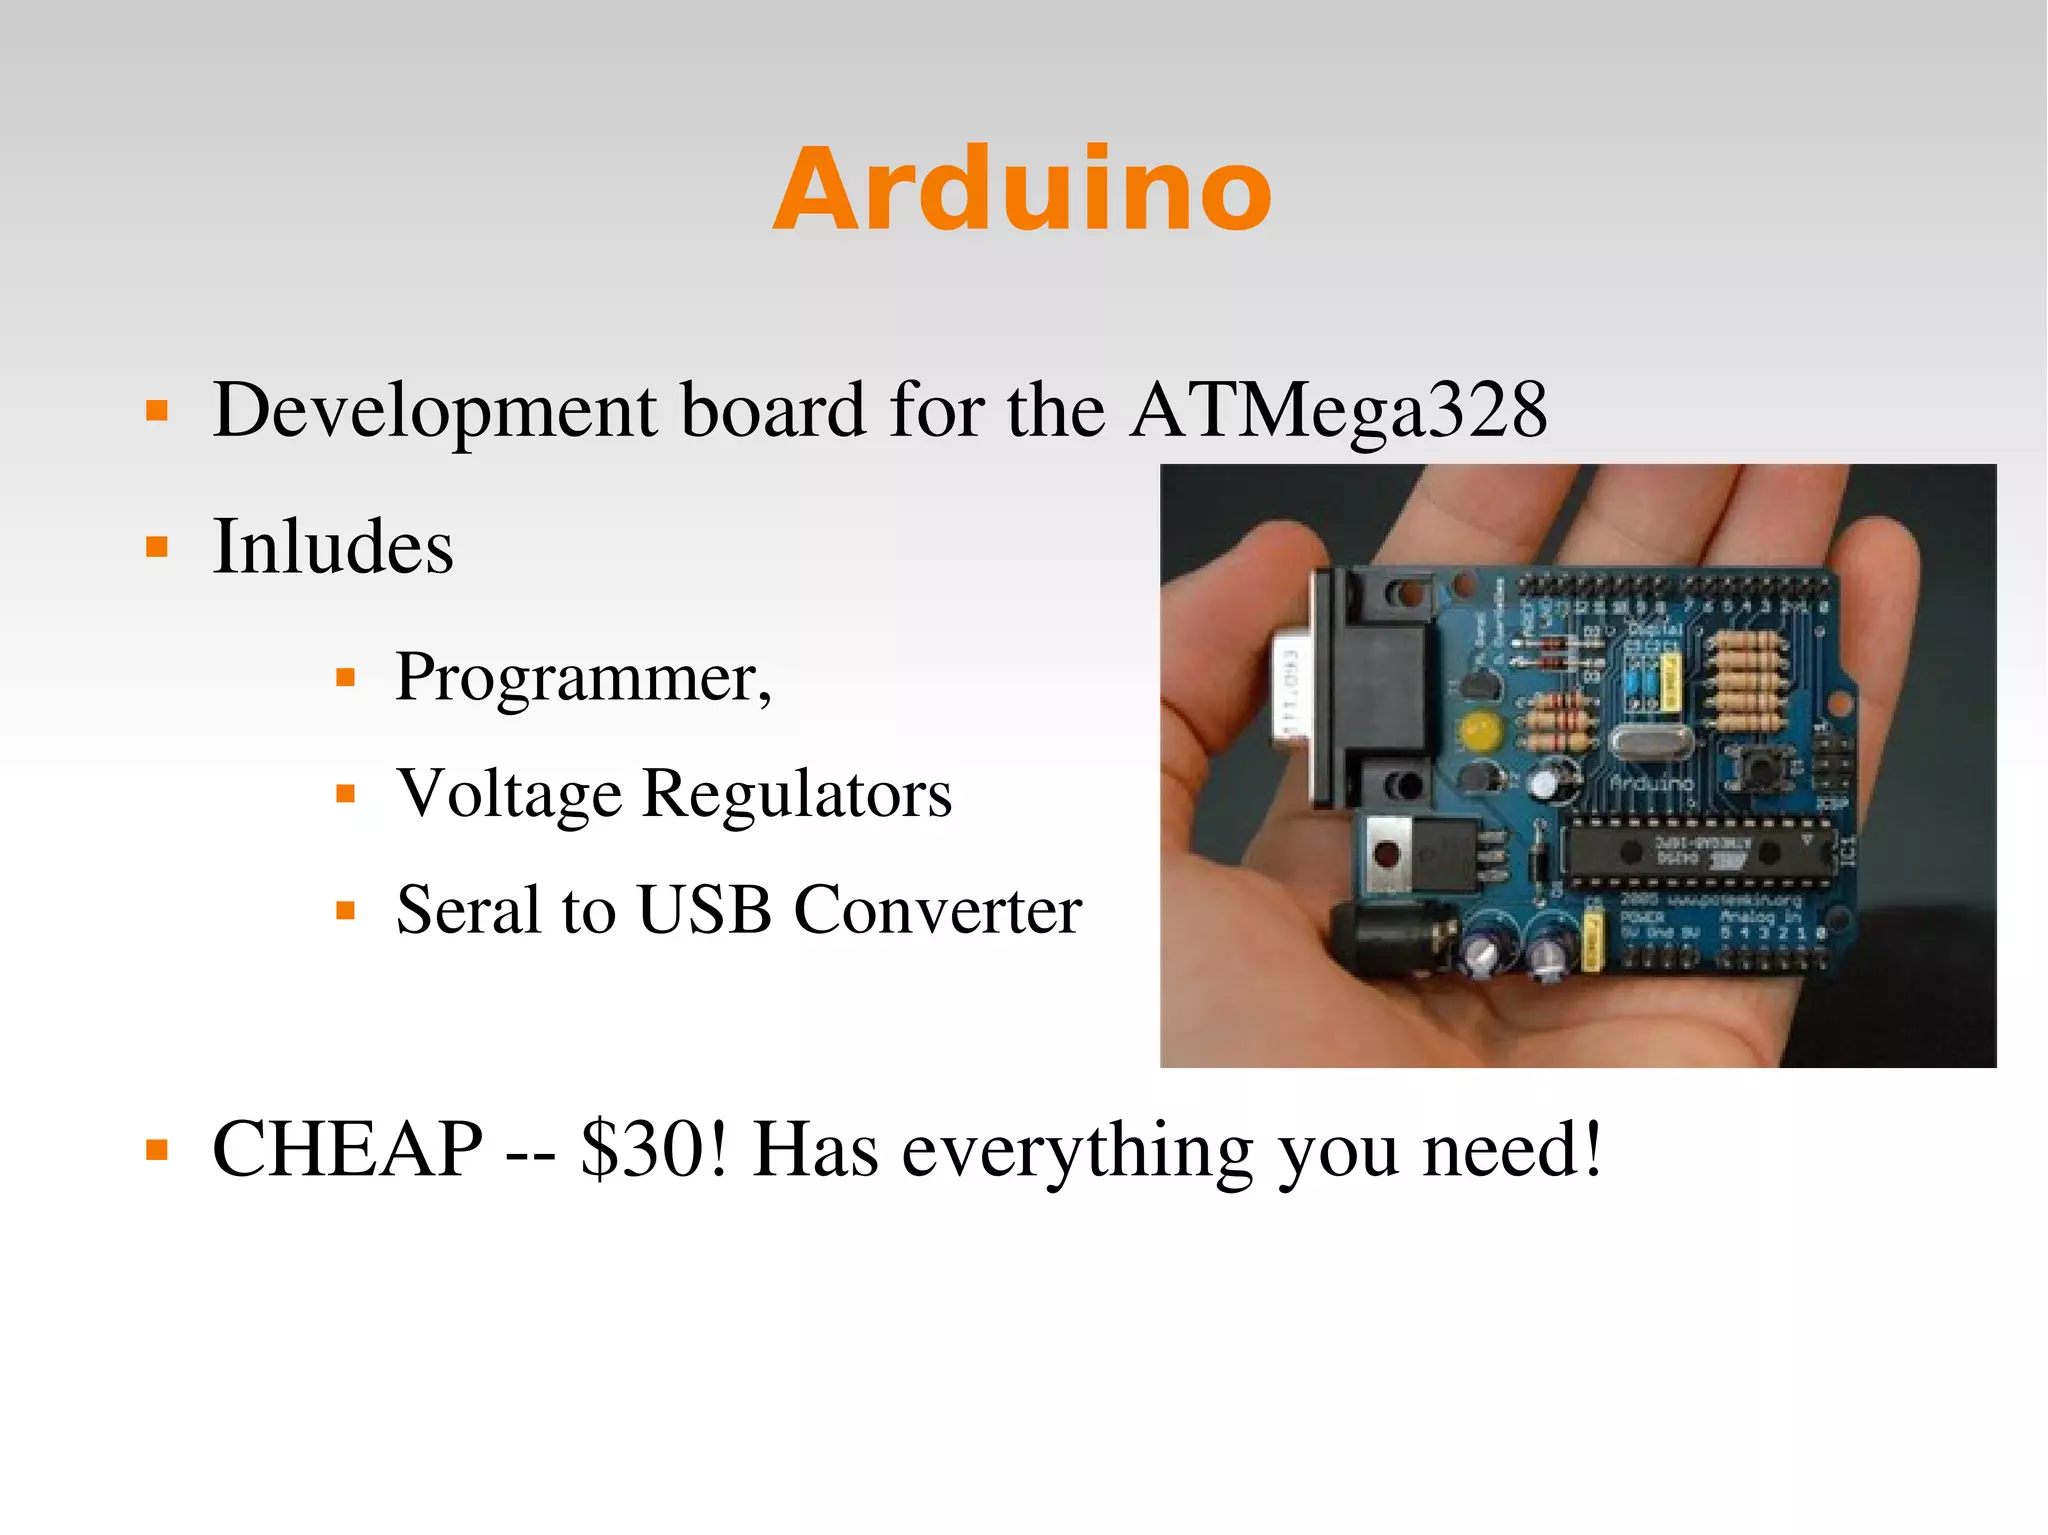
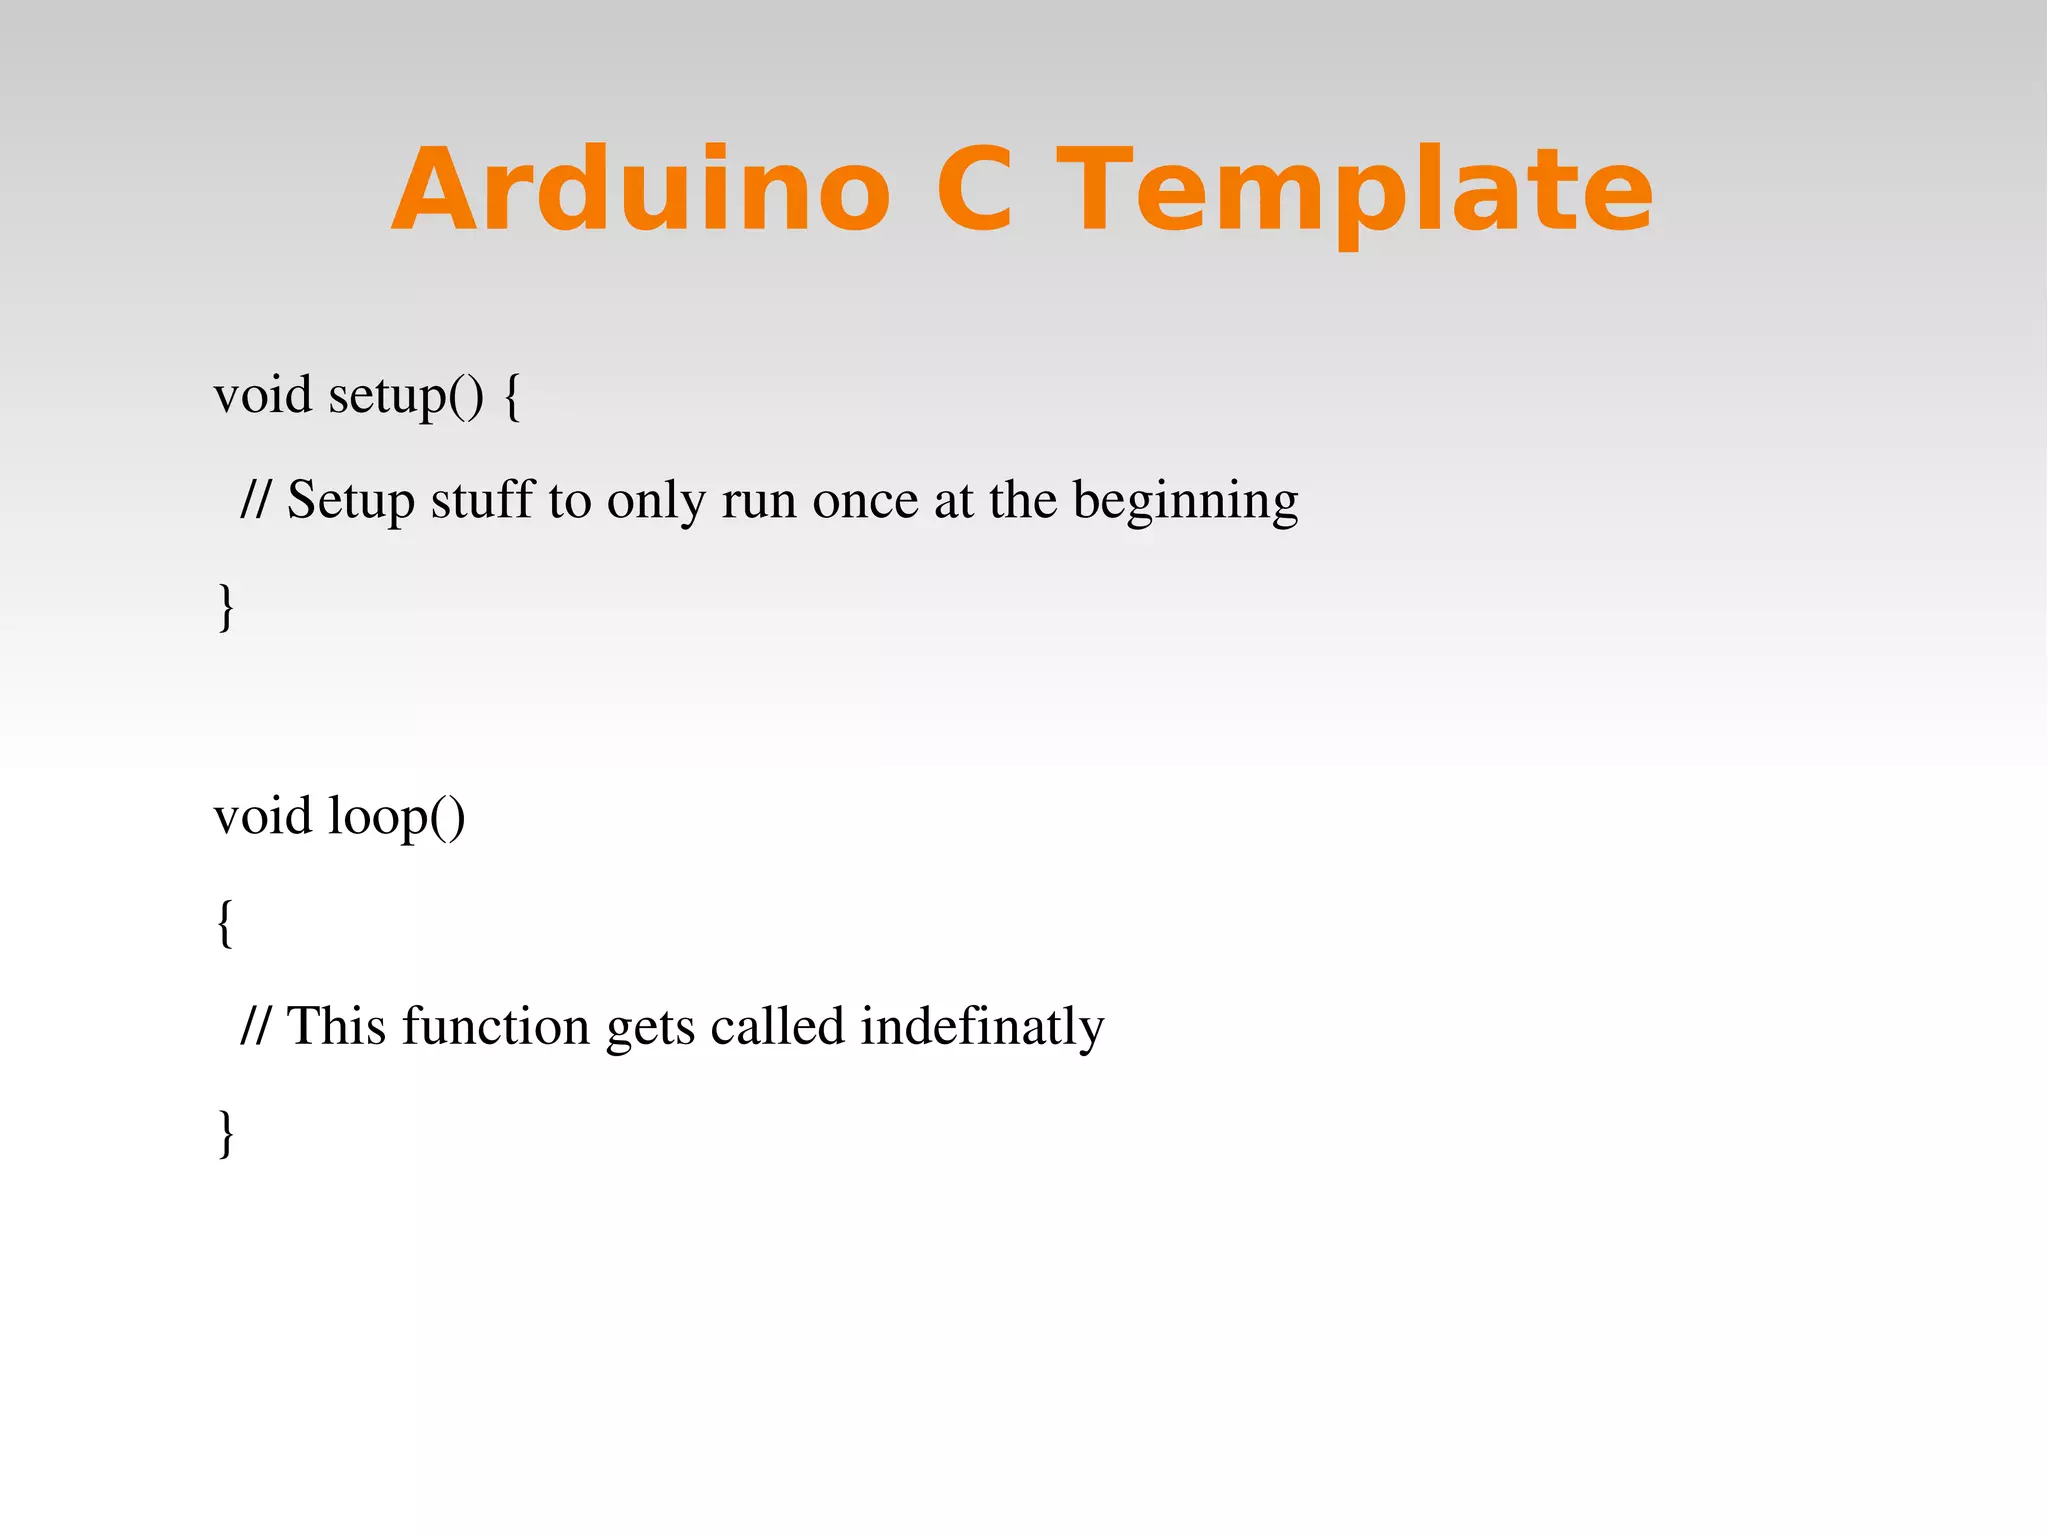
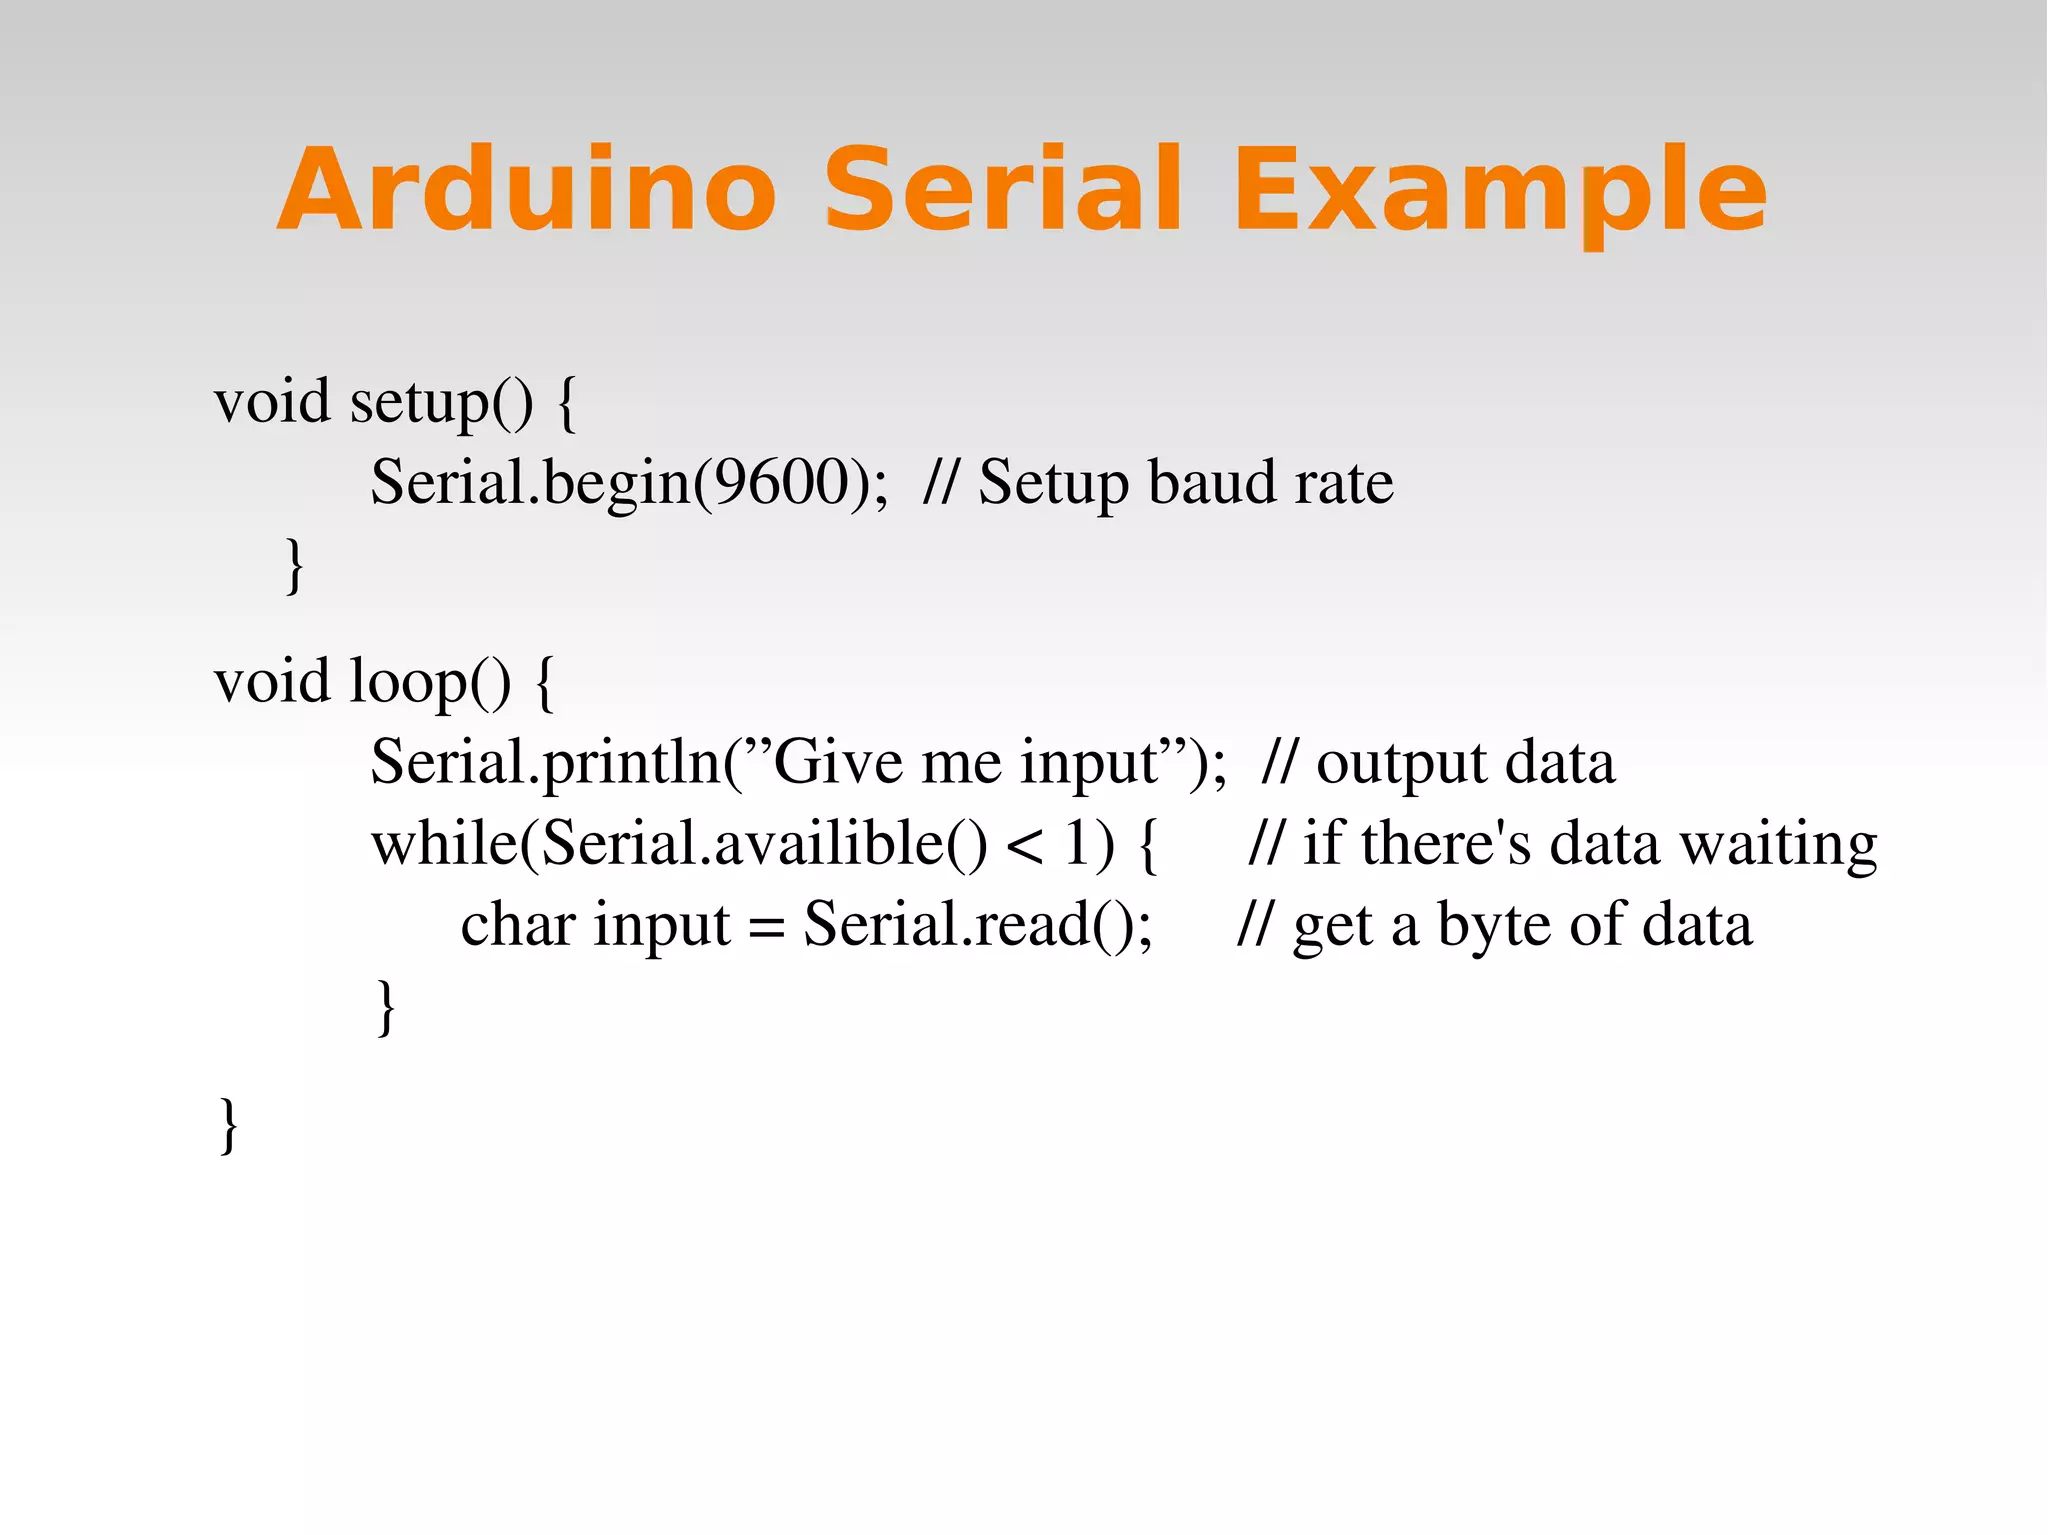
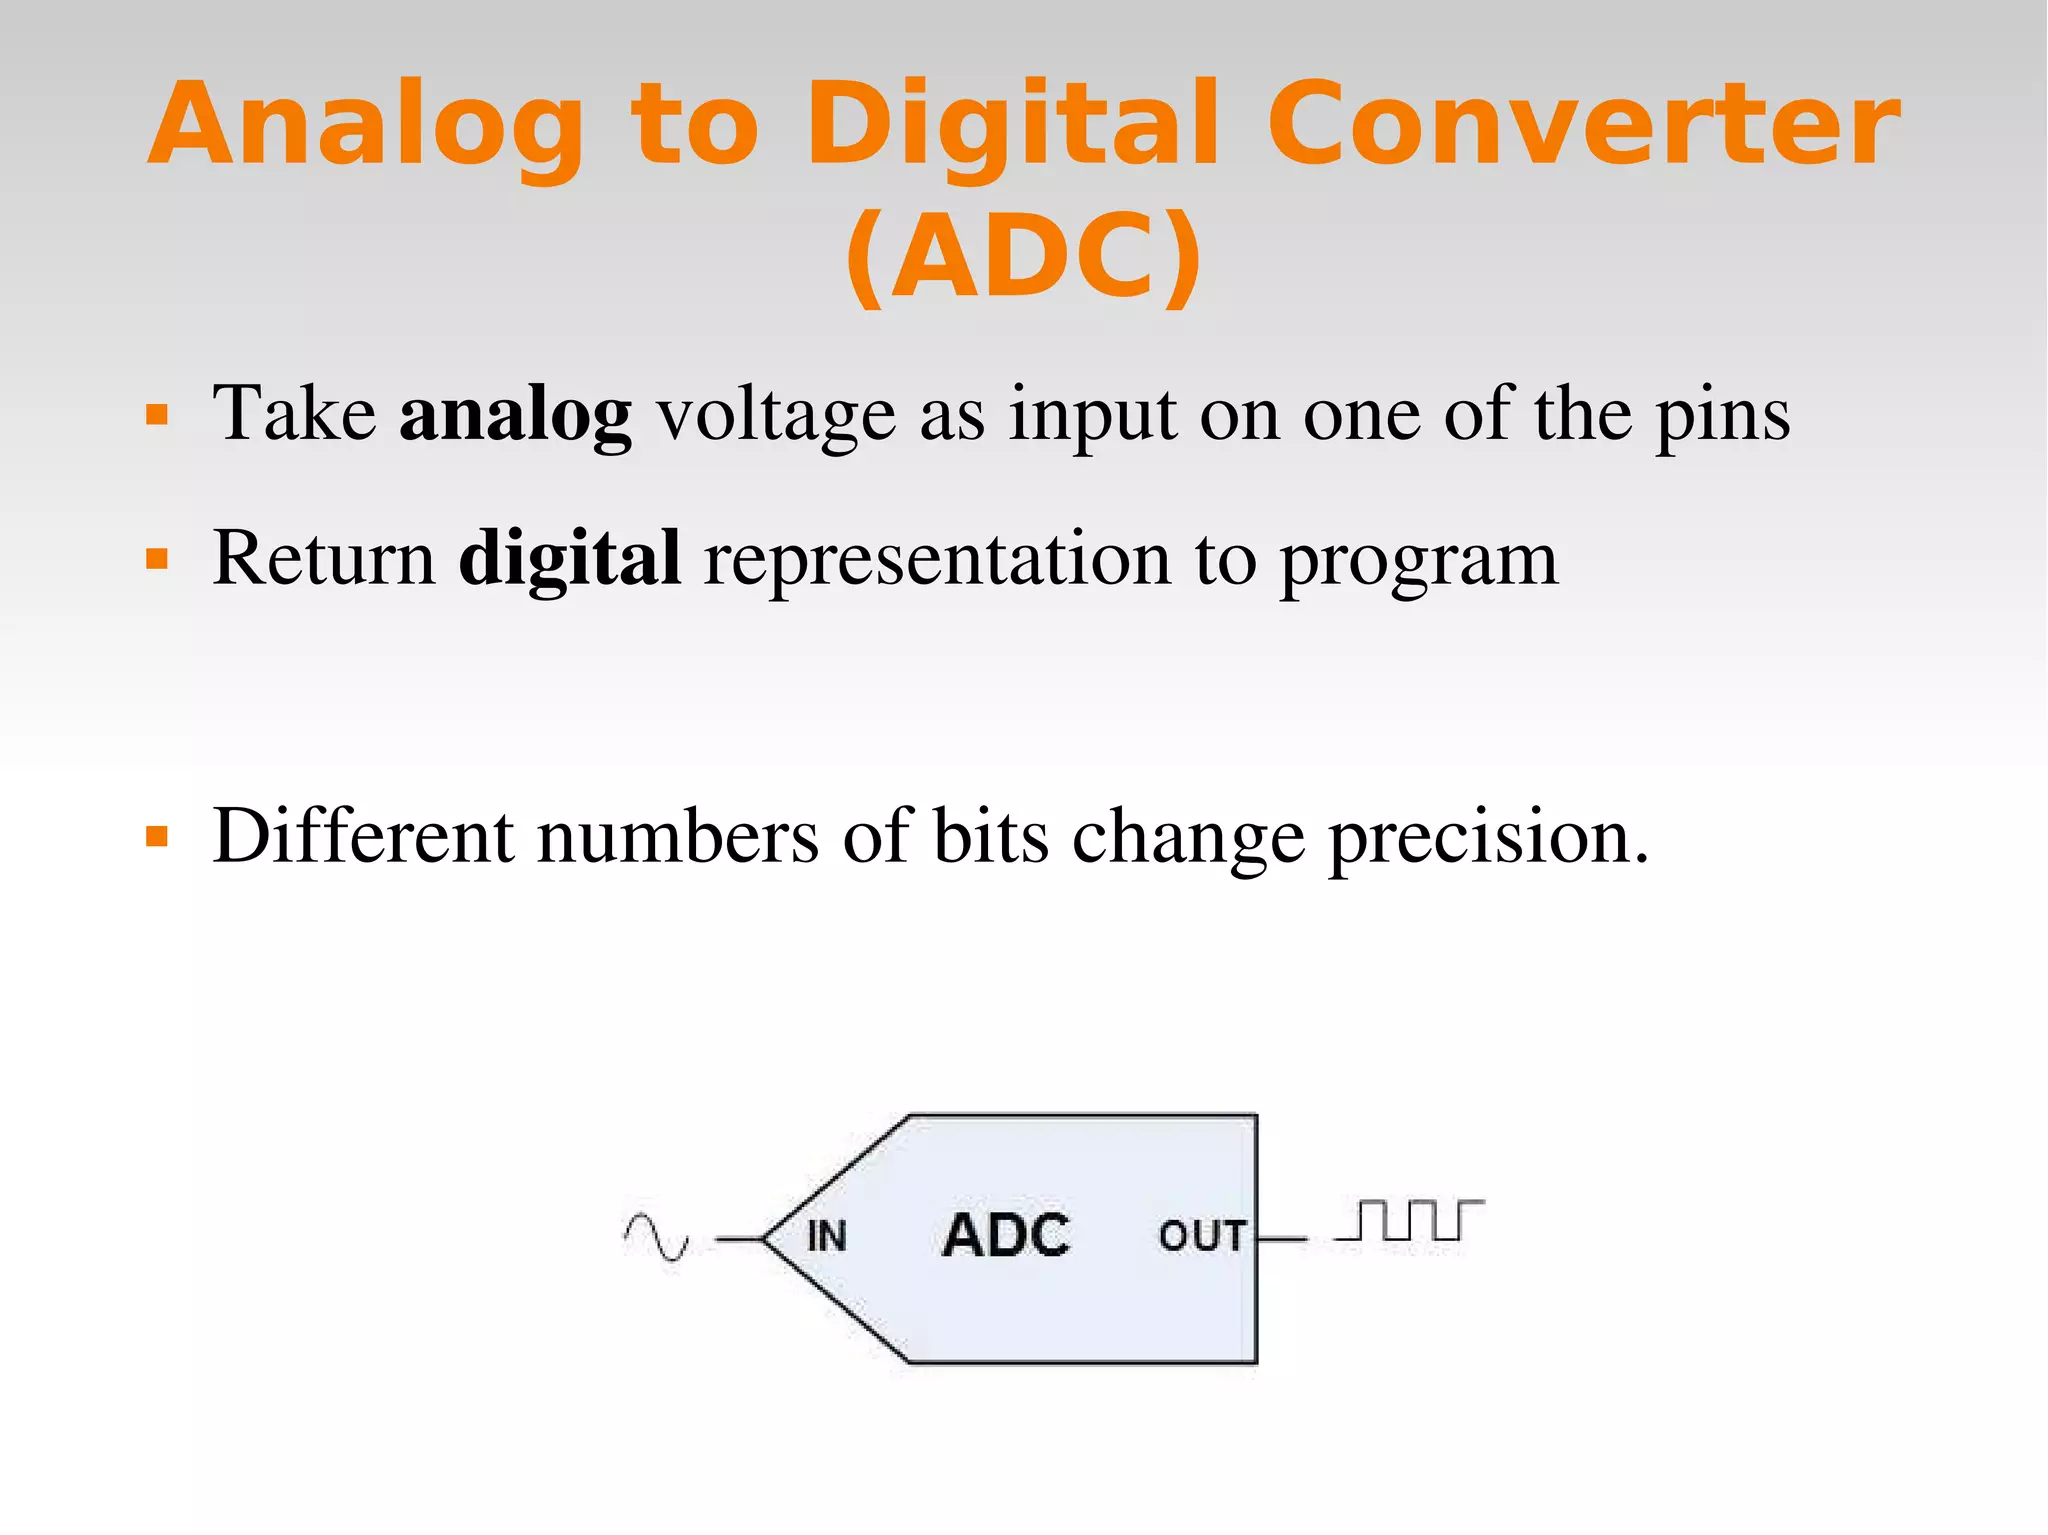
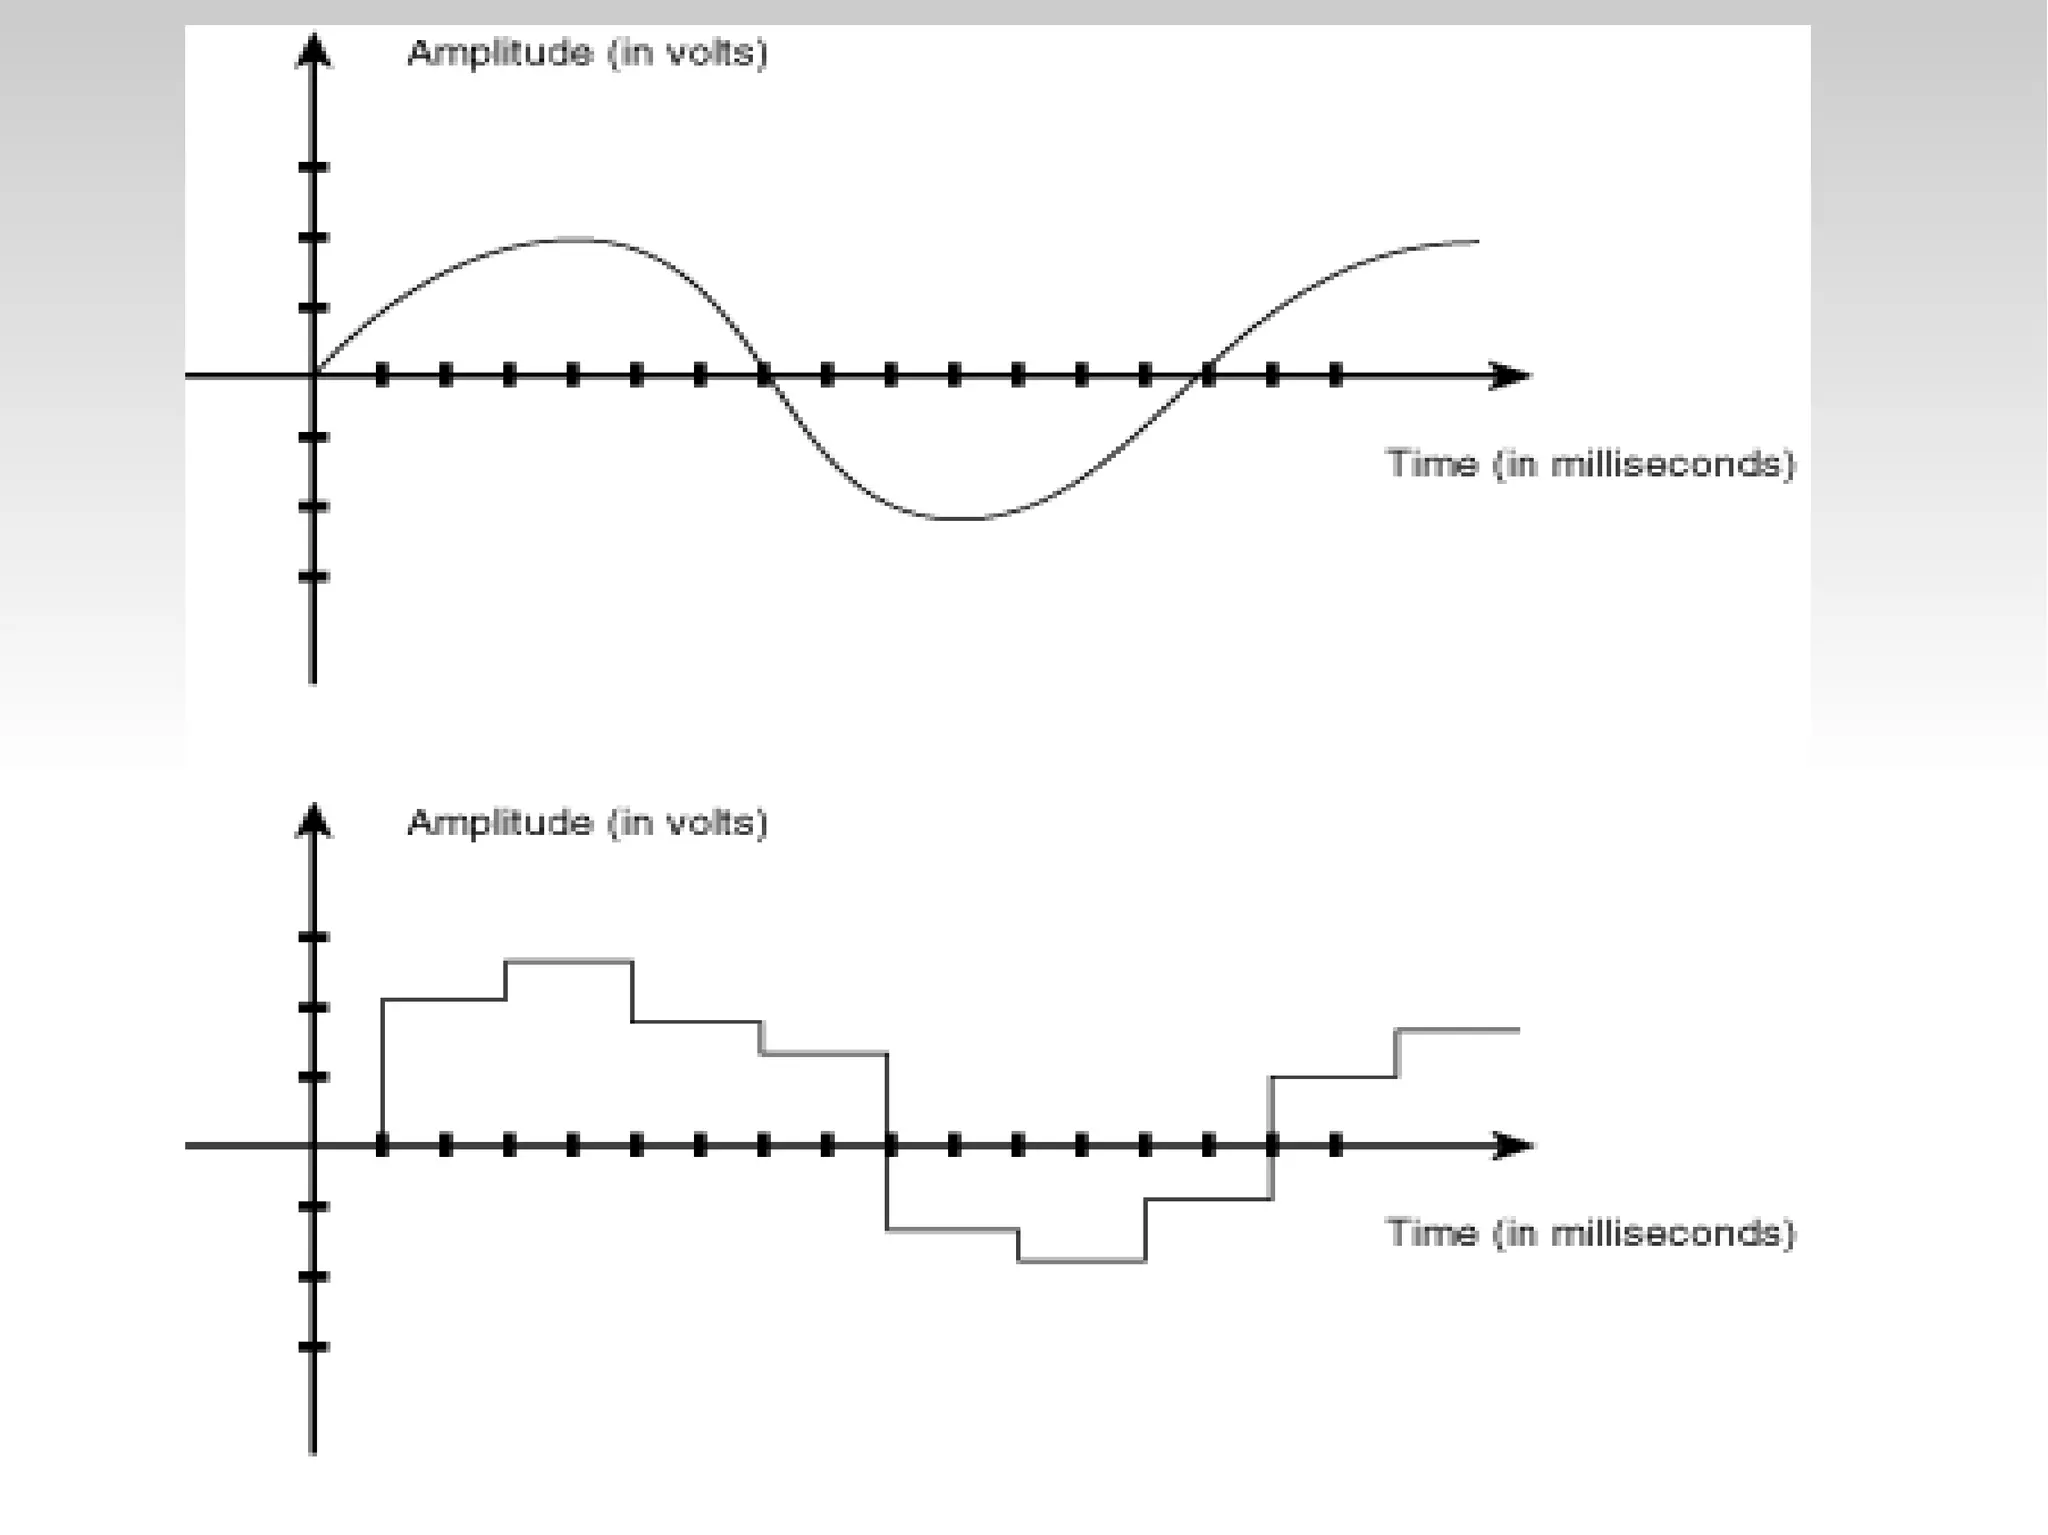
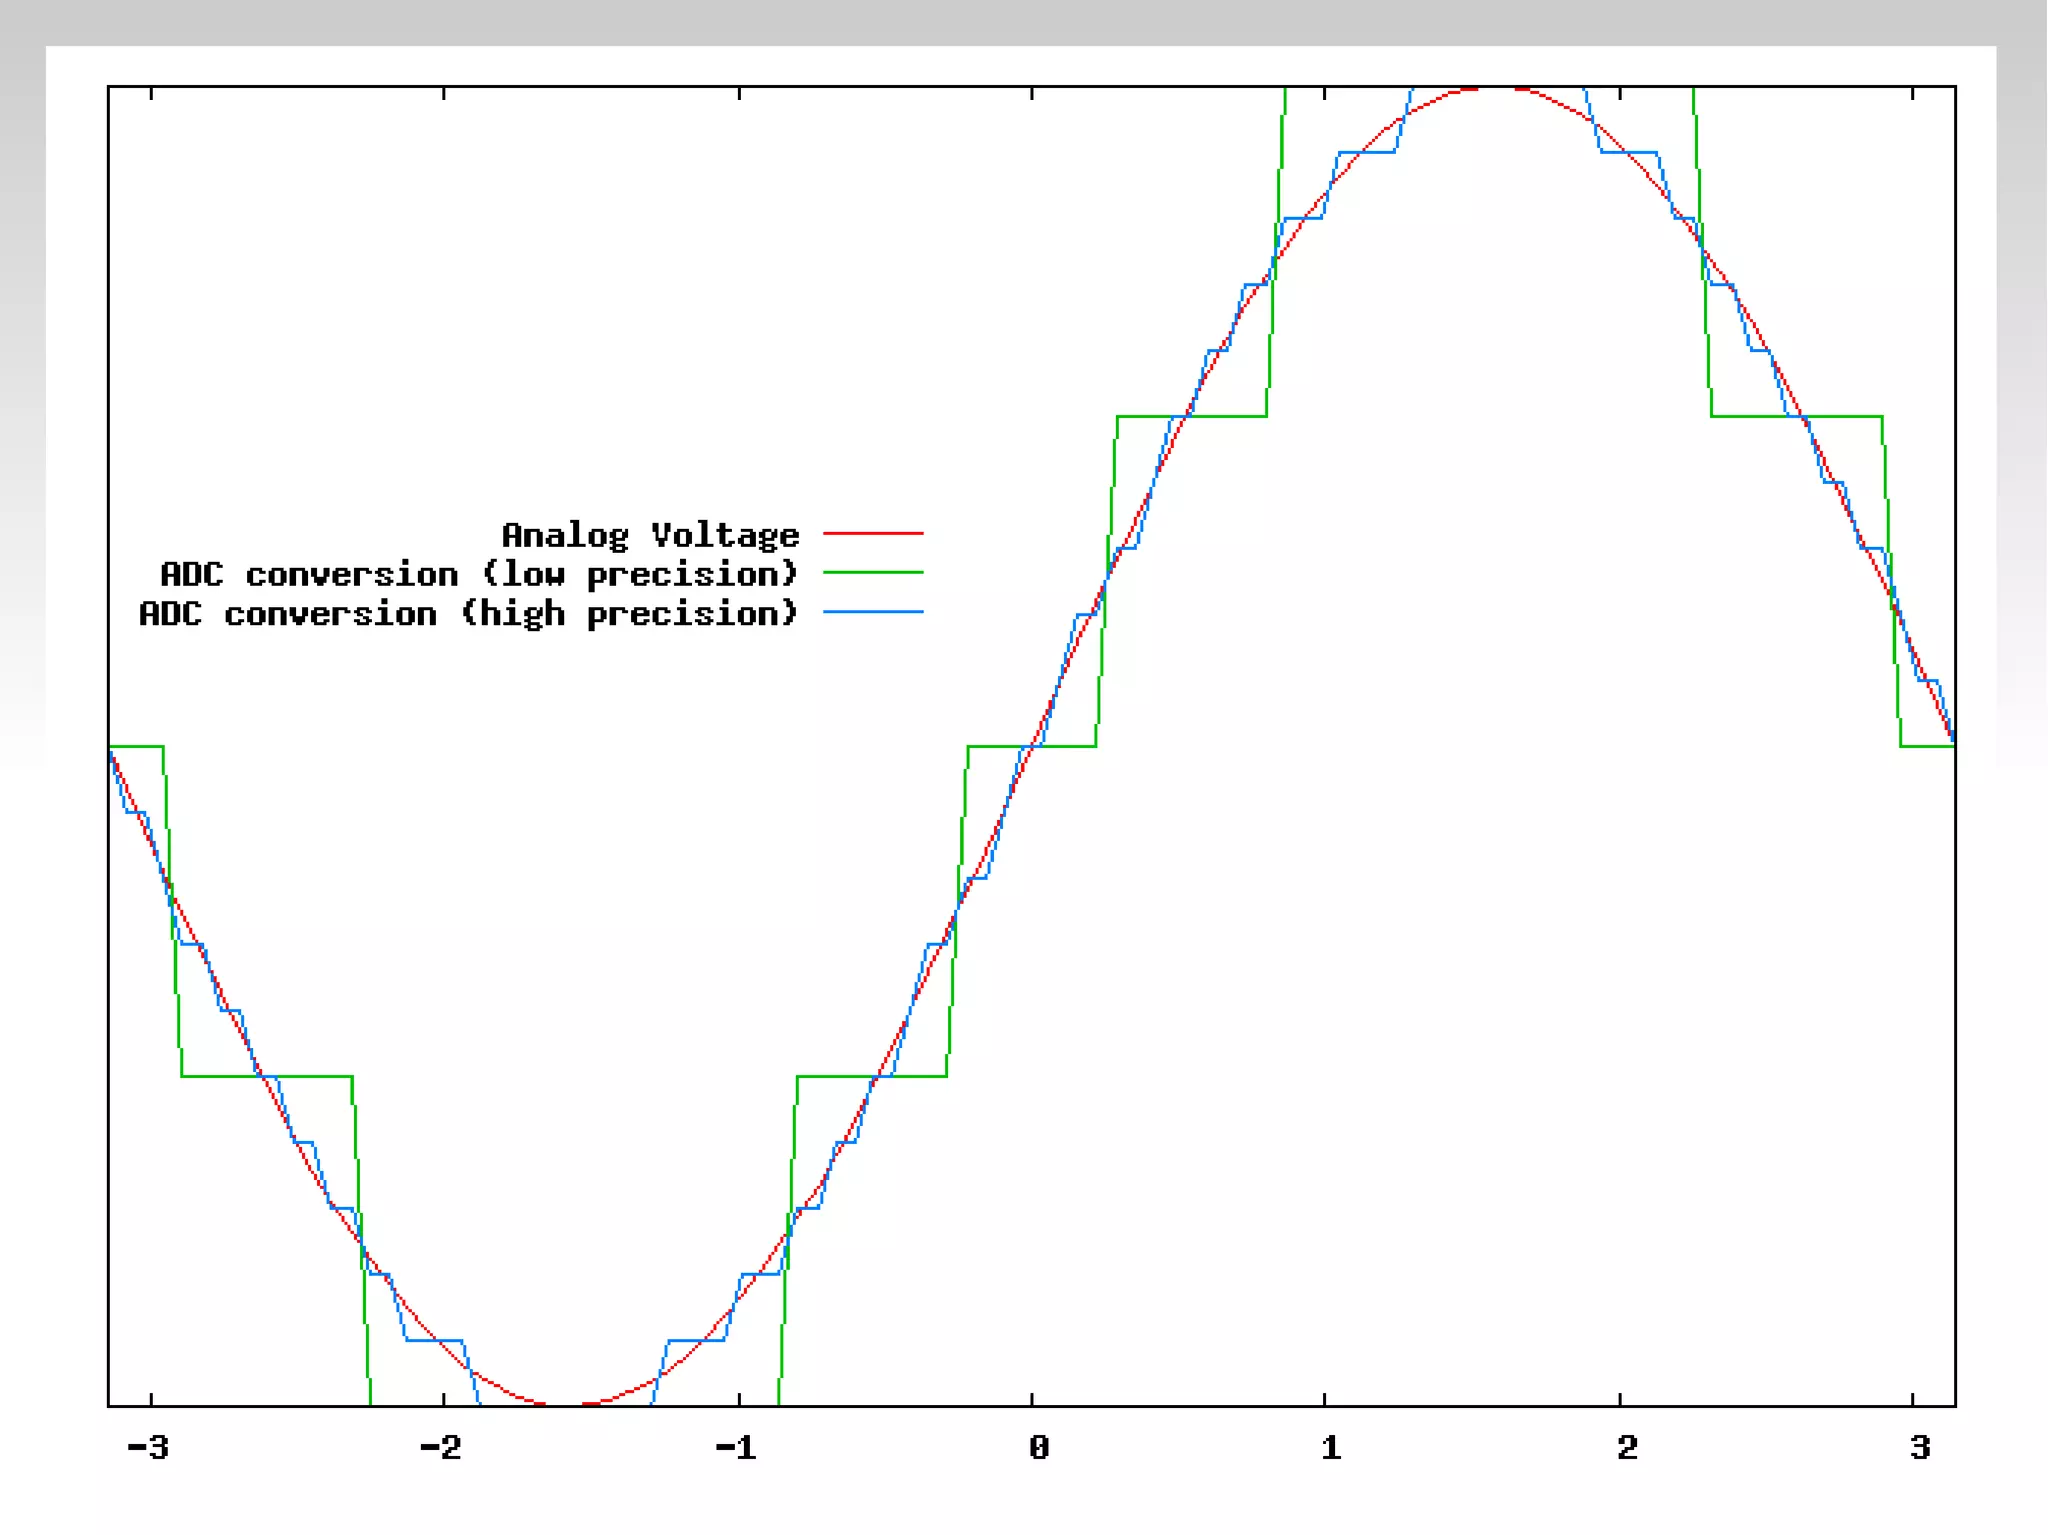
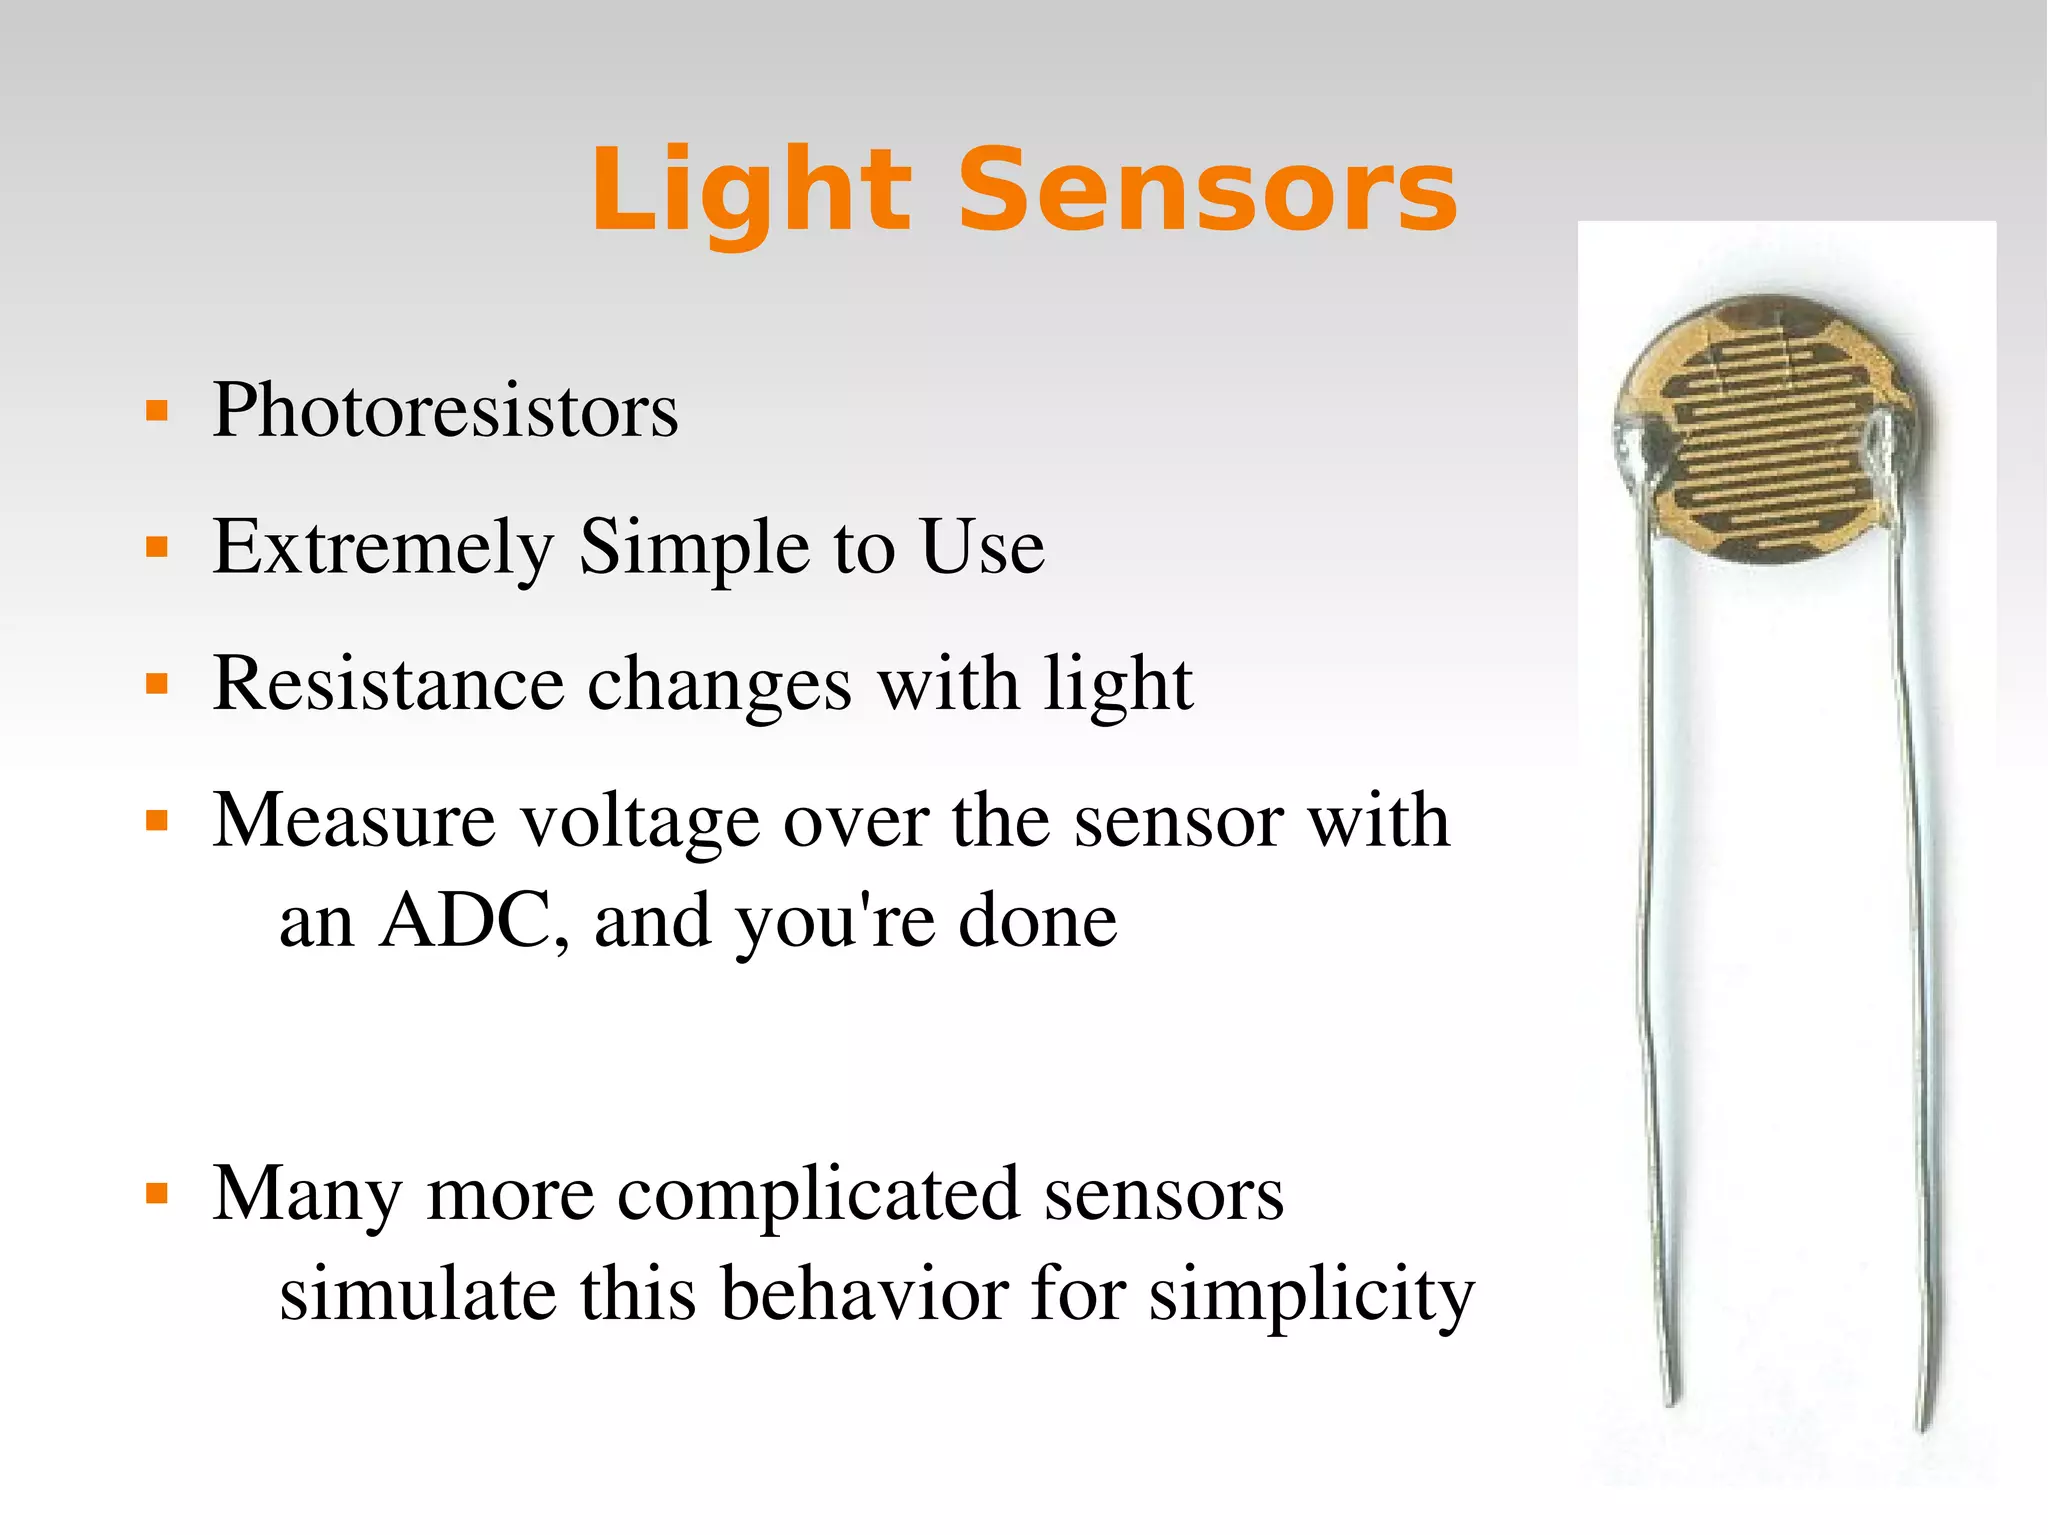
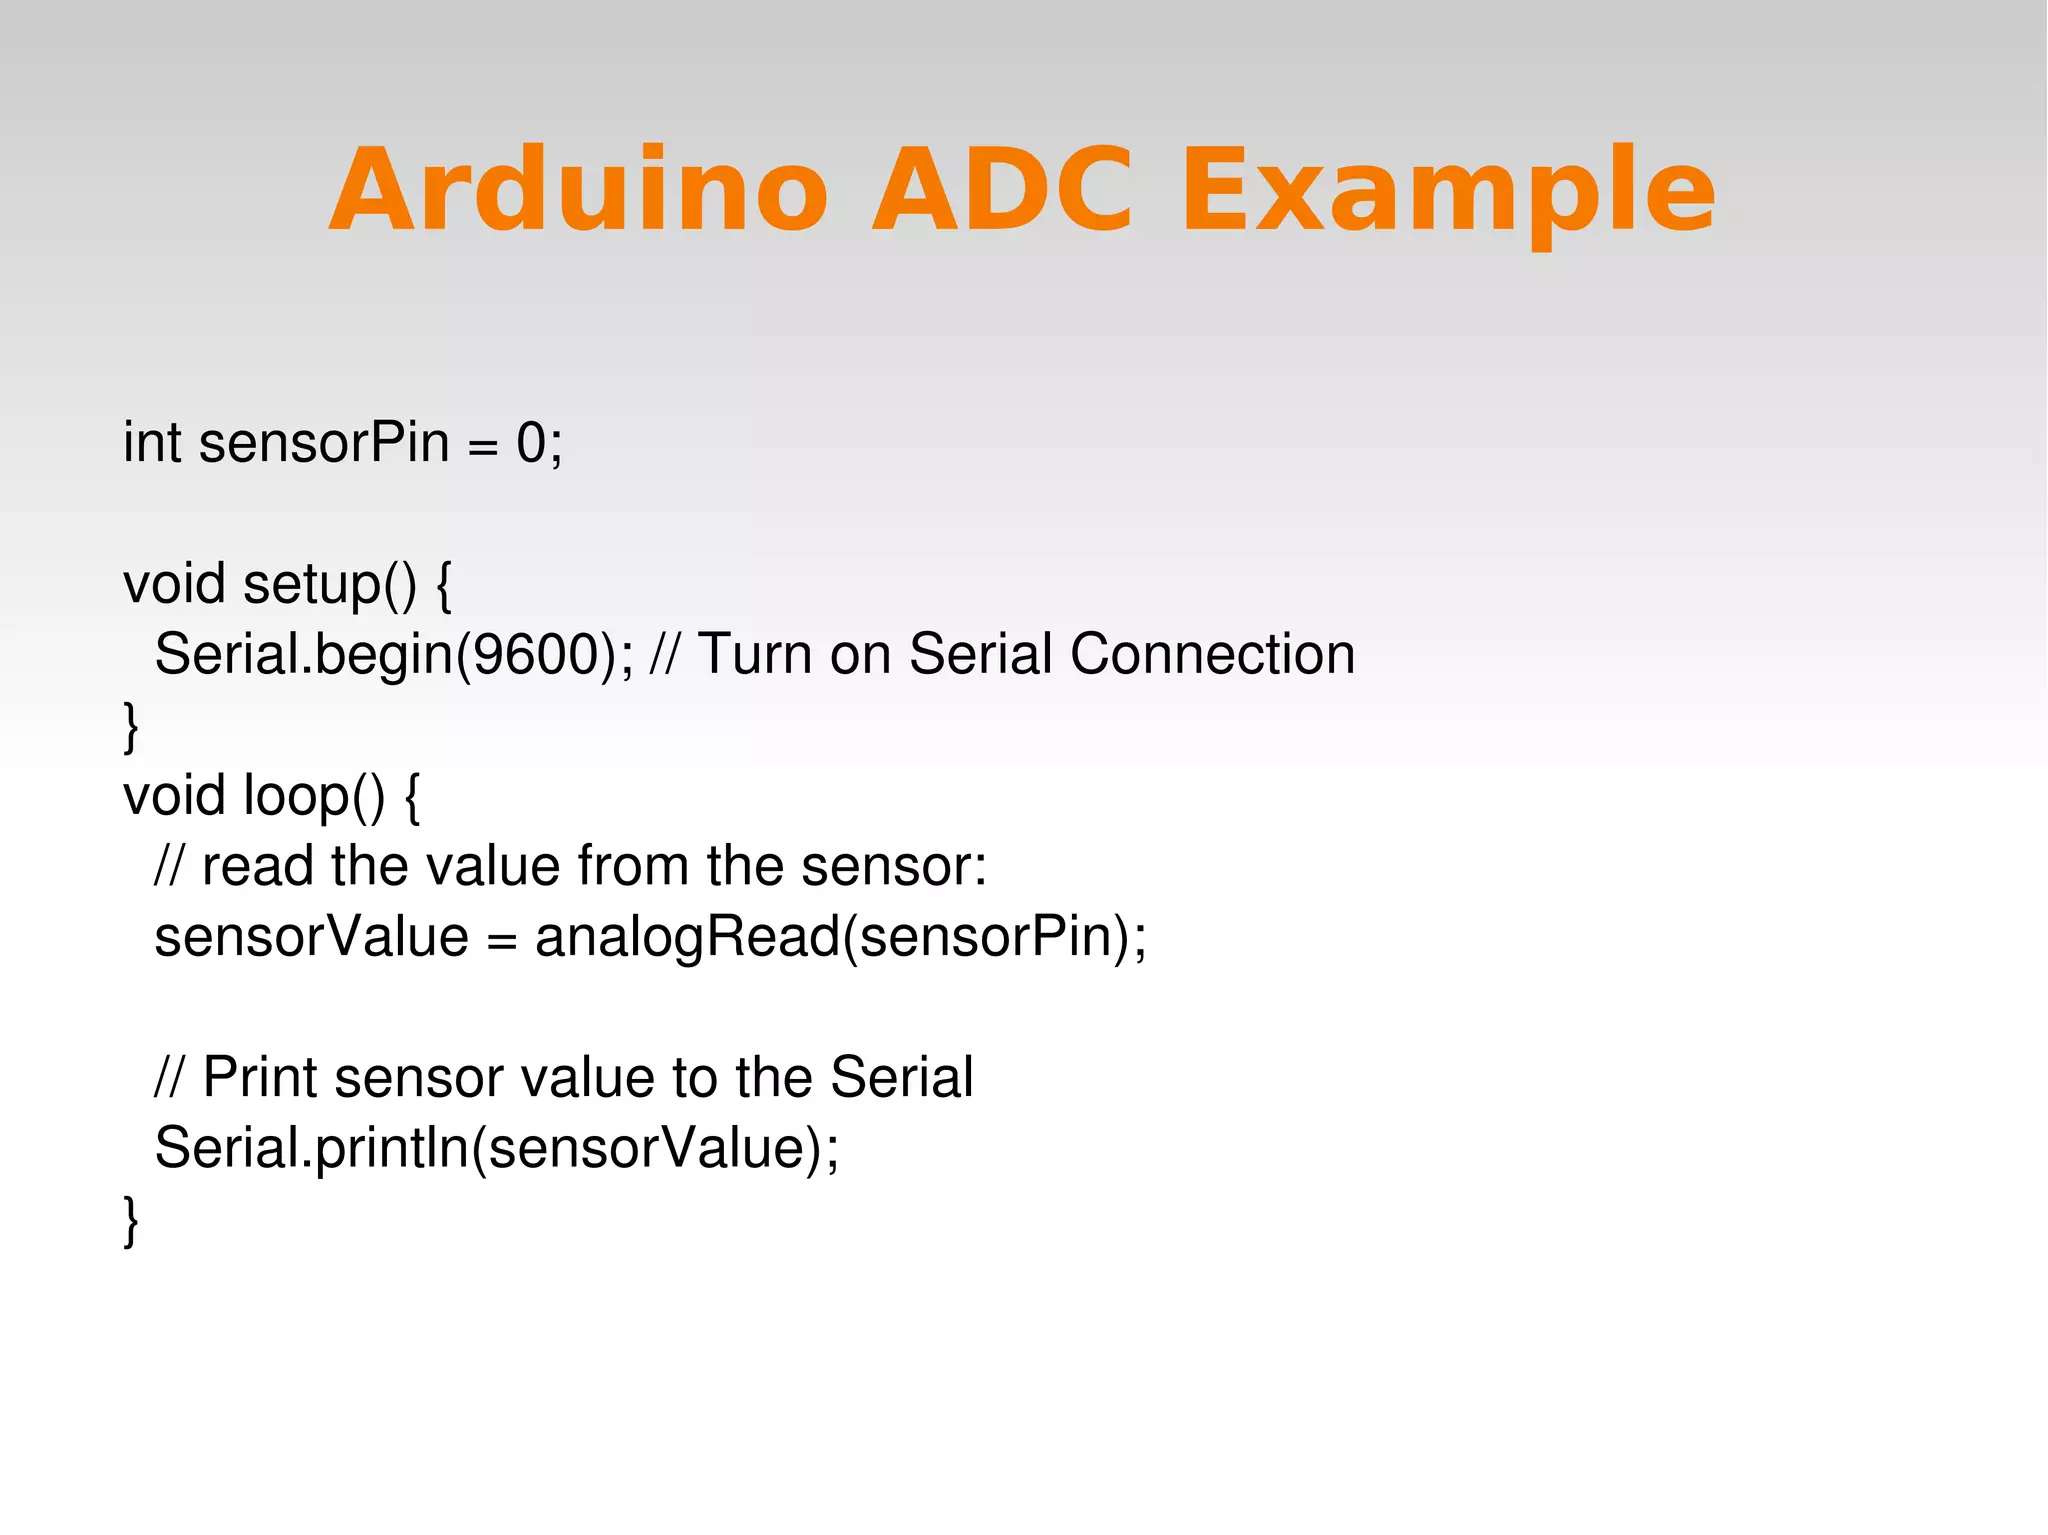
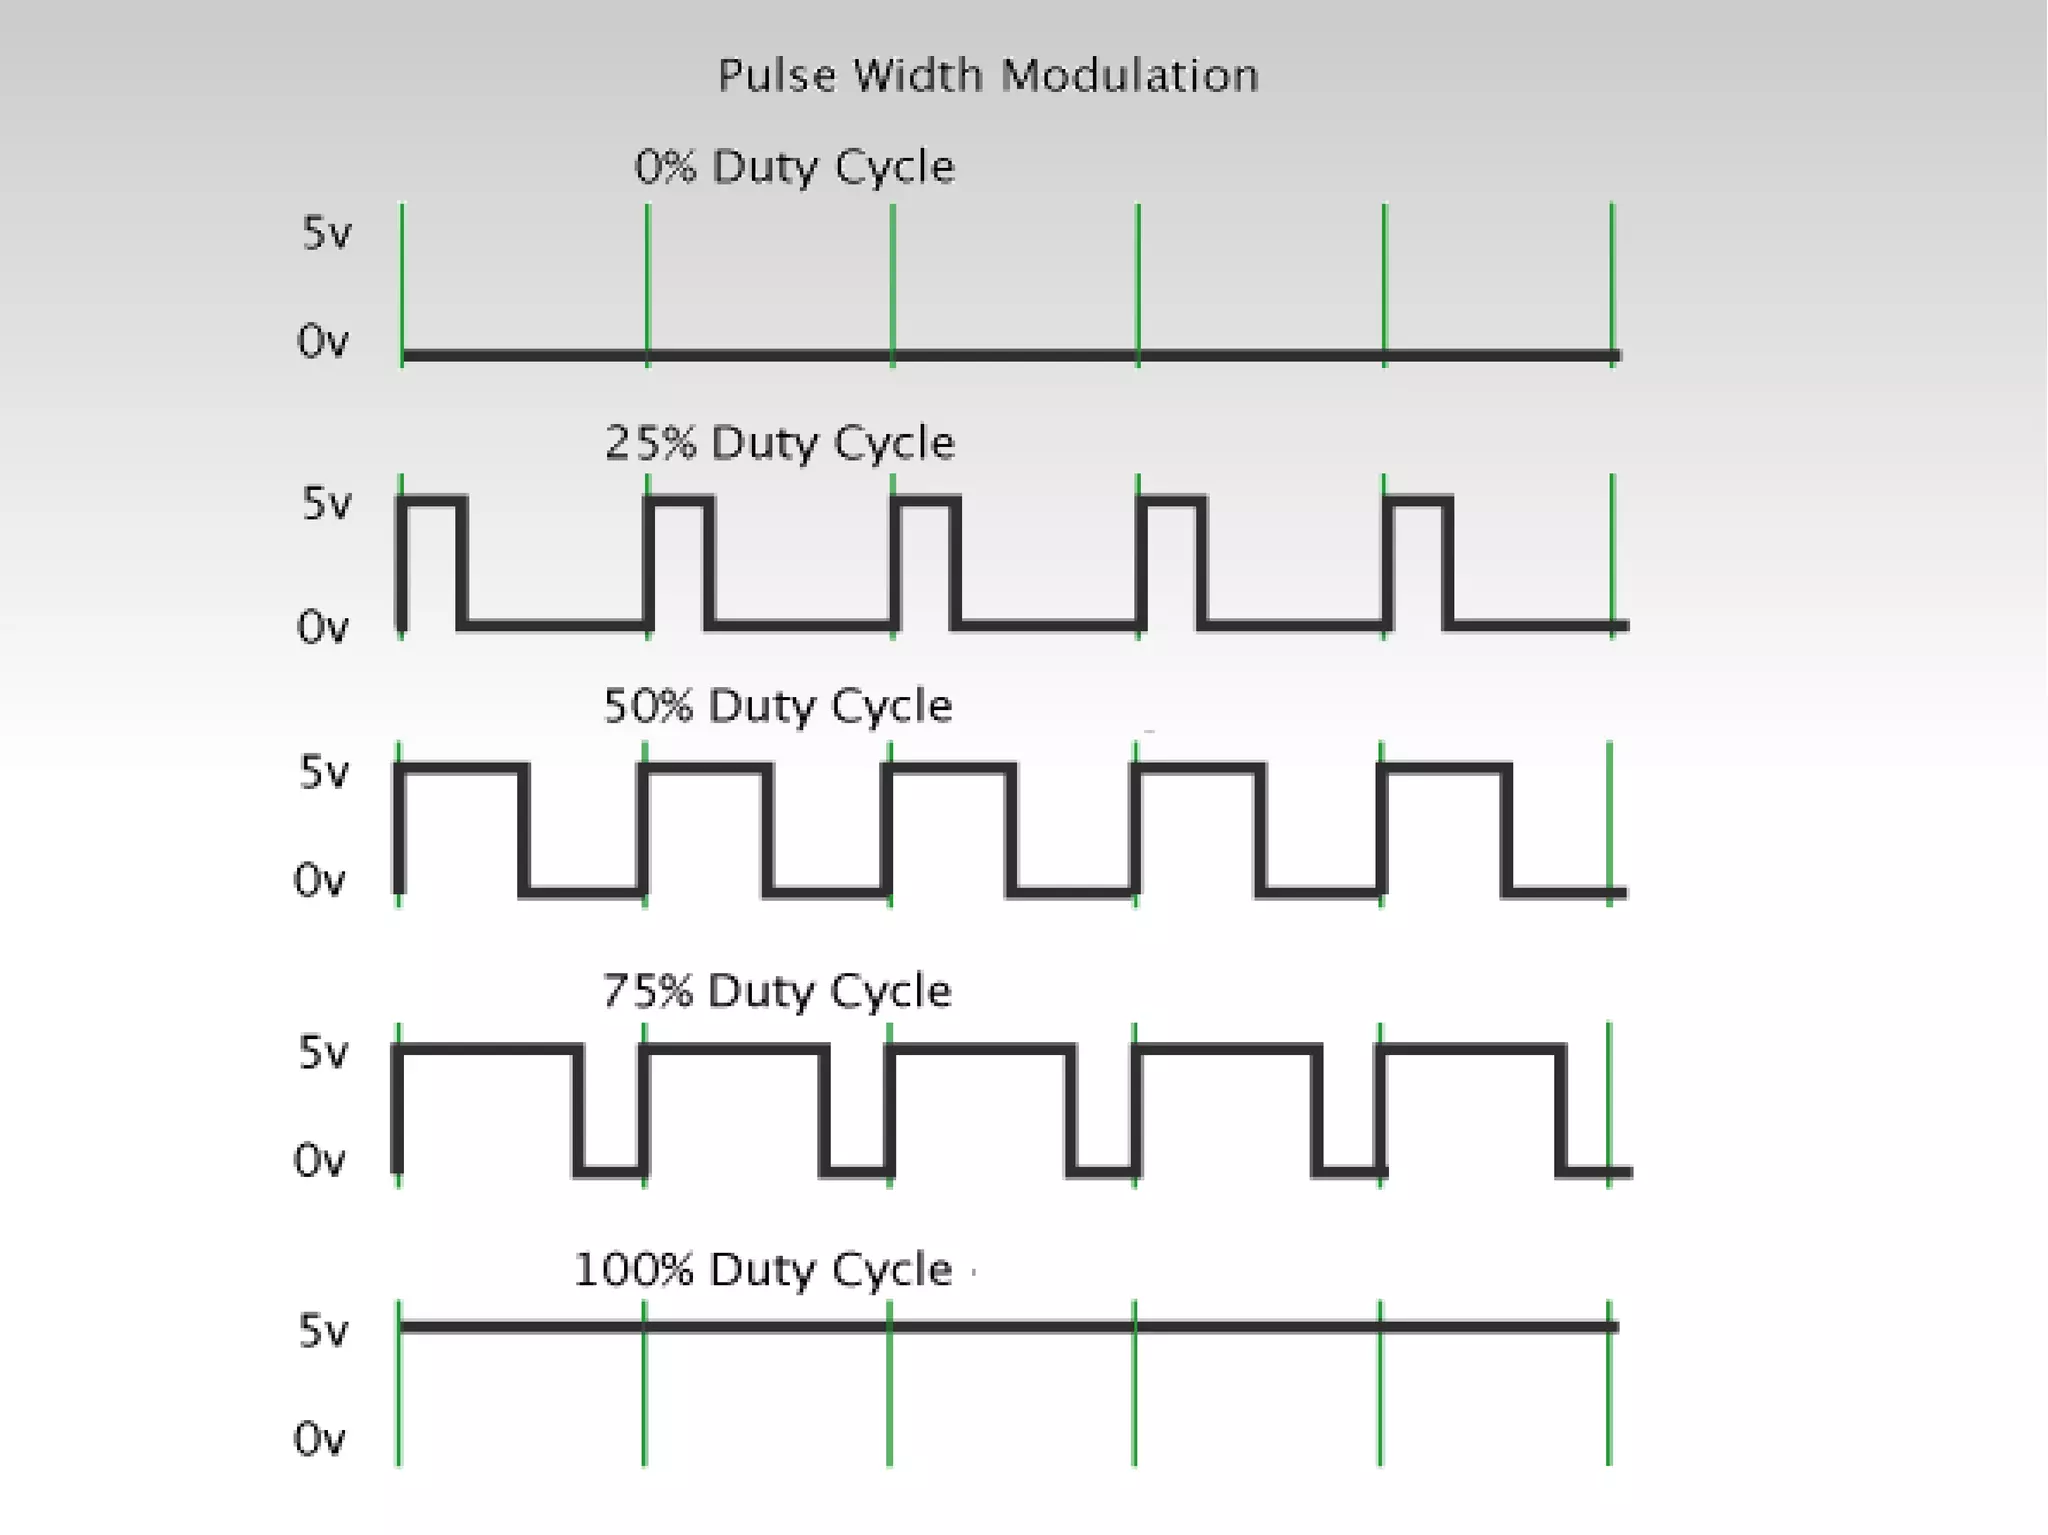
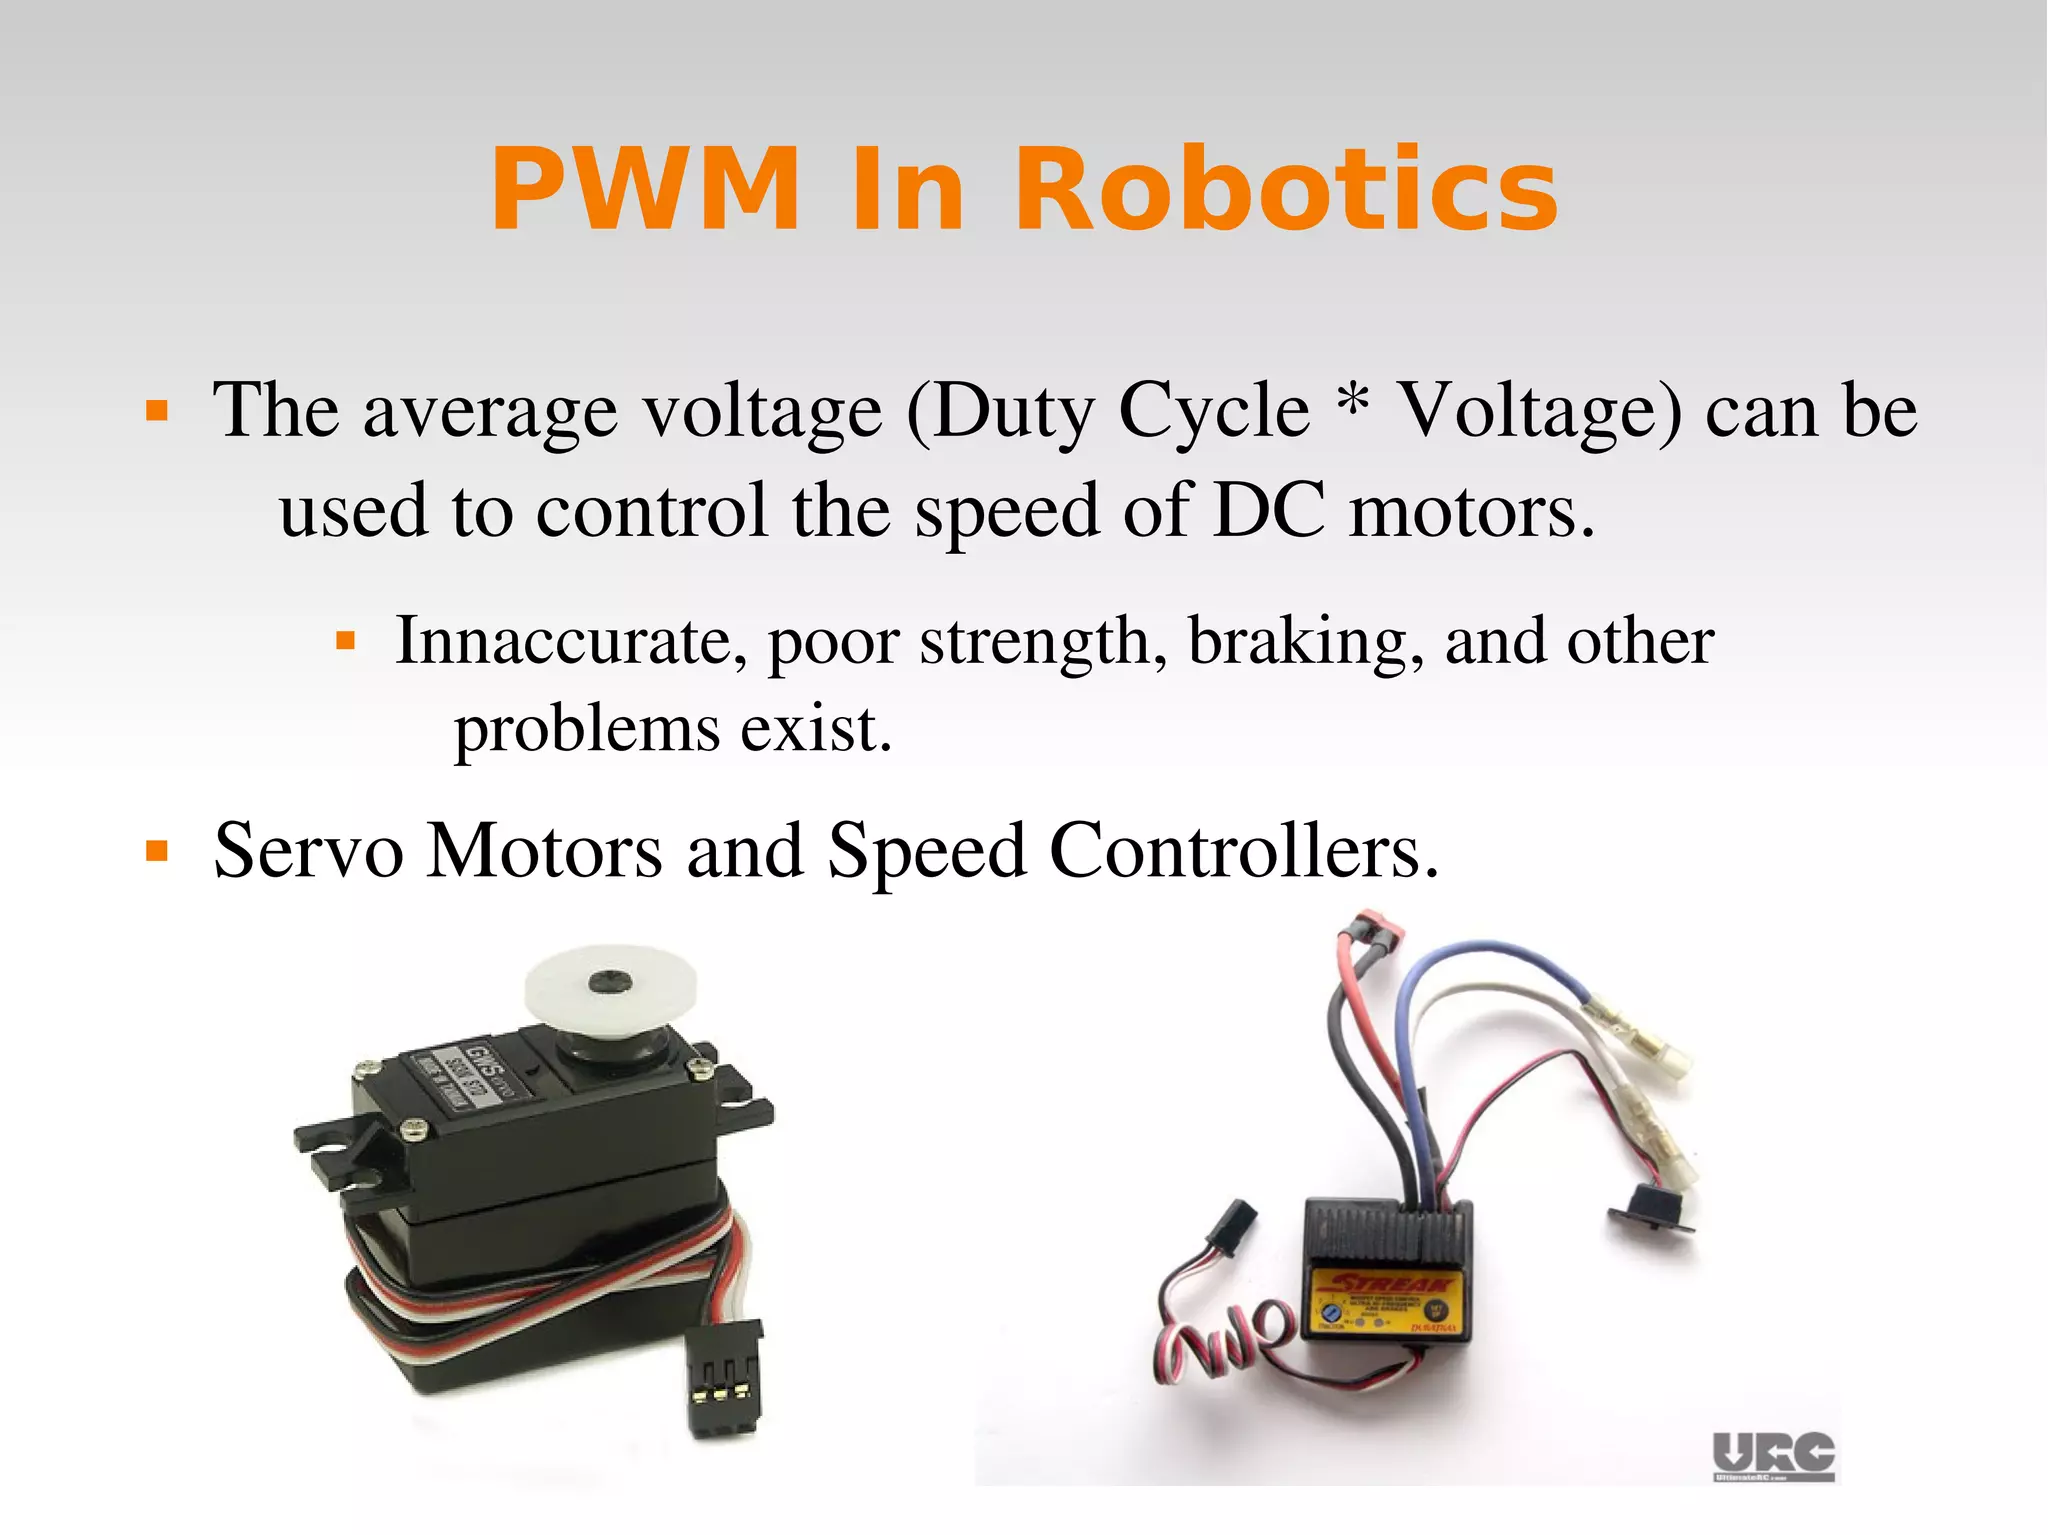
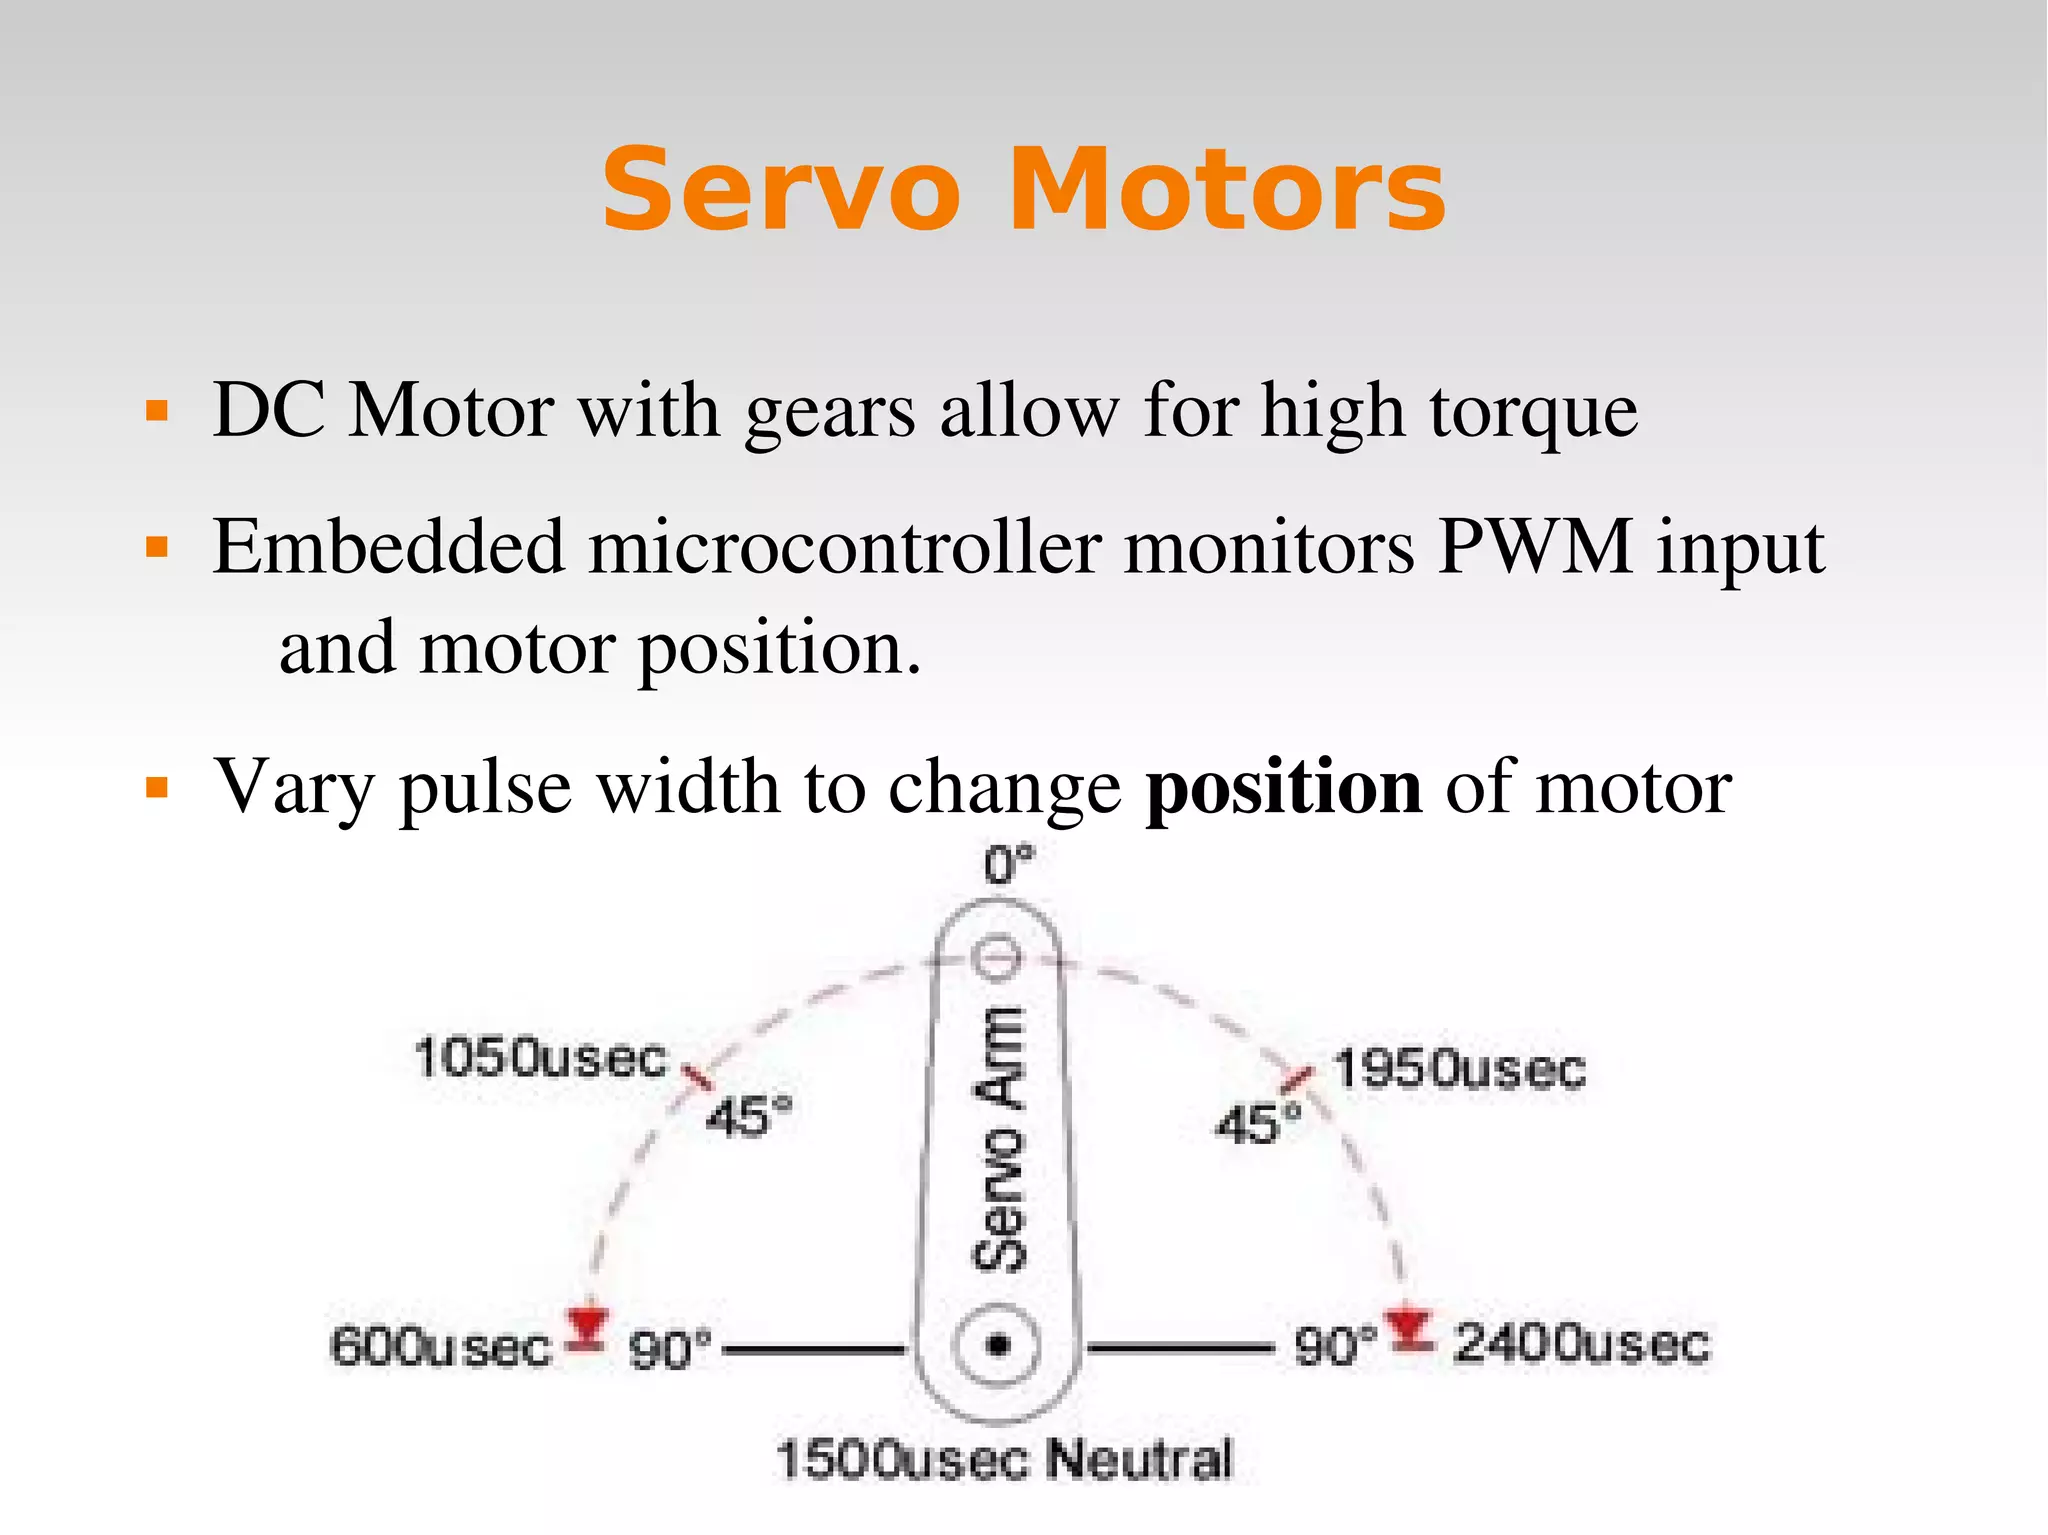
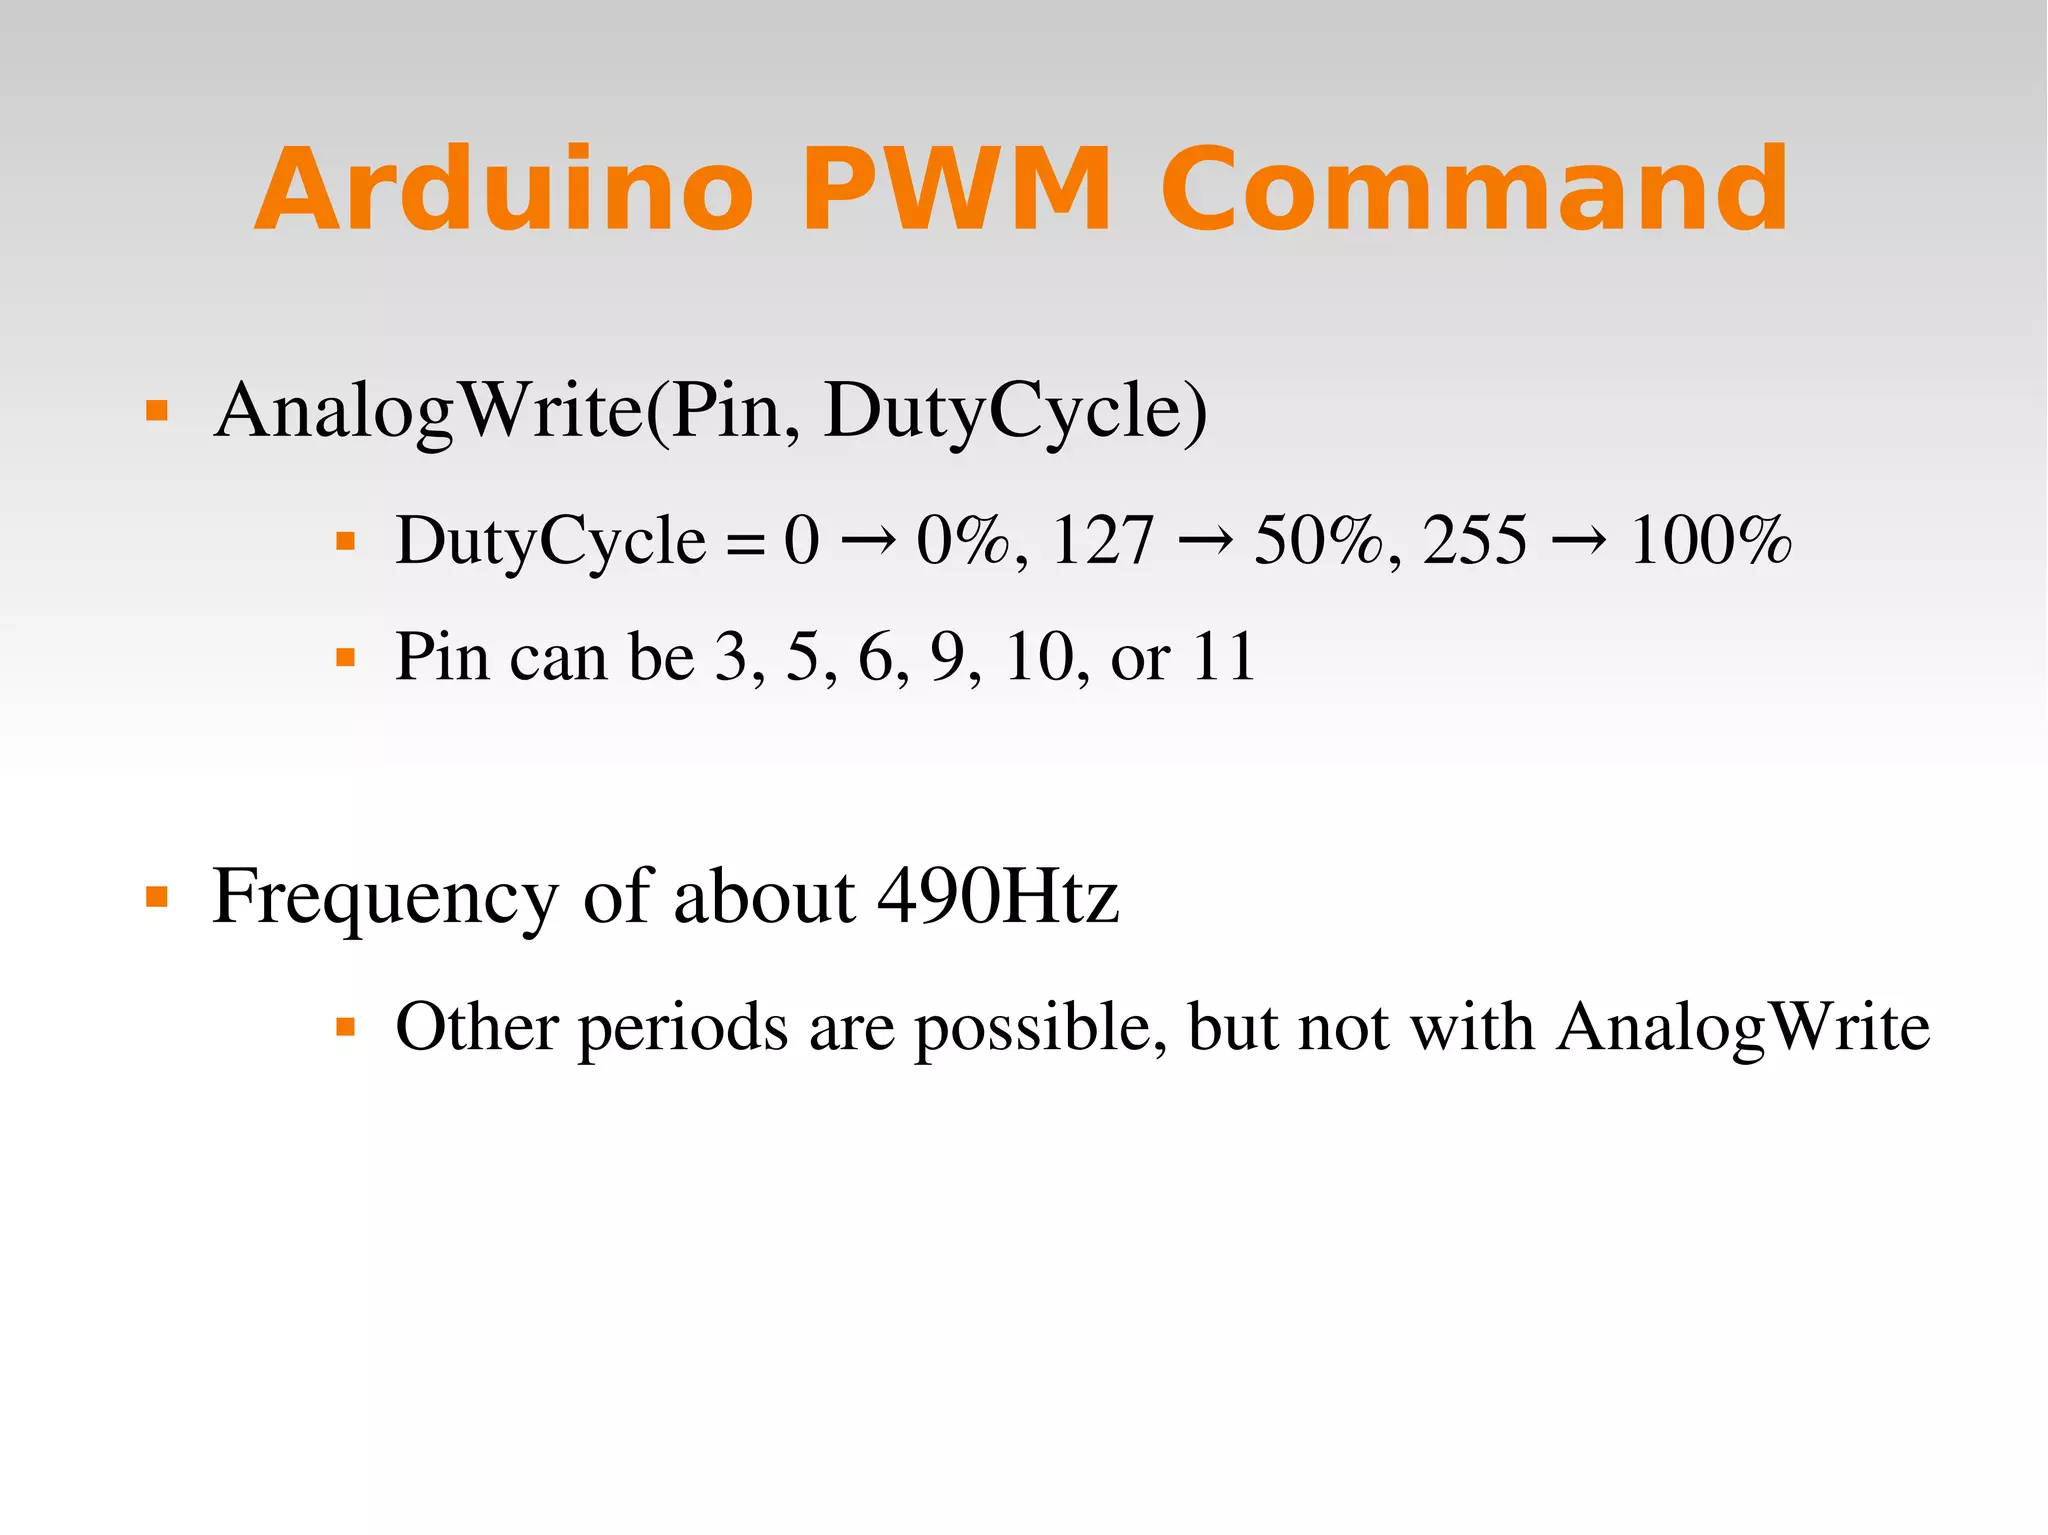
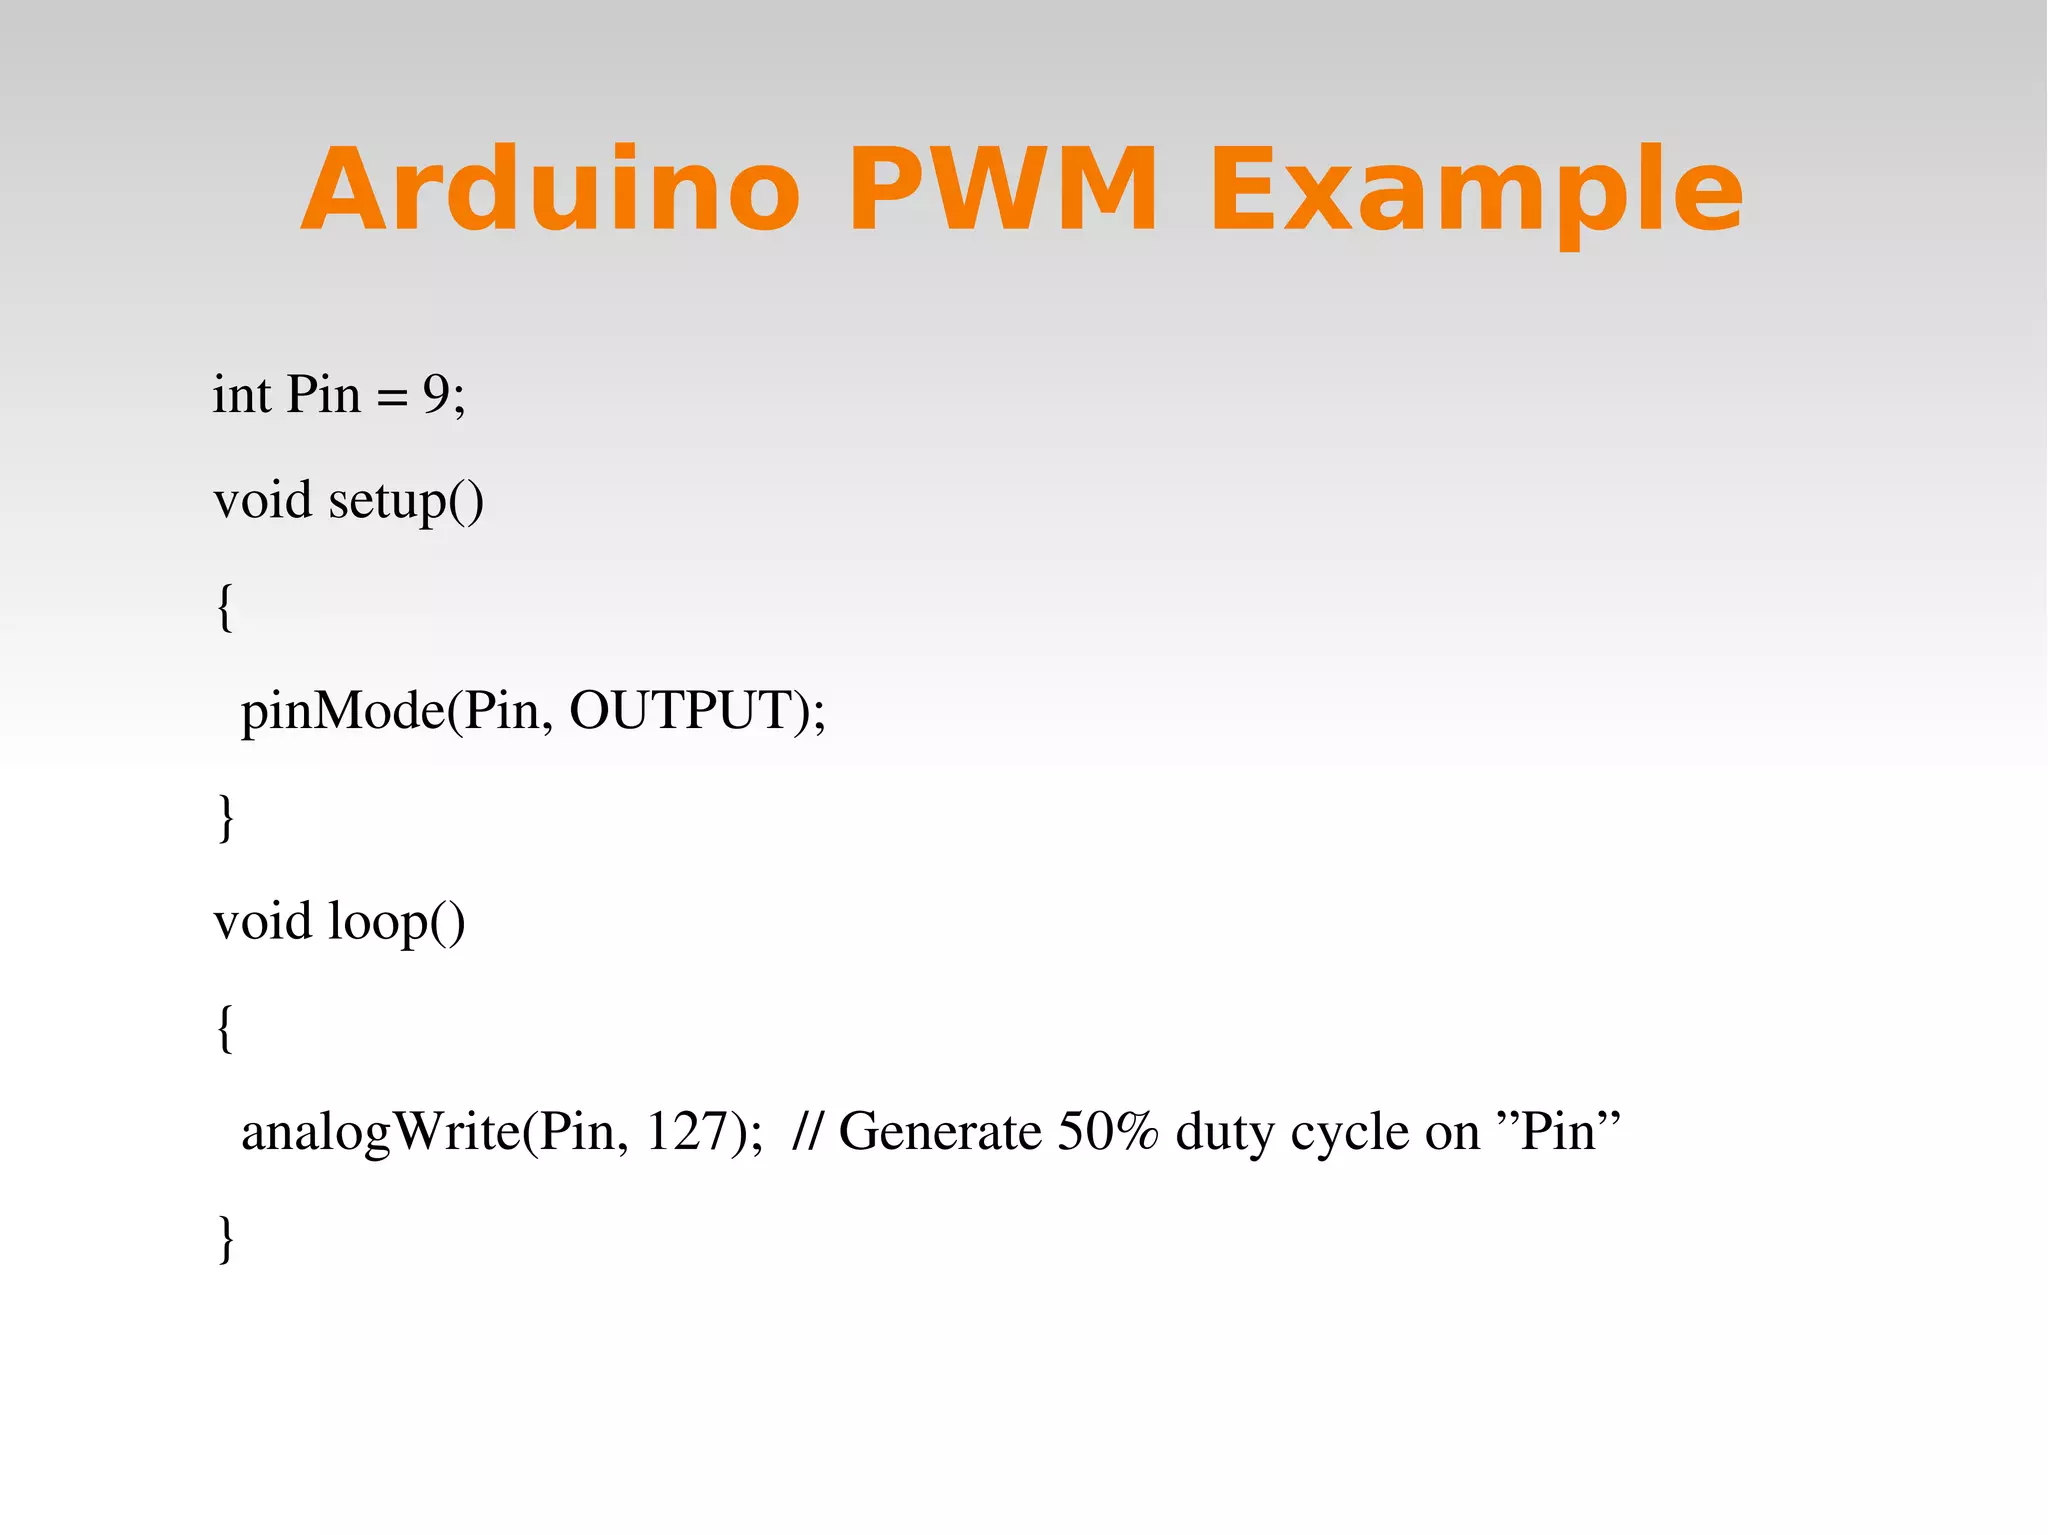
Microcontroller
Programming Beginning
with Arduino
Charlie Mooney
   
Microcontrollers
 Tiny, self­contained computers in an IC
 Often contain peripherals
 Different packages availible
 Vast array of size and power availible


Sensory Input
 Robots need to be able to recieve input from the 
world in the form of sensory input.
 Microcontrollers handle this input.
 Thousands of sophisticated sensors availiable
   
Pressure/Force Sensors
   
GPS Locators
   
Gyroscopes
   
Wheel Encoders
   
Infared Proximity Detectors
   
Accelerometers
   
Ultrasonic Rangefinders
   
Alcohol Vapor Density
Detectors
   
Arduino
 Development board for the ATMega328
 Inludes
 Programmer,
 Voltage Regulators
 Seral to USB Converter
 CHEAP ­­ $30! Has everything you need!
   
Arduino C Template
void setup() {
  // Setup stuff to only run once at the beginning   
}
void loop()
{
  // This function gets called indefinatly
}
   
Peripherals
 Analog to Digital Converters (ADC)
 Counters/Timers (TMRx)
 PWM Modules (CCP/PWM)
 Serial Ports (UART)
 Many, many more....
   
Digital I/O
 Only HIGH and LOW values
 Each pin configurable to do input or output
 pinMode(pinNumber, pinState)
 pinMode(13, INPUT)
 pinMode(13, OUTPUT)
   
Digital I/O (Part II)
 Output
 digitalWrite(pinNumber, HIGH/LOW)
 Input
 int val = digitalRead(pinNumber)
   
Arduino Digital I/O Example
int ledPin =  13;
void setup() {
  // Set the digital pin as output:
  pinMode(ledPin, OUTPUT);      
}
void loop()
{
  // Bring the pin high (1)
  digitalWrite(ledPin, HIGH);
}
   
Serial Interface (UART)
 Communicate with other microcontrollers or PC's
 Asynch. communication
 Arduino libraries make it extremely easy
 Serial.begin(baudRate)
 Serial.println(”String To Send”)
 int bytesWaiting = Serial.Availible()
 Char incomingData = Serial.read()
   
Arduino Serial Example
void setup() {
Serial.begin(9600);  // Setup baud rate
}
void loop() {
Serial.println(”Give me input”);  // output data
while(Serial.availible() < 1) {     // if there's data waiting
char input = Serial.read();     // get a byte of data
}
}
   
Analog to Digital Converter
(ADC)
 Take analog voltage as input on one of the pins
 Return digital representation to program
 Different numbers of bits change precision.


Light Sensors
 Photoresistors
 Extremely Simple to Use
 Resistance changes with light
 Measure voltage over the sensor with
an ADC, and you're done
 Many more complicated sensors
simulate this behavior for simplicity
   
Arduino ADC Example
int sensorPin = 0;
void setup() {
  Serial.begin(9600); // Turn on Serial Connection
}
void loop() {
  // read the value from the sensor:
  sensorValue = analogRead(sensorPin);
  
  // Print sensor value to the Serial
  Serial.println(sensorValue);
}
   
PWM Modules (CCP)
 Create PWM signals on output pins
 Measure PWM signals on input pins
 CCP stands for Capture/Compare
 What is PWM, anyway?
   
Pulse Width Modulation
(PWM)
 Transmit analog values using a single digital input/
output pin through careful timing.
 A PWM signal consists of two values
 Period: how long before the signal repeats
 Pulse Width: how long the signal is HIGH before it 
goes LOW.
 Duty Cycle: % of time the signal is HIGH, or
(Pulse Width / Period)
   
   
PWM In Robotics
 The average voltage (Duty Cycle * Voltage) can be 
used to control the speed of DC motors.
 Innaccurate, poor strength, braking, and other 
problems exist.
 Servo Motors and Speed Controllers.
   
Servo Motors
 DC Motor with gears allow for high torque
 Embedded microcontroller monitors PWM input 
and motor position.
 Vary pulse width to change position of motor
   
Speed Controllers
 Embedded microcontroller varies voltage on output 
lines based on PWM input.
 Results in constant voltage to motors rather than 
intermittent.
 Allow a second, more powerful, power supply to 
drive large motors.
 Alter pusle width to change the speed of the motor
   
Arduino PWM Command
 AnalogWrite(Pin, DutyCycle)
 DutyCycle = 0   0%, 127   50%, 255   100%→ → →
 Pin can be 3, 5, 6, 9, 10, or 11
 Frequency of about 490Htz
 Other periods are possible, but not with AnalogWrite
   
Arduino PWM Example
int Pin = 9;
void setup()
{
  pinMode(Pin, OUTPUT);
}
void loop()
{
  analogWrite(Pin, 127);  // Generate 50% duty cycle on ”Pin”
}
   
Useful Resources
 Robot Parts and Excellent Forums
www.TrossenRobotics.com
 Electrical parts, sensors, and microcontrollers
www.Sparkfun.com
 Arduino Development Platform
www.ardiono.cc

2009 11-17-arduino-basics

  • 1.
  • 2.
        Microcontrollers  Tiny, self­contained computers in an IC Often contain peripherals  Different packages availible  Vast array of size and power availible
  • 3.
  • 4.
  • 5.
  • 6.
        Sensory Input Robots need to be able to recieve input from the  world in the form of sensory input.  Microcontrollers handle this input.  Thousands of sophisticated sensors availiable
  • 7.
  • 8.
  • 9.
  • 10.
  • 11.
  • 12.
  • 13.
  • 14.
        Alcohol VaporDensity Detectors
  • 15.
        Arduino  Development board for the ATMega328 Inludes  Programmer,  Voltage Regulators  Seral to USB Converter  CHEAP ­­ $30! Has everything you need!
  • 16.
        Arduino CTemplate void setup() {   // Setup stuff to only run once at the beginning    } void loop() {   // This function gets called indefinatly }
  • 17.
        Peripherals  Analog to Digital Converters (ADC) Counters/Timers (TMRx)  PWM Modules (CCP/PWM)  Serial Ports (UART)  Many, many more....
  • 18.
        Digital I/O Only HIGH and LOW values  Each pin configurable to do input or output  pinMode(pinNumber, pinState)  pinMode(13, INPUT)  pinMode(13, OUTPUT)
  • 19.
        Digital I/O(Part II)  Output  digitalWrite(pinNumber, HIGH/LOW)  Input  int val = digitalRead(pinNumber)
  • 20.
        Arduino DigitalI/O Example int ledPin =  13; void setup() {   // Set the digital pin as output:   pinMode(ledPin, OUTPUT);       } void loop() {   // Bring the pin high (1)   digitalWrite(ledPin, HIGH); }
  • 21.
        Serial Interface(UART)  Communicate with other microcontrollers or PC's  Asynch. communication  Arduino libraries make it extremely easy  Serial.begin(baudRate)  Serial.println(”String To Send”)  int bytesWaiting = Serial.Availible()  Char incomingData = Serial.read()
  • 22.
        Arduino SerialExample void setup() { Serial.begin(9600);  // Setup baud rate } void loop() { Serial.println(”Give me input”);  // output data while(Serial.availible() < 1) {     // if there's data waiting char input = Serial.read();     // get a byte of data } }
  • 23.
        Analog toDigital Converter (ADC)  Take analog voltage as input on one of the pins  Return digital representation to program  Different numbers of bits change precision.
  • 24.
  • 25.
  • 26.
        Light Sensors Photoresistors  Extremely Simple to Use  Resistance changes with light  Measure voltage over the sensor with an ADC, and you're done  Many more complicated sensors simulate this behavior for simplicity
  • 27.
        Arduino ADCExample int sensorPin = 0; void setup() {   Serial.begin(9600); // Turn on Serial Connection } void loop() {   // read the value from the sensor:   sensorValue = analogRead(sensorPin);      // Print sensor value to the Serial   Serial.println(sensorValue); }
  • 28.
        PWM Modules(CCP)  Create PWM signals on output pins  Measure PWM signals on input pins  CCP stands for Capture/Compare  What is PWM, anyway?
  • 29.
        Pulse WidthModulation (PWM)  Transmit analog values using a single digital input/ output pin through careful timing.  A PWM signal consists of two values  Period: how long before the signal repeats  Pulse Width: how long the signal is HIGH before it  goes LOW.  Duty Cycle: % of time the signal is HIGH, or (Pulse Width / Period)
  • 30.
  • 31.
        PWM InRobotics  The average voltage (Duty Cycle * Voltage) can be  used to control the speed of DC motors.  Innaccurate, poor strength, braking, and other  problems exist.  Servo Motors and Speed Controllers.
  • 32.
        Servo Motors DC Motor with gears allow for high torque  Embedded microcontroller monitors PWM input  and motor position.  Vary pulse width to change position of motor
  • 33.
        Speed Controllers Embedded microcontroller varies voltage on output  lines based on PWM input.  Results in constant voltage to motors rather than  intermittent.  Allow a second, more powerful, power supply to  drive large motors.  Alter pusle width to change the speed of the motor
  • 34.
        Arduino PWMCommand  AnalogWrite(Pin, DutyCycle)  DutyCycle = 0   0%, 127   50%, 255   100%→ → →  Pin can be 3, 5, 6, 9, 10, or 11  Frequency of about 490Htz  Other periods are possible, but not with AnalogWrite
  • 35.
        Arduino PWMExample int Pin = 9; void setup() {   pinMode(Pin, OUTPUT); } void loop() {   analogWrite(Pin, 127);  // Generate 50% duty cycle on ”Pin” }
  • 36.
        Useful Resources Robot Parts and Excellent Forums www.TrossenRobotics.com  Electrical parts, sensors, and microcontrollers www.Sparkfun.com  Arduino Development Platform www.ardiono.cc