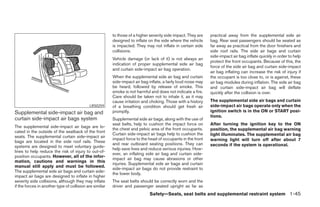
Download as PDF, PPTX


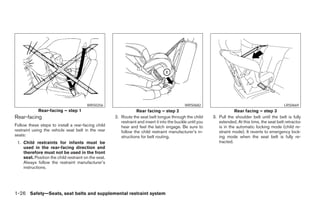


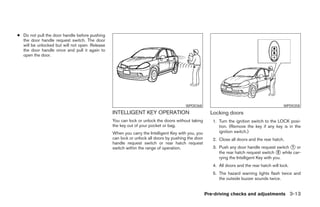
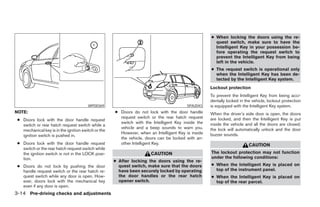
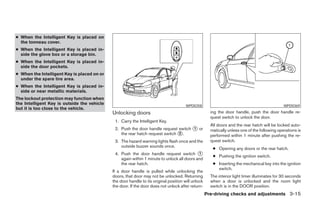
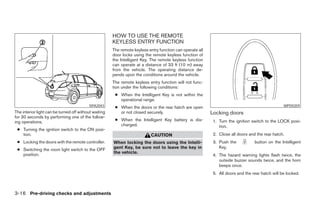


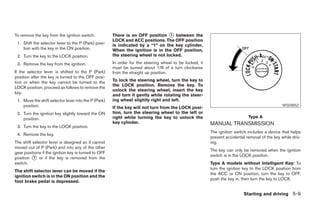


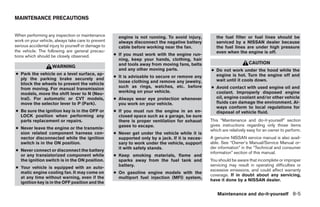
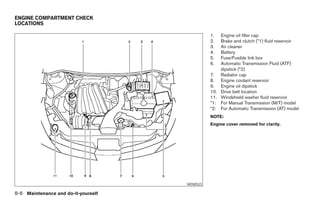
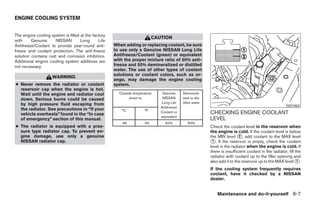
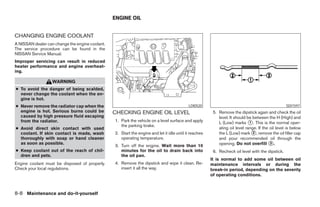


The document serves as an owner's manual for the 2007 Nissan Versa, providing important information on vehicle operation, safety, and maintenance. It emphasizes the necessity of reading the manual for understanding the vehicle's features and adhering to safety guidelines to avoid modifications that could compromise safety and warranty. Additionally, it includes customer service details for assistance with vehicle-related inquiries.


