Downloaded 380 times
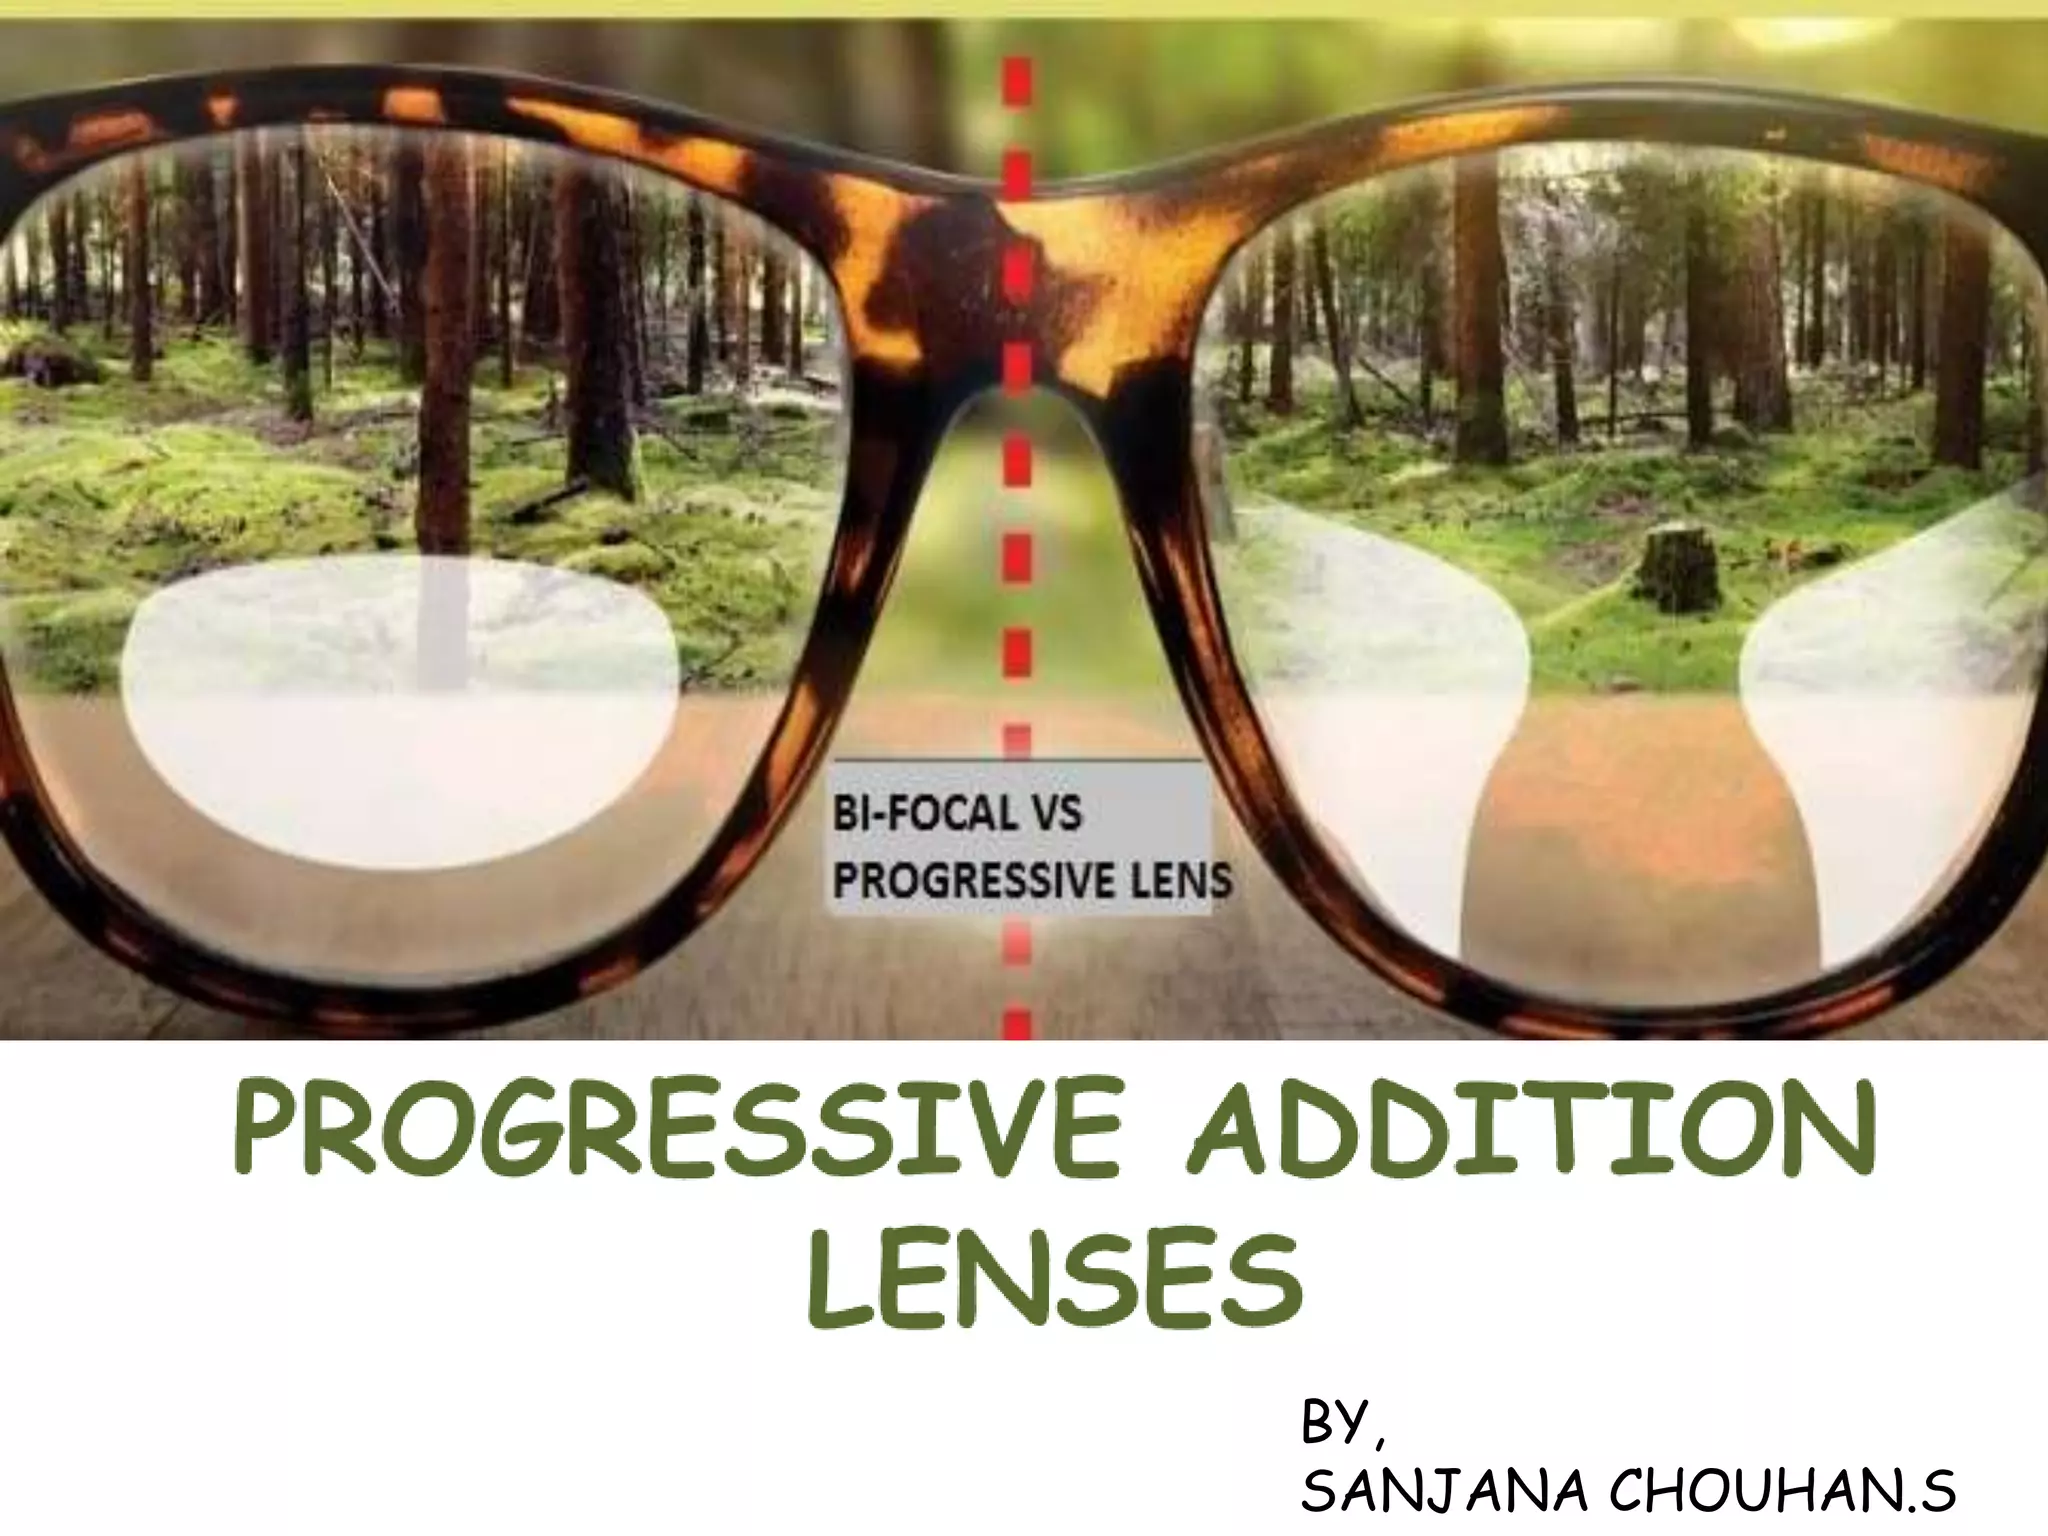
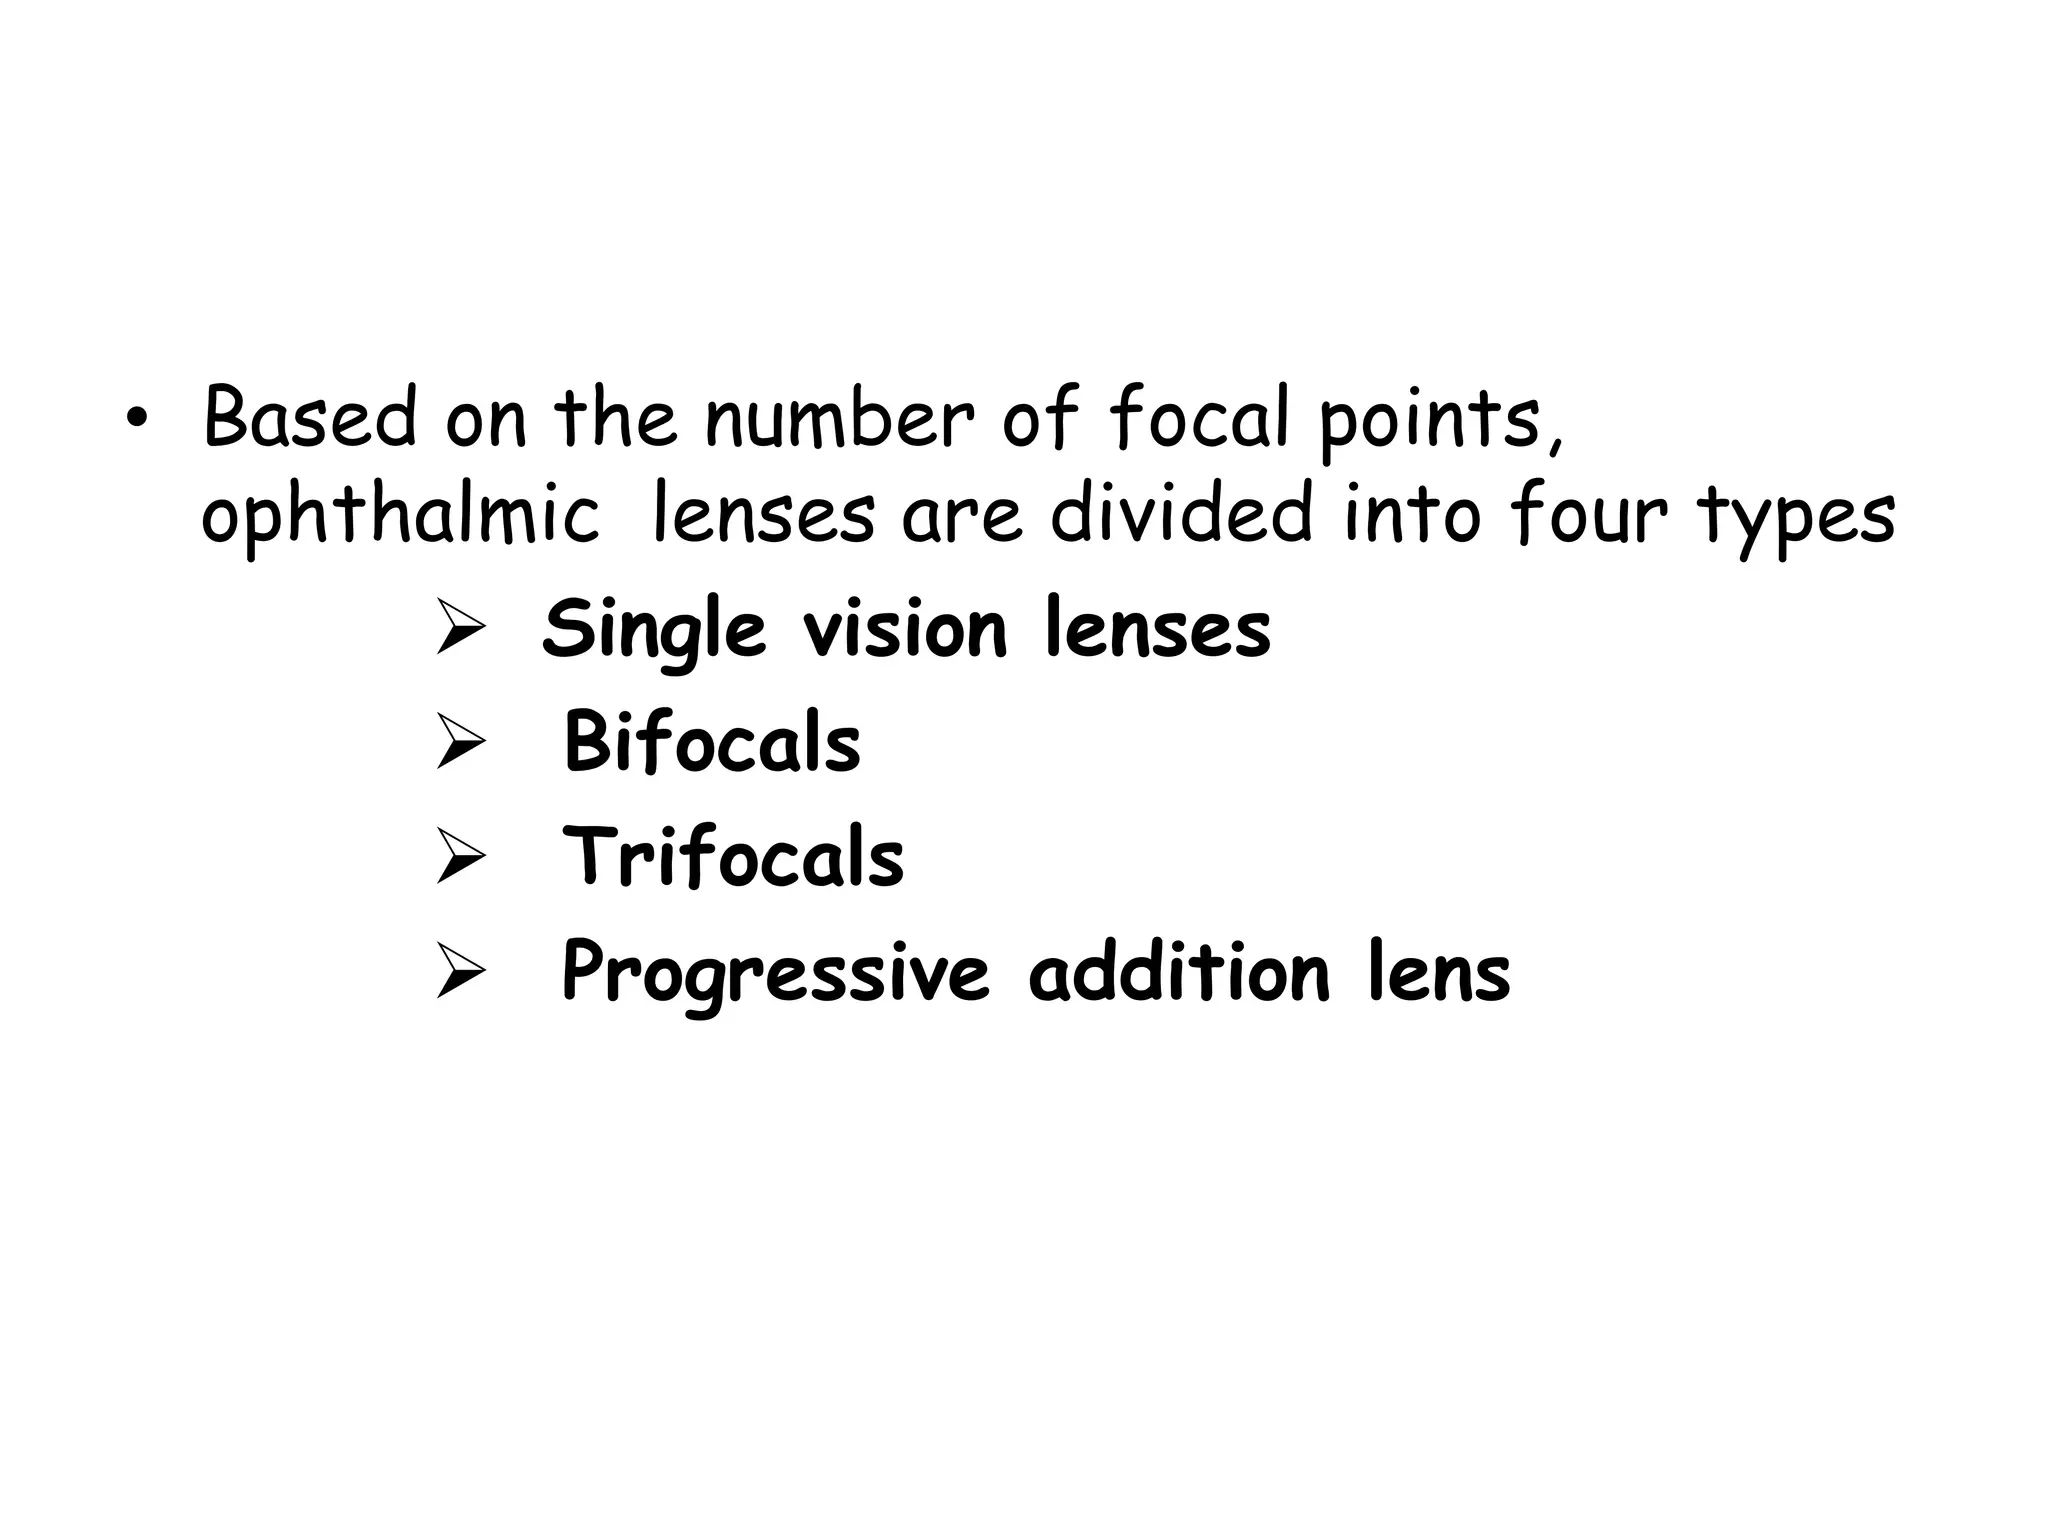


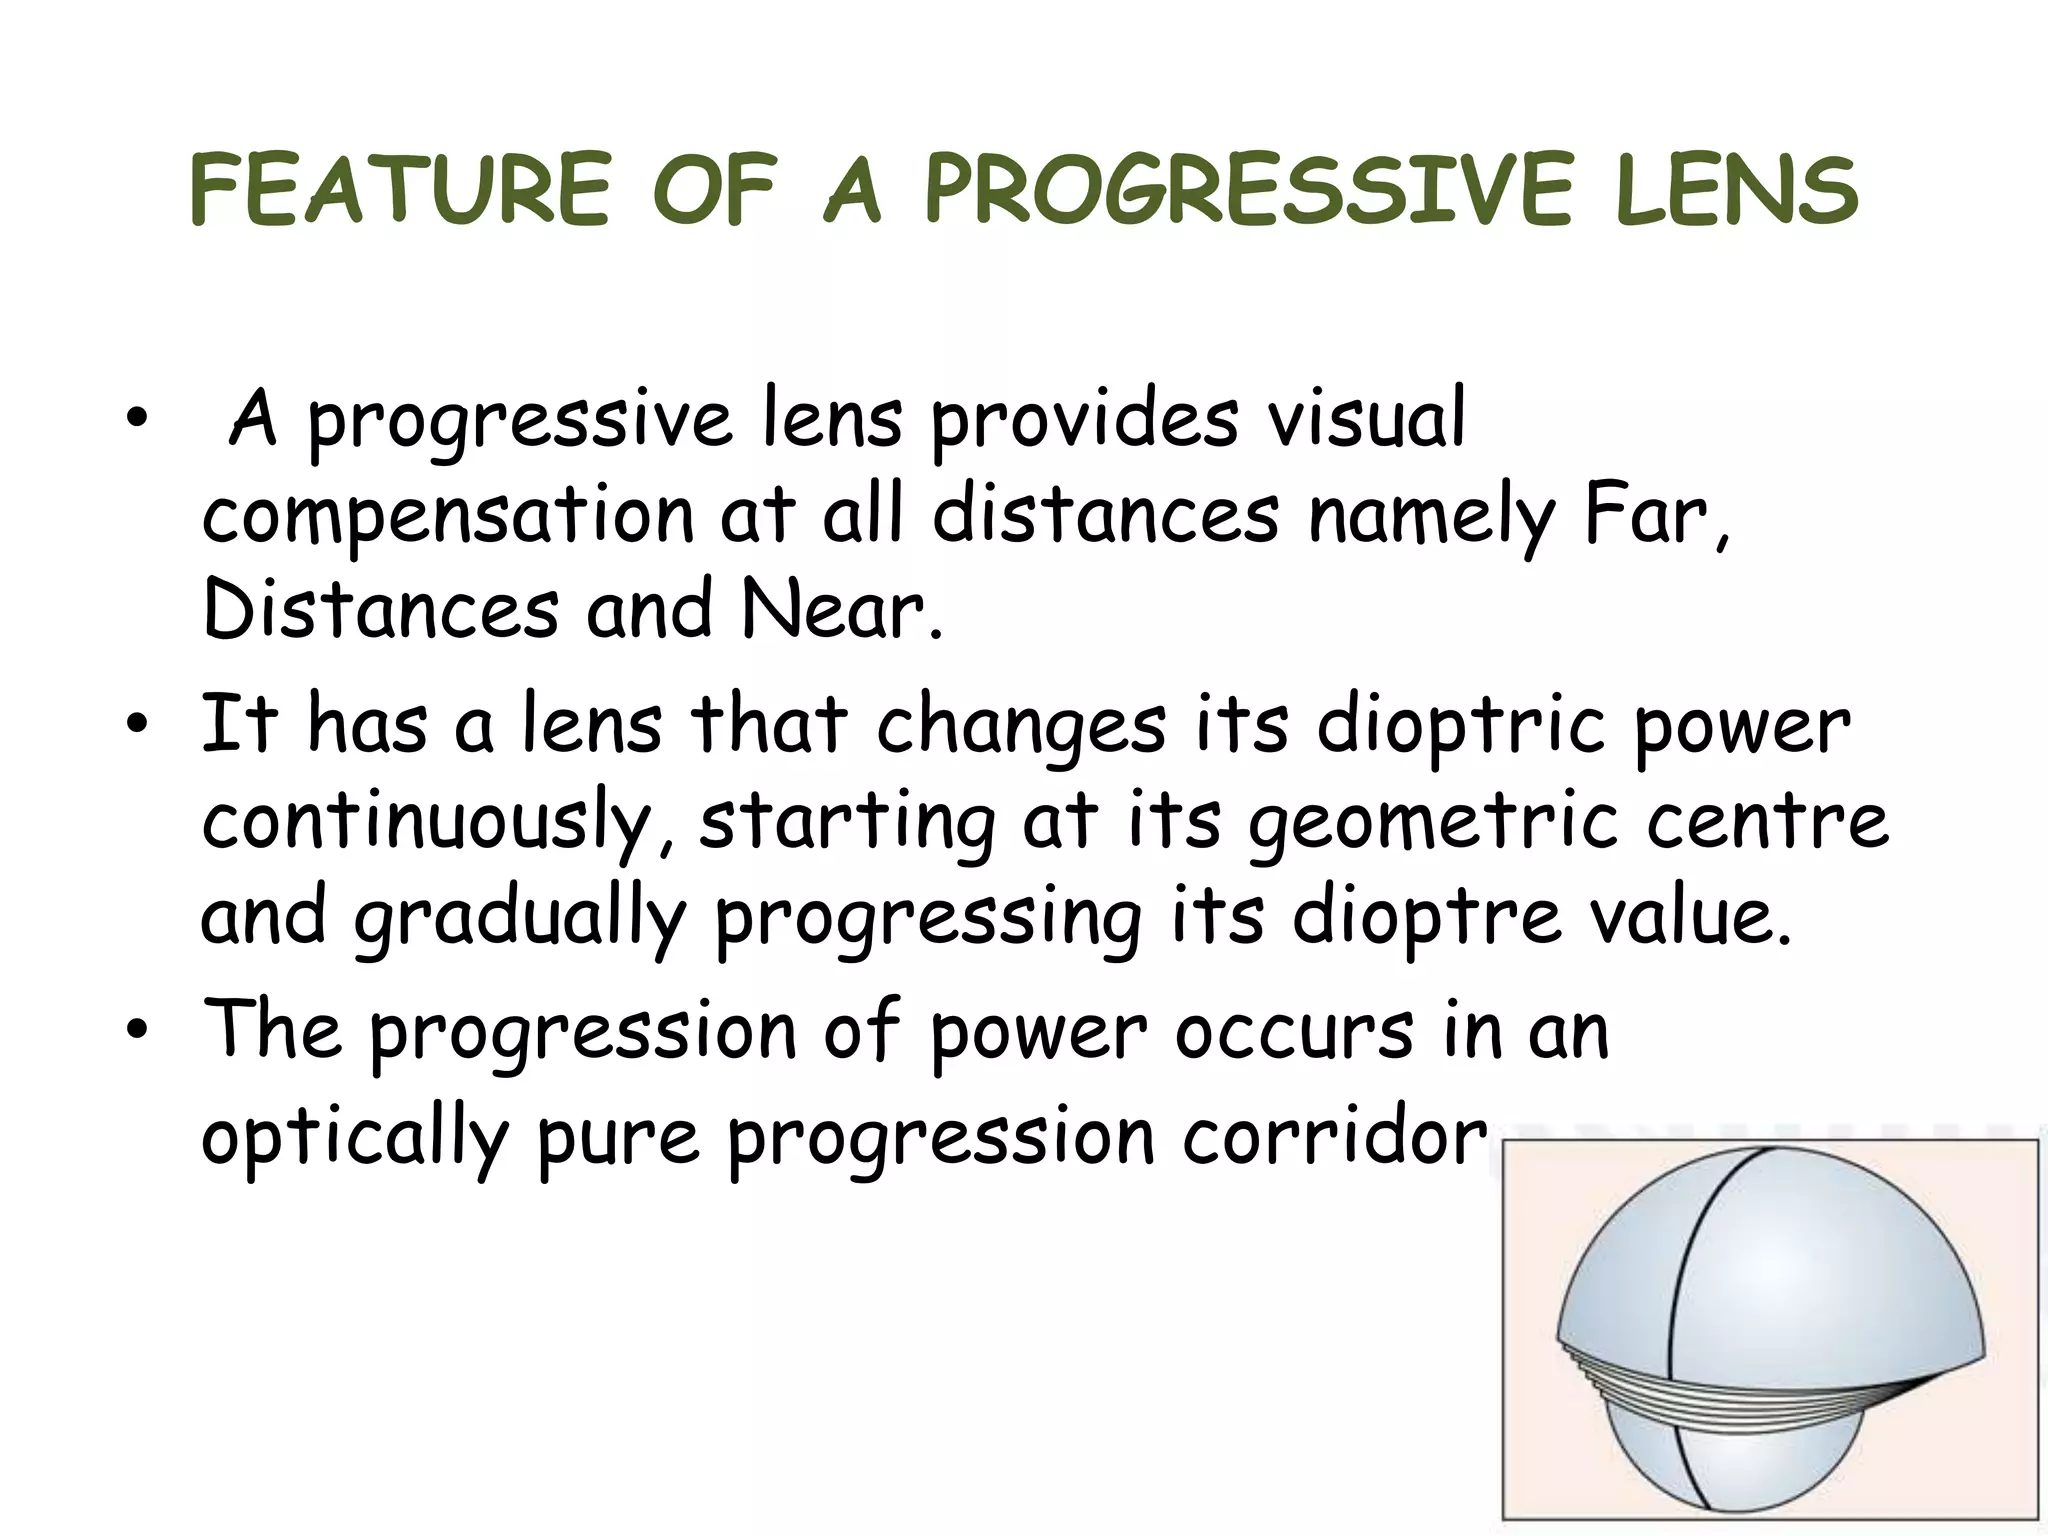


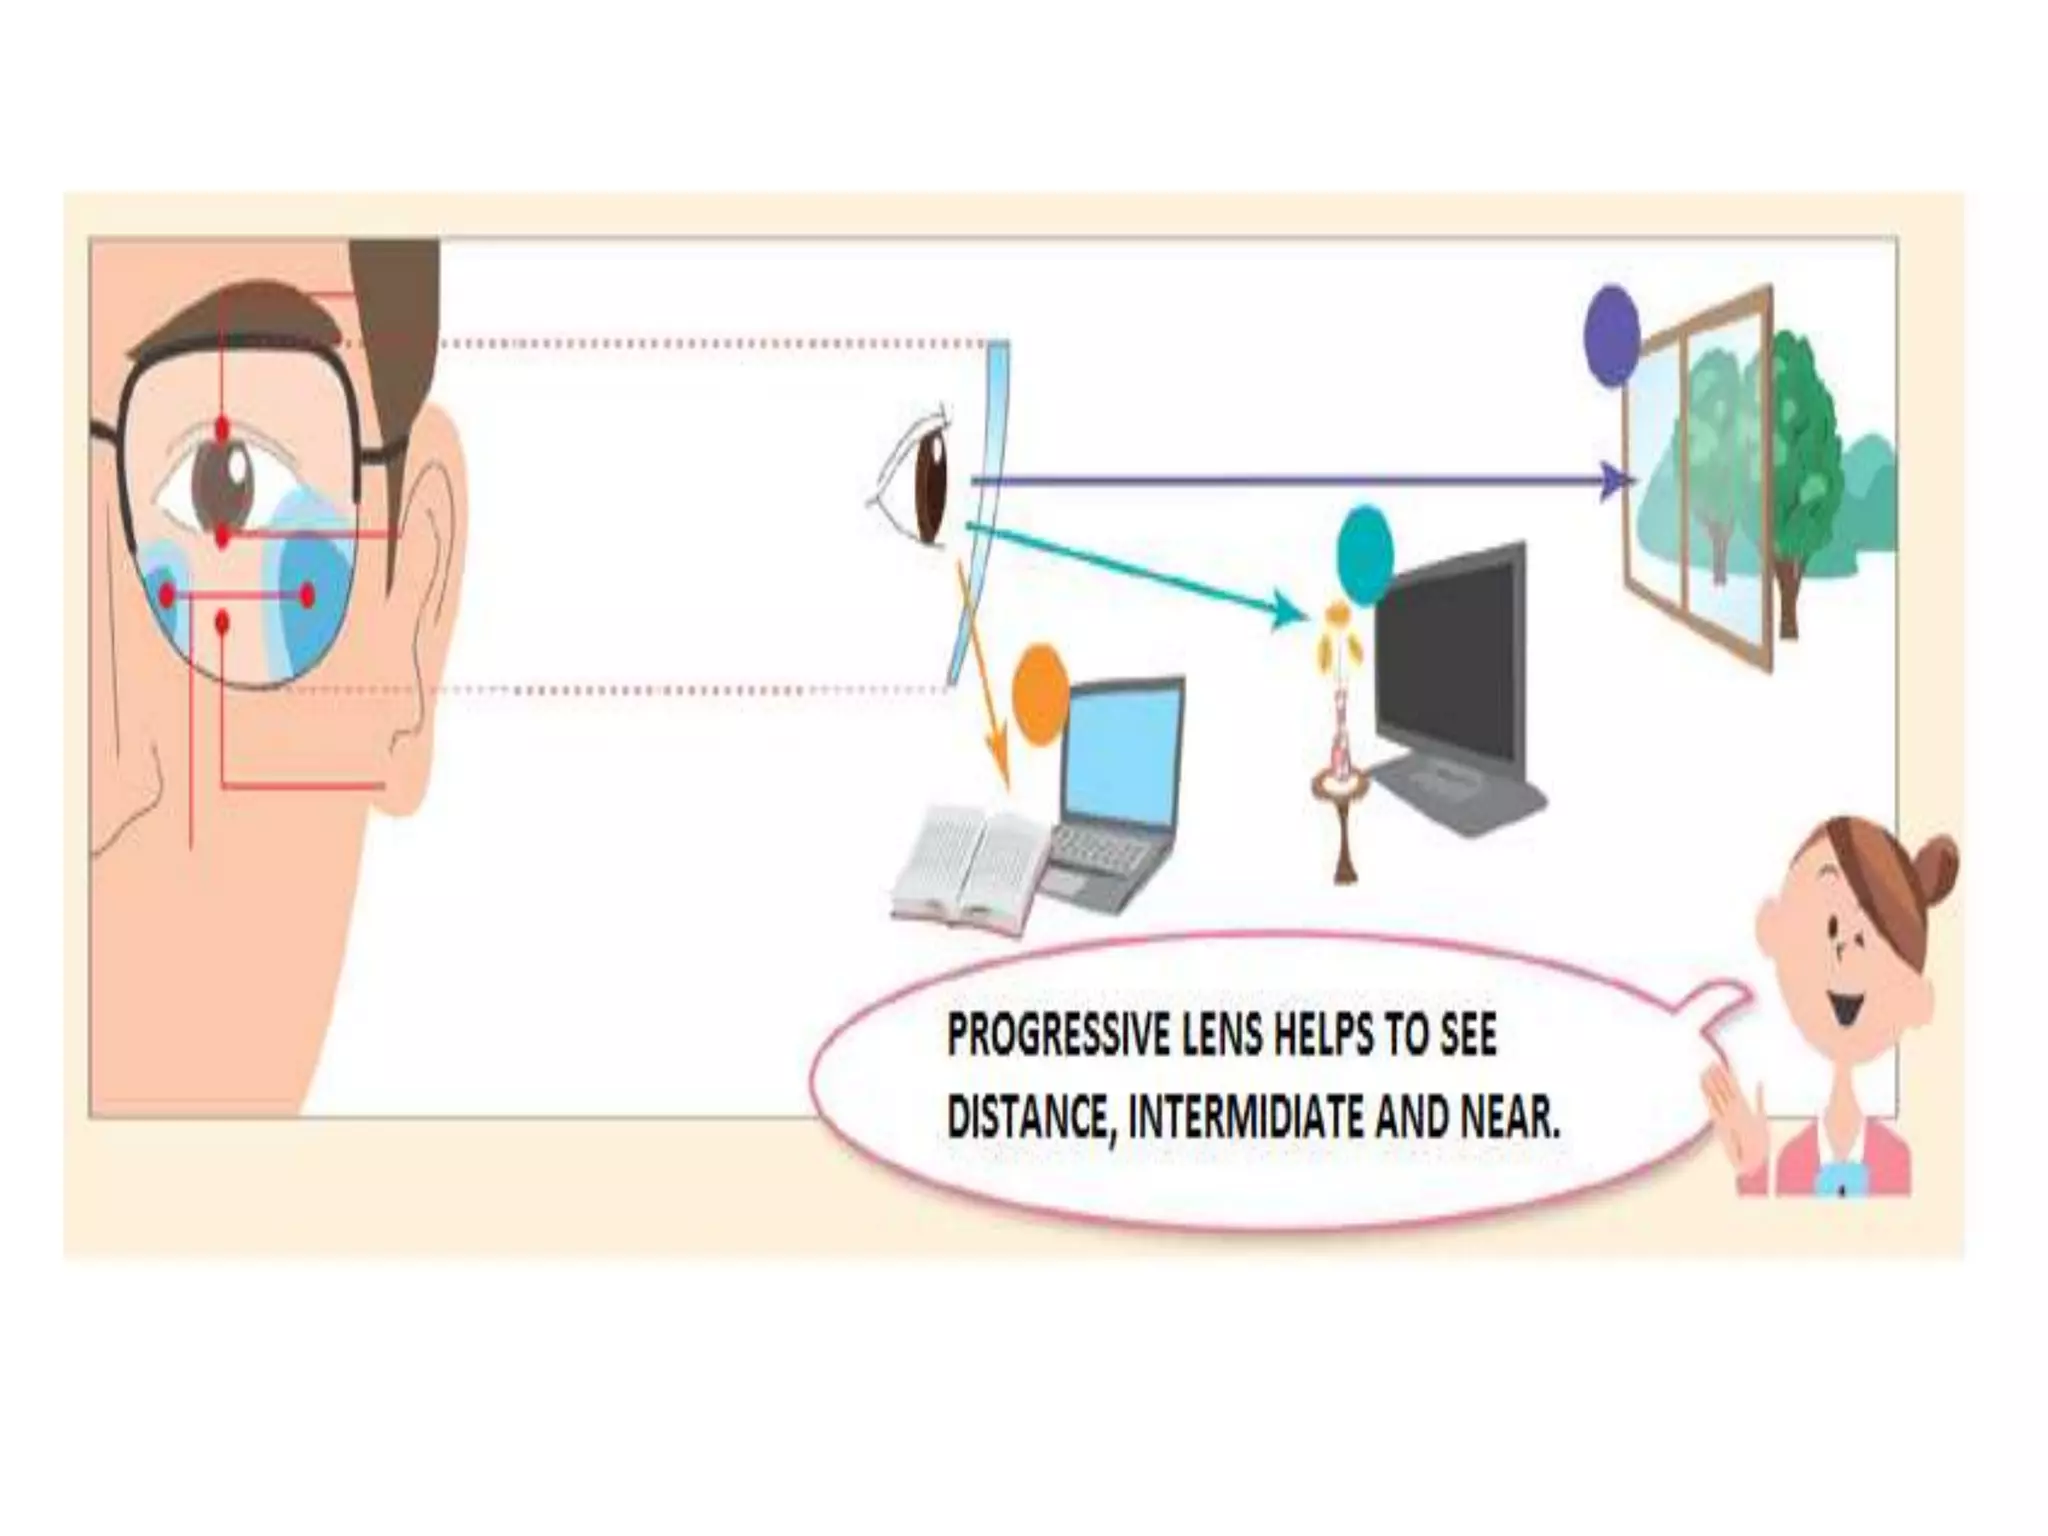


This document discusses progressive lenses, including their history, types, features, markings, fitting process, advantages, and disadvantages. It provides details on: - The four main types of lenses - single vision, bifocals, trifocals, and progressive addition lenses. - Key features of progressive lenses, including having multiple focal points that change continuously across the lens rather than distinct segments. - Important temporary and permanent markings on progressive lenses used in fitting, including the fitting cross, distance reference circle, and lateral locator lines. - The process of accurately relocating the fitting cross from temporary to permanent markings to ensure proper positioning over the pupil.


