The 10th anniversary, Hyundai World Rally Team's amazing journey
Fashion spread printscreens of it being editied
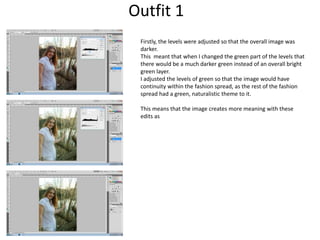
1. Outfit 1
Firstly, the levels were adjusted so that the overall image was
darker.
This meant that when I changed the green part of the levels that
there would be a much darker green instead of an overall bright
green layer.
I adjusted the levels of green so that the image would have
continuity within the fashion spread, as the rest of the fashion
spread had a green, naturalistic theme to it.
This means that the image creates more meaning with these
edits as
2. Outfit 2
Firstly I adjusted the brightness of the overall image as it was
slightly over exposed. When this was done, the image looked
much lighter and fit in with the rest of the fashion spread
more.
Then to add the title, I wrote pure in a clear white font, with a
flowery picture in the background. When I then selected and
dragged the image, I inversed it so the image was in the shape
of the original font.
To do the information box I drew a white box and lowered the
transparency so that it fit with the theme more, and changed
the font of the text to the same colour of elements of the
flower in the font so that they fit.
3. Outfit 3
Firstly I adjusted the brightness of the image, as
originally it was slightly over exposed. This ensured
that the image looked brighter and fit with the
light theme of the overall fashion spread.
Then I added a white box and lowered the
transparency to then add the description for the
clothes that the model was wearing.
4. Outfit 4
Firstly I adjusted the brightness slightly so the image would not look
so dark and would not fit in with the light theme of the fashion
spread. This had a good effect on the image as it mostly highlighted
the darker parts of the image such as the building in the background
and the dark trees.
Then I added a white box and lowered the transparency to then add
the description for the clothes that the model was wearing.