Download to read offline

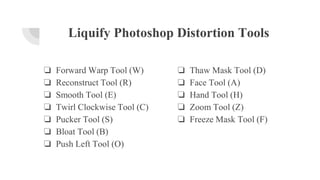

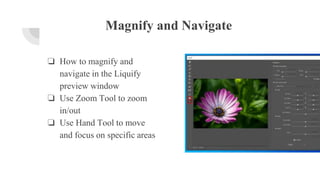

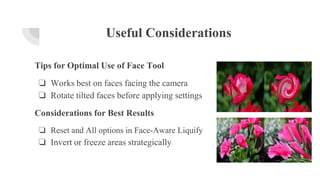

The document is a comprehensive guide to mastering the Photoshop liquify filter, detailing its various tools and their functions for image manipulation. It highlights essential tools like the forward warp, reconstruct, and face tools while providing tips for optimal usage, particularly in portrait retouching. Overall, the guide emphasizes the importance of experimentation and hands-on practice to enhance creative expression in photo editing.


