Download as PDF, PPTX
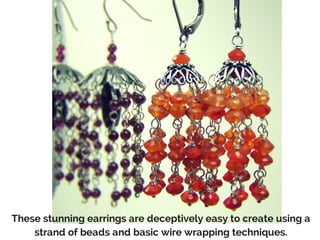


This document is a tutorial for creating gemstone tassel earrings by Amy Cousin, outlining the materials and tools needed, and providing step-by-step instructions for assembly. Key steps include forming beads on headpins, creating tassel caps, attaching strands, and finally, adding ear wires for completion. The tutorial concludes with contact information for questions and where to find supplies.


