How to create a Voicethread
•
1 like•744 views

Specifically aimed for teachers from my school (hence the latter part of the show).

Recommended
More Related Content
What's hot
What's hot (12)
Viewers also liked
Similar to How to create a Voicethread
Similar to How to create a Voicethread (20)
More from Jo Fothergill
More from Jo Fothergill (18)
Recently uploaded
Recently uploaded (20)
How to create a Voicethread
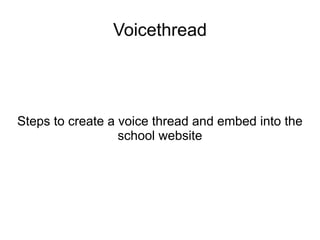
- 1. Voicethread Steps to create a voice thread and embed into the school website
- 2. 1. Type in the address 2. Click on Create 3. Click on register if you don't have an account
- 3. 4. Fill in all these details
- 4. Green ticks means everything matches. You can now click register.
- 5. Click on upload, then my computer, then browse to the photo you want.
- 6. This is what it looks like once it's uploaded successfully. You can then click on My computer again to upload another photo.
- 7. These three photos have all been uploaded – you can see that the gold highlighted one is also shown in the bottom left. Now click on “add a title and description”
- 8. Write a title and add a description if you like, then click on save.
- 9. You can now see the title in the upper left.
- 10. Click on comment and this screen will appear. Click once on this comment button
- 11. These are your choices – most common are the upload/type/webcam/record. If you have recorded a comment click on the upload an audio comment button.
- 12. You need to find an MP3 file to upload. Once you select it you will see this.
- 13. Once it is uploaded you will see your icon move to the side of the screen.
- 14. When you click on your icon you will see this speech bubble appear and hear your recording. Click on the right arrow to go to the next picture and repeat the process until finished.
- 15. Then click on the publishing options button at the bottom of the screen. This box will pop up – click the first three boxes and then click on save.
- 16. Click on your presentation Click on MyVoice At this screen click on the menu cog and then embed
- 17. Don't worry about what the code means – just click on copy. When the code area turns black you know it's been copied.
- 18. Now go to the school website – click on Admin Bar then Admin system.
- 19. Log in!
- 20. Click this drop down box to go straight to your team.
- 21. Once you're where you want to add the voice thread click here and then on embedded item.
- 22. Then click here Type the title of your voice thread Paste your code into the snippet box and then click on ADD
- 23. When you go to view the website the name of the item appears in the left hand menu – click on it to see your voice thread.