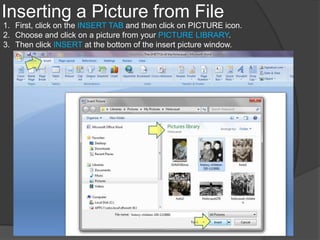
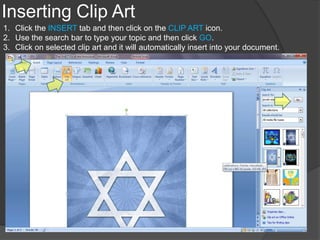
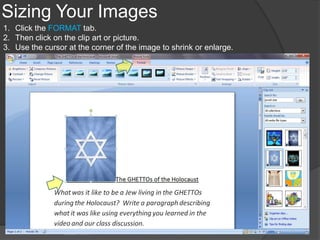
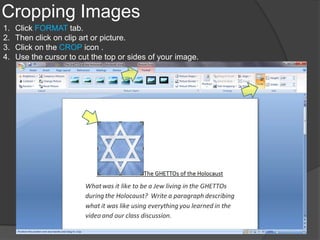
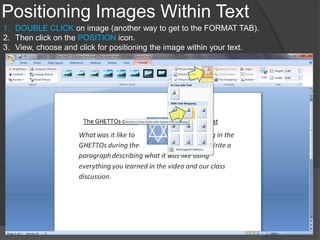
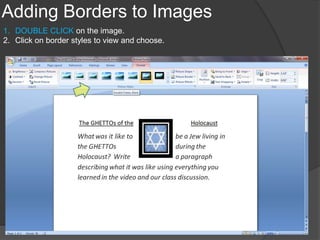
Amy J. Lukic
                                  Grand Canyon University
                                                 TEC 537
                                            July 20, 2010
Click to advance to next slide.
Inserting a Picture from File
1. First, click on the INSERT TAB and then click on PICTURE icon.
2. Choose and click on a picture from your PICTURE LIBRARY.
3. Then click INSERT at the bottom of the insert picture window.
Inserting Clip Art
1. Click the INSERT tab and then click on the CLIP ART icon.
2. Use the search bar to type your topic and then click GO.
3. Click on selected clip art and it will automatically insert into your document.
Sizing Your Images
1. Click the FORMAT tab.
2. Then click on the clip art or picture.
3. Use the cursor at the corner of the image to shrink or enlarge.
Cropping Images
1.   Click FORMAT tab.
2.   Then click on clip art or picture.
3.   Click on the CROP icon .
4.   Use the cursor to cut the top or sides of your image.
Positioning Images Within Text
1. DOUBLE CLICK on image (another way to get to the FORMAT TAB).
2. Then click on the POSITION icon.
3. View, choose and click for positioning the image within your text.
Adding Borders to Images
1. DOUBLE CLICK on the image.
2. Click on border styles to view and choose.

Word processing tutorial module 2 assignment

  • 1.
    Amy J. Lukic Grand Canyon University TEC 537 July 20, 2010 Click to advance to next slide.
  • 2.
    Inserting a Picturefrom File 1. First, click on the INSERT TAB and then click on PICTURE icon. 2. Choose and click on a picture from your PICTURE LIBRARY. 3. Then click INSERT at the bottom of the insert picture window.
  • 3.
    Inserting Clip Art 1.Click the INSERT tab and then click on the CLIP ART icon. 2. Use the search bar to type your topic and then click GO. 3. Click on selected clip art and it will automatically insert into your document.
  • 4.
    Sizing Your Images 1.Click the FORMAT tab. 2. Then click on the clip art or picture. 3. Use the cursor at the corner of the image to shrink or enlarge.
  • 5.
    Cropping Images 1. Click FORMAT tab. 2. Then click on clip art or picture. 3. Click on the CROP icon . 4. Use the cursor to cut the top or sides of your image.
  • 6.
    Positioning Images WithinText 1. DOUBLE CLICK on image (another way to get to the FORMAT TAB). 2. Then click on the POSITION icon. 3. View, choose and click for positioning the image within your text.
  • 7.
    Adding Borders toImages 1. DOUBLE CLICK on the image. 2. Click on border styles to view and choose.