This tutorial teaches how to add functionality to Oracle Forms/Reports including:
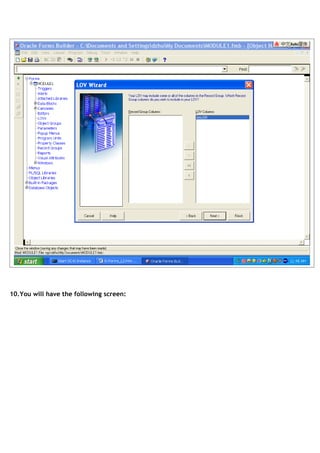
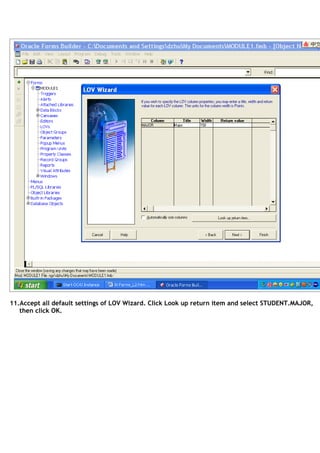
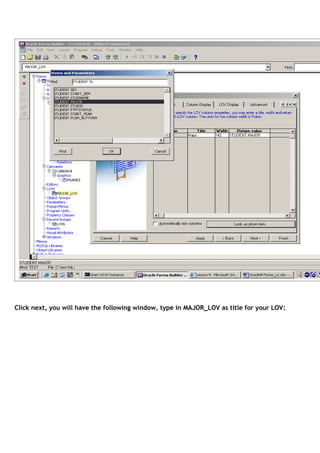
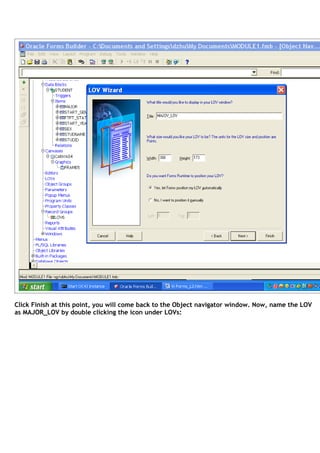
1. Creating list of values (LOVs) to connect forms to other tables for user selection.
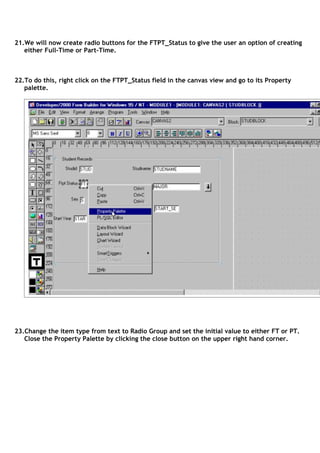
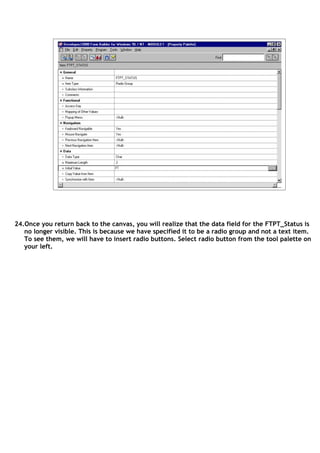
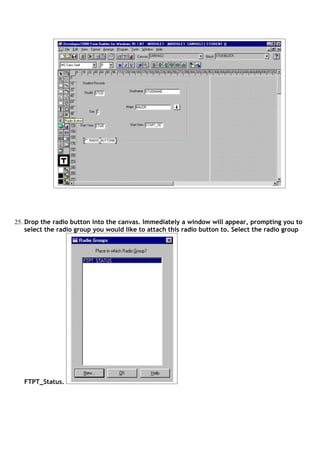
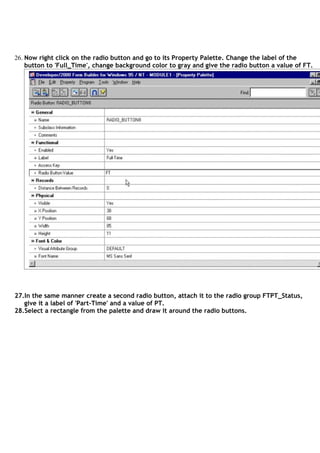
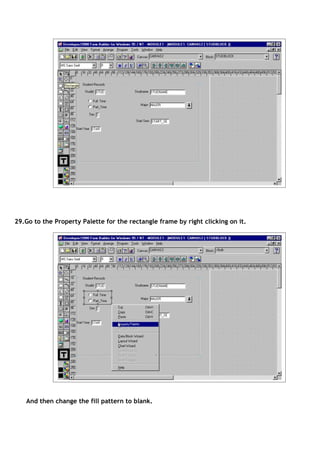
2. Adding radio buttons, combo boxes, poplists, and push buttons as different user interface elements.
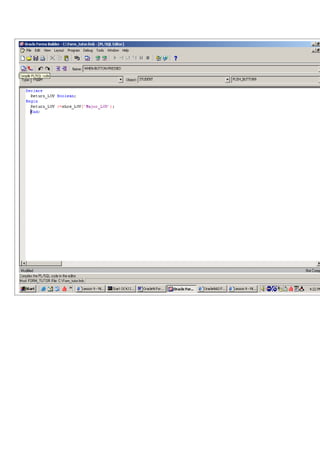
3. Writing triggers for the push buttons to insert, delete, and retrieve records from a database.
The next lesson will cover creating a delete button, adding alerts before deletion, and using procedures to build application functionality.