Download to read offline

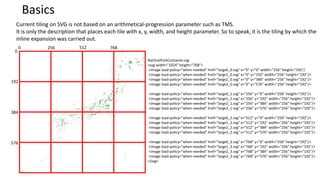


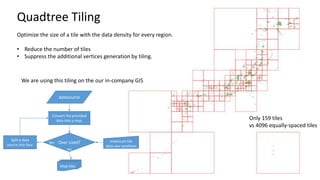

Current SVG tiling is not based on a mathematical tiling scheme like TMS, but rather uses x, y coordinates and dimensions to position tiles. JavaScript can be used to implement arithmetic tiling on SVG similar to TMS, by dynamically creating <image> elements with the appropriate coordinates and sources. Quadtree tiling can optimize tile sizes based on data density, reducing the number of tiles generated compared to evenly spaced tiling.


![How Big Brands are Taking Your Traffic in Alberta [Data Inside].pptx](https://cdn.slidesharecdn.com/ss_thumbnails/howbigbrandsaretakingyourtrafficinalbertadatainside-260123180142-42d276f3-thumbnail.jpg?width=640&height=640&fit=bounds)


