Download to read offline
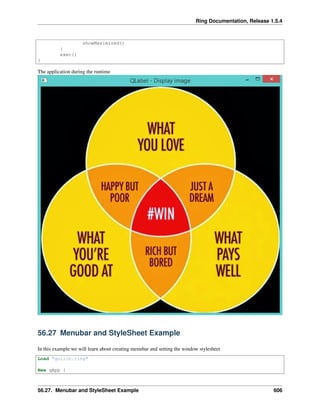

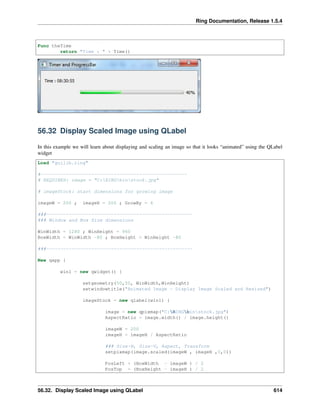

The document discusses displaying an image using QLabel in Ring. It loads an image file, creates a QLabel, sets the pixmap to display the image, and resizes the QLabel to fit the image. It then creates a timer that increments the image size on each timeout, displaying an animated resizing effect. The timer callback rescales the image to grow and resets it to the starting size when it reaches the box boundaries.