Download as PDF, PPTX

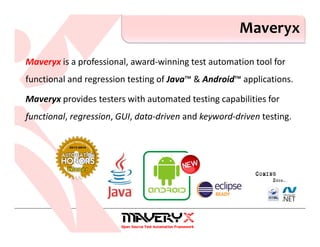
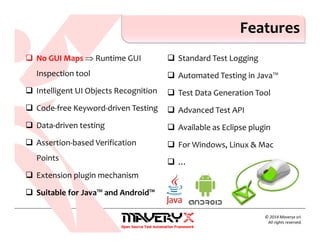
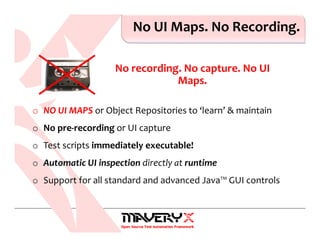
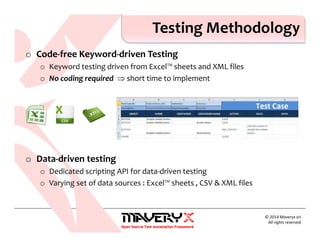
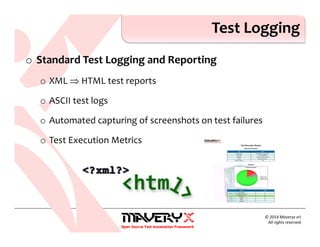
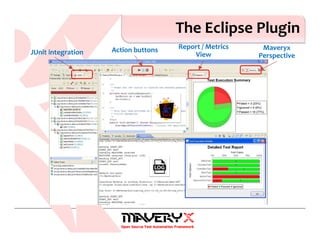
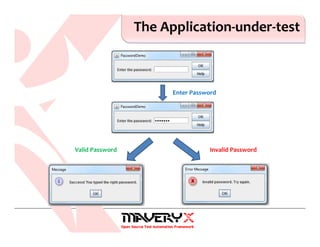
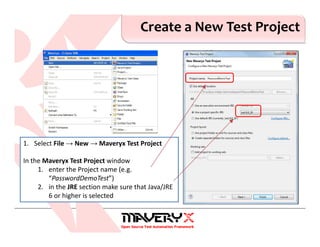
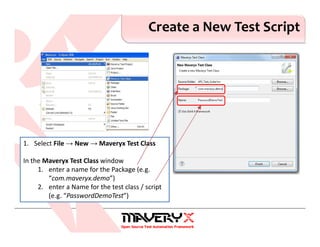
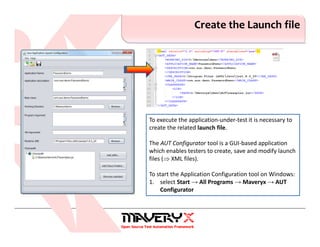

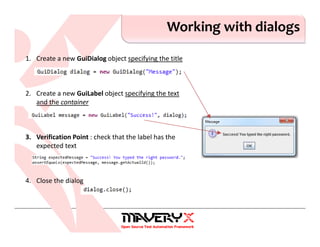
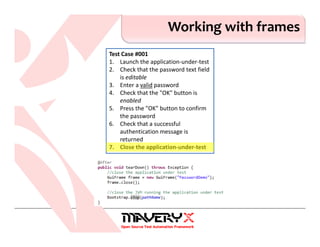

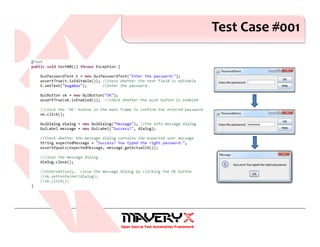

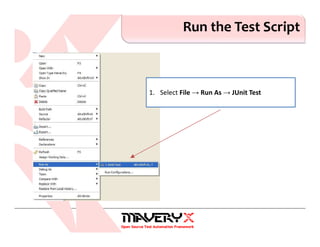
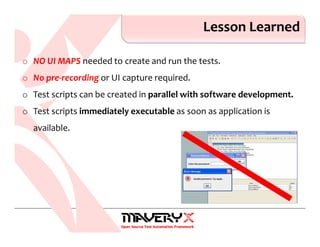


Maveryx is a professional test automation tool designed for functional and regression testing of Java and Android applications, offering code-free, keyword-driven testing and a unique approach that eliminates the need for UI maps. It features automated runtime UI inspection, data-driven testing capabilities, and allows immediate script execution without pre-recording or UI capture. The document details a step-by-step guide on using Maveryx, including project creation, test scripts, and reporting functionalities.


![[Srijan Wednesday Webinar] Mastering Mobile Test Automation with Appium](https://cdn.slidesharecdn.com/ss_thumbnails/srijan-webinar-161103125140-thumbnail.jpg?width=640&height=640&fit=bounds)


