


![Work (2)
Create a new solution with a project. Add
DataGridSample.exe as a Tested Application. Copy all
content of the grid in a notepad, save the file and perform
a file checkpoint. Write in logs all steps that you are
performing. Use aqFile object to work with files
Create a function to report the testing results as .mht in
foder Reports (relative to current project path)
Use Project["ConfigPath"] to take the path for the project
Use aqFileSystem to delete folder Reports if exists
Use Log.SaveResultsAs function to store the results
Run this project from Task Scheduler
ActionProgram/script: “…TestComplete.exe"
Actionargument“…ProjectSuite1.pjs" /r /e](https://image.slidesharecdn.com/testcomplete-130617062358-phpapp01/85/Test-Complete-31-320.jpg)

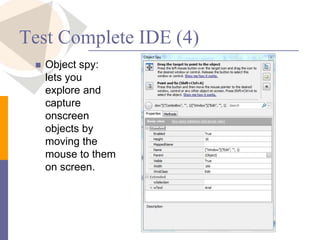
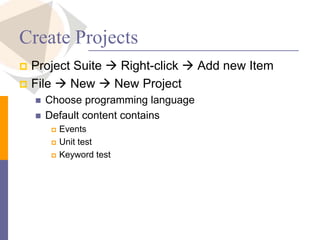
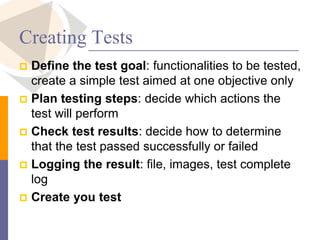
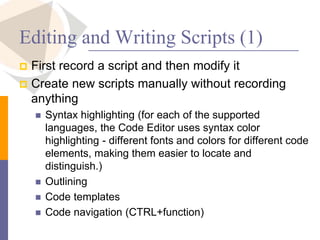
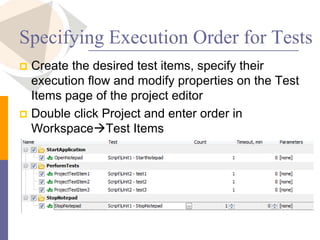
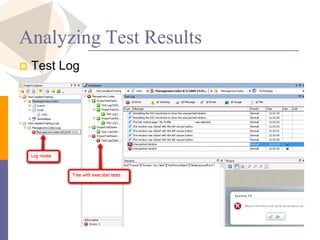
The document describes the functionalities and features of TestComplete, an automated testing tool for various application types, including web and desktop applications. It outlines the processes of creating and managing test projects, recording tests, and analyzing results through various checkpoints, while emphasizing the importance of selecting appropriate test cases for automation. Additionally, it provides guidance on using different panels within the TestComplete IDE and certain programming aspects for effective test creation and execution.