Download to read offline


![Test Logging
Logs
AddressTest.log :
2010-06-10 15:19:46,773 - testCreateAddressMethod - INFO -
[Address] 200 Villa St Mountain View CA 94040 BUSINESS ADDRESS
Initialization
self.log = self.device.initLogger(self._testMethodName,
self.__class__.__name__)
Usage
self.log.info('Starting test: ' + self._testMethodName)
self.log.debug(self.contact)
self.log.error(‘Missing image to compare’)](https://image.slidesharecdn.com/2011-pycon-121102185453-phpapp01/85/2011-py-con-26-320.jpg)
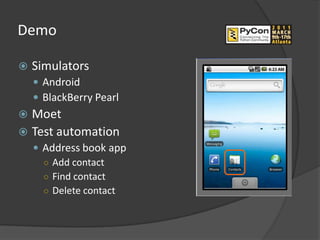
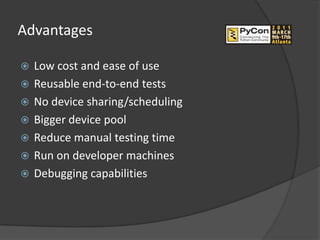


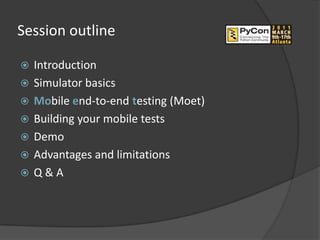
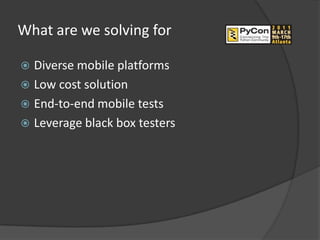
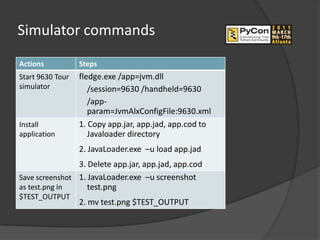
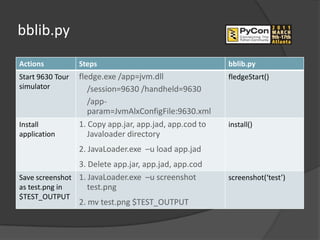
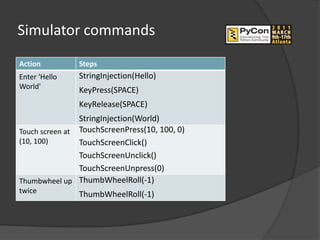
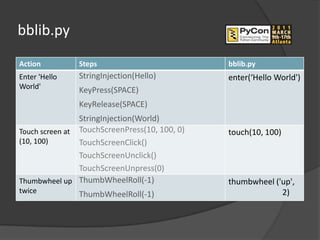
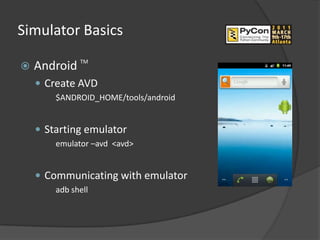
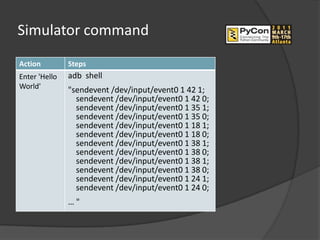
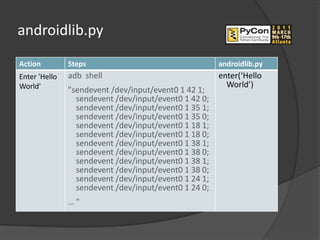
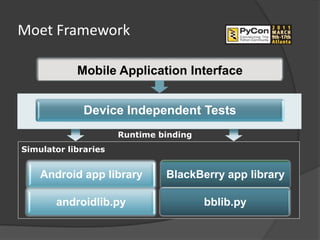
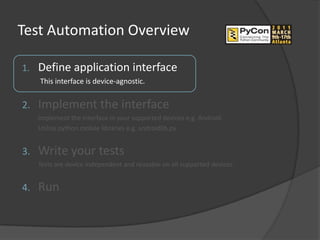
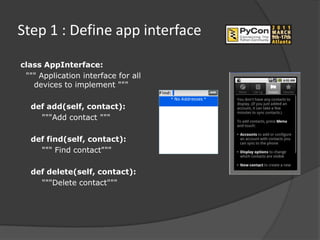
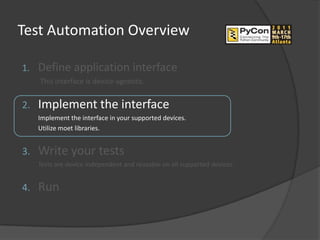
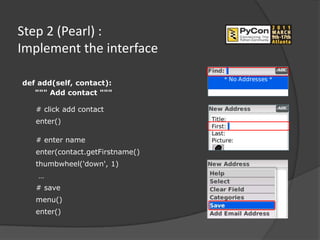
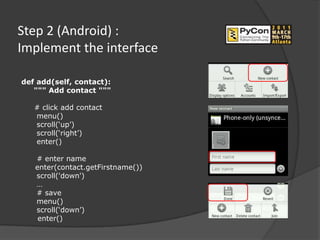
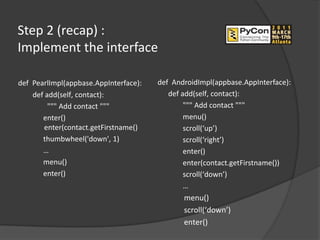
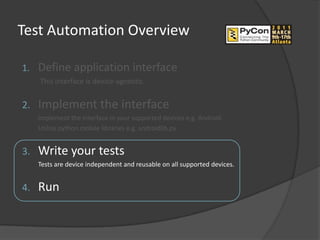
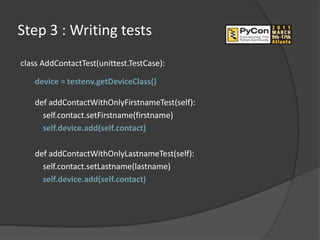
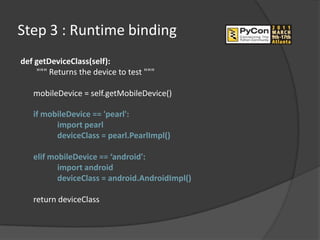
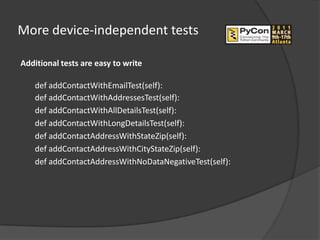
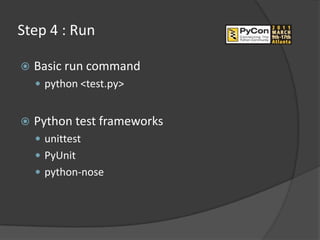
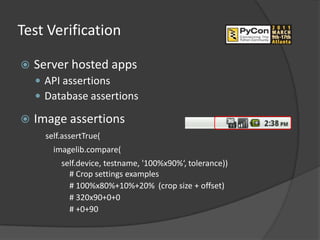
The document outlines a session on mobile end-to-end testing using simulators. It discusses simulator basics for BlackBerry and Android, how to start and control simulators through commands and libraries. It then describes the Moet framework for defining a device-agnostic application interface and implementing it for different platforms using simulator libraries. Tests can then be written independently of devices and run by binding to the appropriate implementation at runtime. Logging and image comparison are available for test verification.