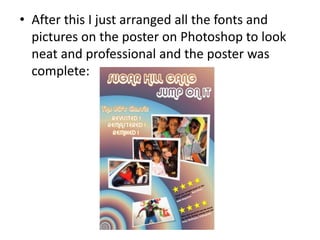
The document summarizes the steps taken to create a magazine advertisement poster using Sumo Paint and Photoshop. Key steps included:
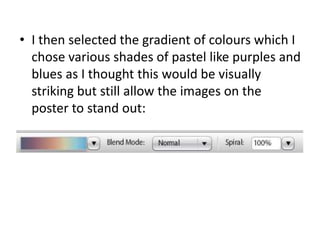
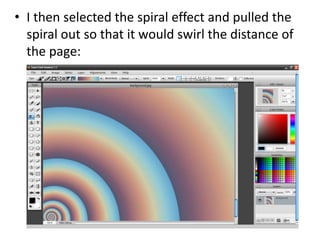
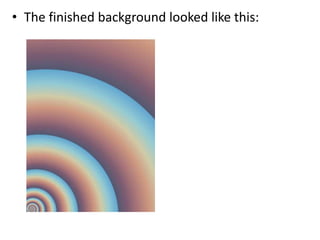
1. Creating a colorful spiral gradient background in Sumo Paint using pastel purple and blue shades.
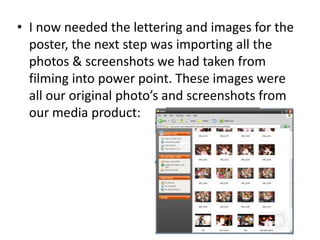
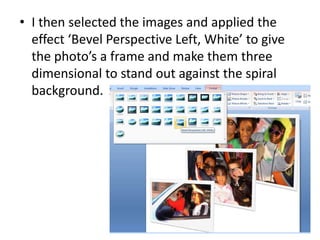
2. Importing photos and screenshots into PowerPoint and applying bevel effects to make them stand out on the background.
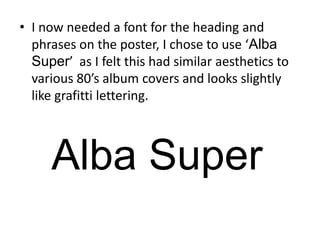
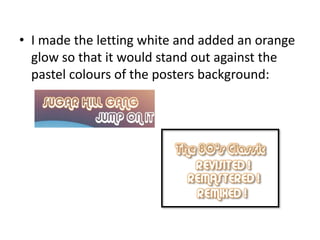
3. Choosing the "Alba Super" font for headings and phrases to match 80s album cover aesthetics and adding white lettering with an orange glow.