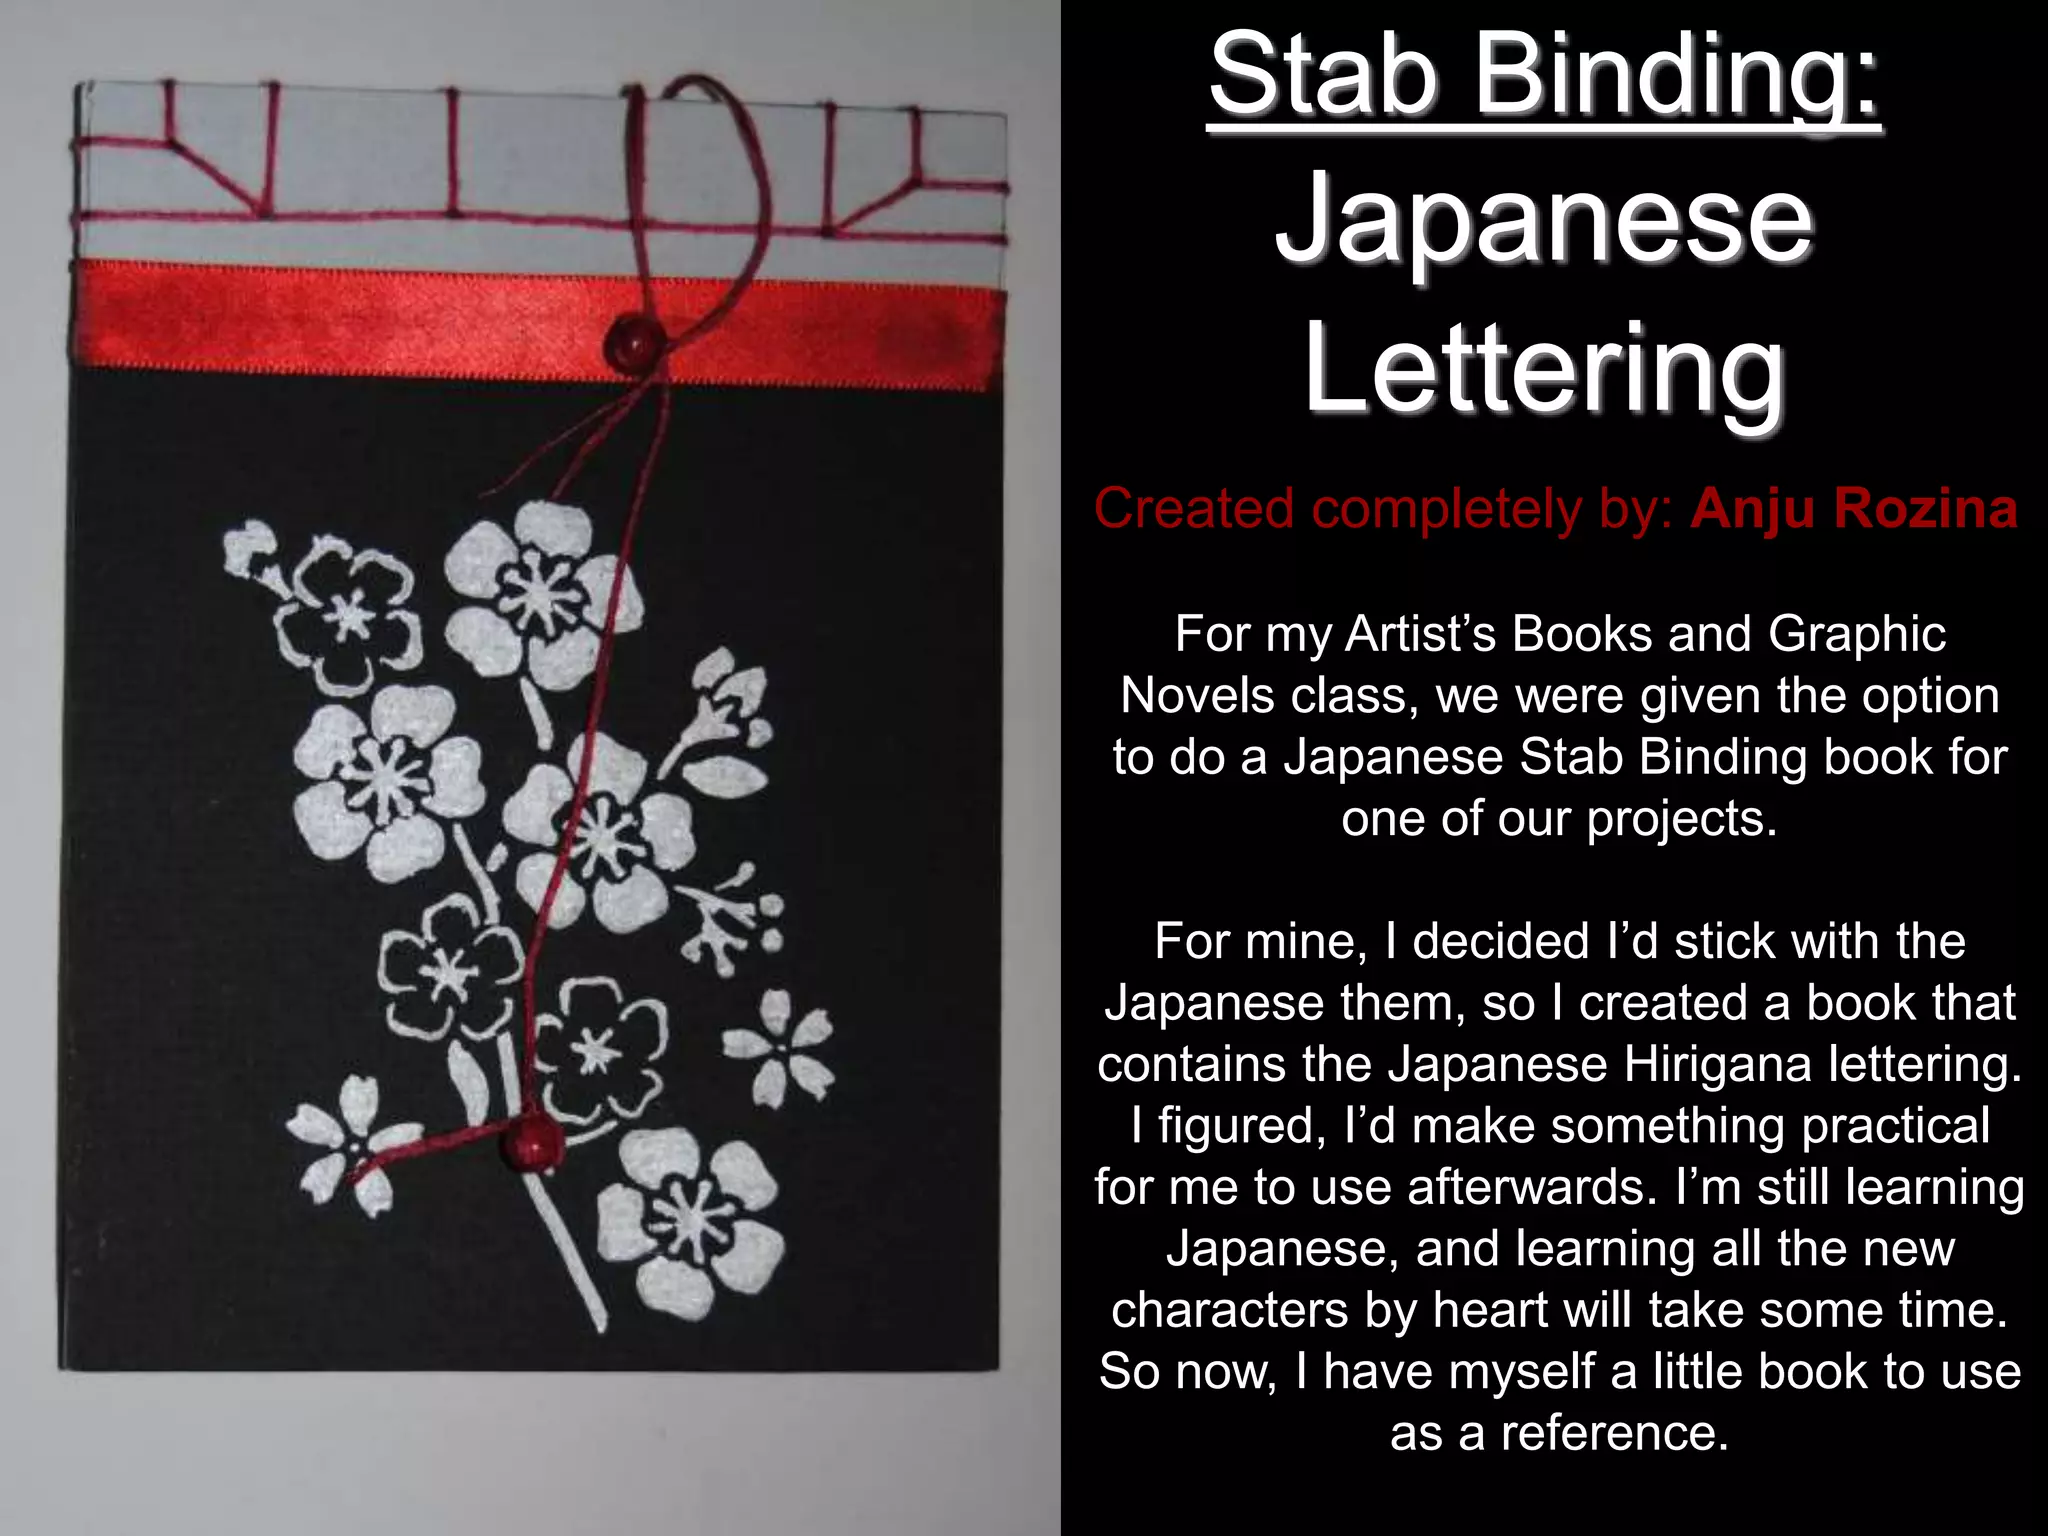
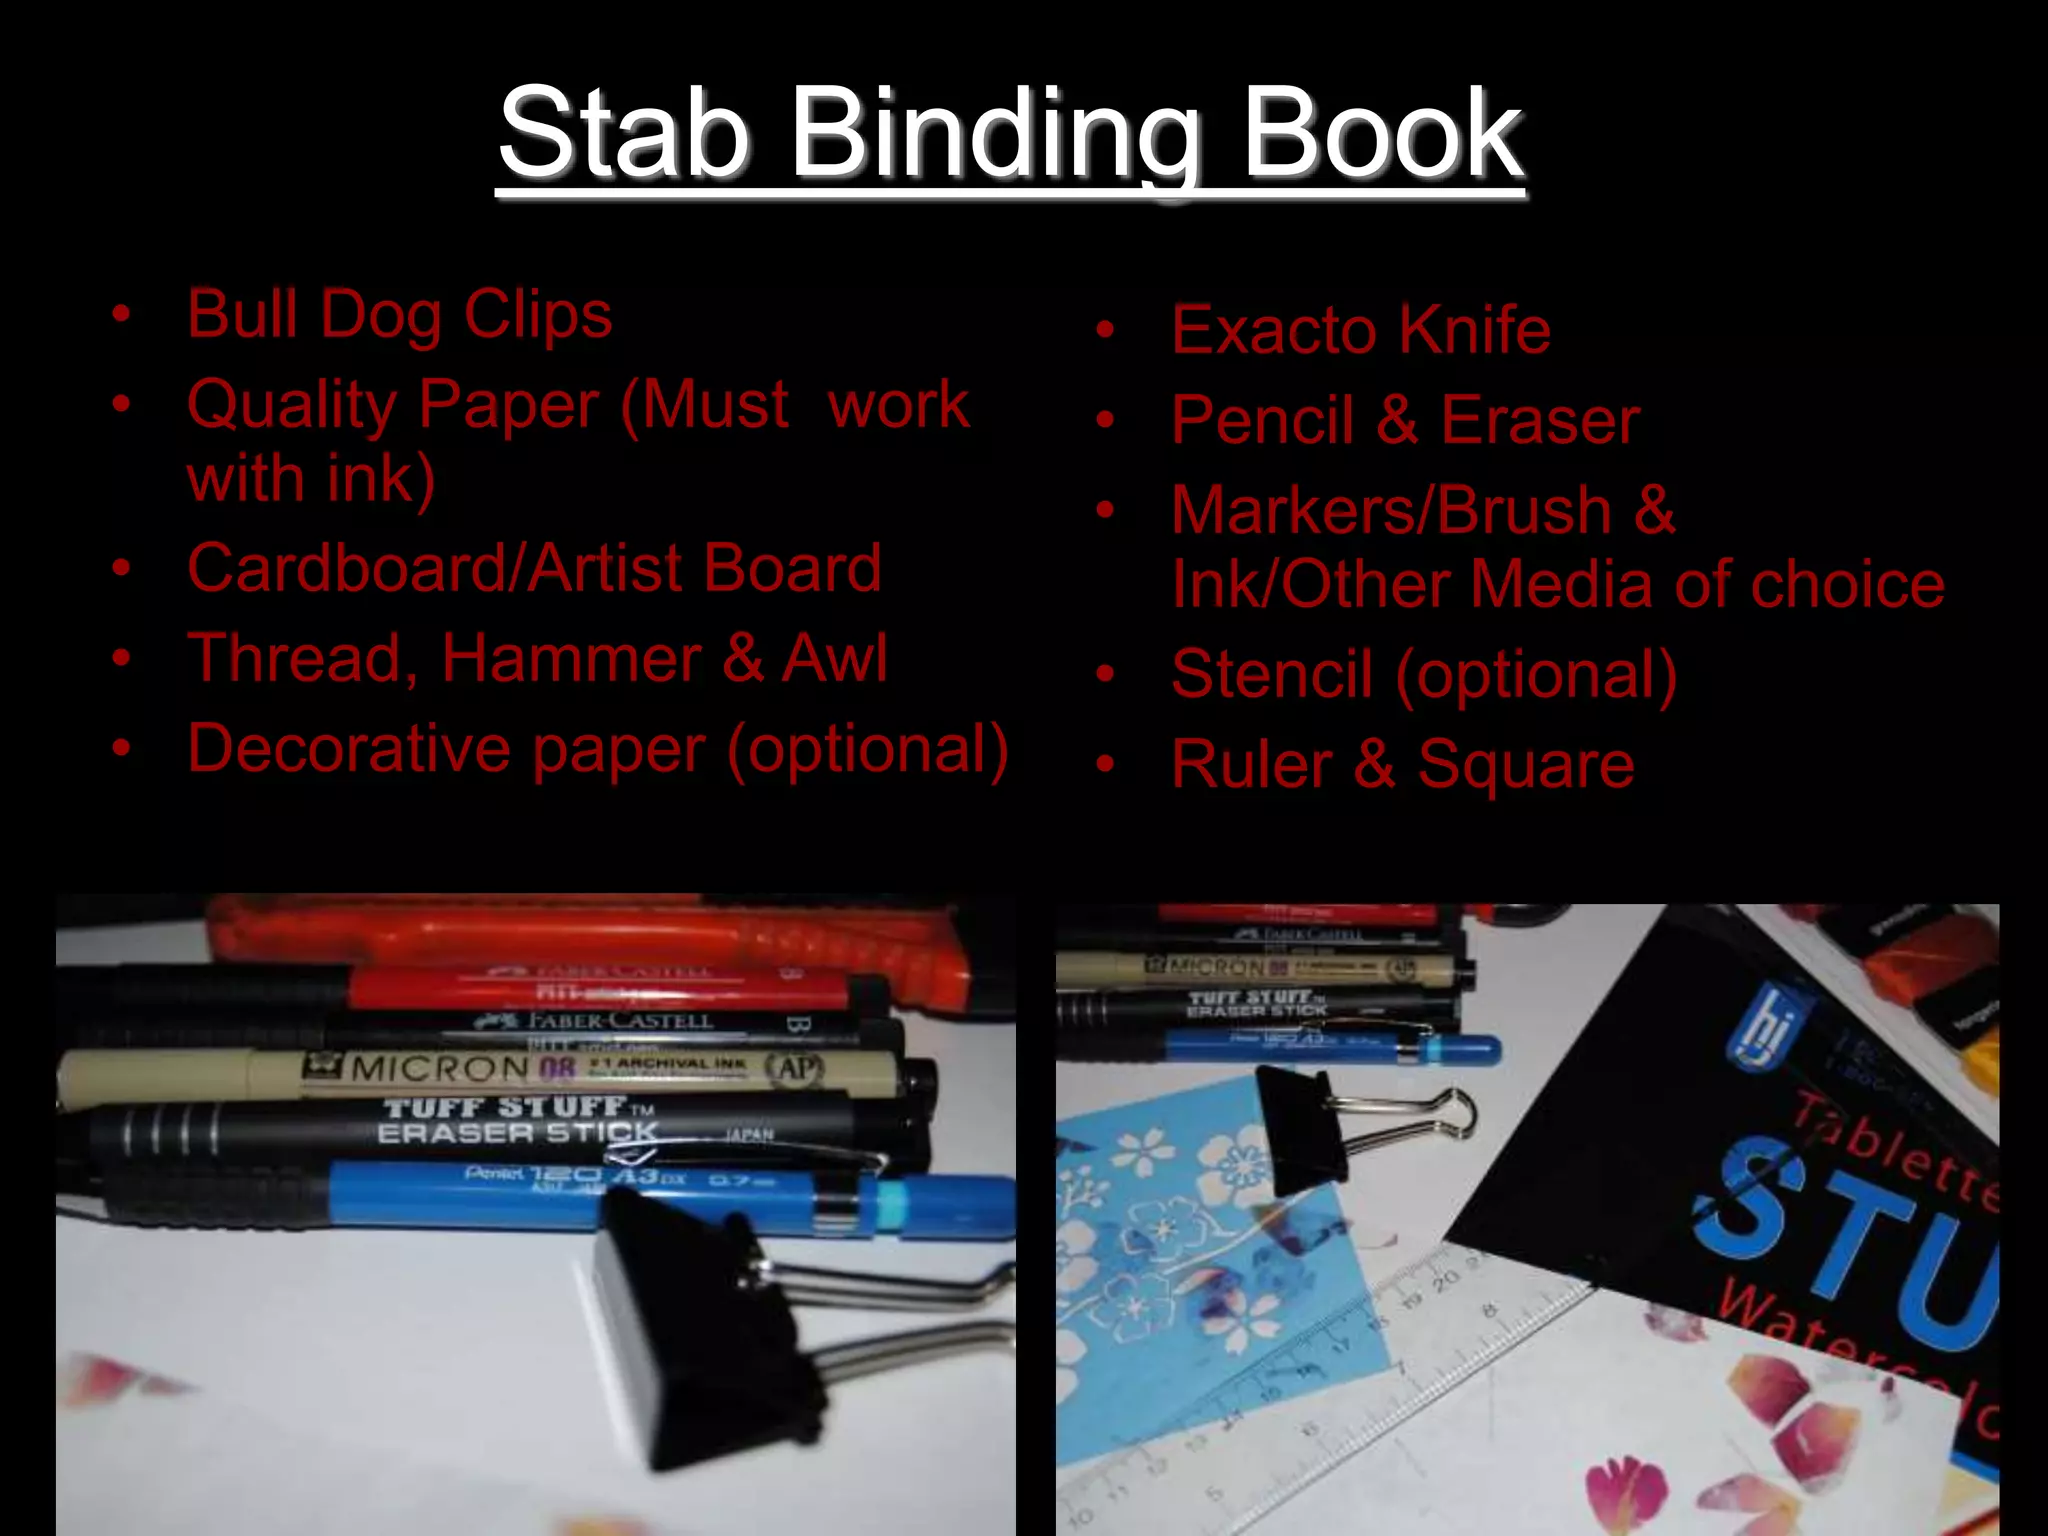
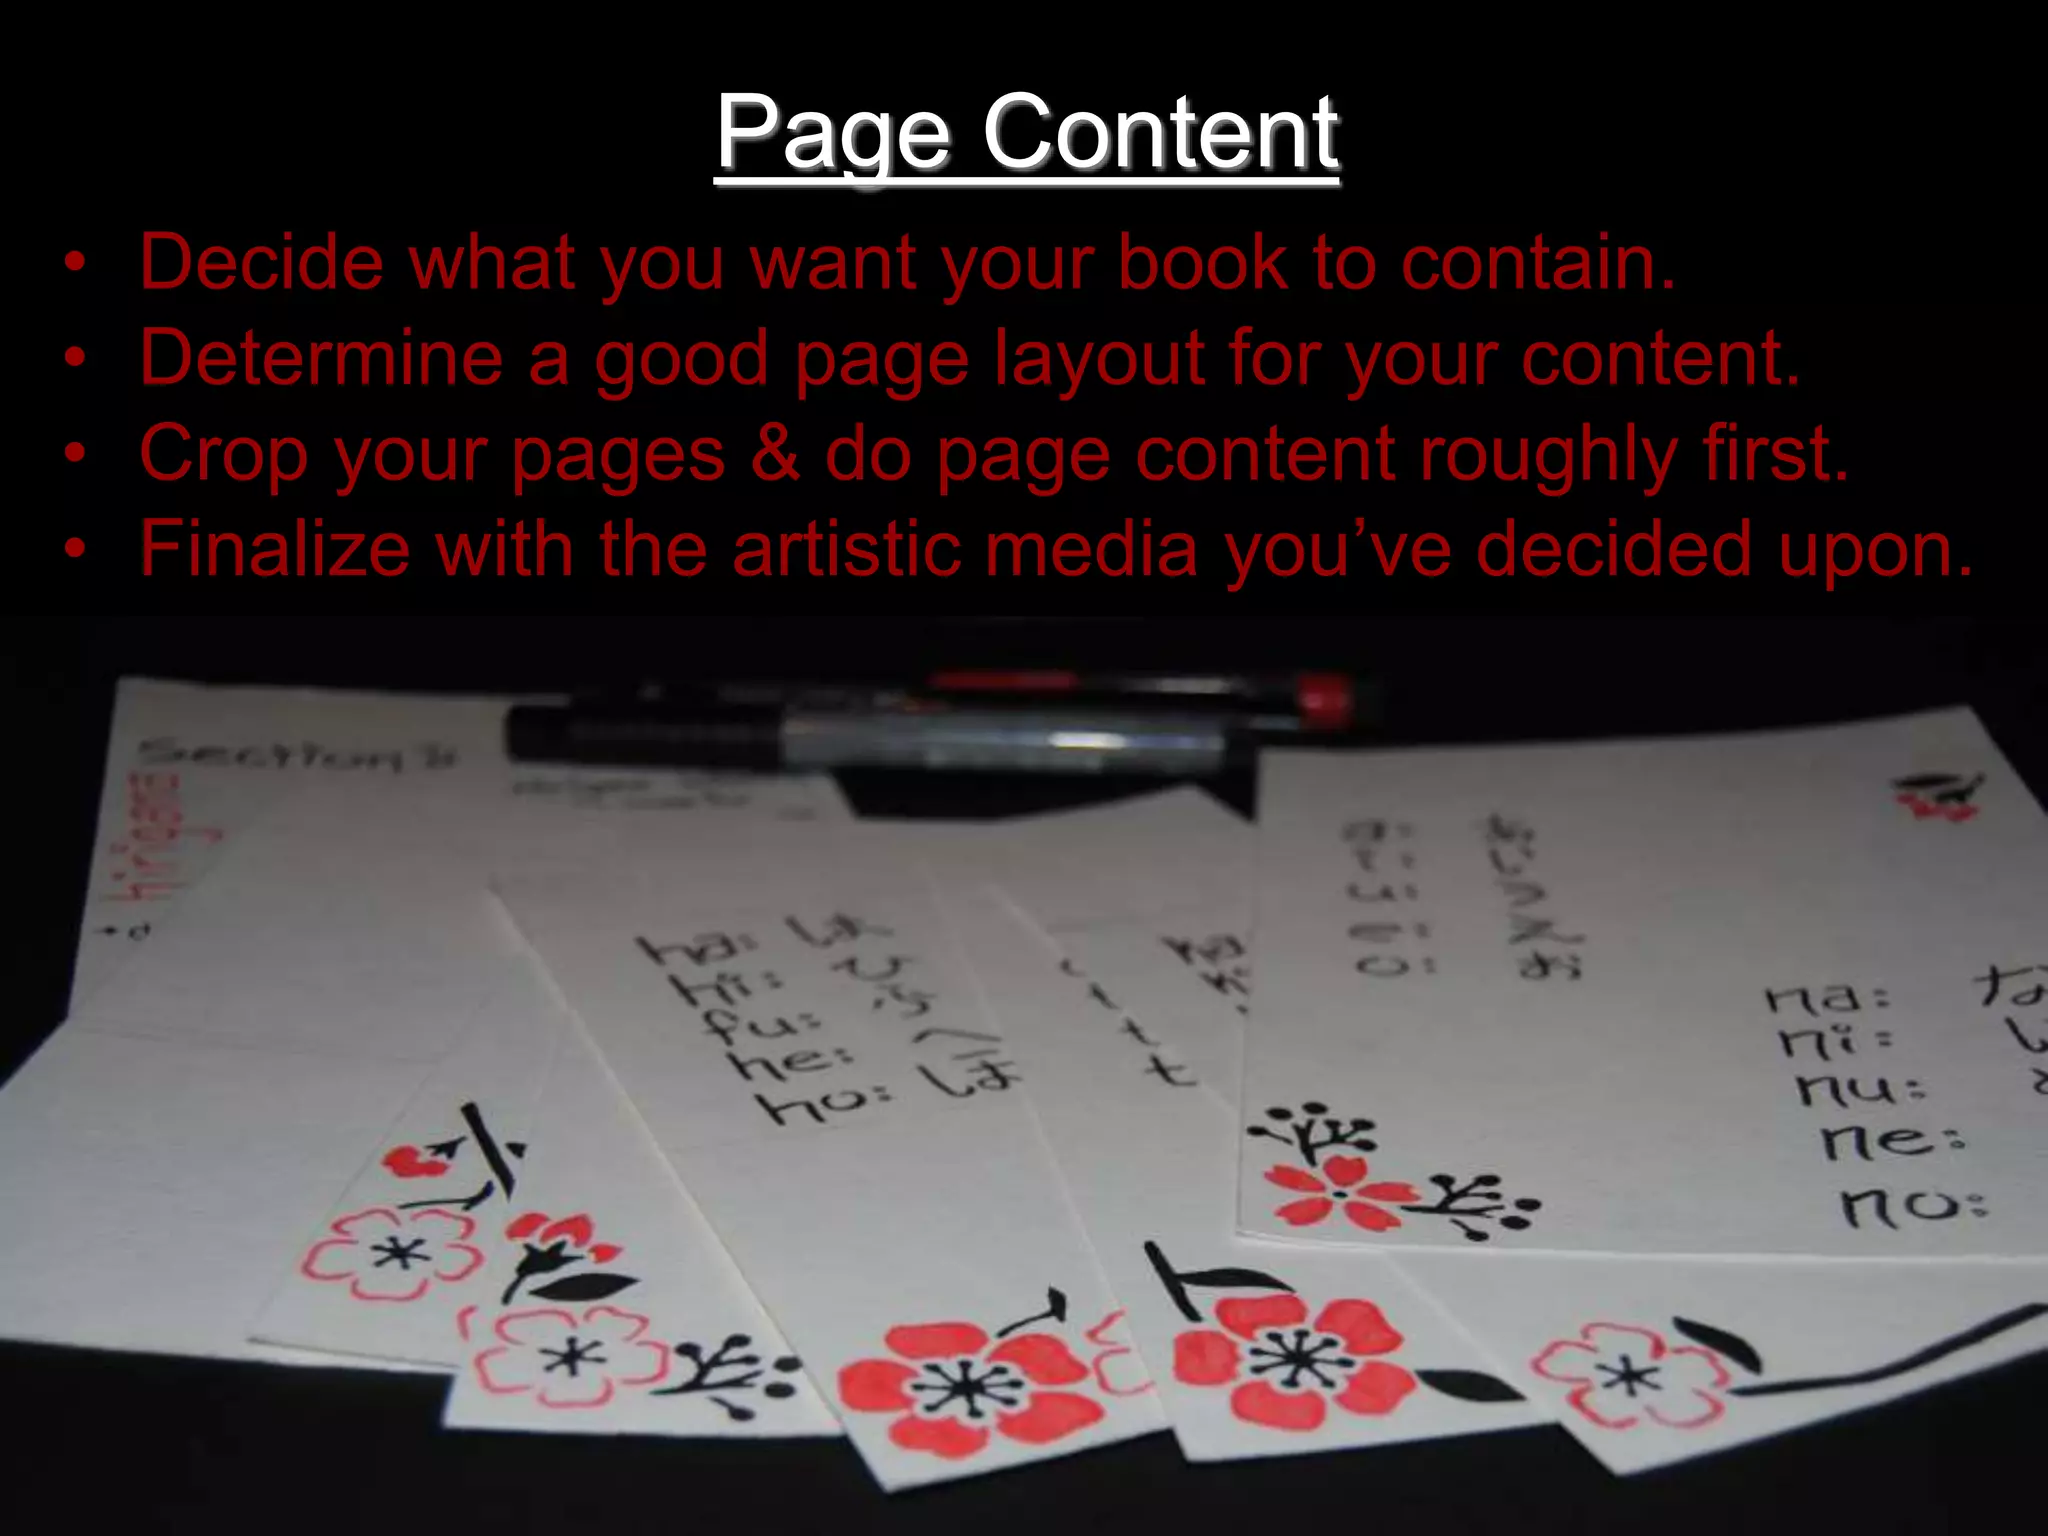
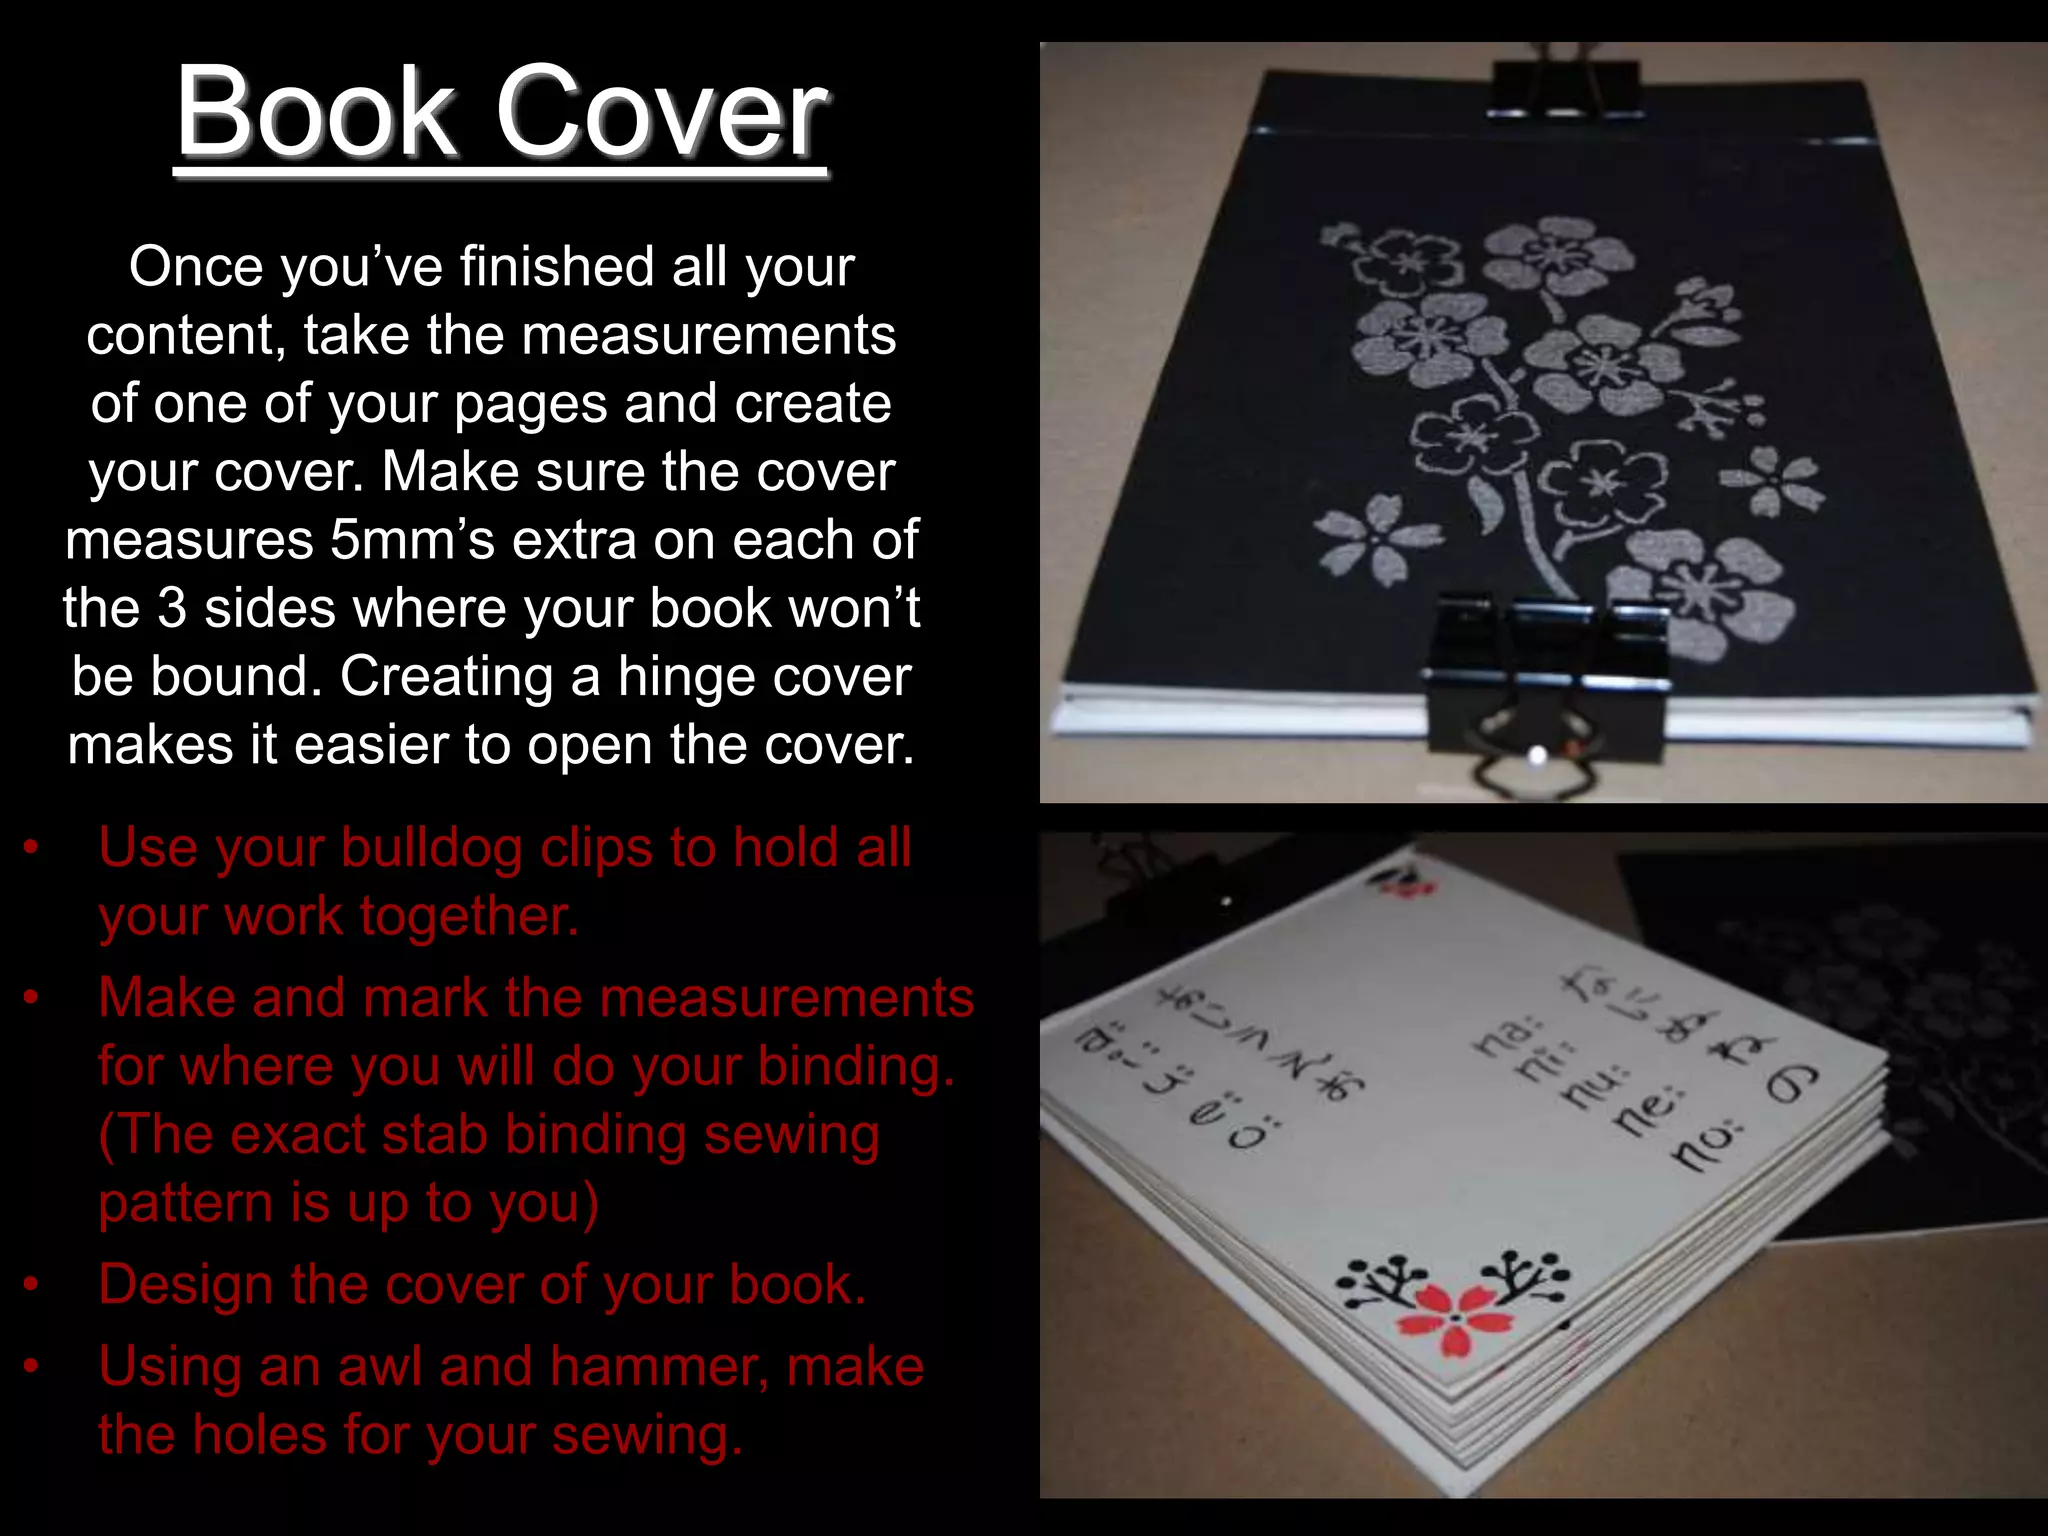
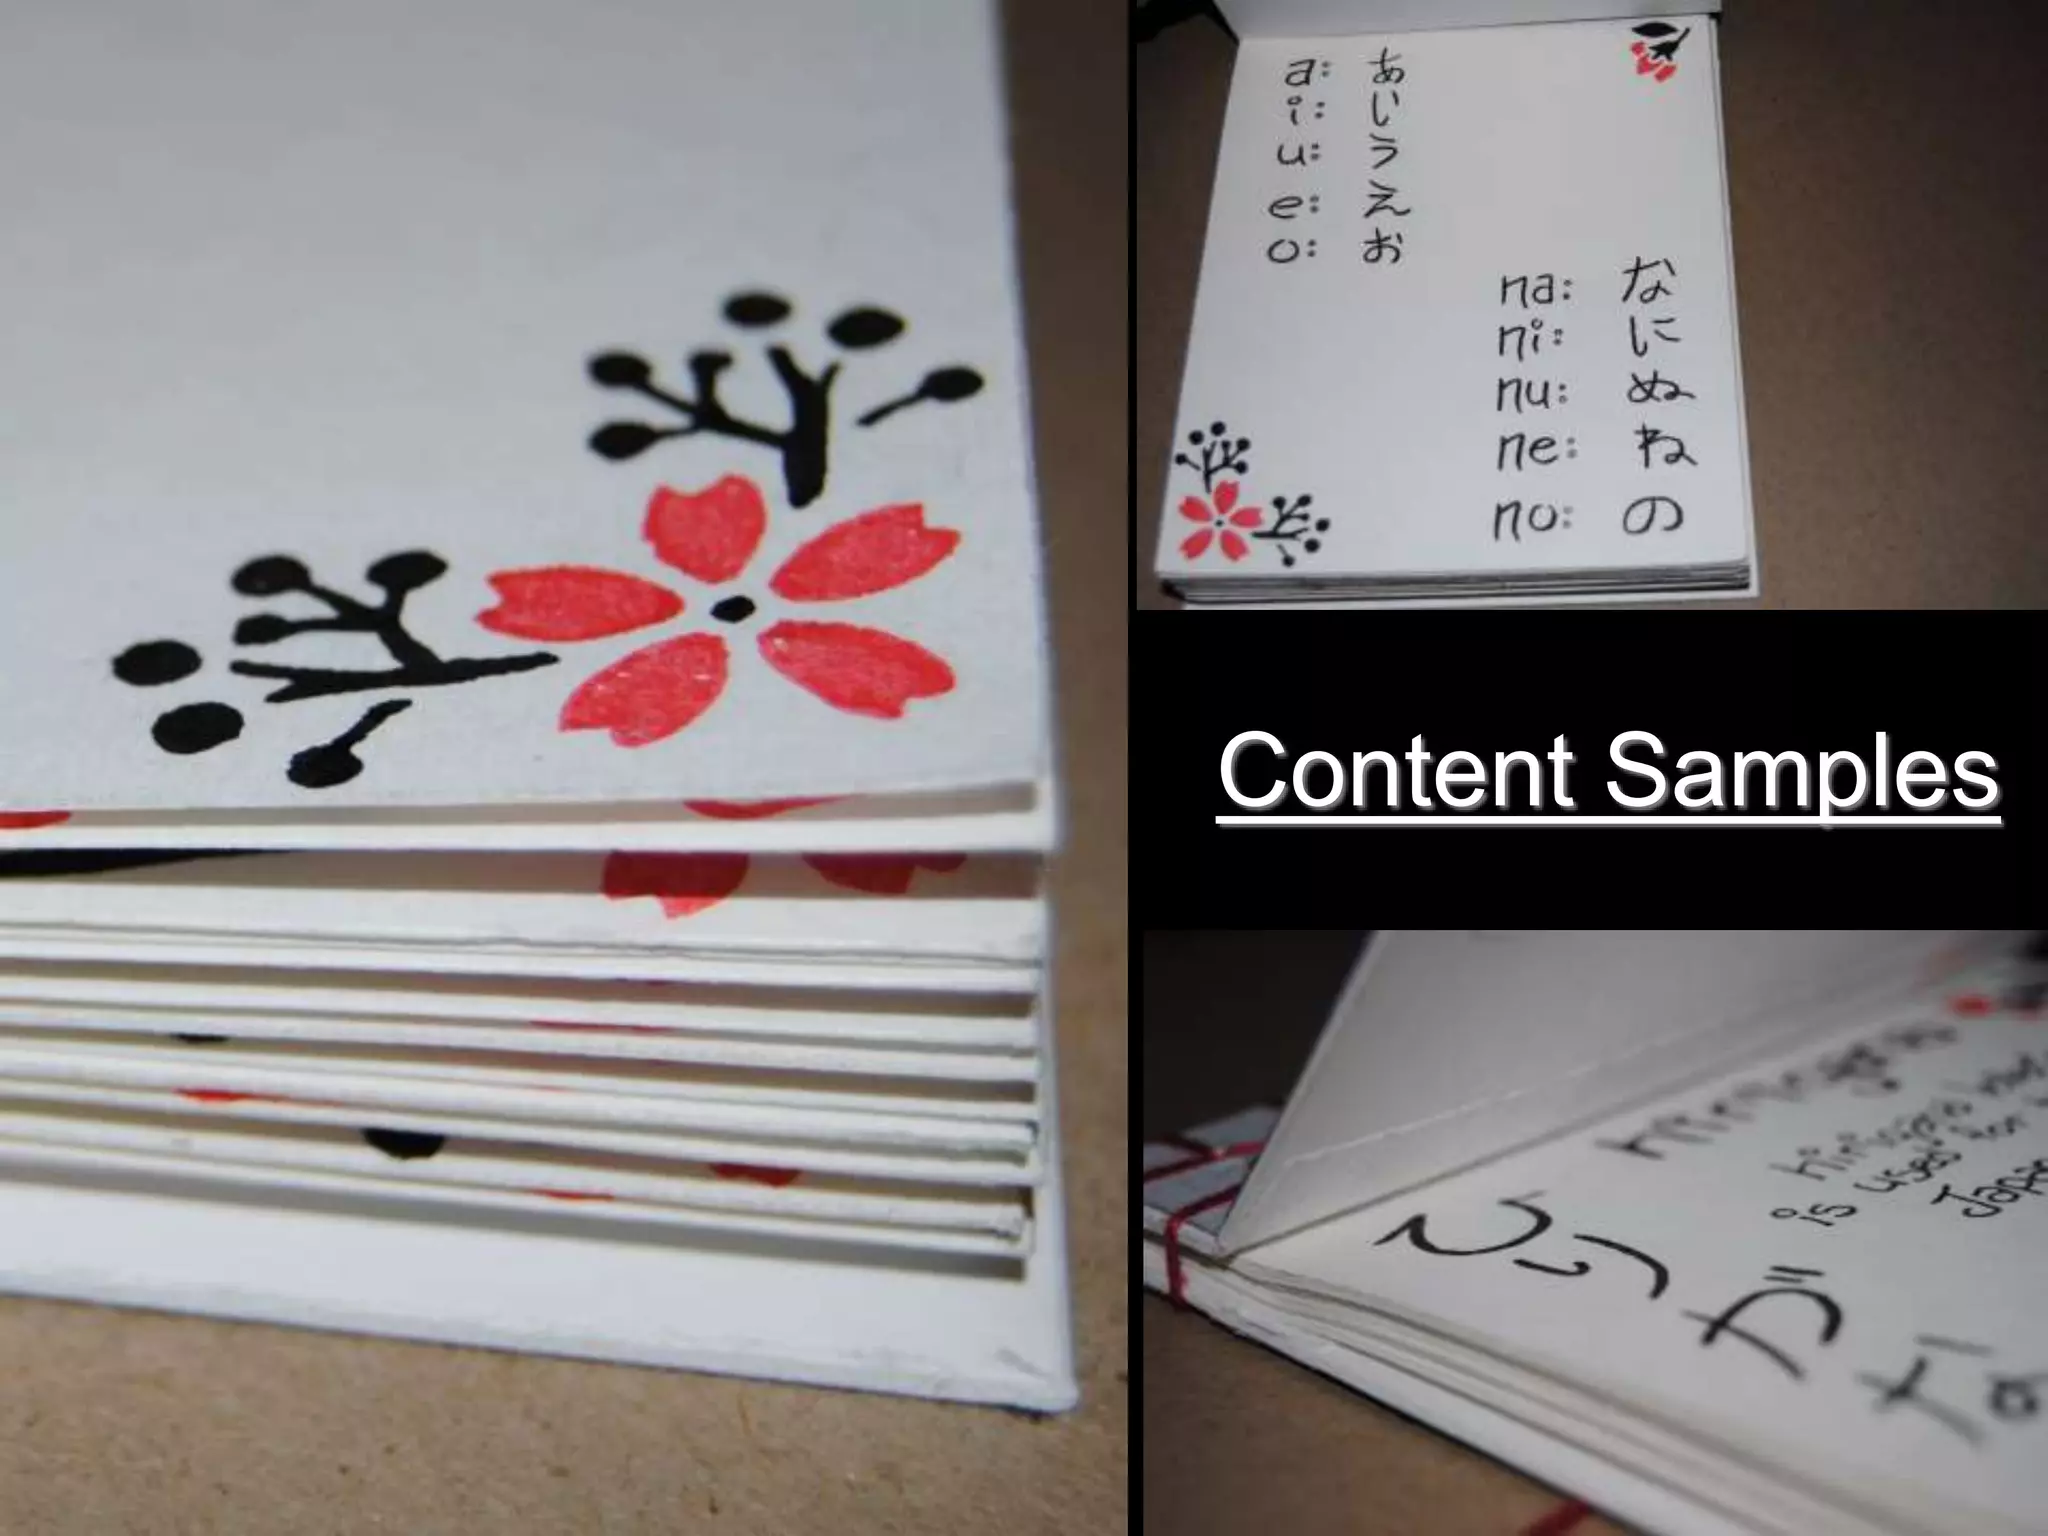
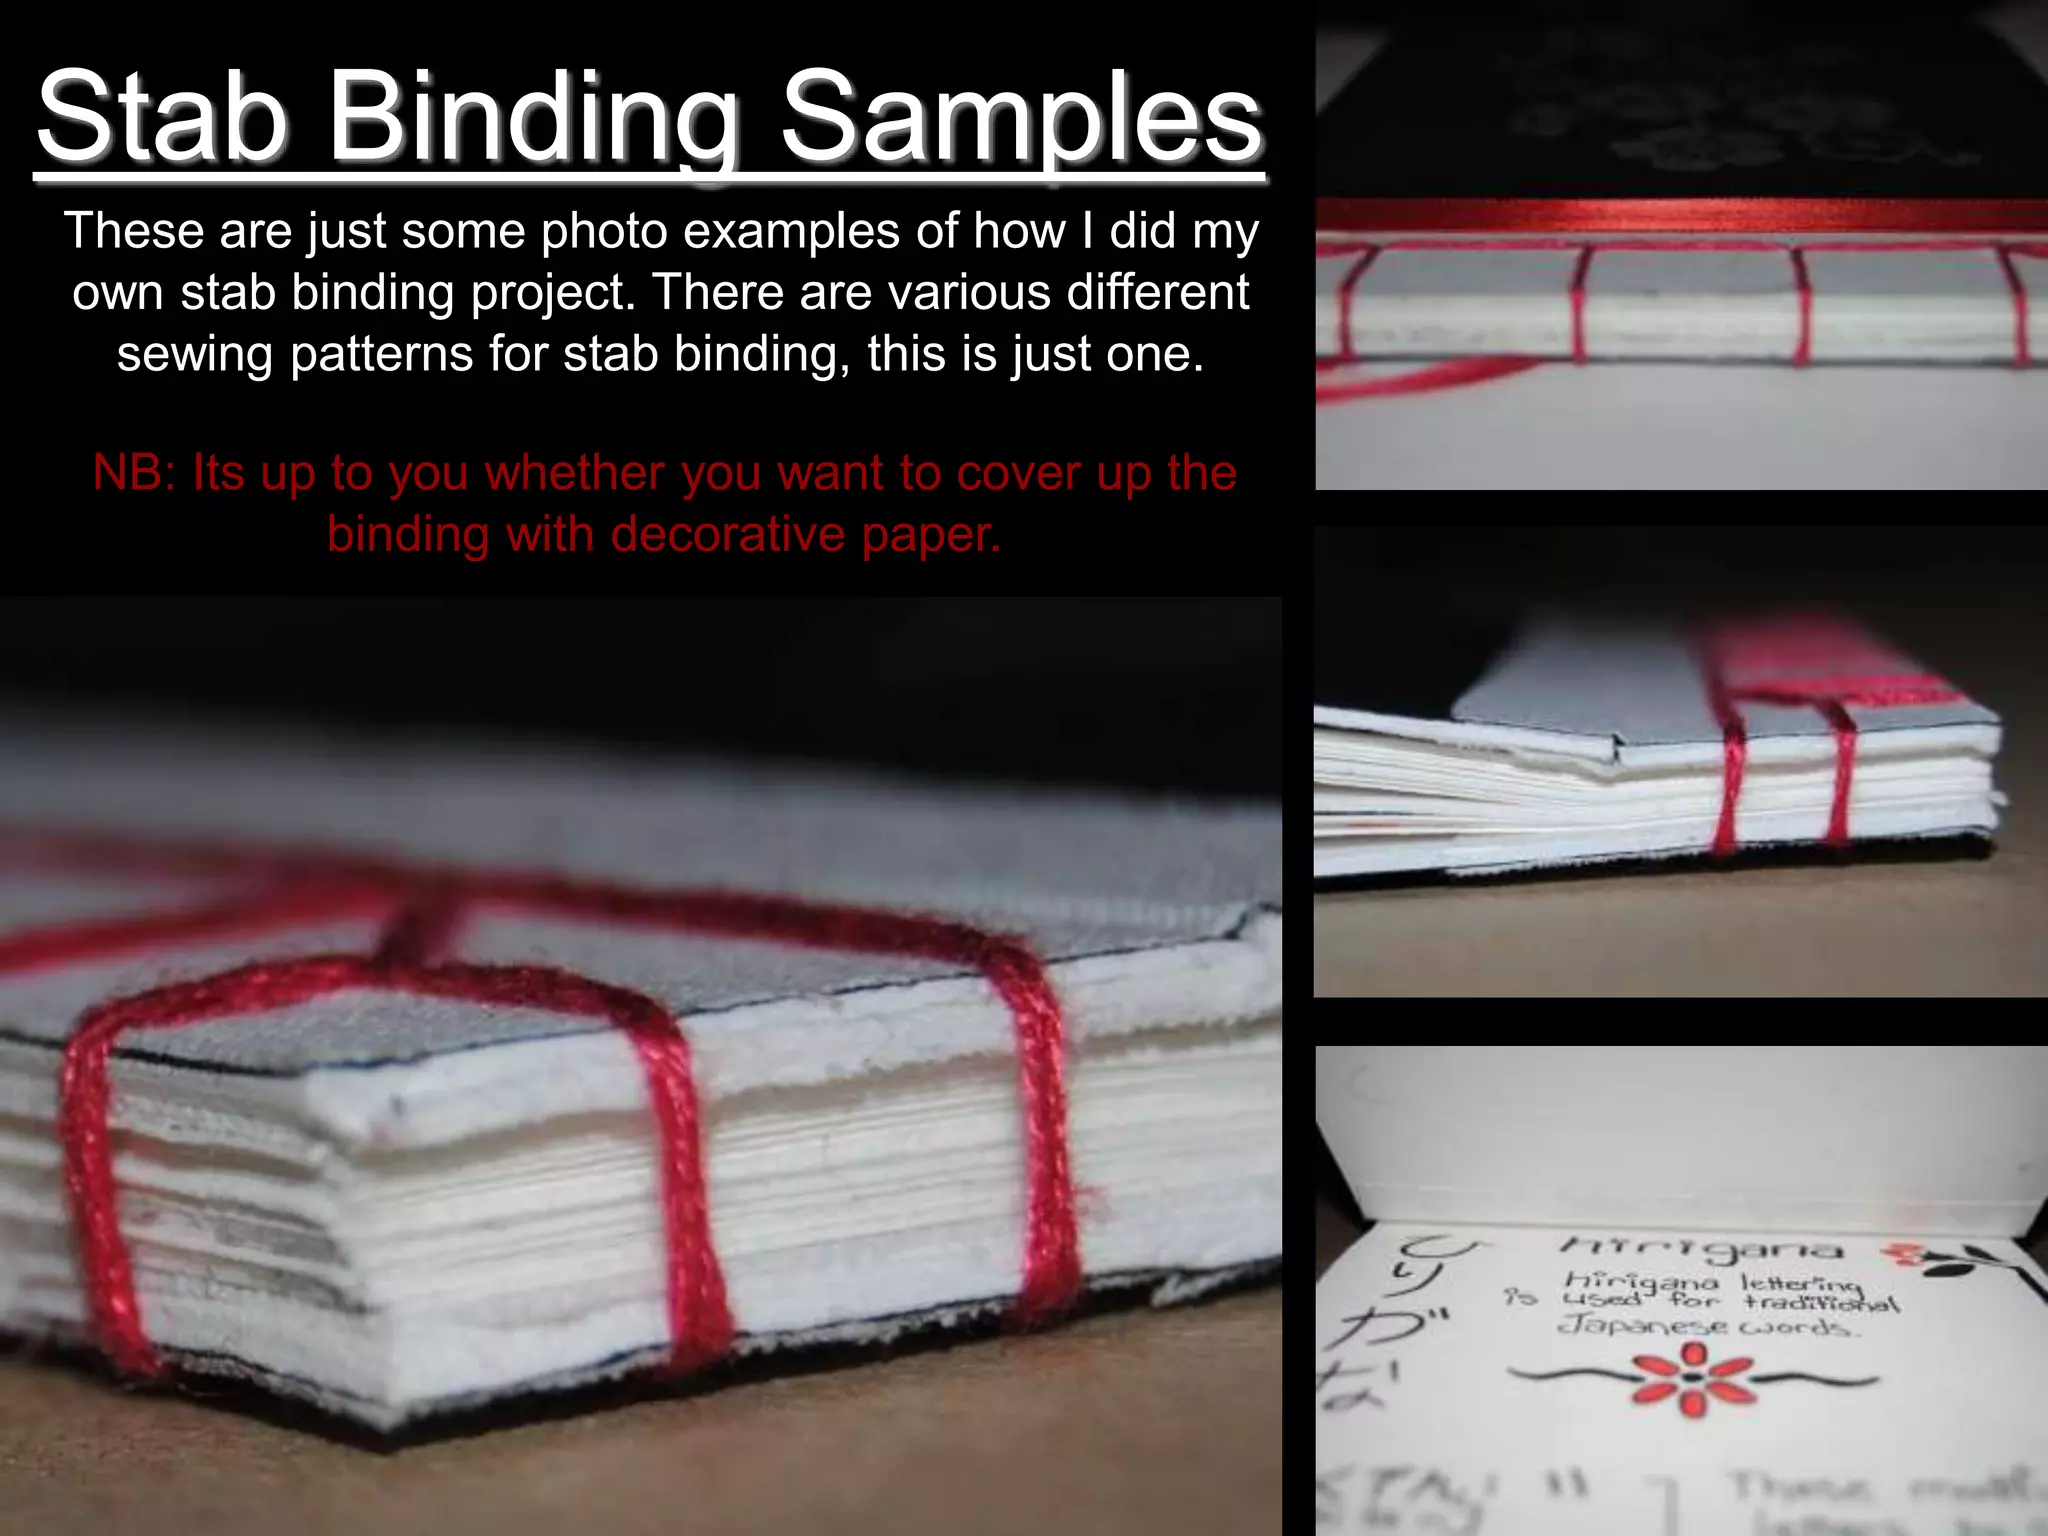
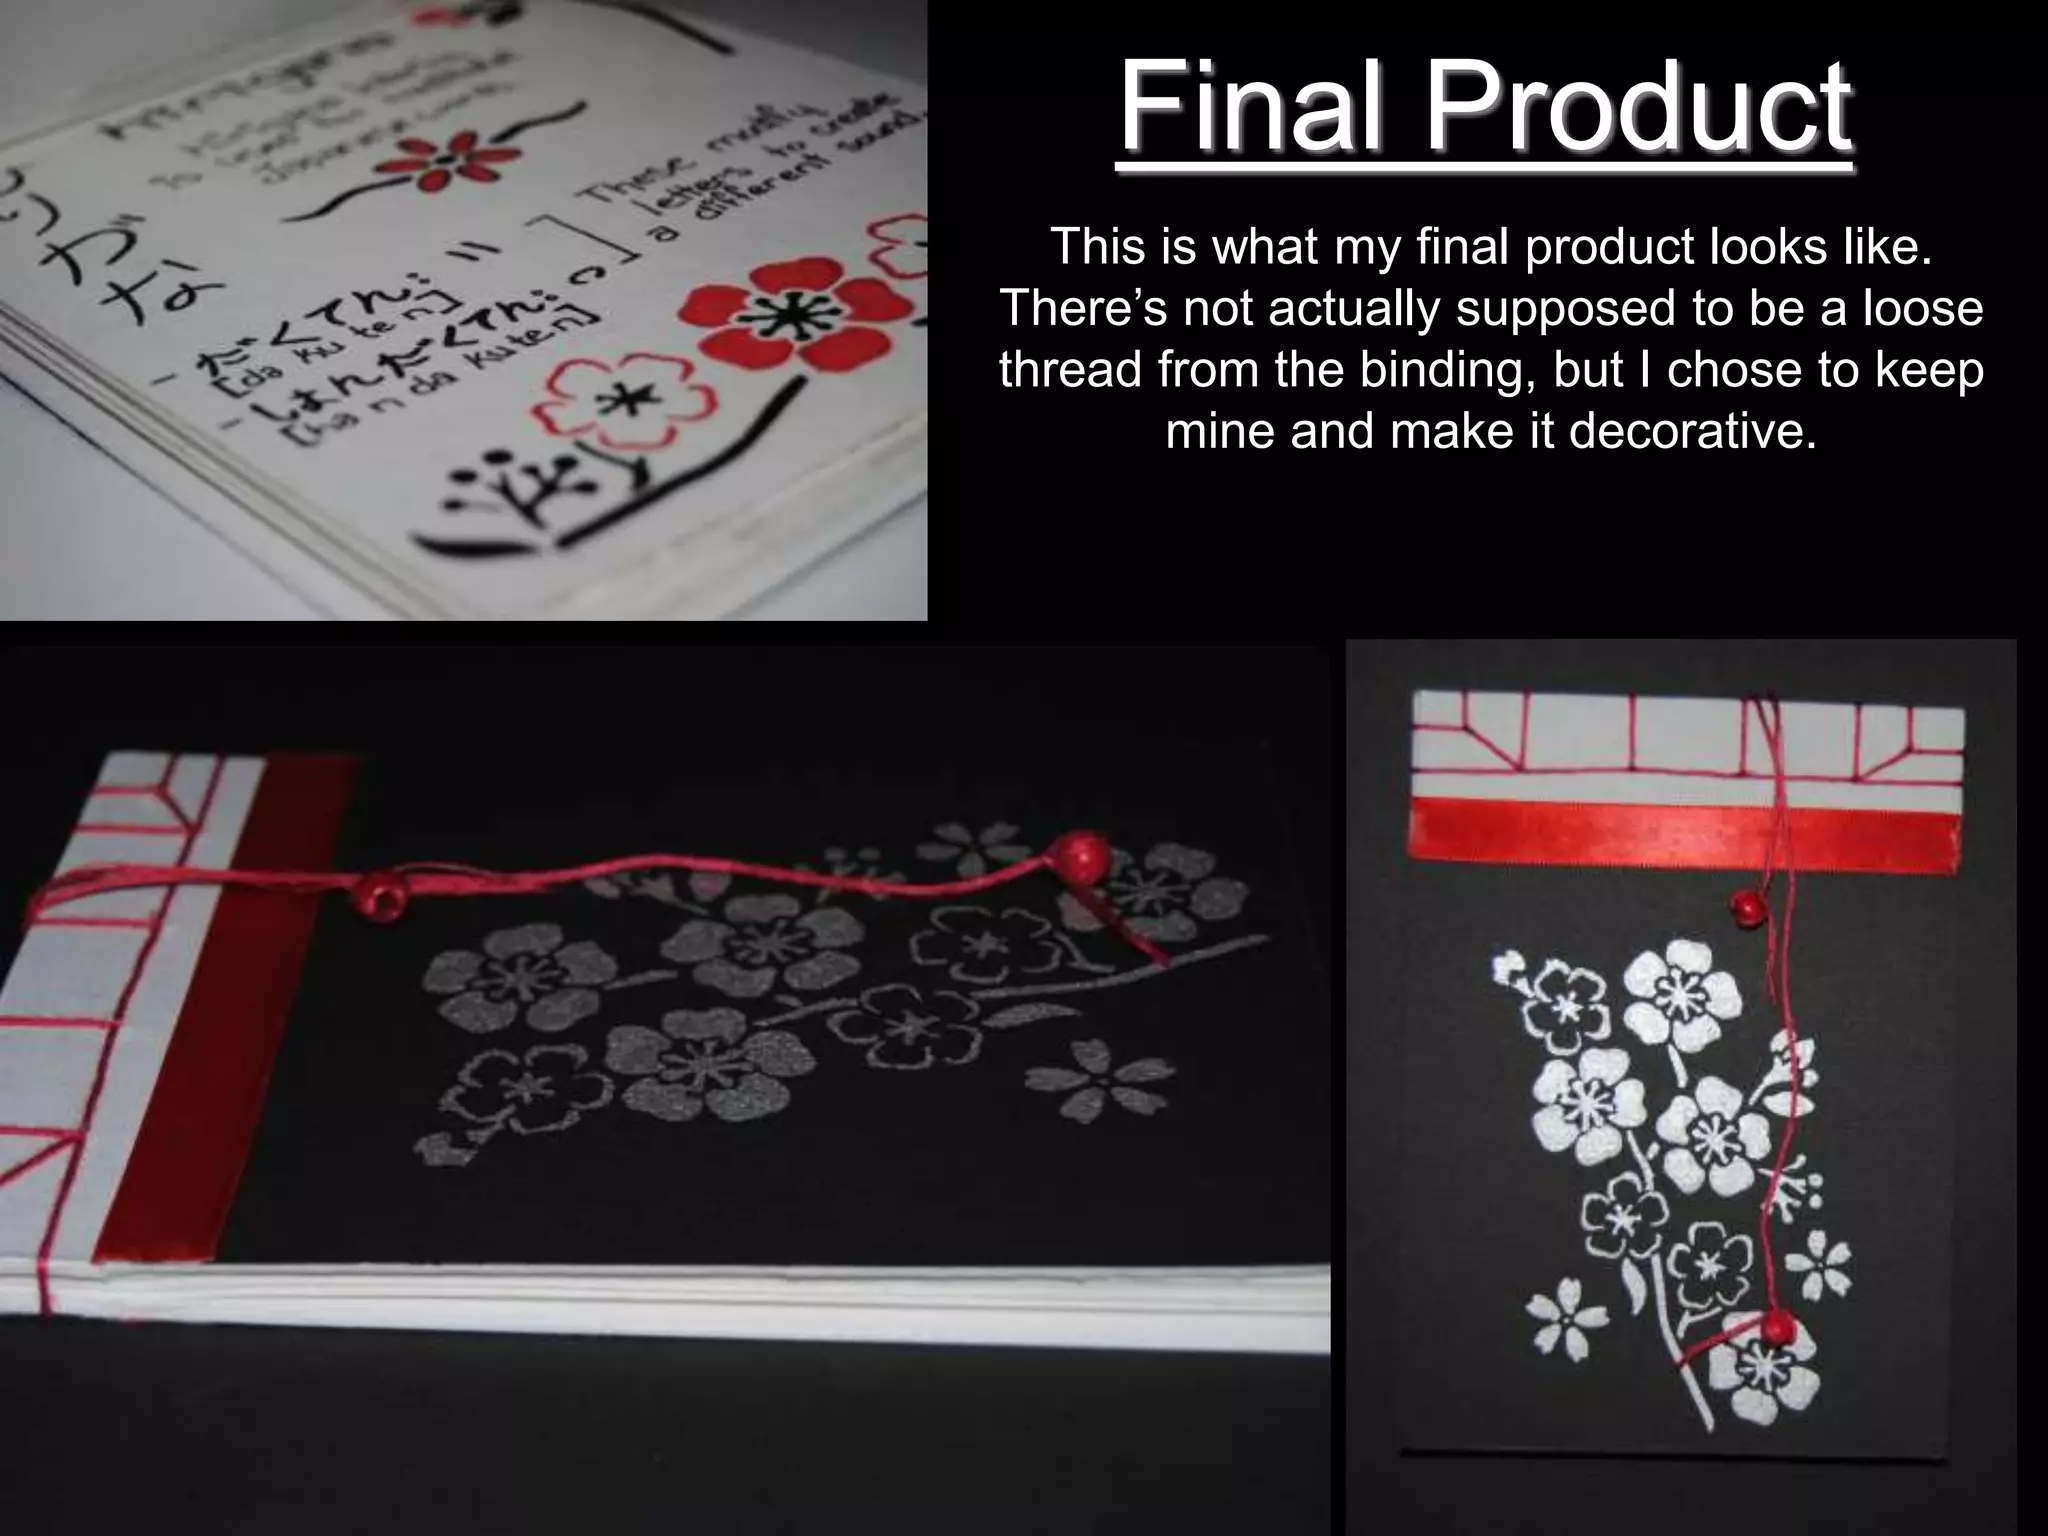
Stab Binding:
Japanese
Lettering
For my Artist’s Books and Graphic
Novels class, we were given the option
to do a Japanese Stab Binding book for
one of our projects.
For mine, I decided I’d stick with the
Japanese them, so I created a book that
contains the Japanese Hirigana lettering.
I figured, I’d make something practical
for me to use afterwards. I’m still learning
Japanese, and learning all the new
characters by heart will take some time.
So now, I have myself a little book to use
as a reference.
Created completely by: Anju Rozina
Stab Binding Book
• Bull Dog Clips
• Quality Paper (Must work
with ink)
• Cardboard/Artist Board
• Thread, Hammer & Awl
• Decorative paper (optional)
• Exacto Knife
• Pencil & Eraser
• Markers/Brush &
Ink/Other Media of choice
• Stencil (optional)
• Ruler & Square
Page Content
• Decide what you want your book to contain.
• Determine a good page layout for your content.
• Crop your pages & do page content roughly first.
• Finalize with the artistic media you’ve decided upon.
Book Cover
Once you’ve finished all your
content, take the measurements
of one of your pages and create
your cover. Make sure the cover
measures 5mm’s extra on each of
the 3 sides where your book won’t
be bound. Creating a hinge cover
makes it easier to open the cover.
• Use your bulldog clips to hold all
your work together.
• Make and mark the measurements
for where you will do your binding.
(The exact stab binding sewing
pattern is up to you)
• Design the cover of your book.
• Using an awl and hammer, make
the holes for your sewing.
Content Samples
Stab Binding Samples
These are just some photo examples of how I did my
own stab binding project. There are various different
sewing patterns for stab binding, this is just one.
NB: Its up to you whether you want to cover up the
binding with decorative paper.
Final Product
This is what my final product looks like.
There’s not actually supposed to be a loose
thread from the binding, but I chose to keep
mine and make it decorative.

Stab binding

  • 1.
    Stab Binding: Japanese Lettering For myArtist’s Books and Graphic Novels class, we were given the option to do a Japanese Stab Binding book for one of our projects. For mine, I decided I’d stick with the Japanese them, so I created a book that contains the Japanese Hirigana lettering. I figured, I’d make something practical for me to use afterwards. I’m still learning Japanese, and learning all the new characters by heart will take some time. So now, I have myself a little book to use as a reference. Created completely by: Anju Rozina
  • 2.
    Stab Binding Book •Bull Dog Clips • Quality Paper (Must work with ink) • Cardboard/Artist Board • Thread, Hammer & Awl • Decorative paper (optional) • Exacto Knife • Pencil & Eraser • Markers/Brush & Ink/Other Media of choice • Stencil (optional) • Ruler & Square
  • 3.
    Page Content • Decidewhat you want your book to contain. • Determine a good page layout for your content. • Crop your pages & do page content roughly first. • Finalize with the artistic media you’ve decided upon.
  • 4.
    Book Cover Once you’vefinished all your content, take the measurements of one of your pages and create your cover. Make sure the cover measures 5mm’s extra on each of the 3 sides where your book won’t be bound. Creating a hinge cover makes it easier to open the cover. • Use your bulldog clips to hold all your work together. • Make and mark the measurements for where you will do your binding. (The exact stab binding sewing pattern is up to you) • Design the cover of your book. • Using an awl and hammer, make the holes for your sewing.
  • 5.
  • 6.
    Stab Binding Samples Theseare just some photo examples of how I did my own stab binding project. There are various different sewing patterns for stab binding, this is just one. NB: Its up to you whether you want to cover up the binding with decorative paper.
  • 7.
    Final Product This iswhat my final product looks like. There’s not actually supposed to be a loose thread from the binding, but I chose to keep mine and make it decorative.