Download to read offline
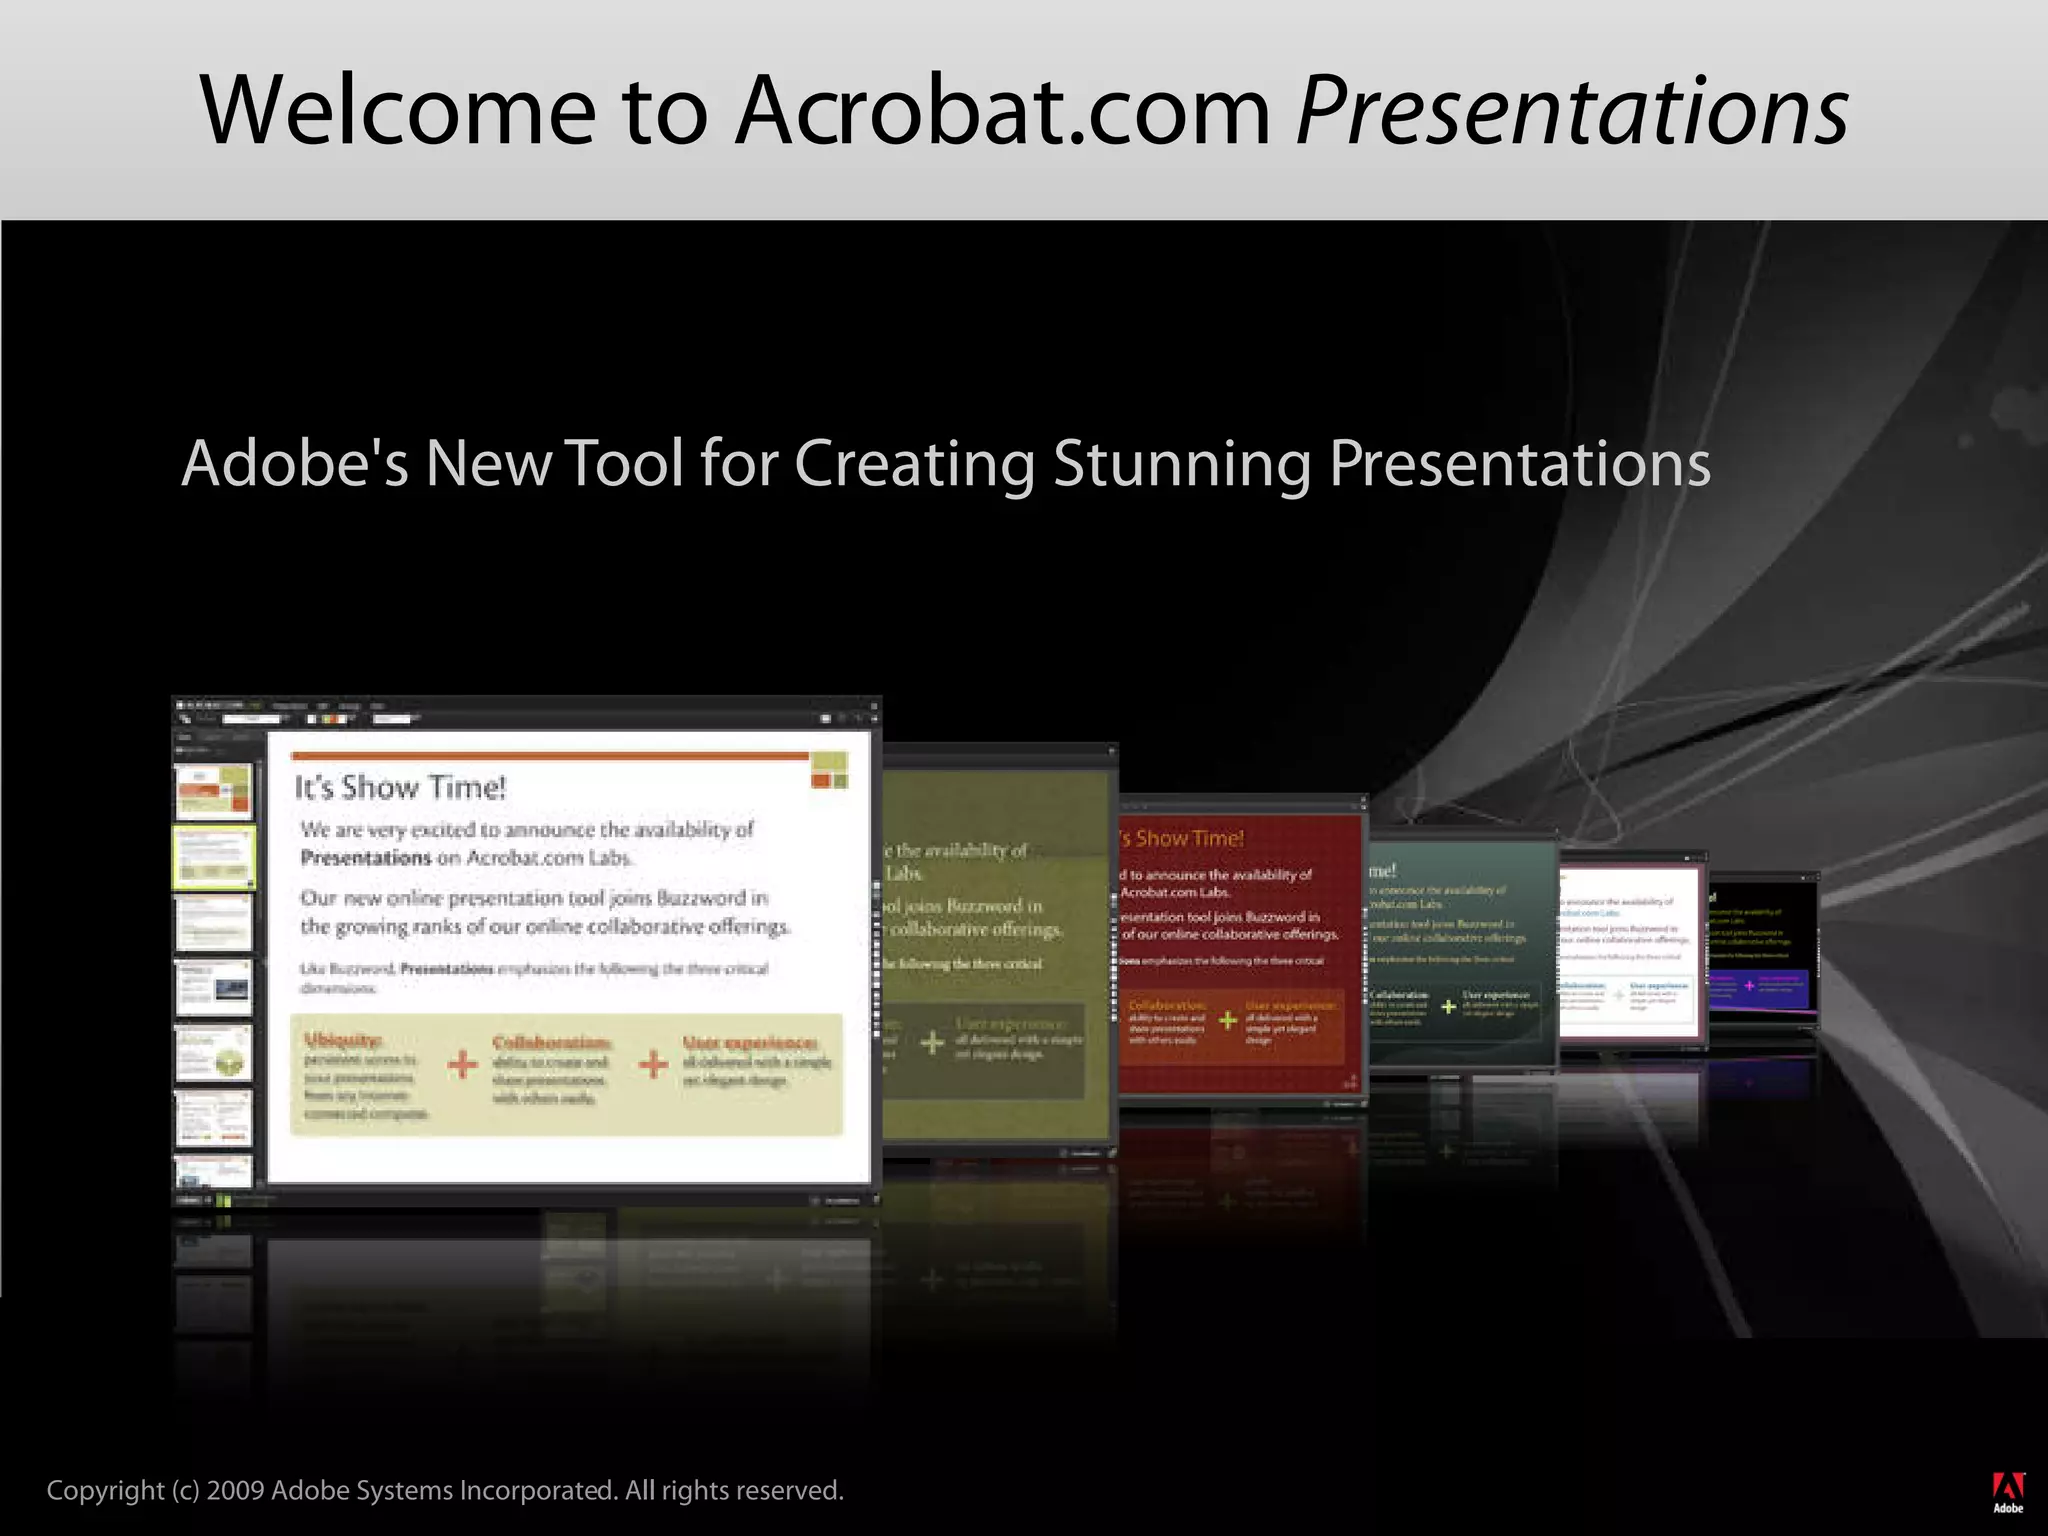
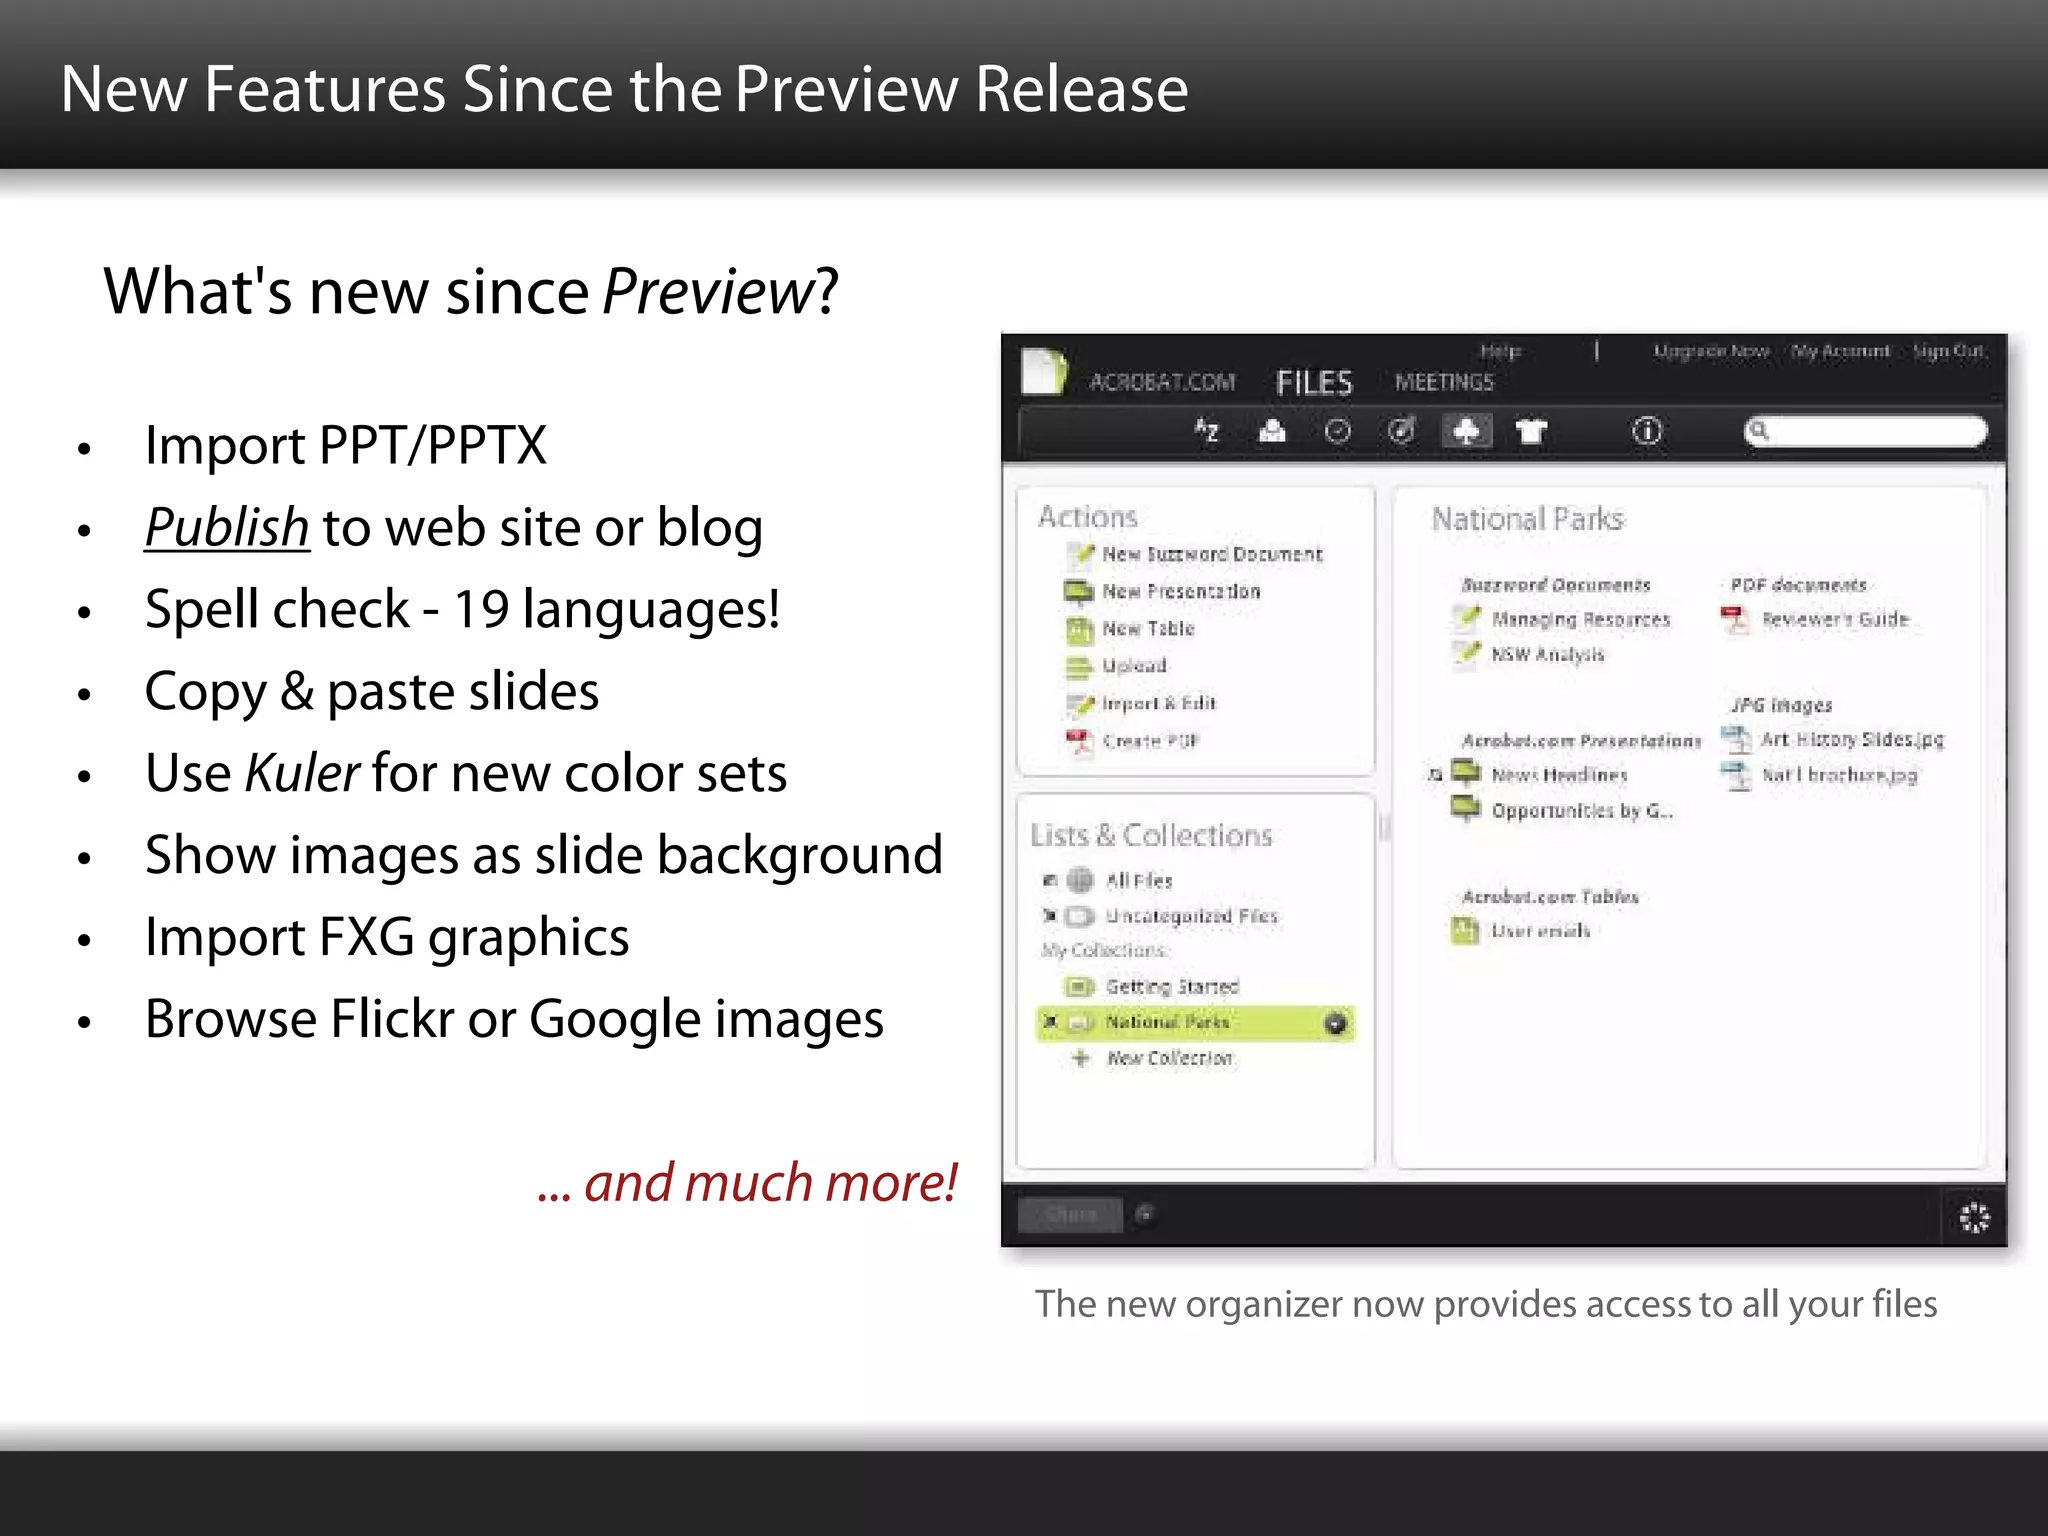
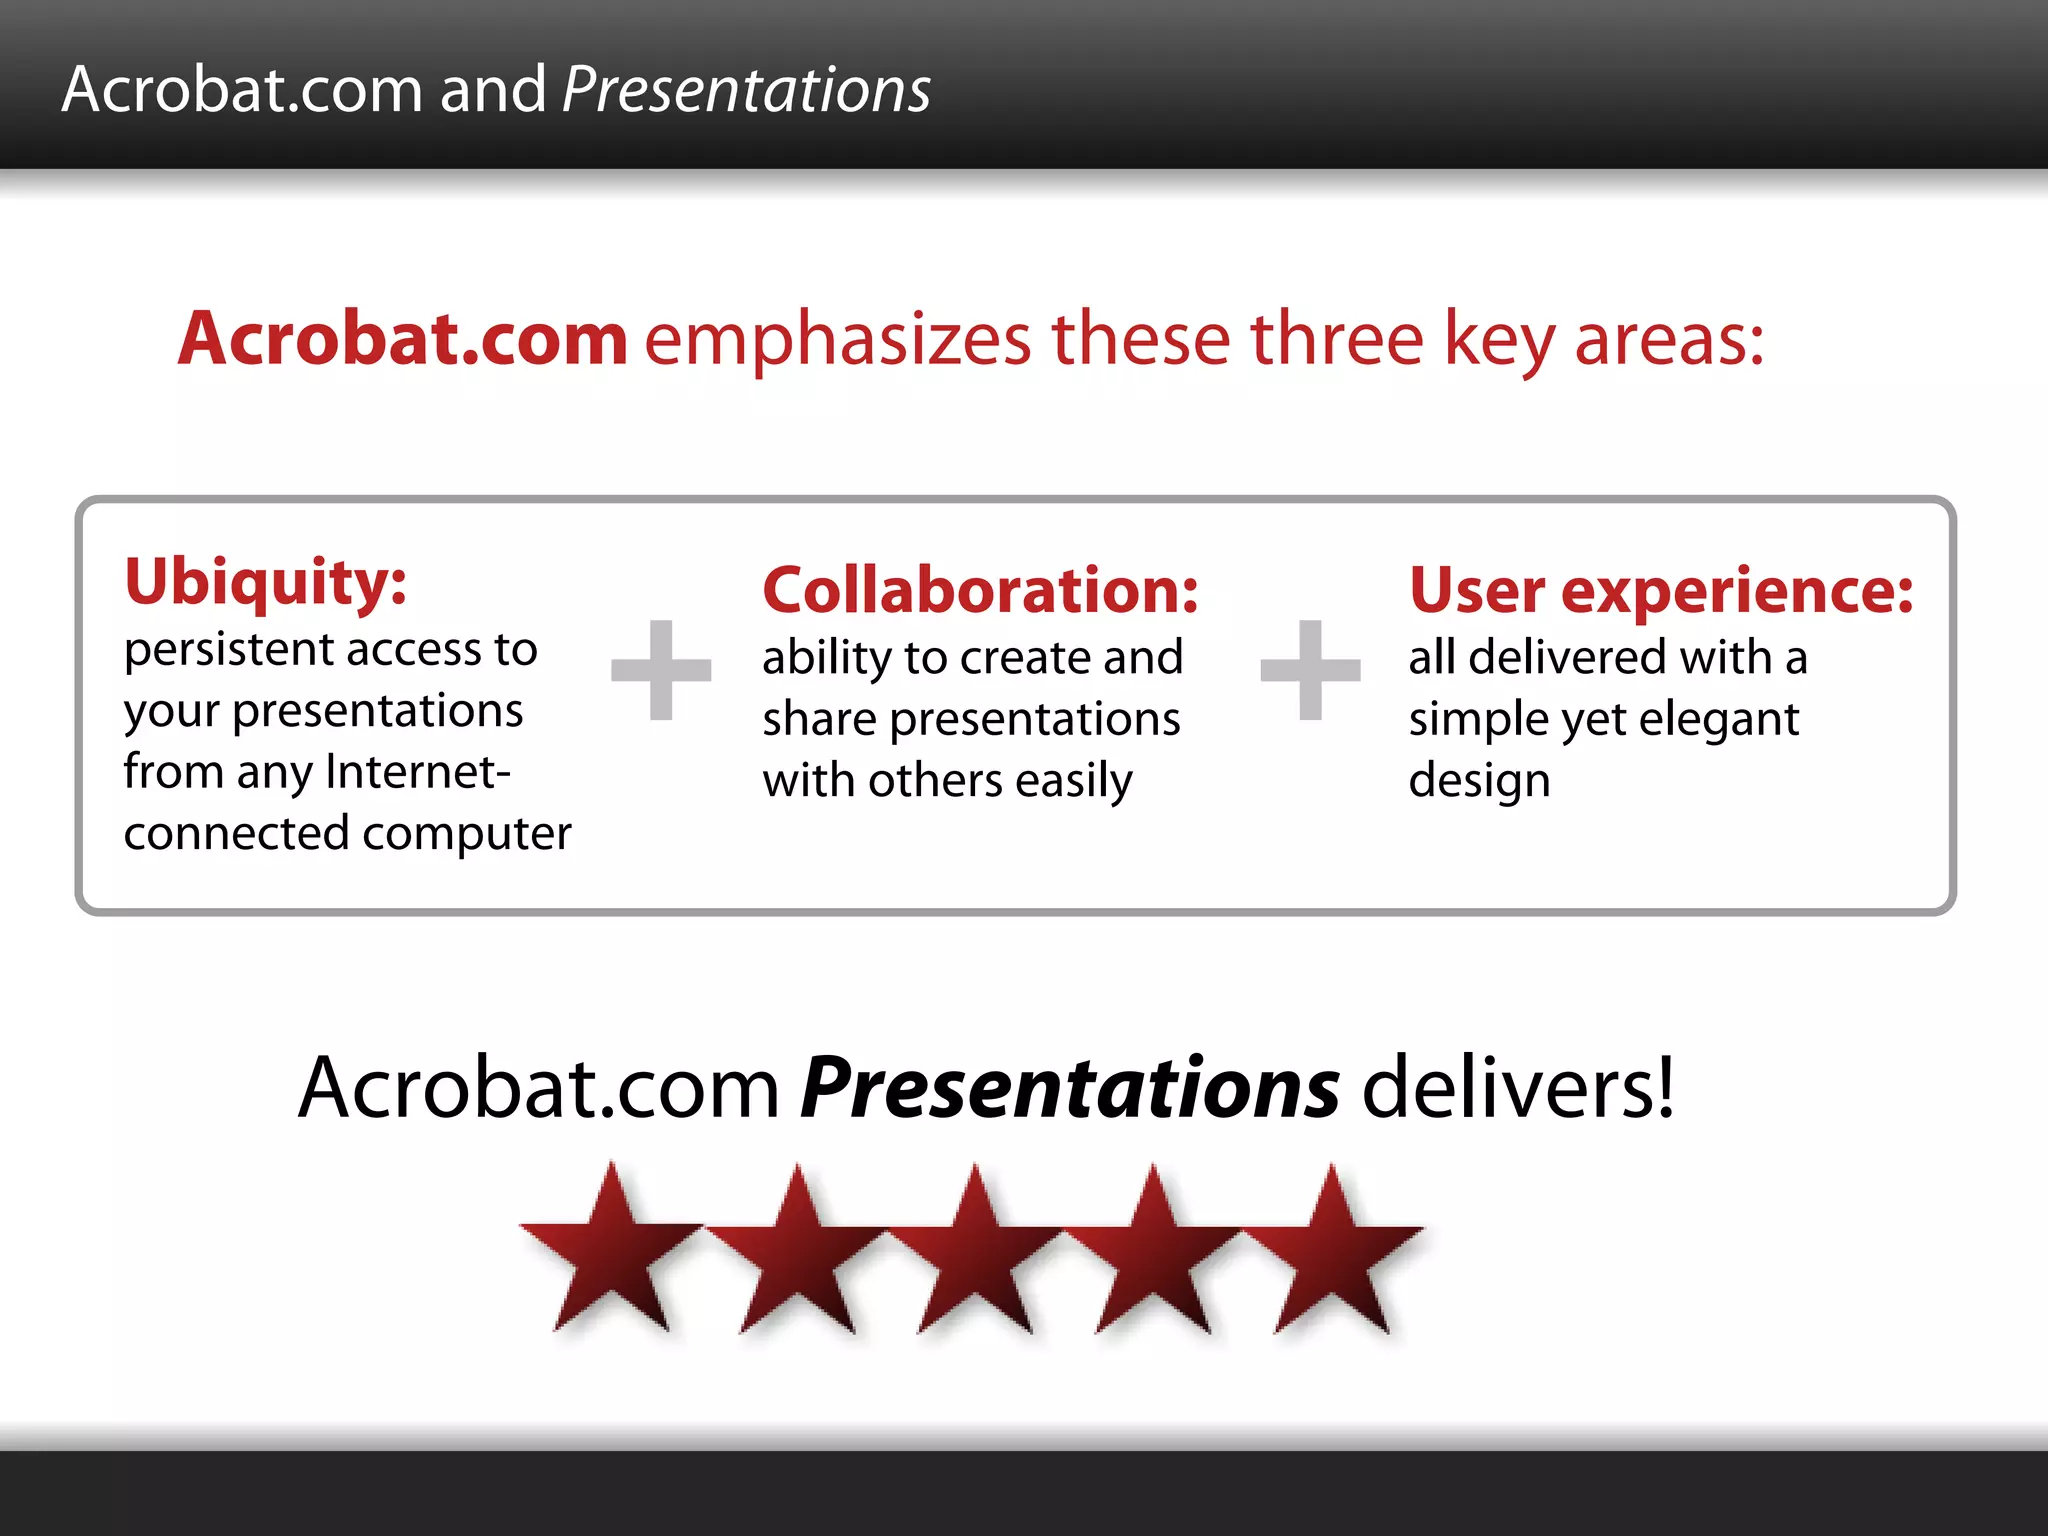
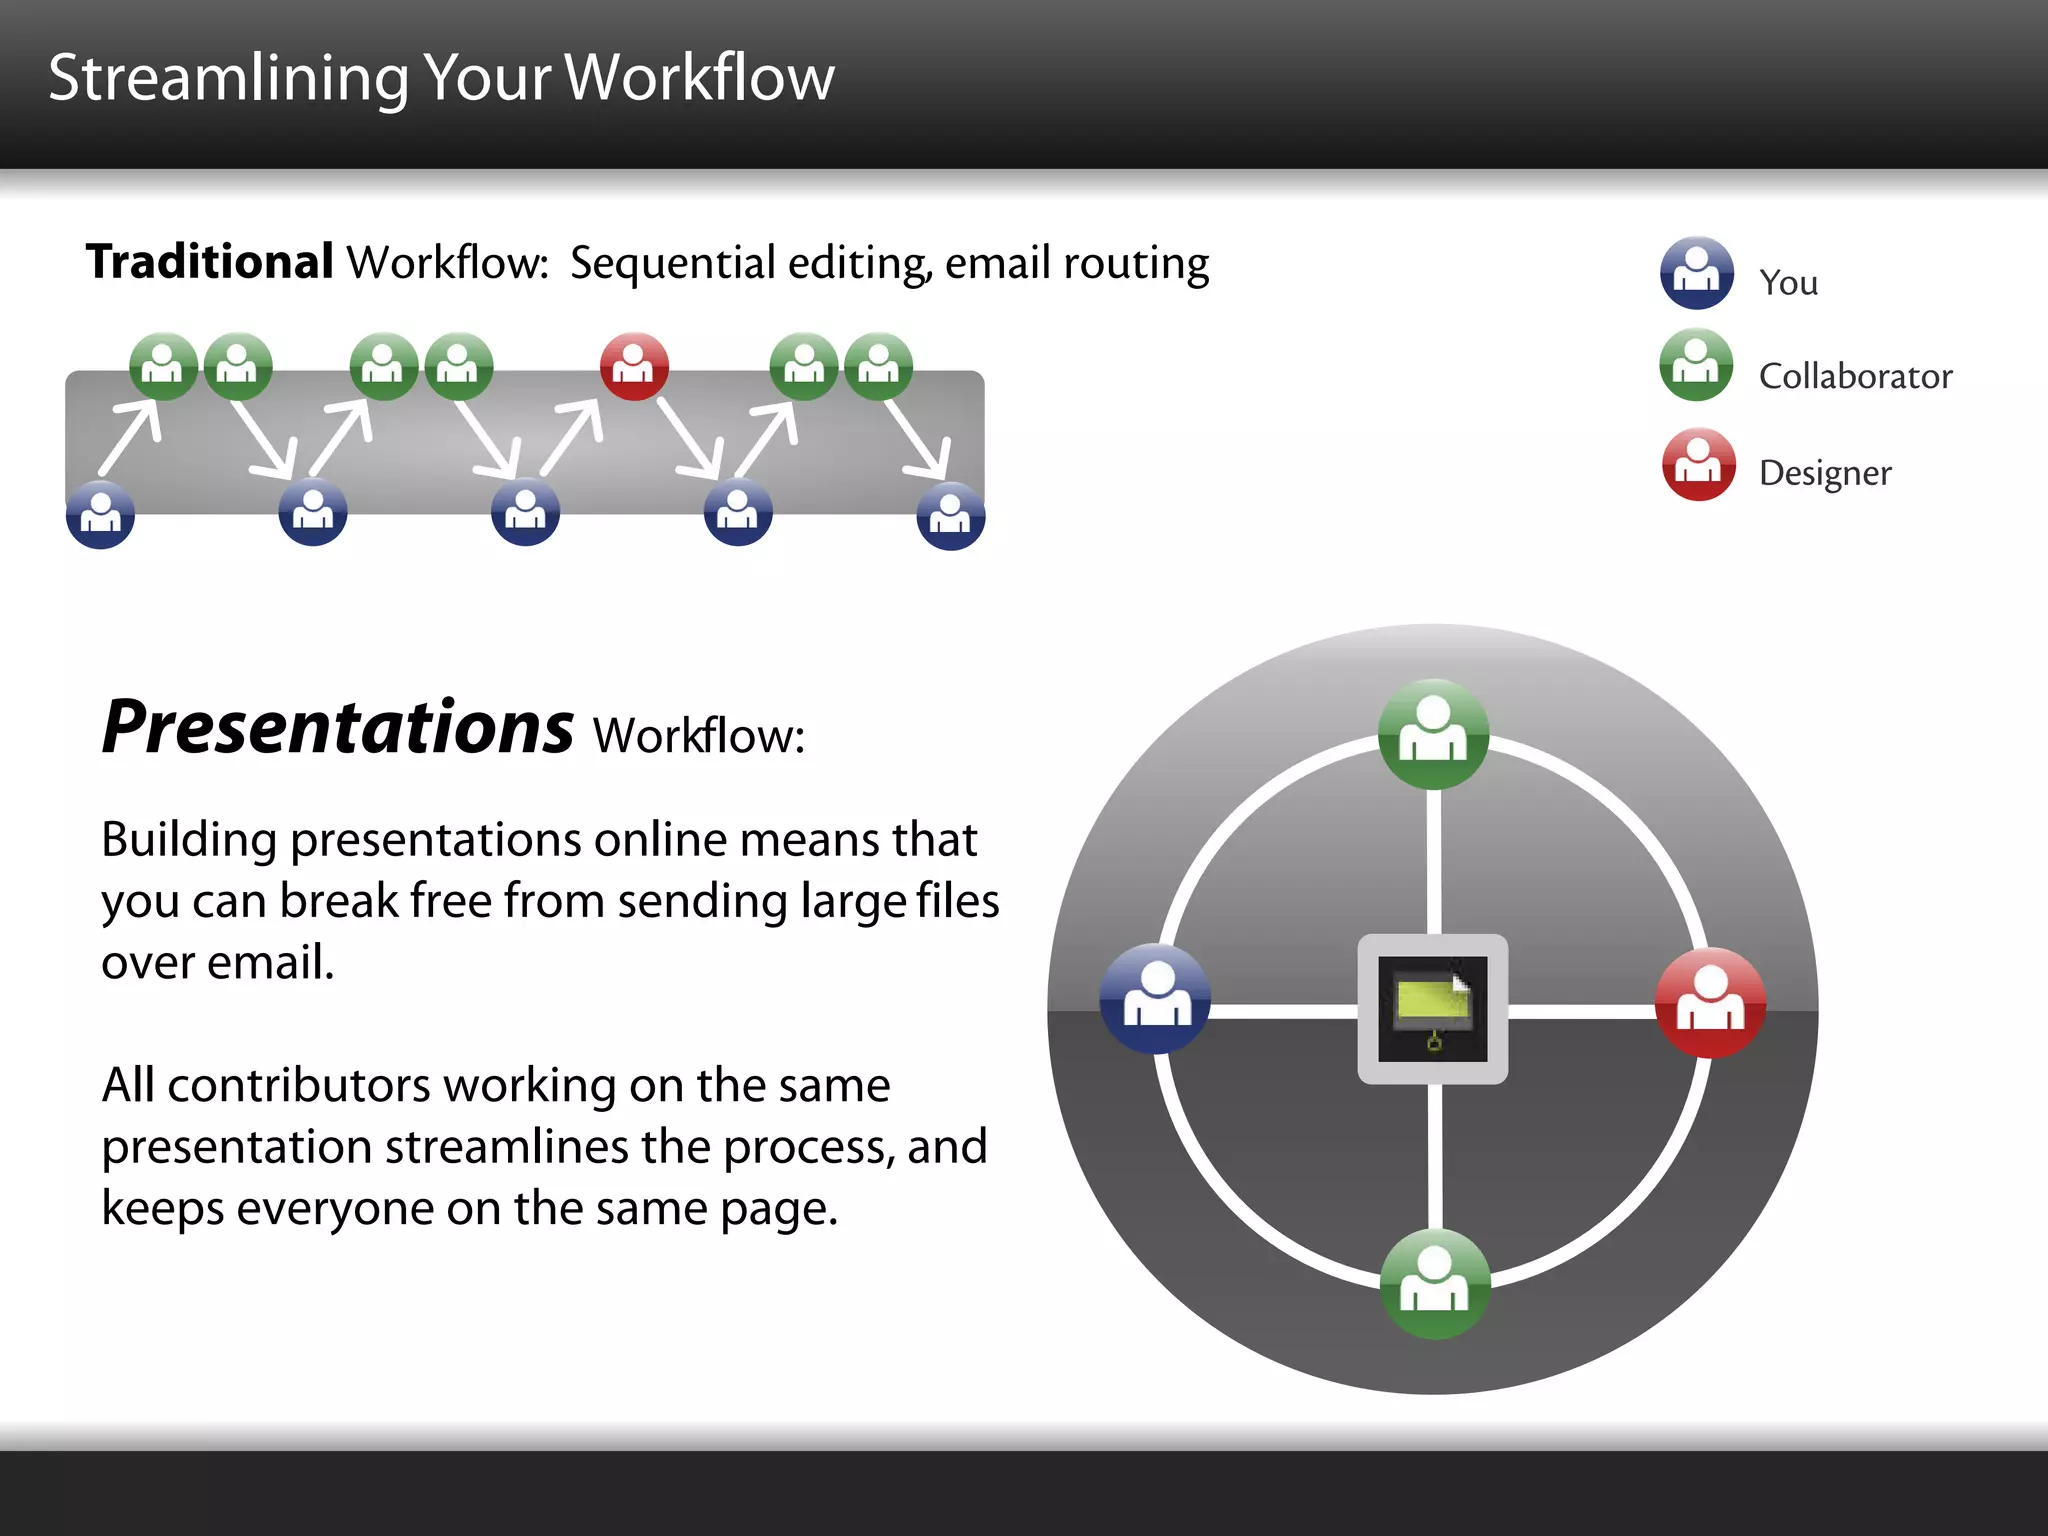
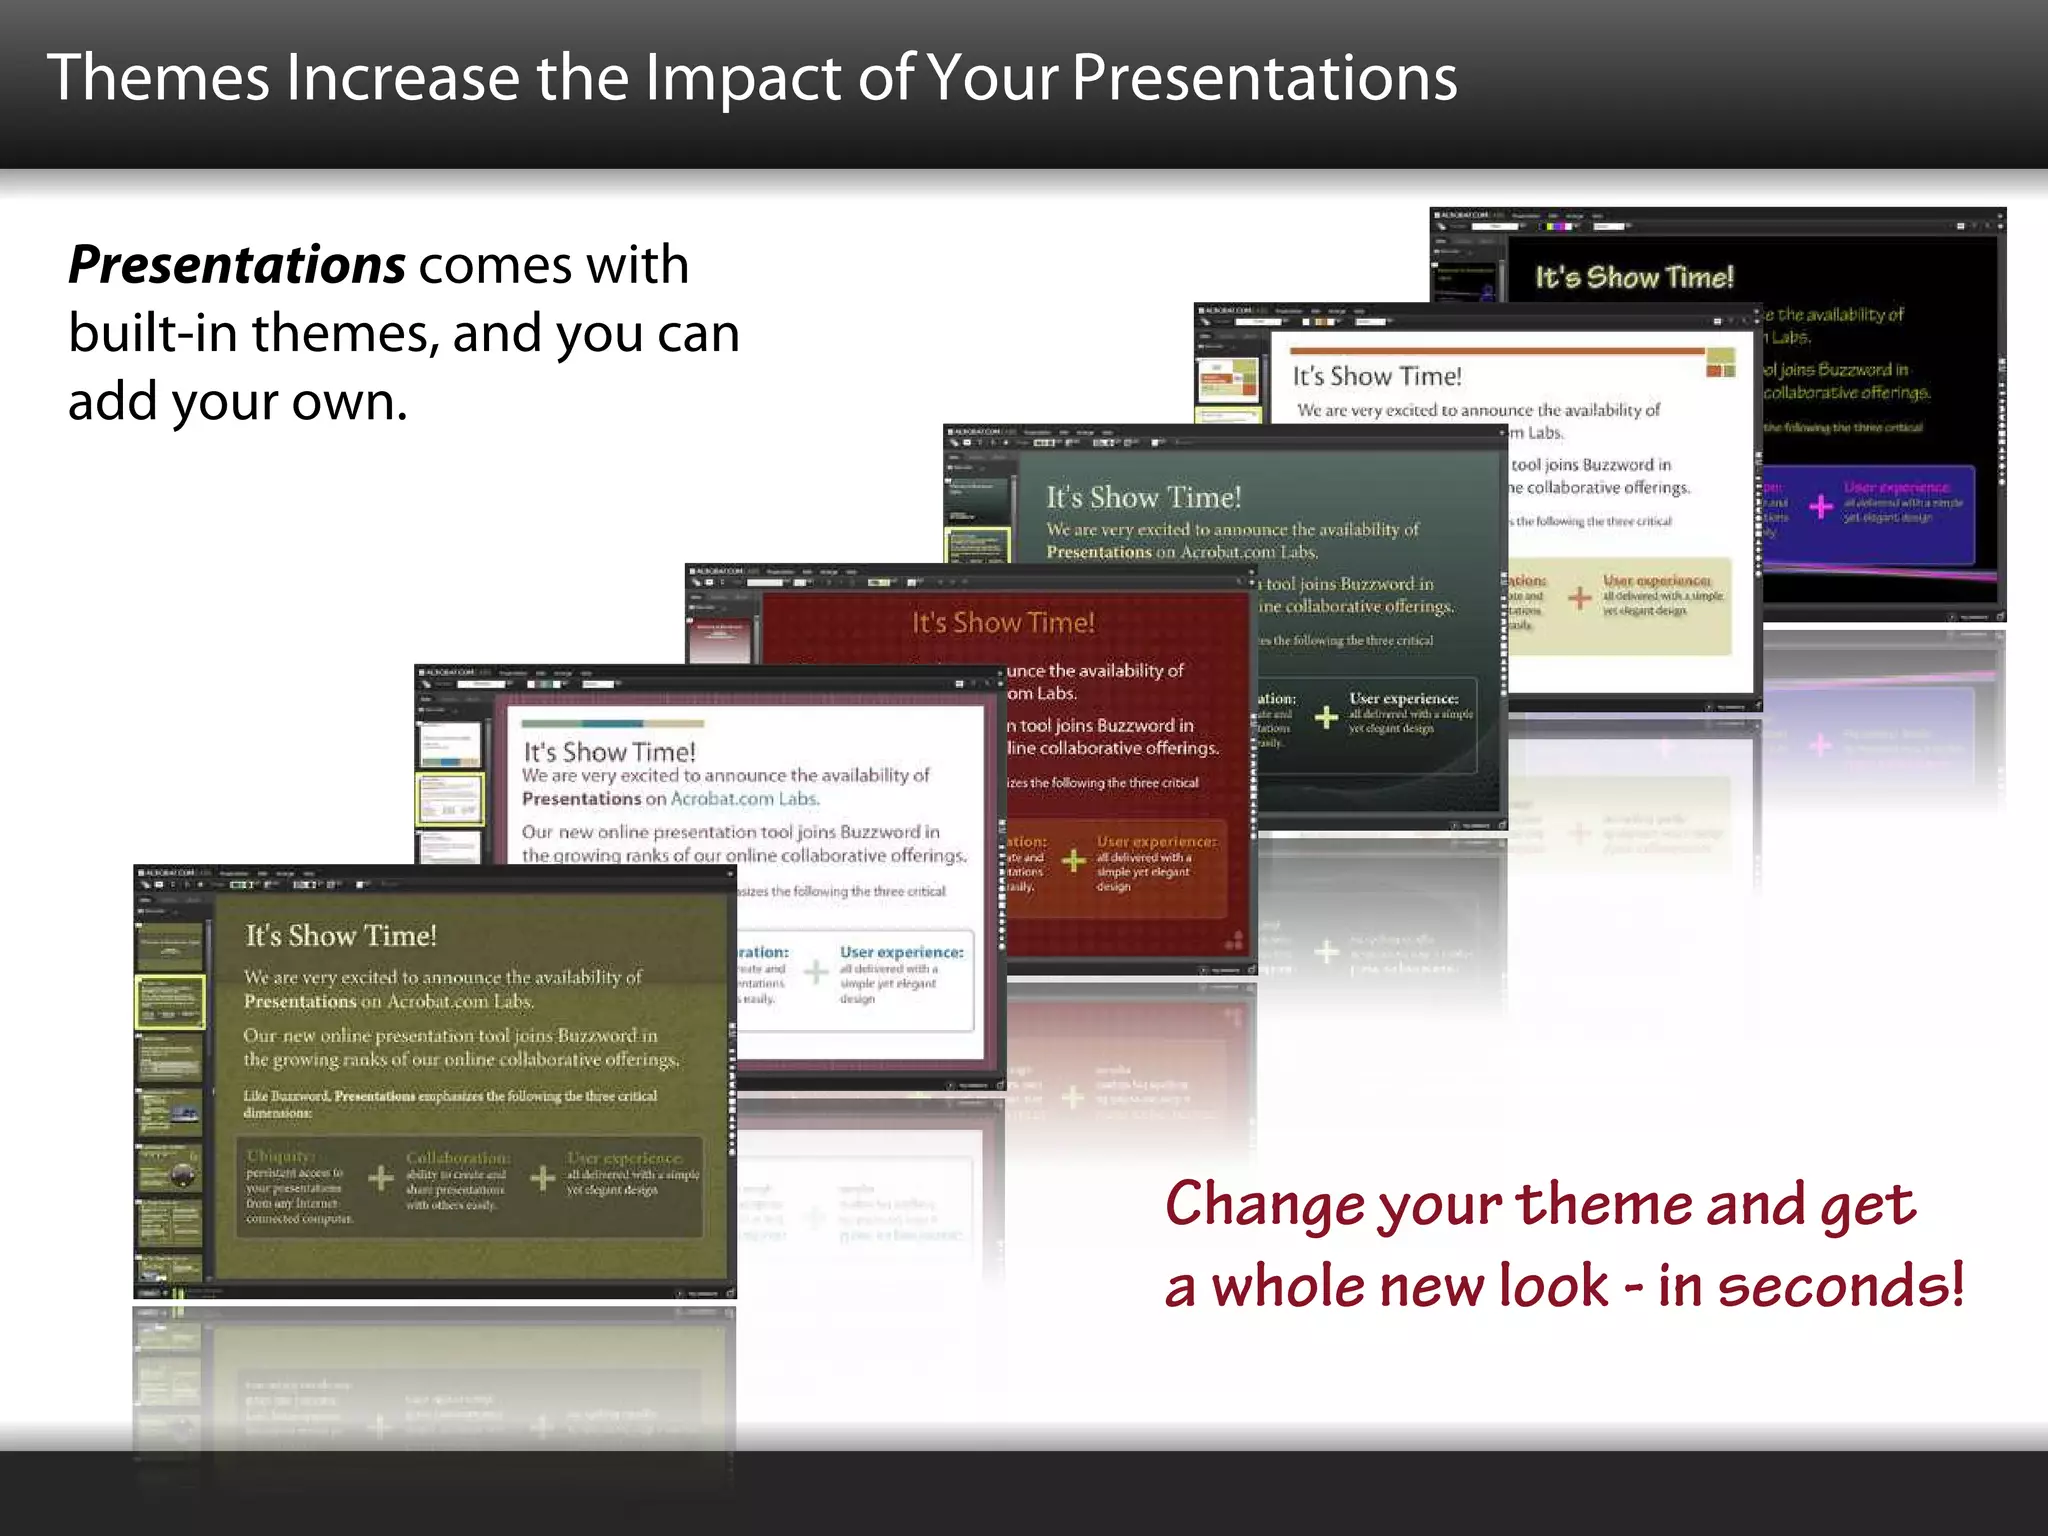
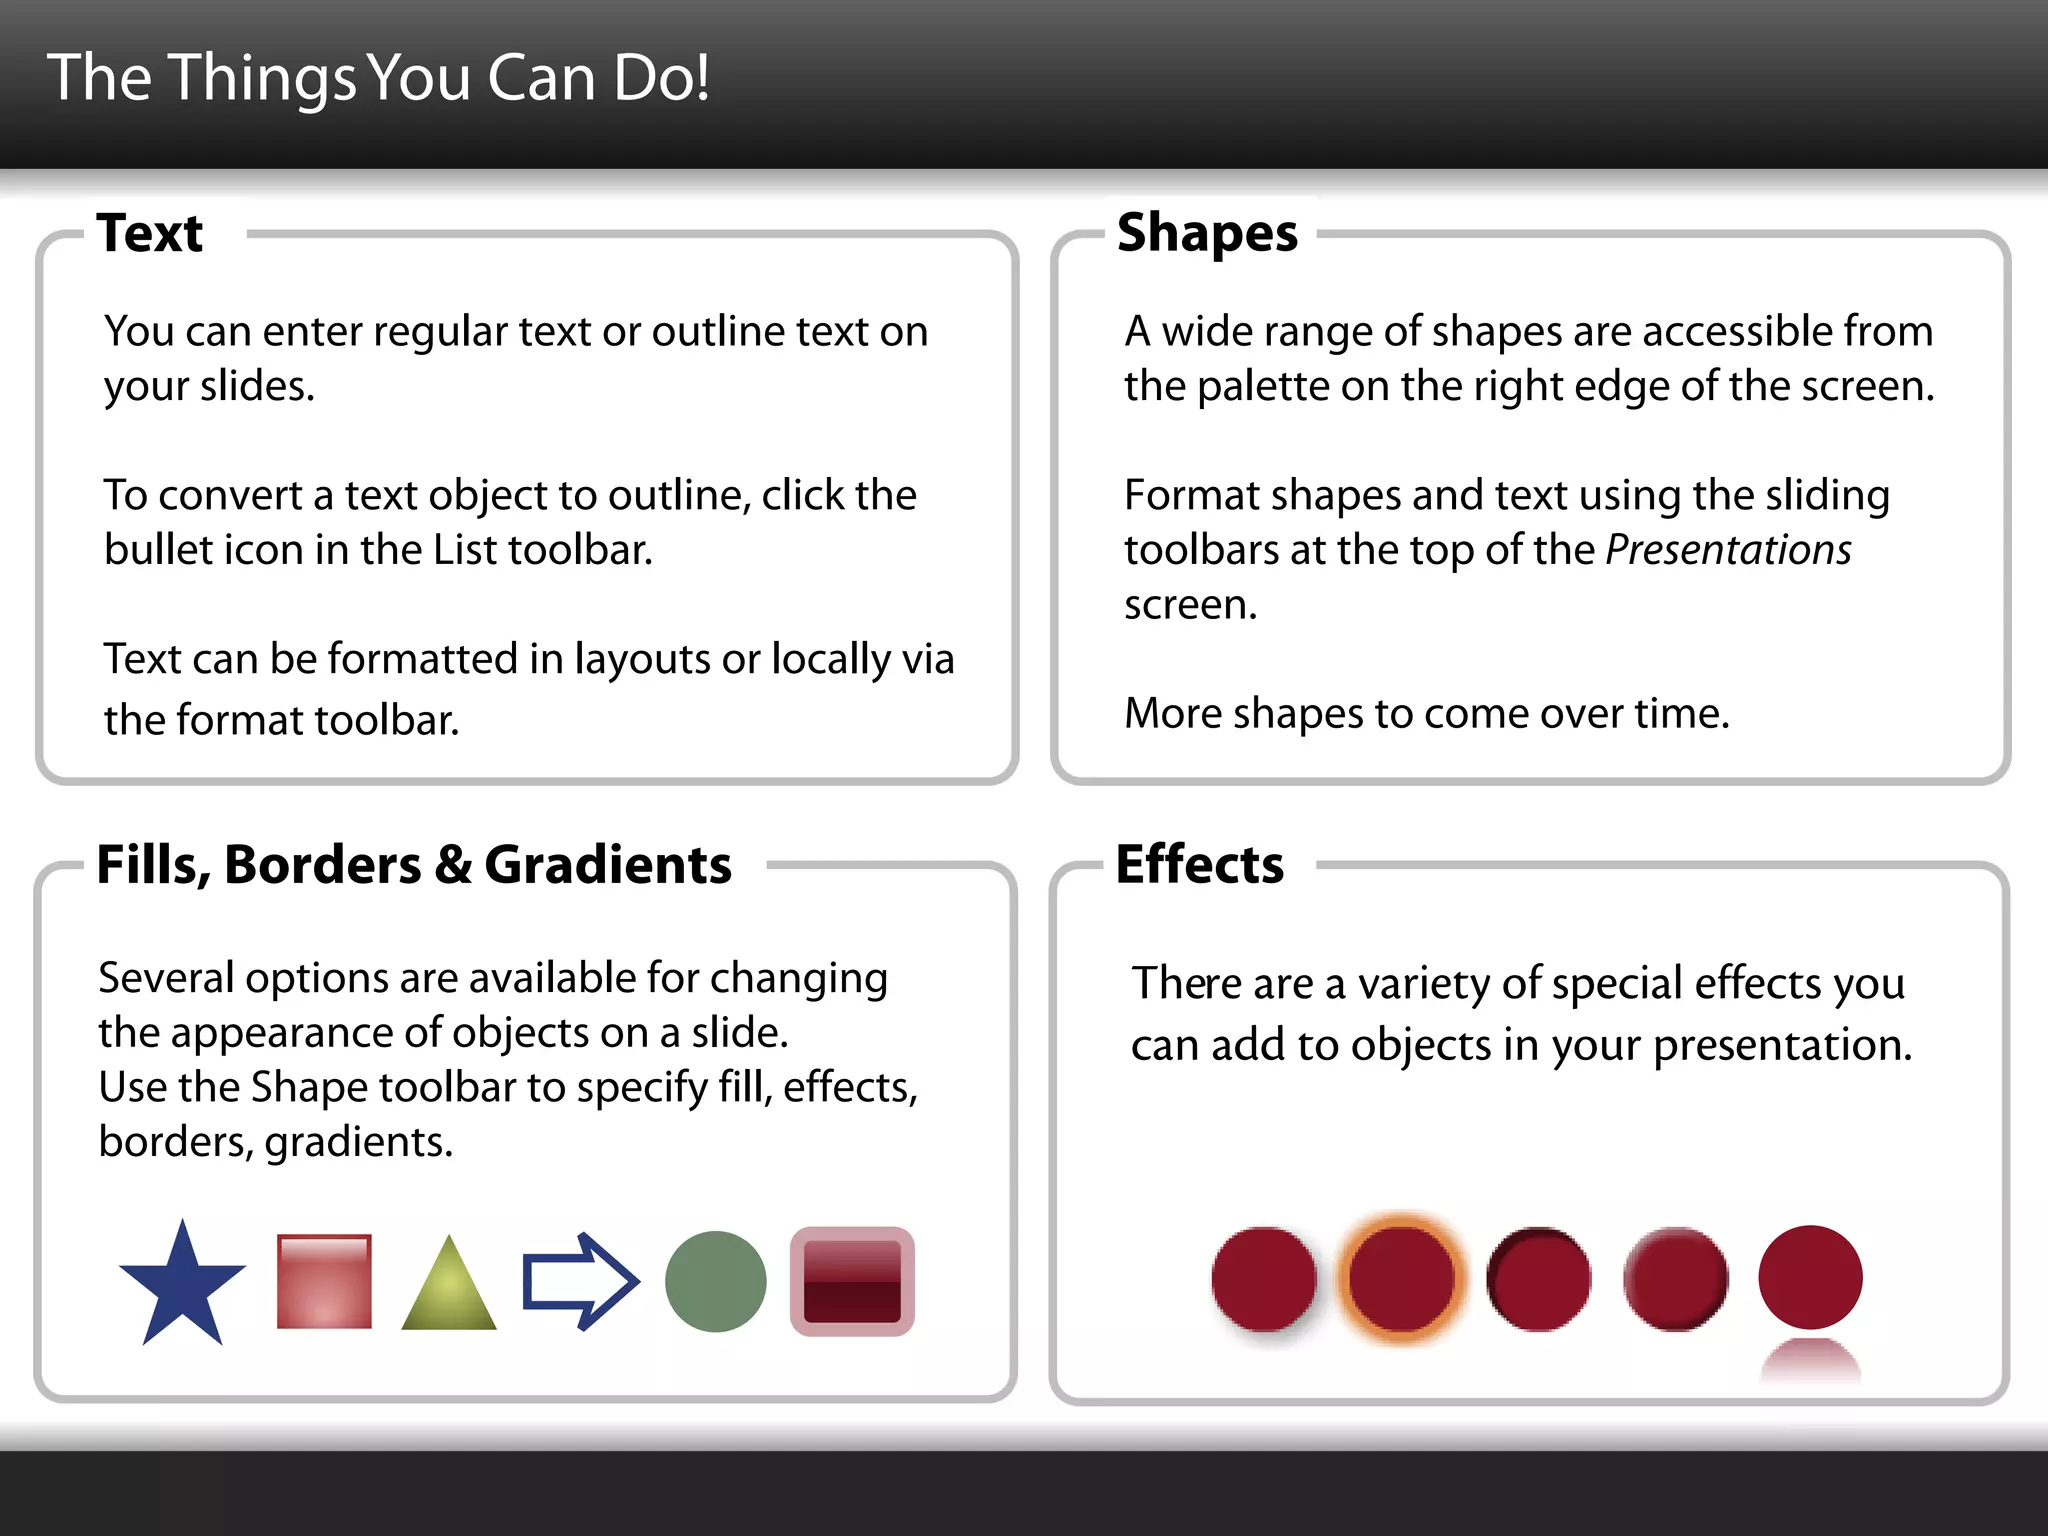
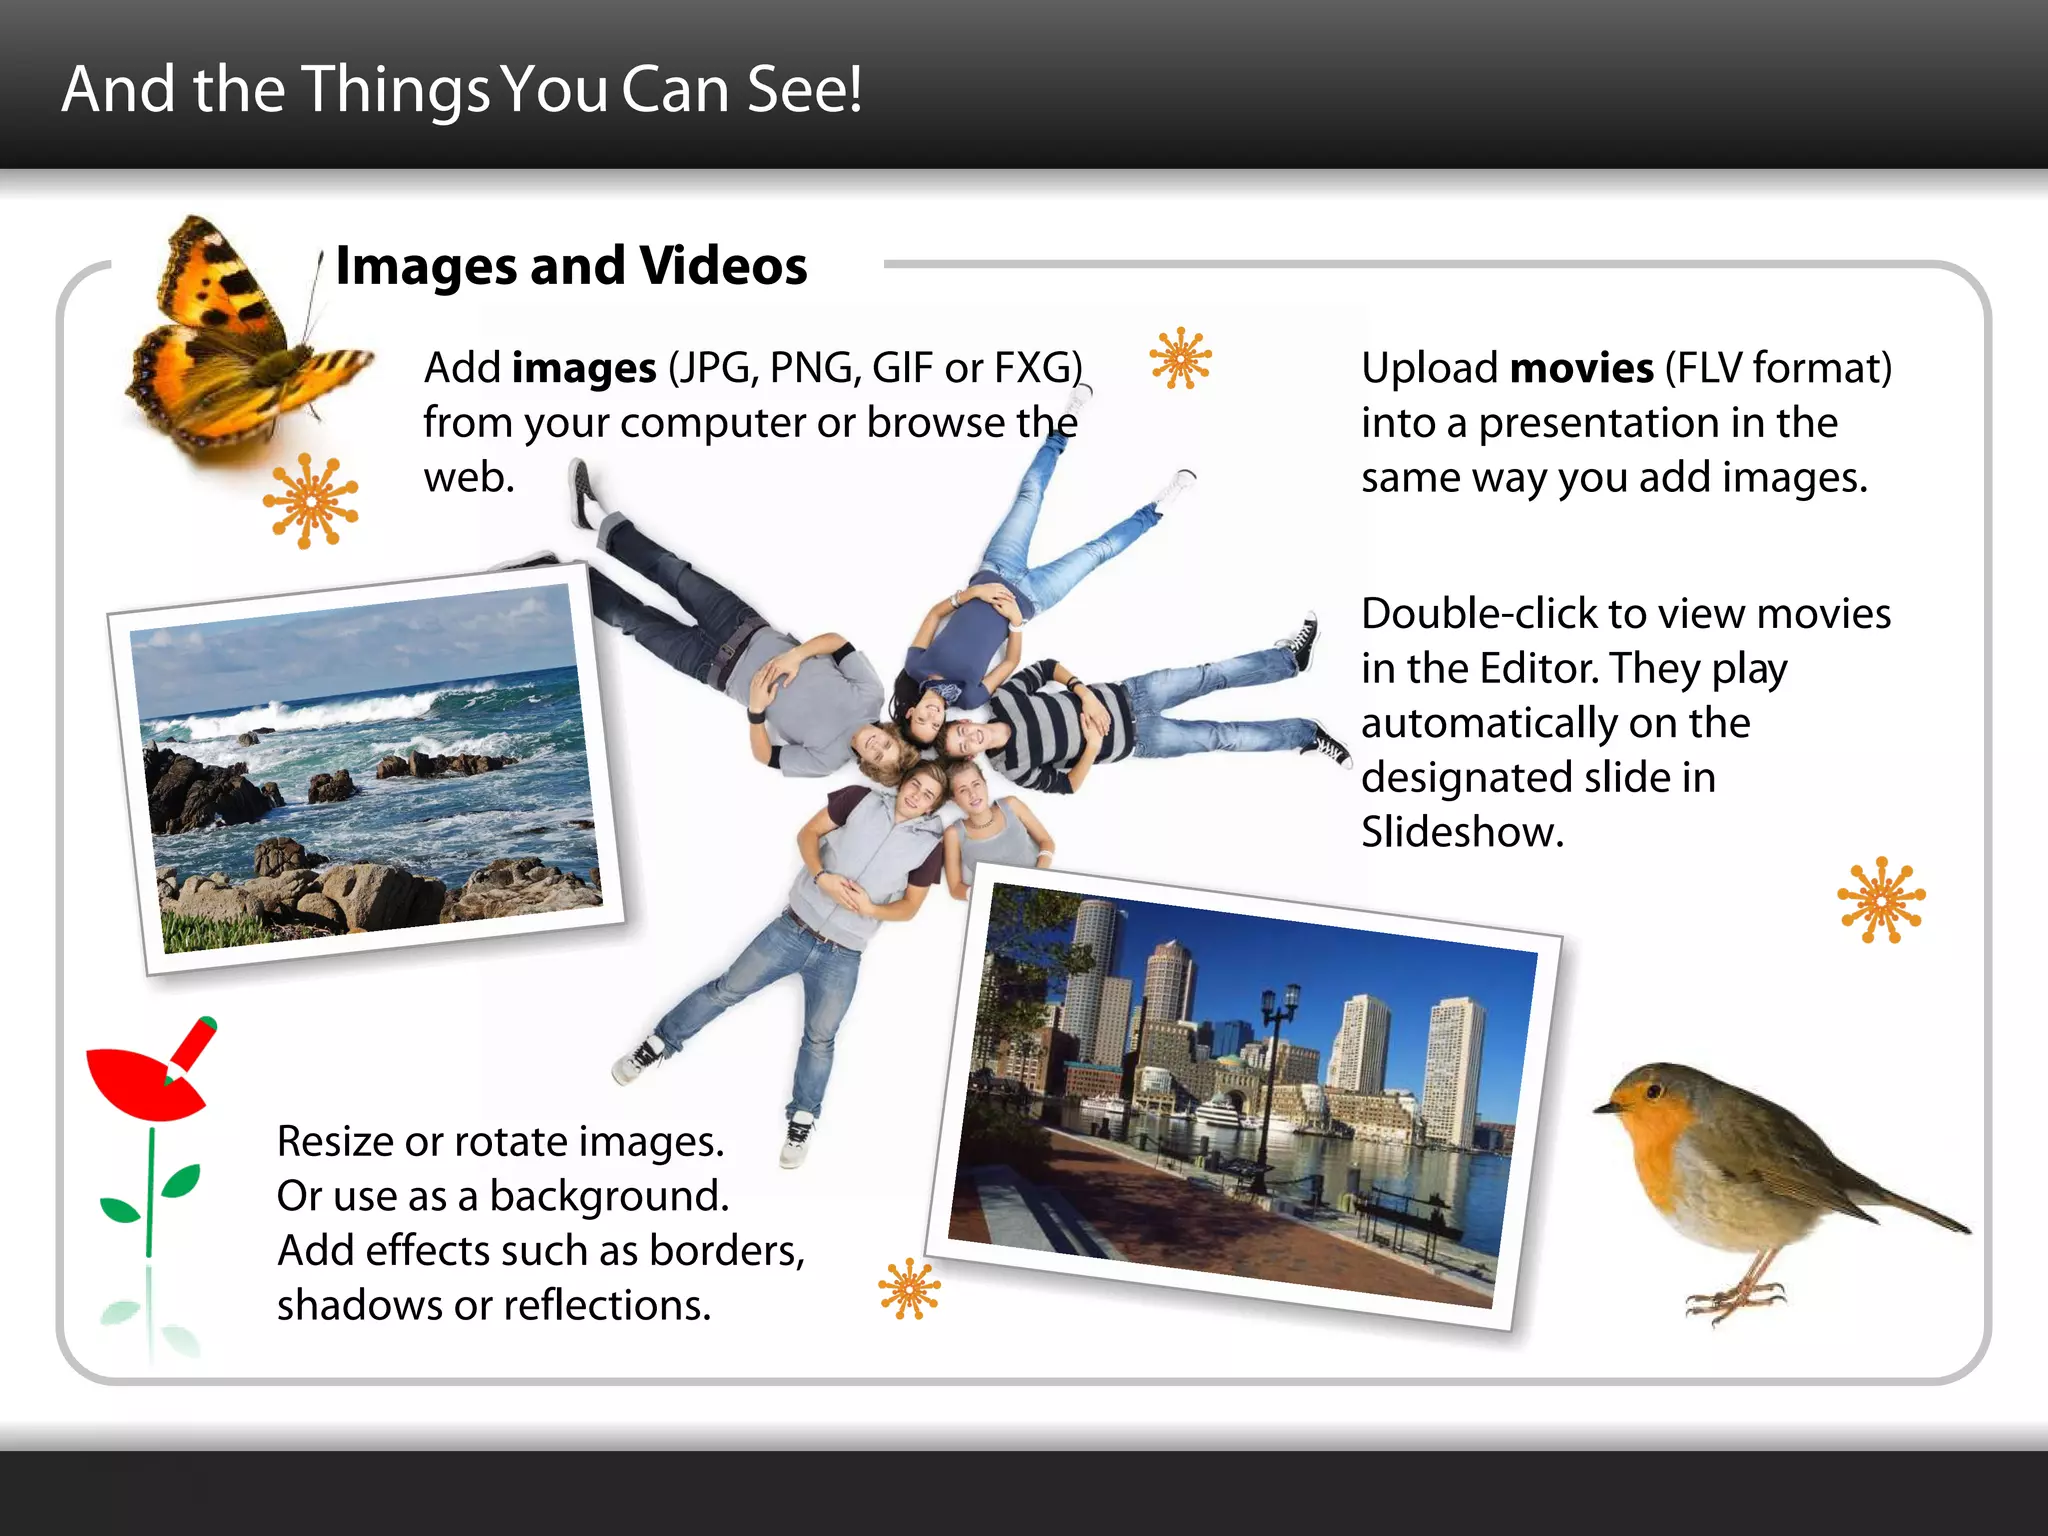
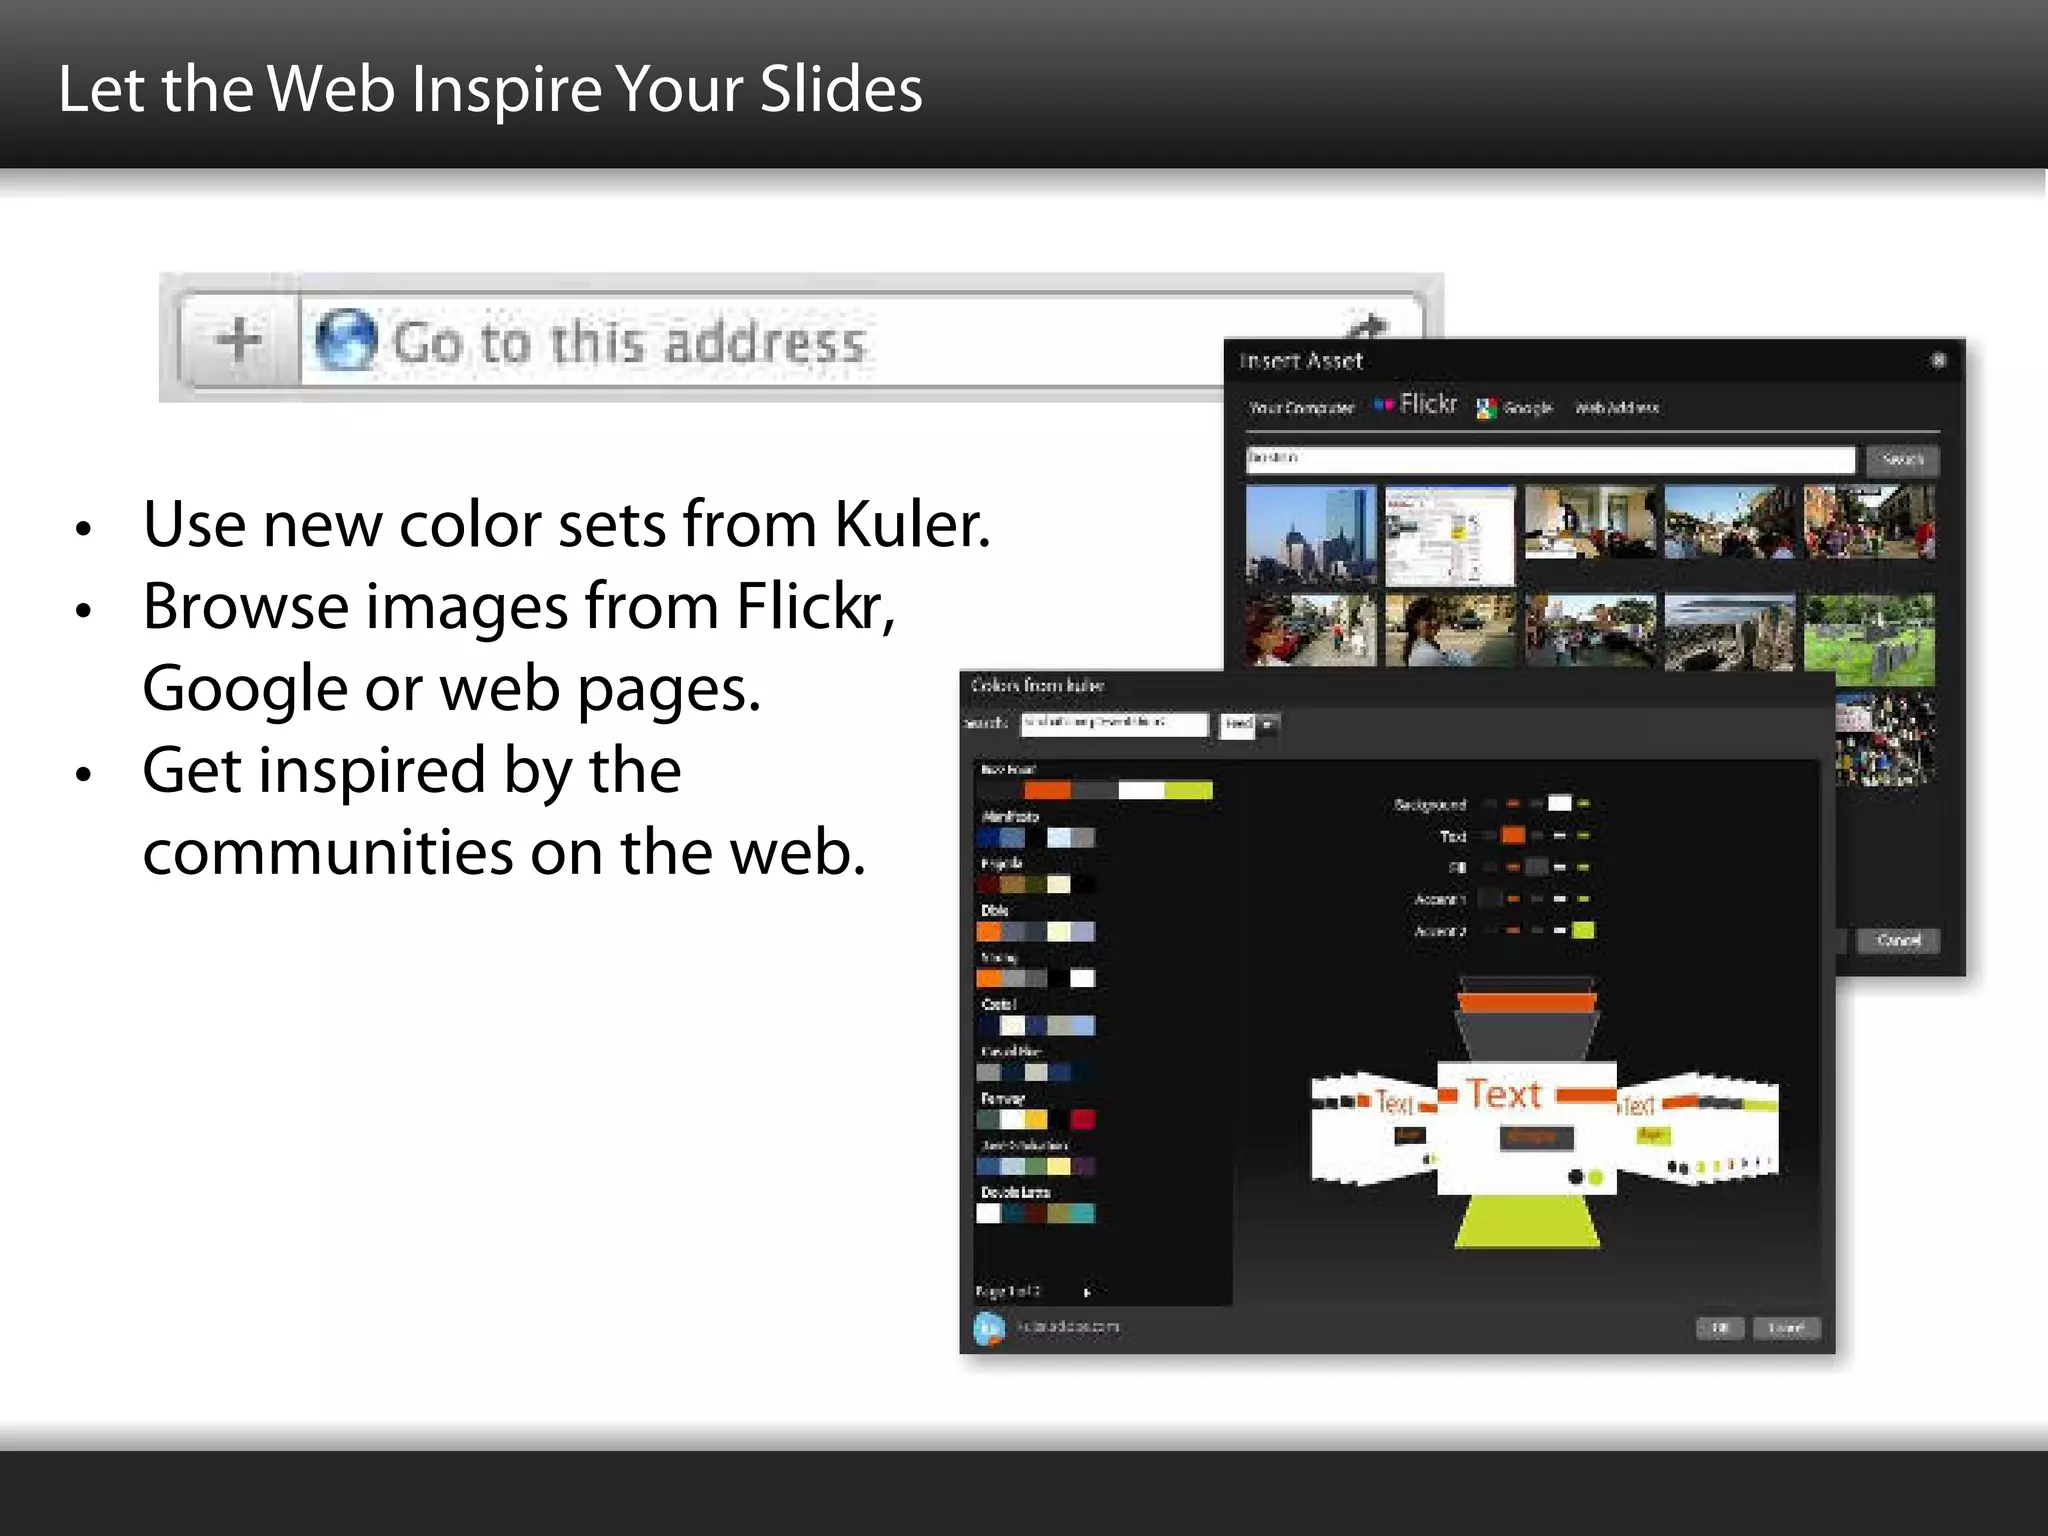
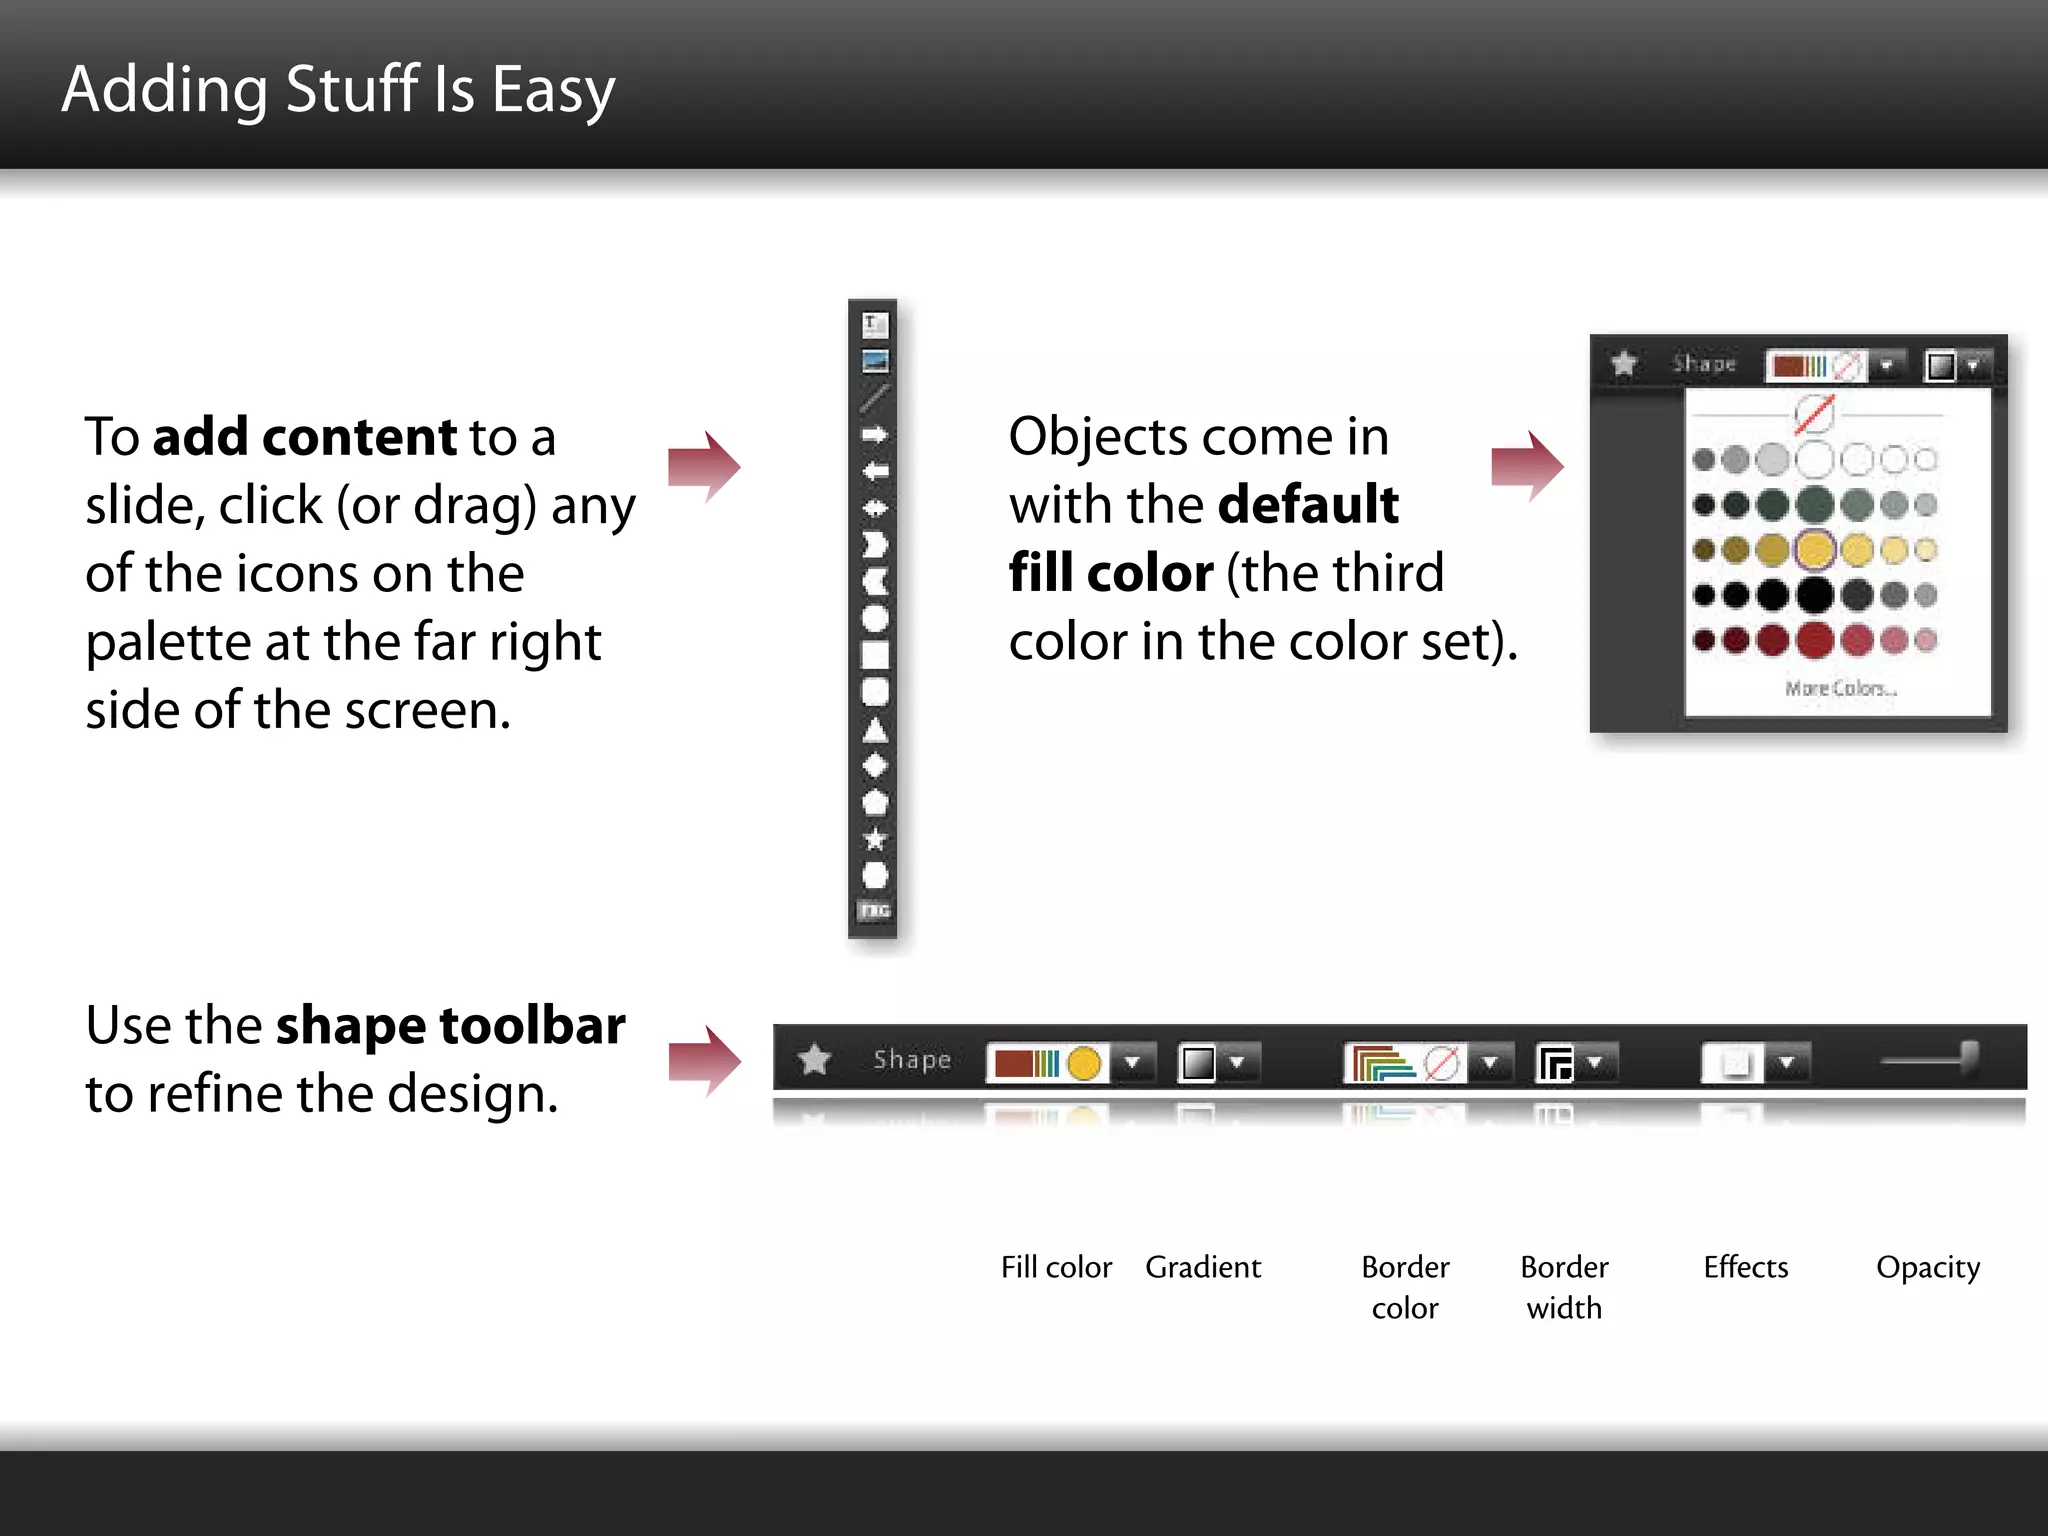
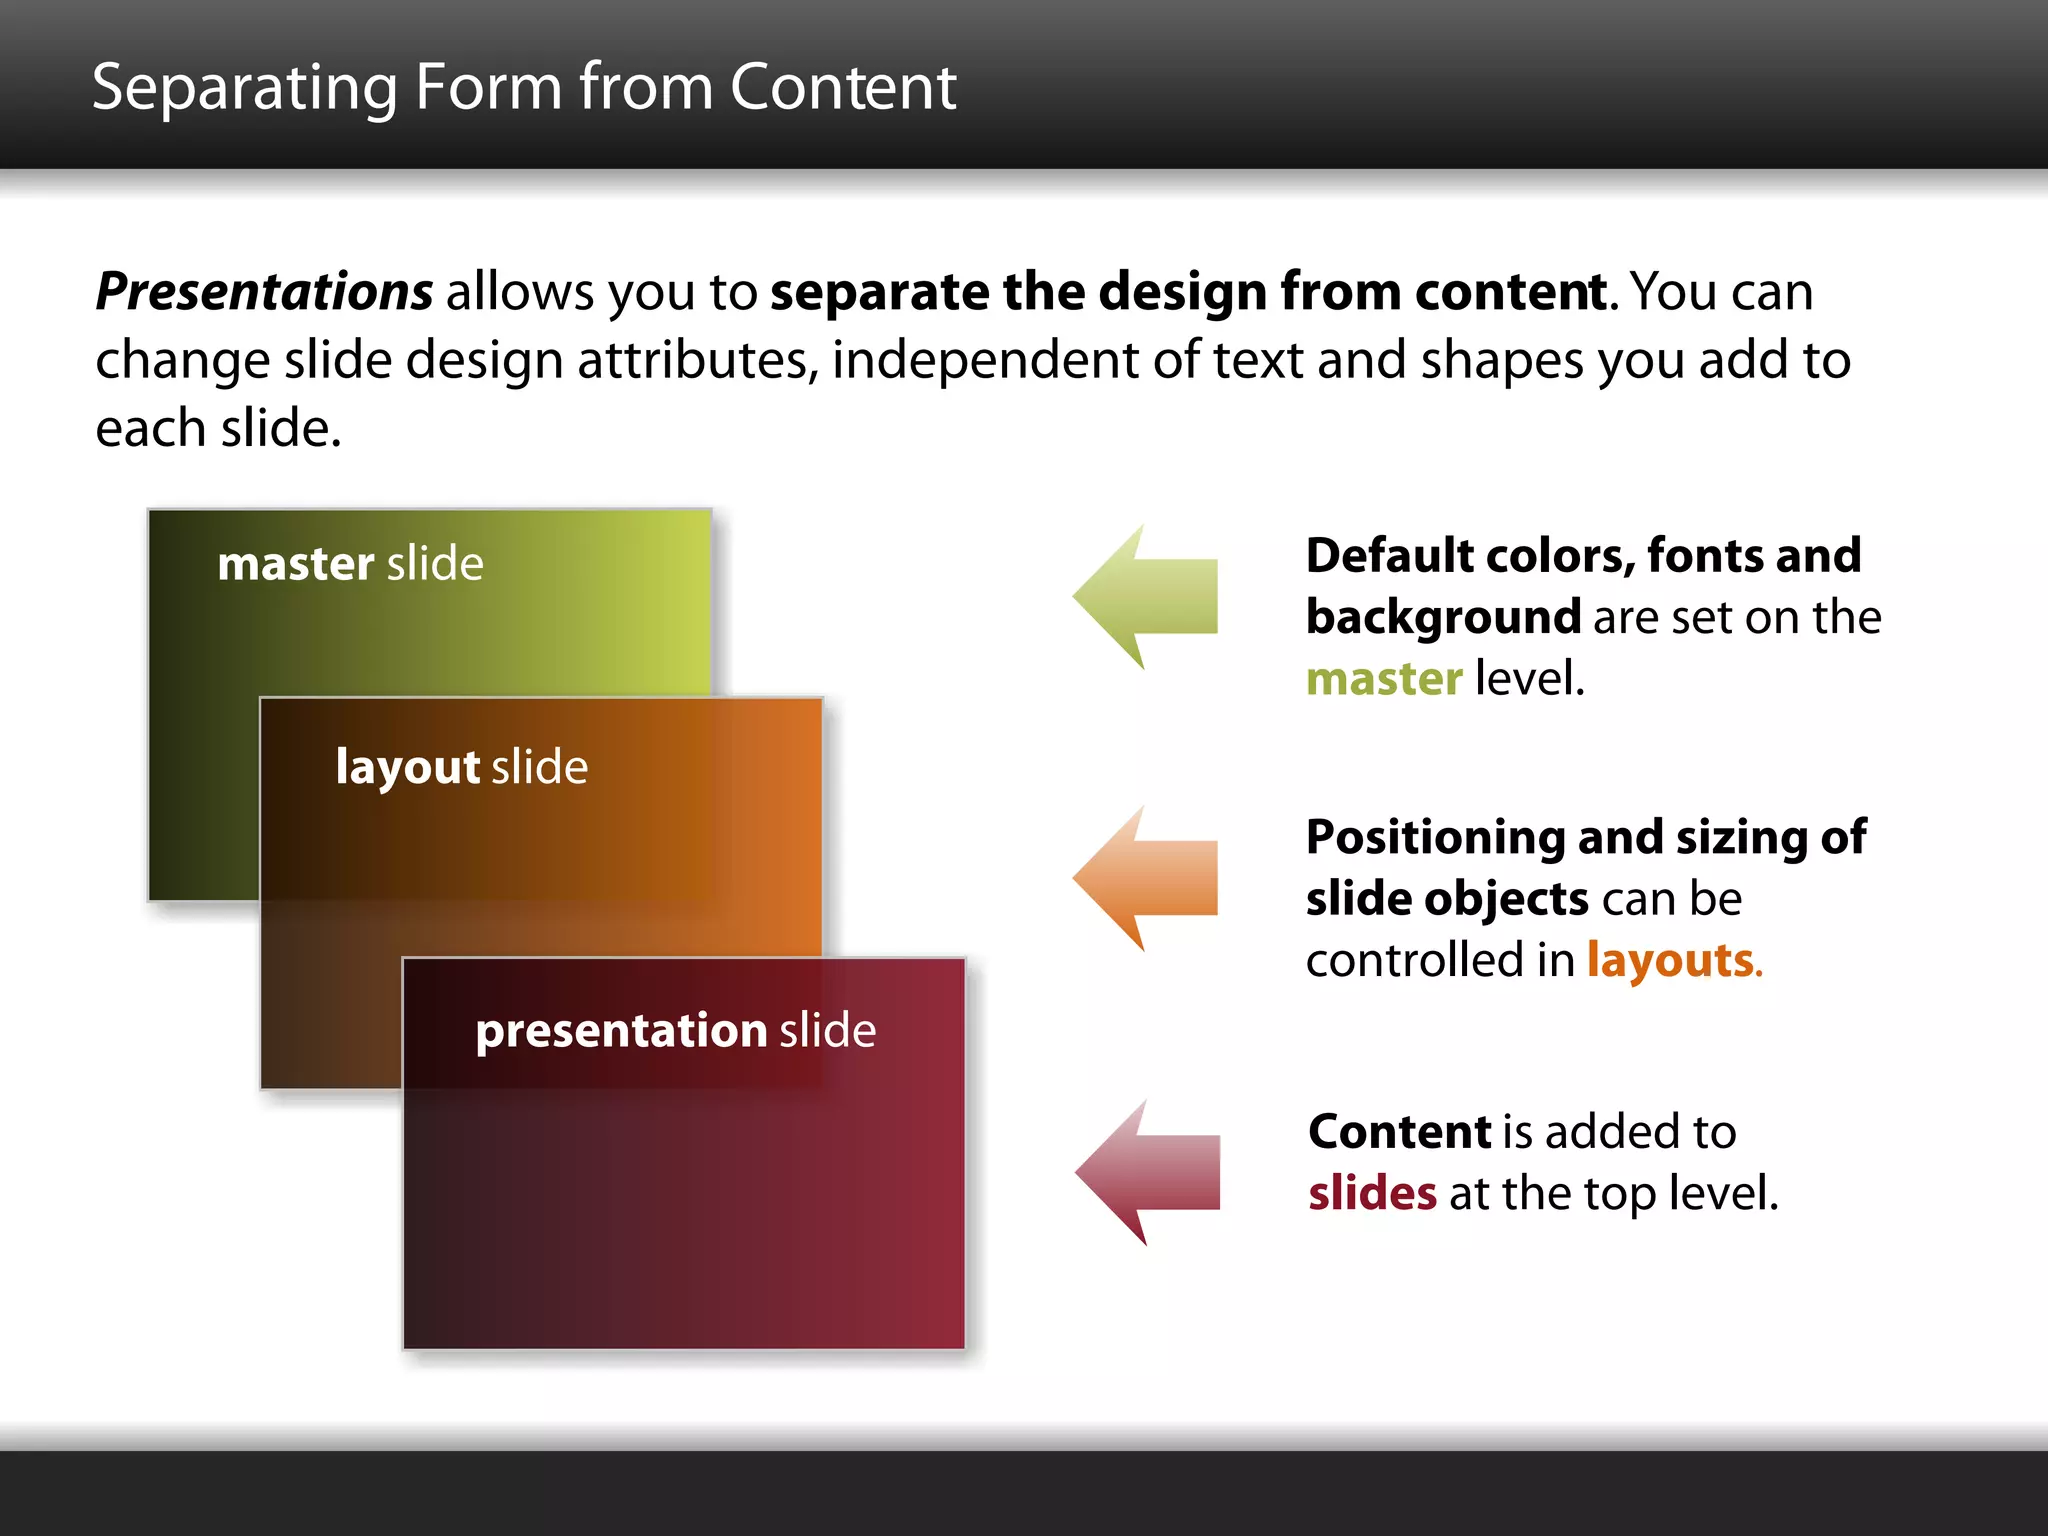
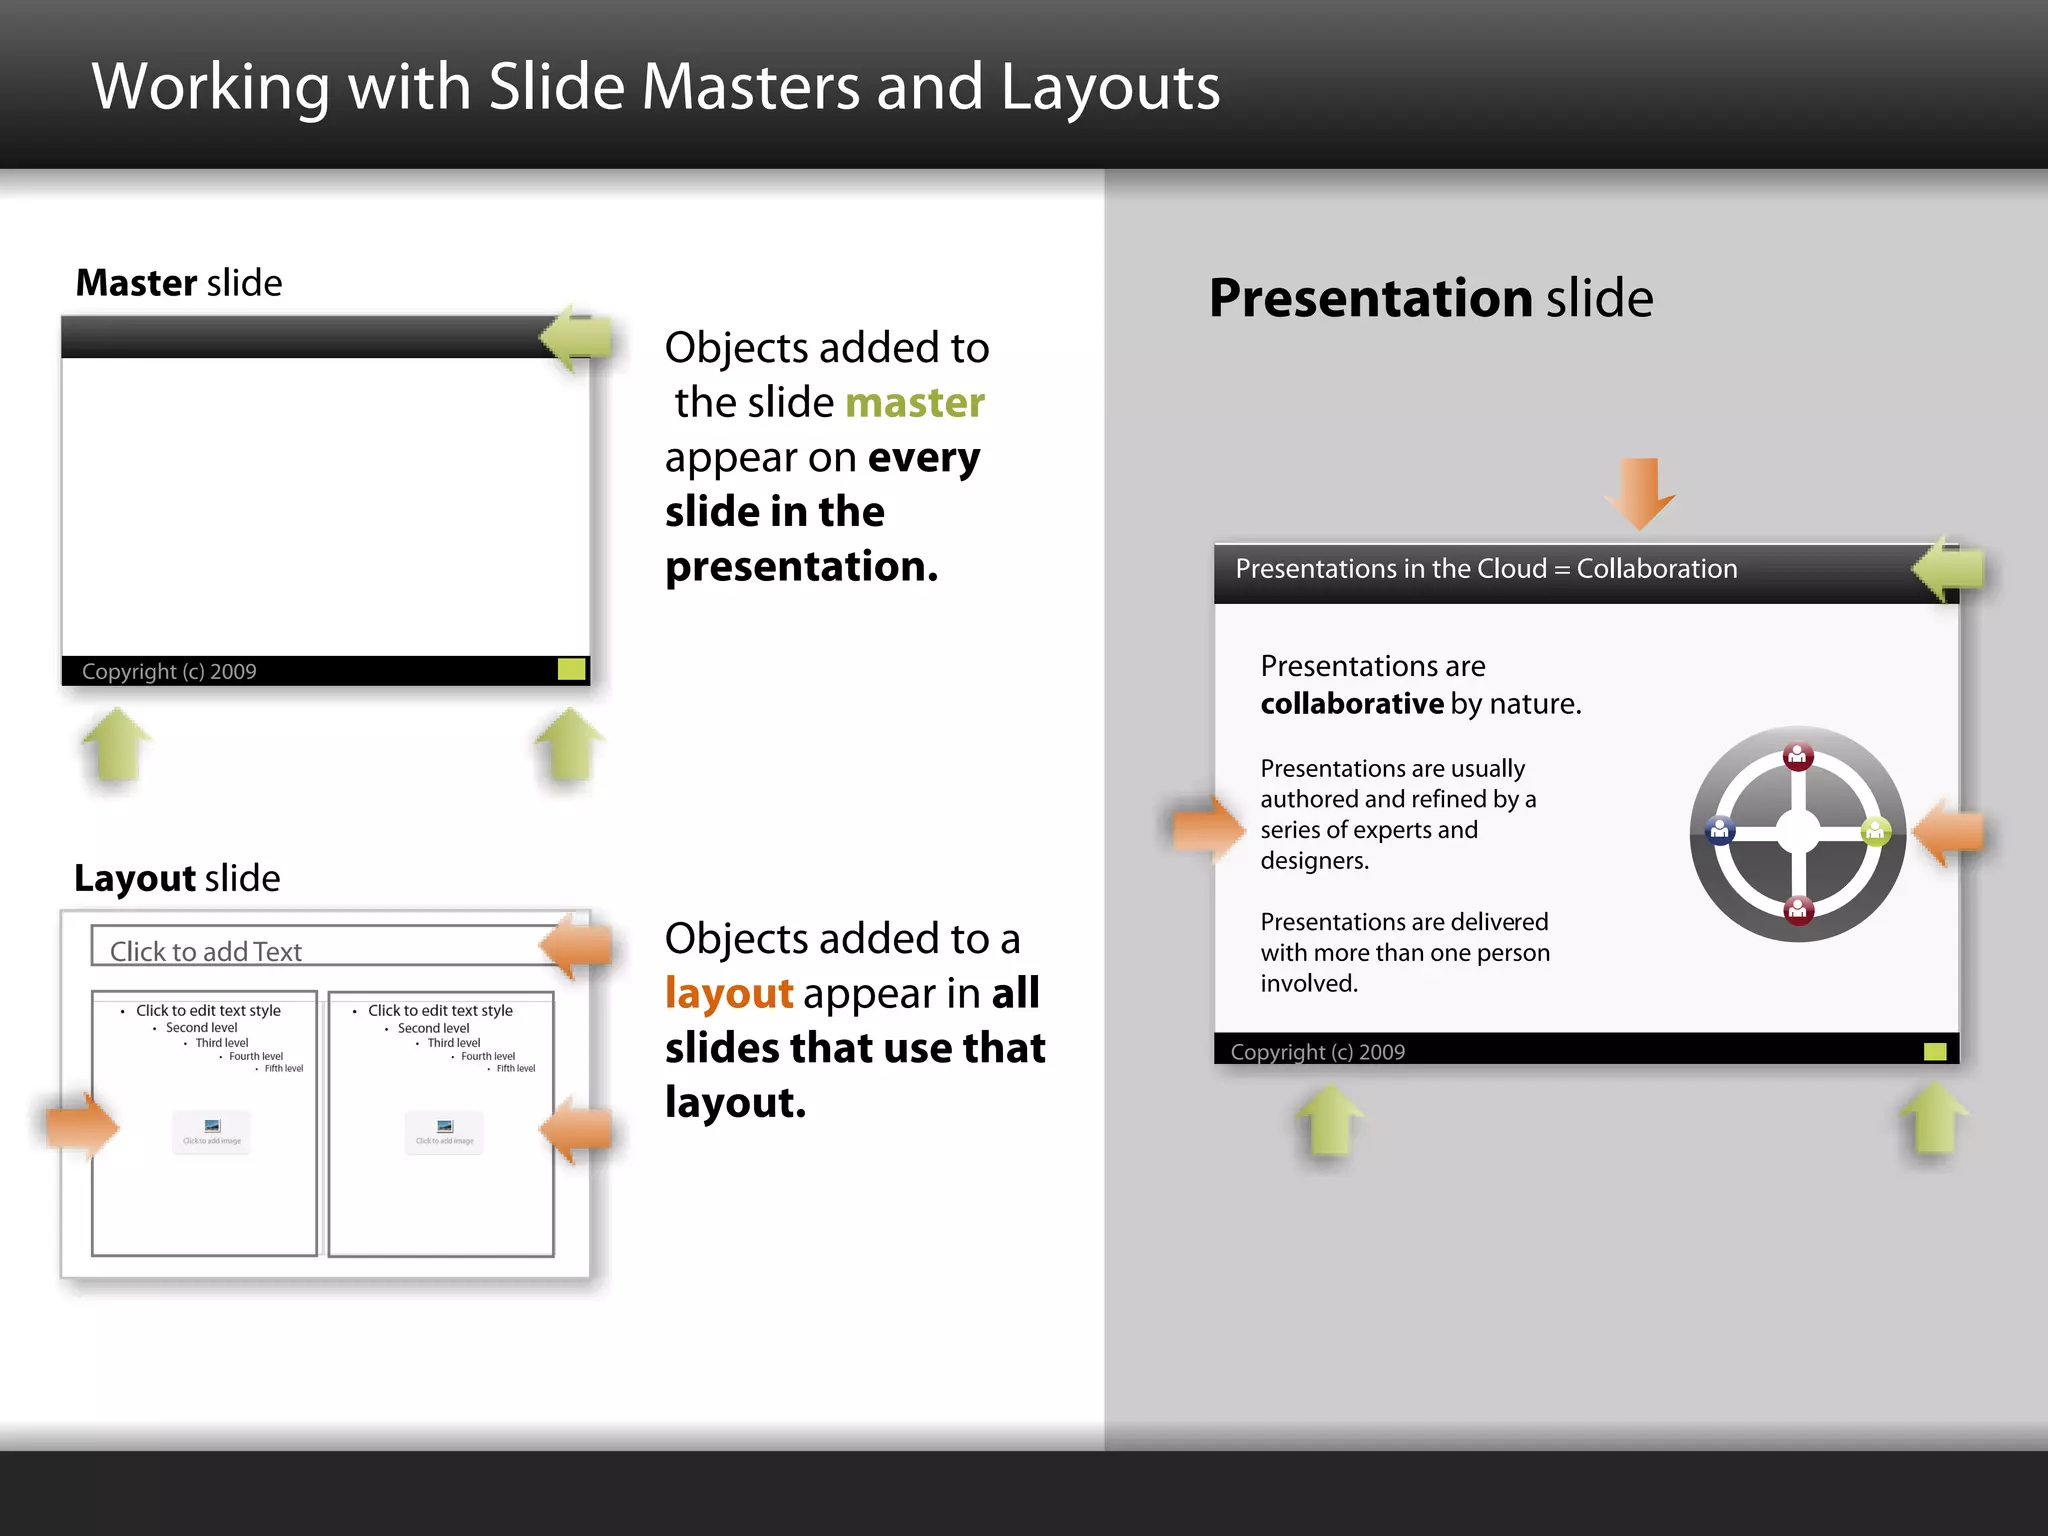
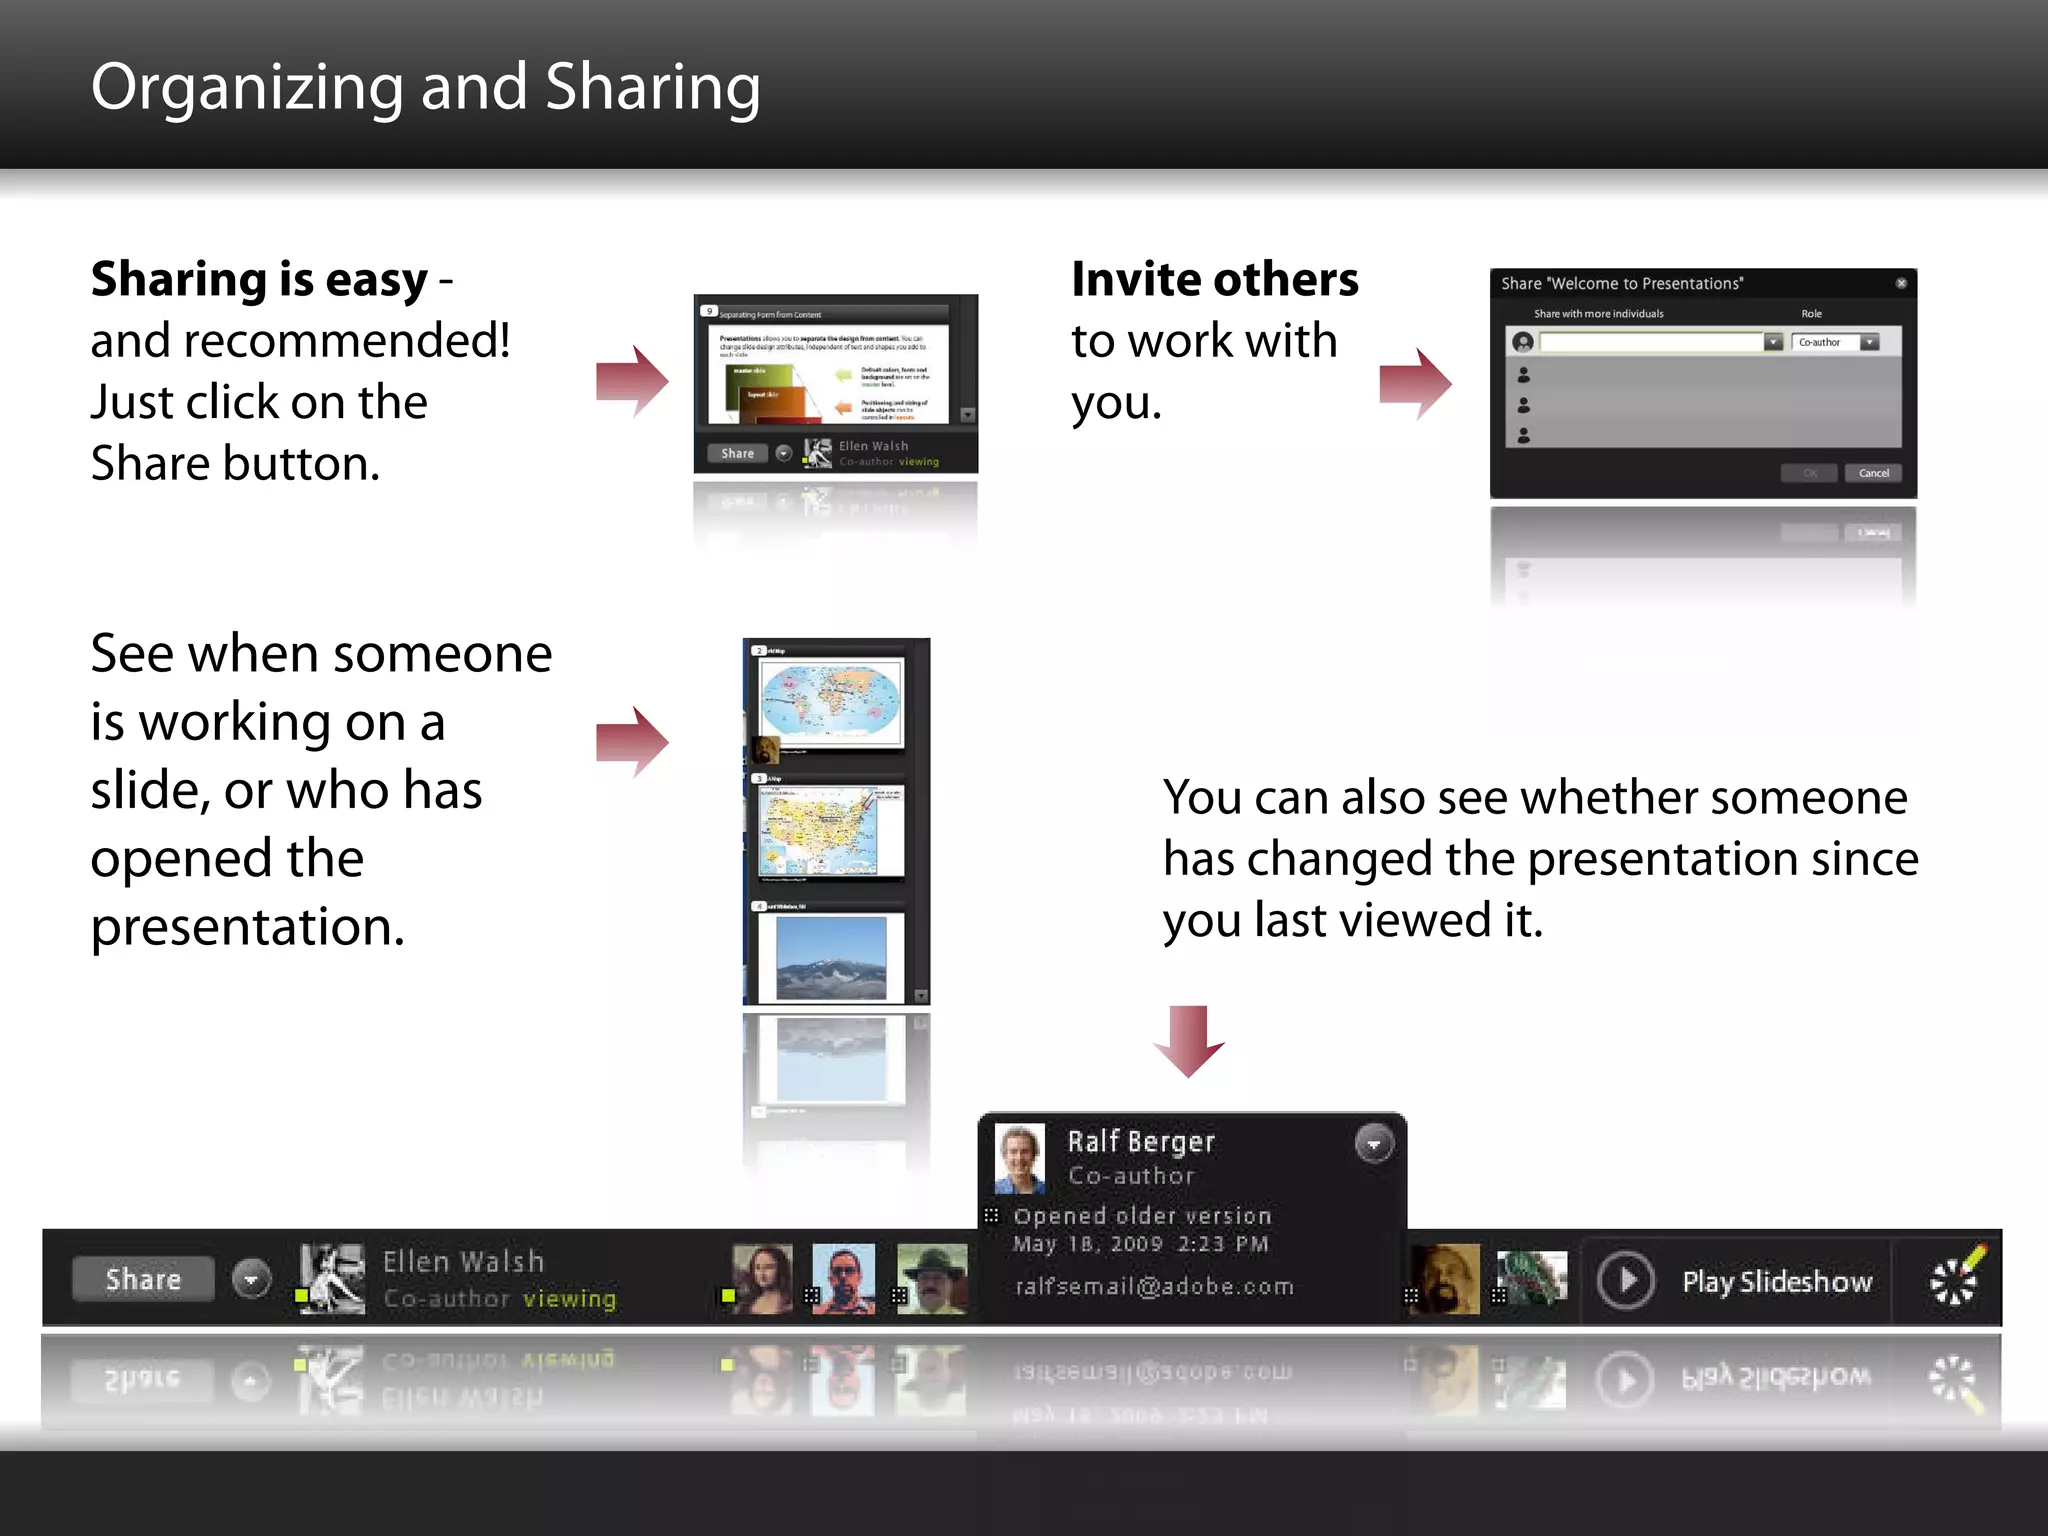
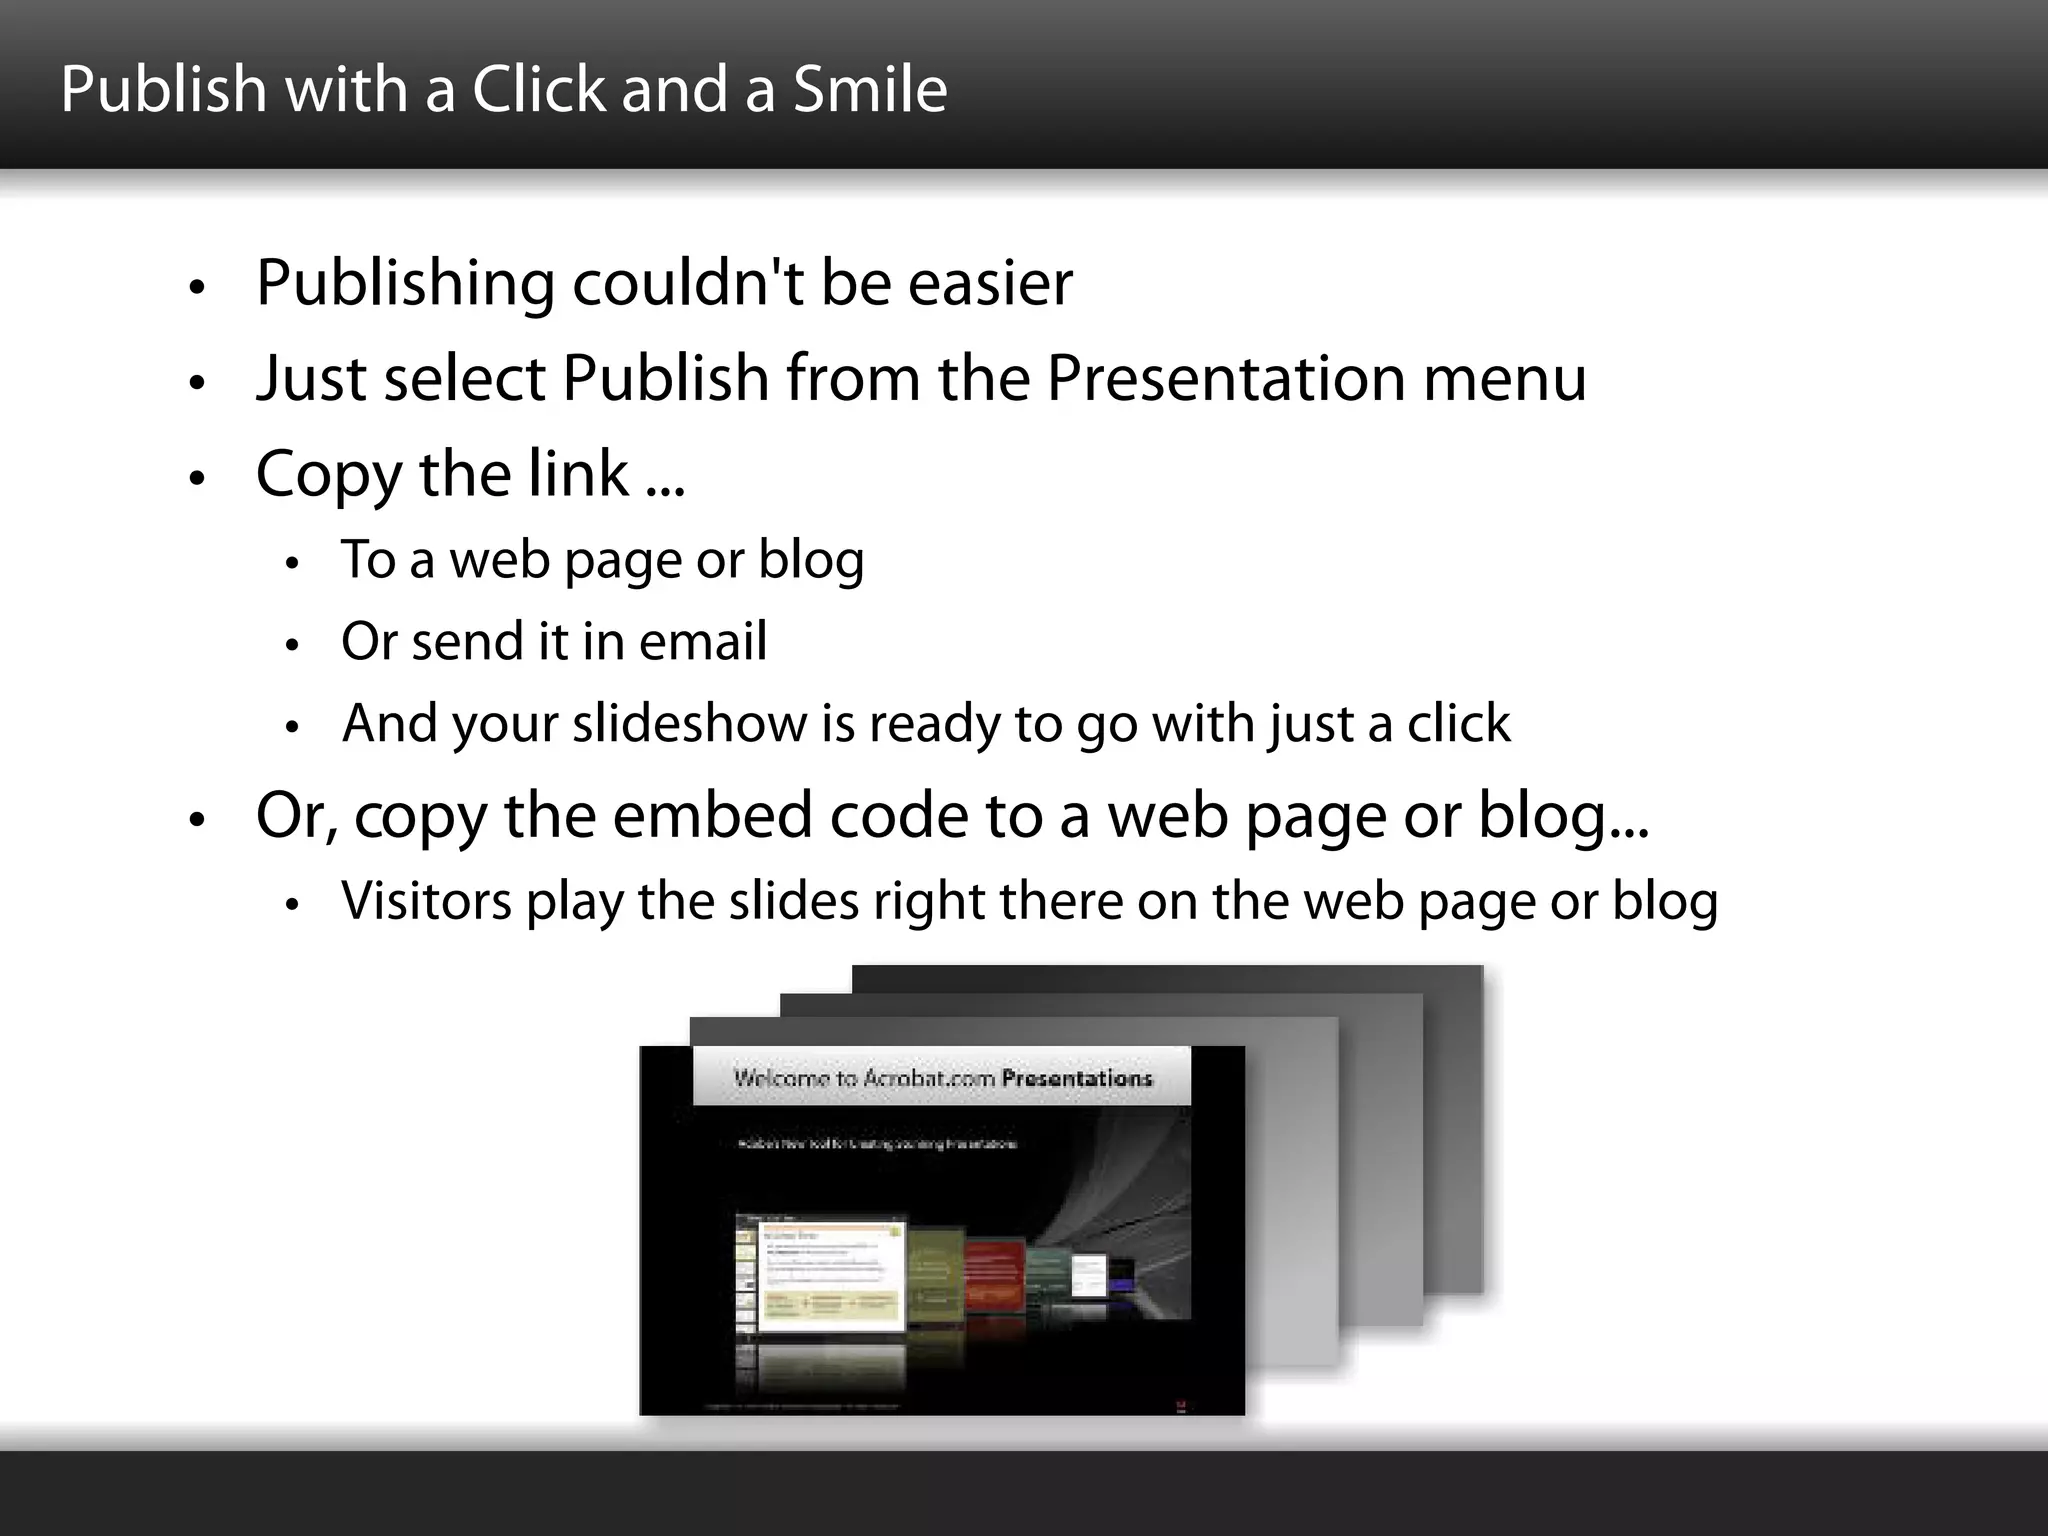

This document introduces Adobe's new online presentation tool, Acrobat.com Presentations. It highlights key features such as importing files, publishing presentations online, using themes, adding text, images, shapes and multimedia. The document explains how to organize and share presentations collaboratively in the cloud. It also provides overviews of working with slide masters and layouts, and publishing or embedding slideshows on the web.