Downloaded 87 times


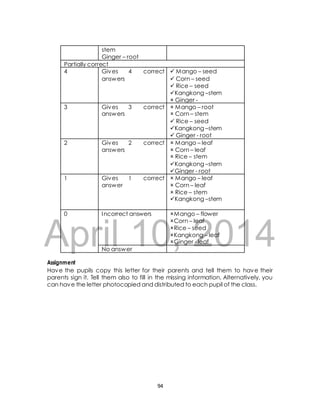
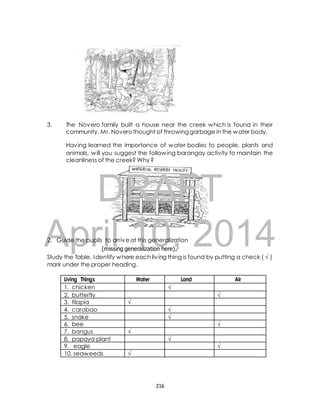
![_____3. Lens c. The transparent covering of the eye
_____4. Retina d. Where the image that is seen is
DRAFT
Lesson 2: The Ears
focused
_____5. Optic nerve e. The opening where light enters
I I . Put a [] on the box if it shows a proper way of caring the eyes and put a [x]
if it is not.
1. Reading with sufficient light
2. Rubbing eyes with hands when itchy
3. Resting eyes after reading for a long period
4. Looking at the Sun directly
5. Consult a doctor when having eye problem
Assignment
1. Find out who wears eyeglasses in your family. Ask the reasons why they
are using eyeglasses.
2. I s playing computer games for a long period good to your eyes?
What should you do to take care of your eyes?
April 10, 2014
Duration: 3 days
Background Information
None
Objectives
At the end of each lesson, the pupils should be able to:
1. identify the parts of the ears and its function, and
2. identify proper ways of caring the ears
Materials
a big poster of the parts of the ears
Procedure
A. Review
Ask:
50](https://image.slidesharecdn.com/science3tgdraft4-141022091851-conversion-gate01/85/Science-3-tg-draft-4-10-2014-yes-64-320.jpg)
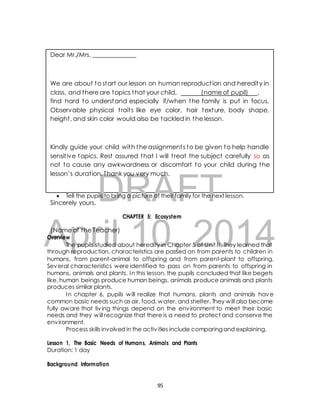
![6. Let the pupils perform activity 5. Give them 10 minutes to do the activ ity.
7. Ask the pupils the following questions :
What are the proper ways of caring the ears which you marked
DRAFT
Assessment
check in your activ ity? (The proper ways are: using clean cloth in
wiping the outer ear and having a doctor check the ears for any
problem.)
Why are these ways good to do for our ears? (The ears should only
be cleaned in the outside using a clean cloth. I t is not proper to
insert objects inside the ear to avoid damaging it. Whenever there
is a problem about the ears, it is best to consult a doctor.
What are ways that you should avoid? (Listening to loud music and
inserting sharp objects in the ear.)
Why do you have to avoid doing these? (Sharp objects could hurt
the ears especially the inner parts like the eardrum. Listening to very
loud music may affect hearing.)
What other ways do you do to take good care of your ears?
Never put anything inside the ear
Avoid very noisy places.
Listen to not too loud radio or music, even when watching
television
Consult a doctor when there is a sudden loss of hearing .
April 10, 2014
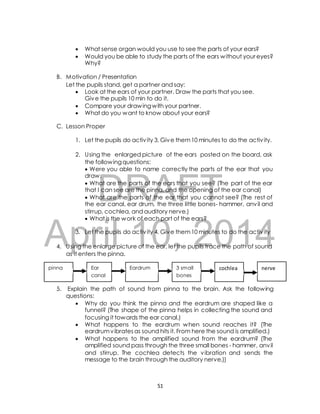
I . Match column A with column B. Write the letter before each number.
A B
_____1. Pinna a. Transmit sounds to the auditory nerve
_____2. Ear canal b. Sends message to the brain
_____3. Eardrum c. Collects sounds
_____4. Cochlea d. Where sound travels from pinna to
the ear drum
_____5. Auditory e. Vibrates when sound hits it
nerve
I I . Put a [] on the box if it shows a proper way of caring the ears and put
a [x] if it is not.
1. Avoiding noisy places
52](https://image.slidesharecdn.com/science3tgdraft4-141022091851-conversion-gate01/85/Science-3-tg-draft-4-10-2014-yes-66-320.jpg)

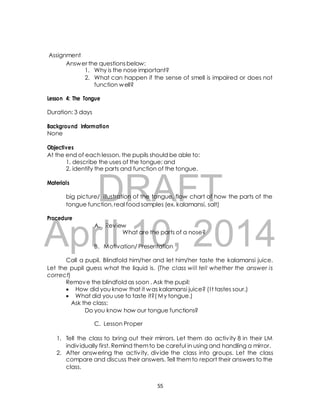
![ What are the inside parts of the nose? (The nasal cavity and inside it
are the nerve cells.)
What is the function of each part of the nose?
The nostrils receive the scents carried by air. Hairs are present on the
nostrils which filter the air that gets through your nose.
The nasal cavity secretes mucus which further cleans the air.
The nerves in the nasal cavity send messages to the brain which
interprets what we have smelled.
What can happen if the sense of smelling is impaired? (You will not be
able to smell the odor or scents of things.)
3. Let the pupils do Activ ity 7. Give them 10 minutes to do the activ ity
4. Ask the pupils the following questions :
What are the proper ways of caring the nose which you marked check
in your activ ity? (The proper ways are: covering the nose while passing
by a dusty road and using a clean handkerchief or cloth in cleaning
the nose)
Why do you have to care for your nose?
Which are NOT the proper ways to do in your nose? (Using sharp
DRAFT
objects to clean the nose and blowing hard.)
Why do you have to avoid doing these? (It can harm the nose.)
What are other ways of taking care of your nose?
Not inserting small objects inside the nose
Seek doctors help when an object is inserted in the nose
April Assessment
I . Match column A with column 10, B. Write the letter 2014
before each number.
A B
_____1. Nostrils a. Carries the messages to the
brain so the person will
know what he smelled
_____2. Nasal cavity b. Opening of the nose
_____3. Nerves c. Secretes a sticky mucus which
trap dust, dirt and germs
carried by inhaled air
I I . Put a [] on the box if it shows a proper way of caring the nose and put a
[x] if it is not.
1. Inserting small objects inside the nose
2. Consulting a doctor when there is discomfort with our nose
3. Cleaning the inside of the nose with sharp objects
4. Covering the nose when passing a dusty road
5. Blowing the nose hard when with colds
54](https://image.slidesharecdn.com/science3tgdraft4-141022091851-conversion-gate01/85/Science-3-tg-draft-4-10-2014-yes-68-320.jpg)


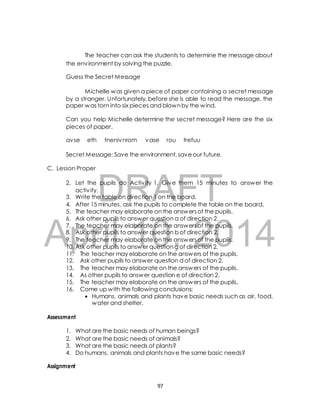


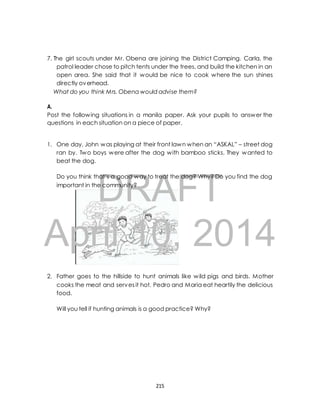
![What are the different sources of sounds we discussed the other day?
B. Motivation /Presentation
Tell the pupils to produce sounds using the different parts of their body.
Example:
I can clap my hand to produce sound.
I can stomp my feet to produce sound.
1. Let the pupils do activ ity 2 in the LM as a group.
2. After the groups have done the activity, one representative in each group
will report their findings.
3. Ask the following questions :
How is sound produced using the maracas? (By shaking it)
Why do you have to shake the maracas for it to produce sound?
(So the beads [or small objects] inside it will move hitting each
other and the maracas covering thus producing sound.)
How is sound produced using the drum? (By beating it using the
DRAFT
A. Review
C. Lesson Proper
stick)
Look at the drum when you beat it, what do you observe? (The
drum vibrates.)
How is sound produced using the guitar? (By plucking the string, by
strumming the string)
Look at the strings when you pluck and strum the guitar, what do
April you observe? (The strings vibrate.)
How is sound produced 10, using the whistle? 2014
(By blowing through the
mouth piece)
Blow the whistle again, place your hand near the opening and feel
it. What do you feel? (There is wind/air coming out.)
What are the different ways of producing sound?
4. Tell the class that all the objects (maracas, drum, guitar, whistle)they used
were able to produce sound because something moved or vibrated.
Sounds are produced by objects that vibrate.
5. Tell the class to feel their throat as they talk. Ask:
What do you feel?
Why do you think you were able to produce sound?
6. These are the concepts to be developed in this lesson:
Sound is produced by objects that vibrate.
Sounds maybe produced by beating, blowing, strumming, and
shaking.
When we speak or sing, our vocal cords vibrate and produce
sounds unique to us.
7. Give the assessment and check it.
8. Give the assignment.
137](https://image.slidesharecdn.com/science3tgdraft4-141022091851-conversion-gate01/85/Science-3-tg-draft-4-10-2014-yes-152-320.jpg)


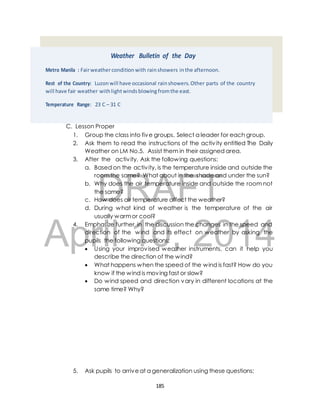
![Changes in the speed of the wind cause changes in
weather conditions
6. Assign pupils to tell their parents at home about the paper gliders
and their uses in knowing the direction of the wind.
Lesson 5. The Daily Weather
Background Information
Weather is the state of the atmosphere, to the degree that it is hot or cold,
wet or dry, calm or stormy, clear or cloudy.[1] Most weather phenomena occur in
the troposphere, just below the stratosphere. Weather generally refers to day-to-day
DRAFT
Duration: 4 days
temperature and precipitation activ ity, whereas climate is the term for the
average atmospheric conditions over longer periods of time
Weather is driven by air pressure (temperature and moisture) differences
between one place and another. These pressure and temperature differences
can occur due to the sun angle at any par ticular spot, which v ar ies
by latitude from the tropics. The strong temperature contrast between polar and
tropical air gives rise to the jet stream. Weather systems in the mid-latitudes, such
as extratropical cyclones, are caused by instabilities of the jet stream f low.
Because the Earth's axis is tilted relative to its orbital plane, sunlight is incident at
different angles at different times of the year. On Earth's surface, temperatures
usually range ±40 °C (−40 °F to 100 °F) annually. Ov er thousands of year s,
changes in Ear th's orbit af fect the amount and distr ibution of solar
energy received by the Ear th and inf luence long-term climate and
global climate change.
April 10, 2014
Surface temperature differences in turn cause pressure differences. Higher
altitudes are cooler than lower altitudes due to differences in compressional
heating. Weather forecasting is the application of science and technology to
predict the state of the atmosphere for a future time and a given location. The
atmosphere is a chaotic system, so small changes to one part of the system can
grow to have large effects on the system as a whole. Human attempts to control
the weather have occurred throughout human history, and there is evidence
that human activ ity such as agriculture and industry has inadvertently modified
weather patterns.
183](https://image.slidesharecdn.com/science3tgdraft4-141022091851-conversion-gate01/85/Science-3-tg-draft-4-10-2014-yes-198-320.jpg)


The document provides guidance for teachers on describing solids and their characteristics. It includes lessons on identifying different solids based on properties like color, shape, size, and texture. Teachers are instructed to have students collect solid objects from the garden and describe them, in order to learn about classifying materials by their physical characteristics. Safety measures for handling various materials found at home and in school are also outlined.