Download to read offline

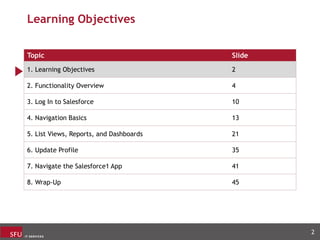
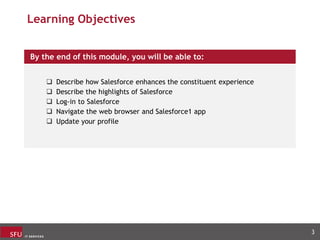


This document provides an overview of Salesforce functionality for staff. It describes how Salesforce enhances the constituent experience through efficient data tracking and relationship management. The document reviews how to log in to Salesforce, navigate the user interface, and access key features like list views, reports and dashboards. It also covers profile updates and how to use the Salesforce1 mobile app. The goal is to help users understand Salesforce capabilities and get started using the system.