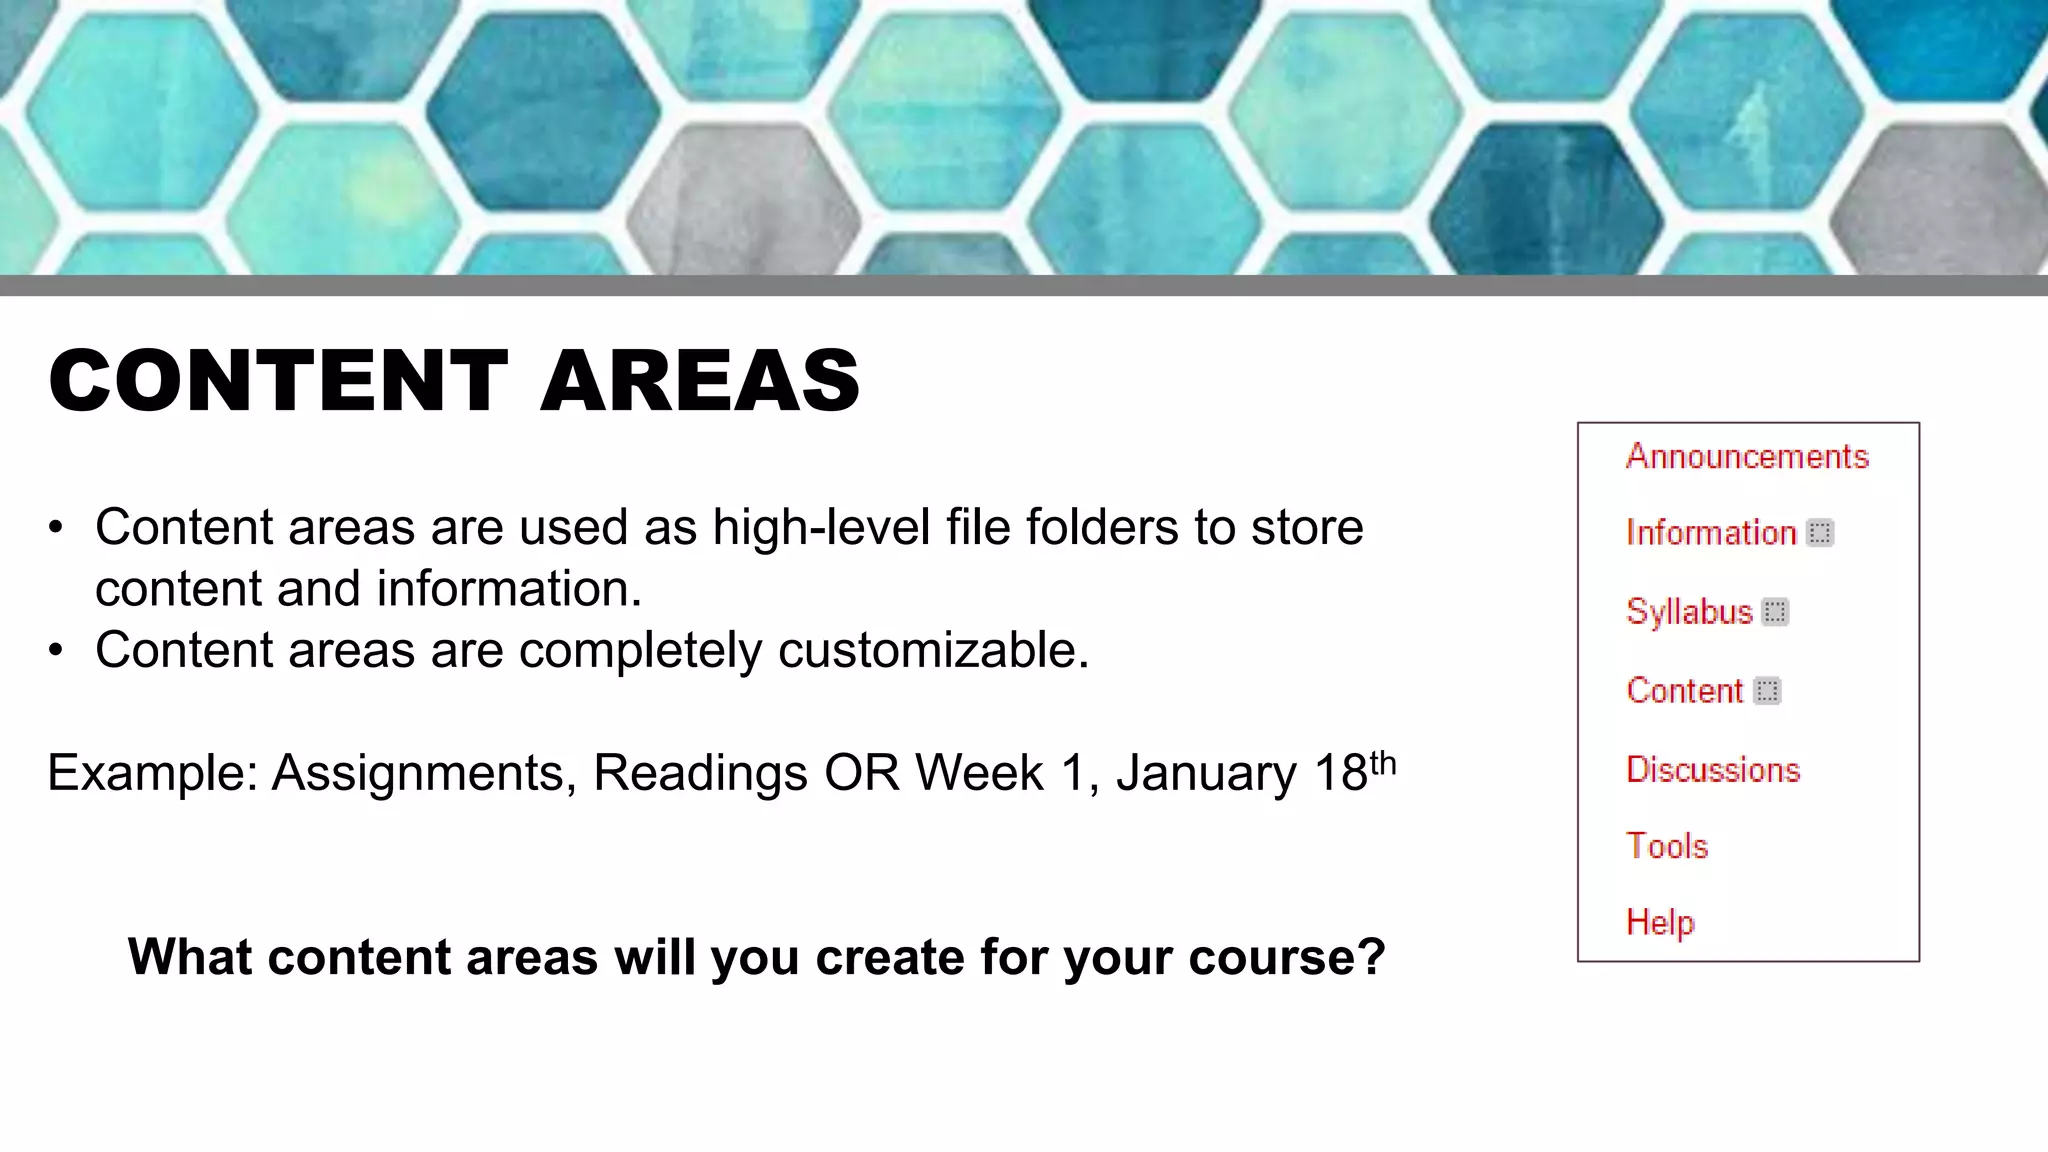
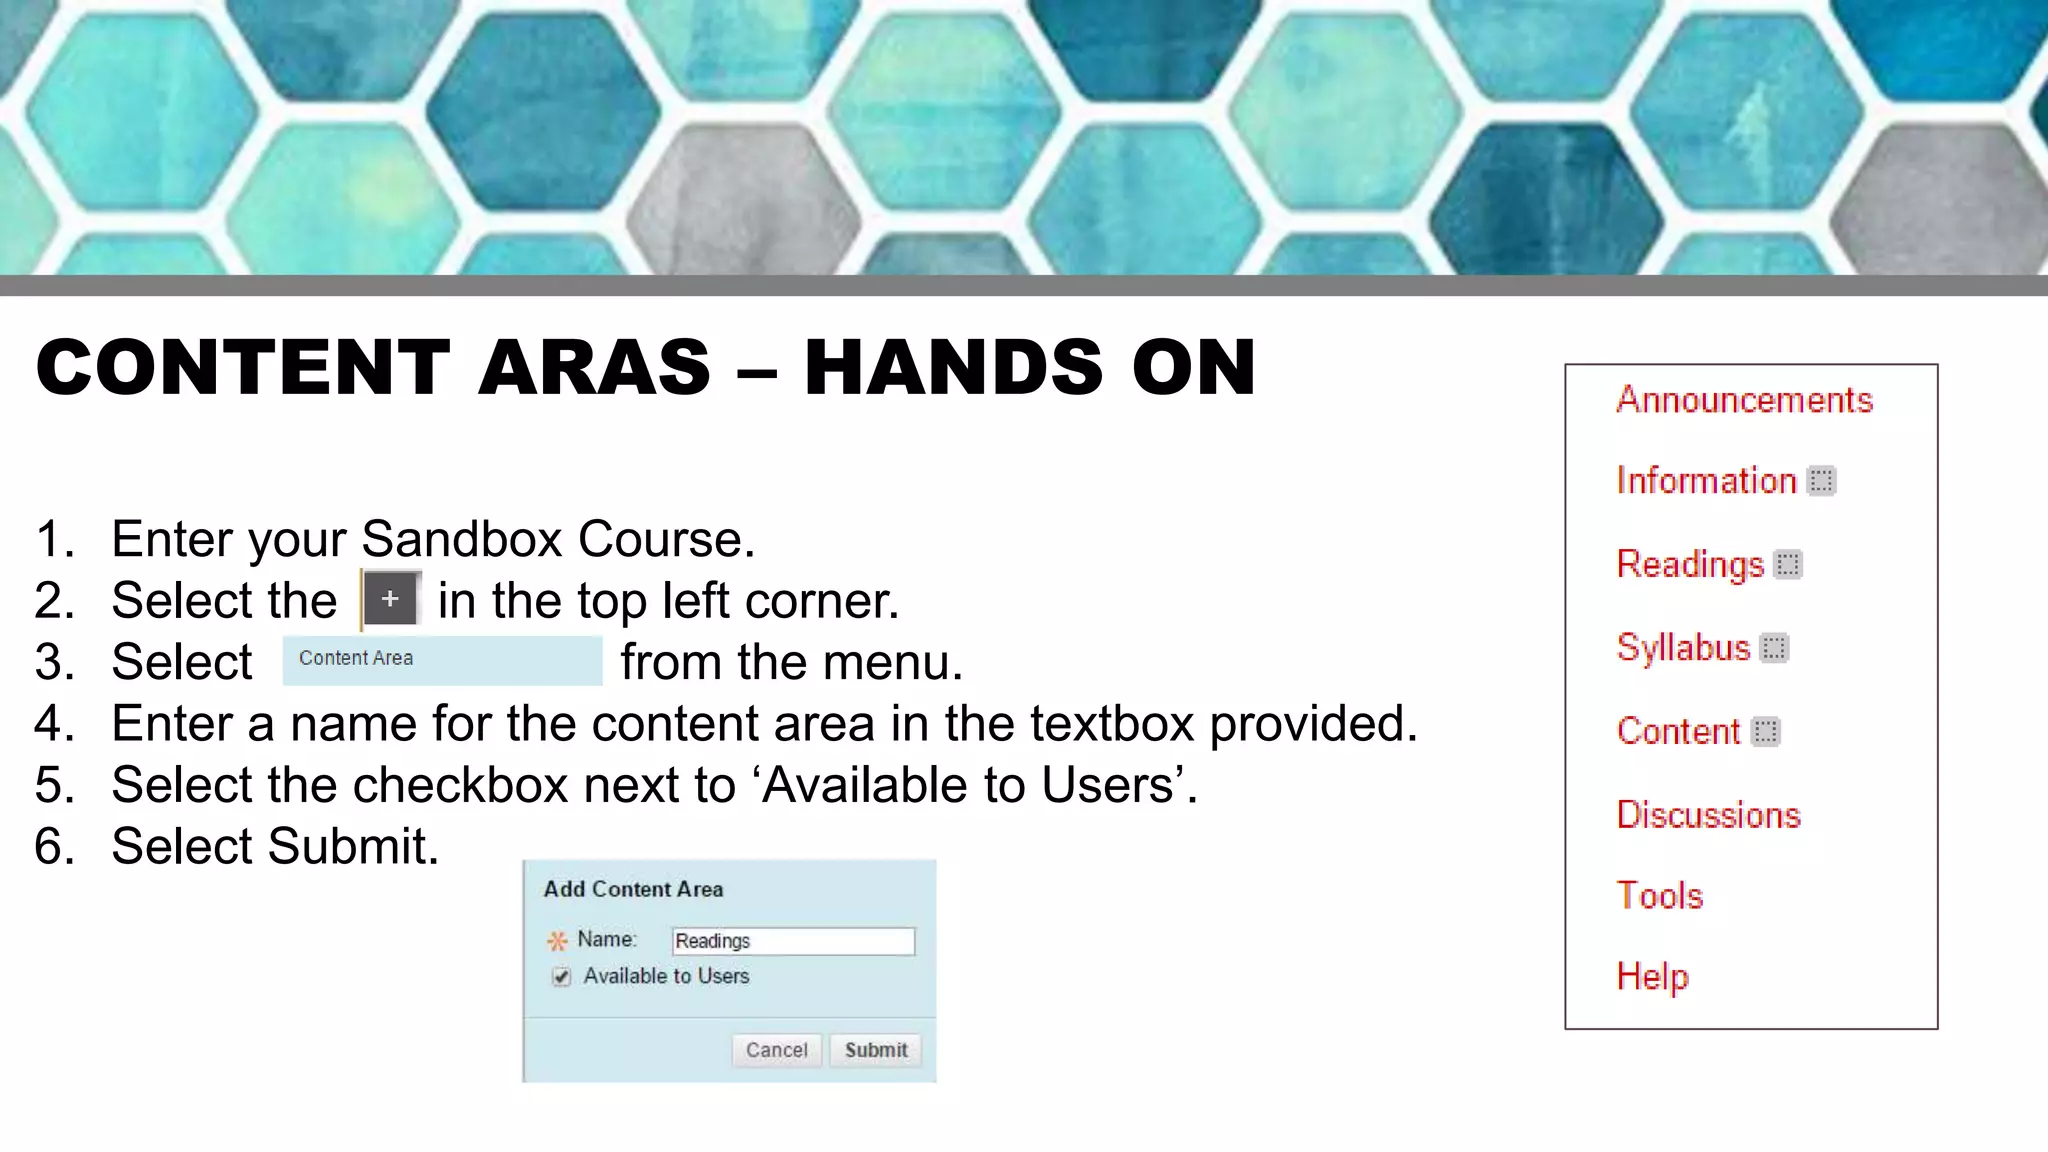
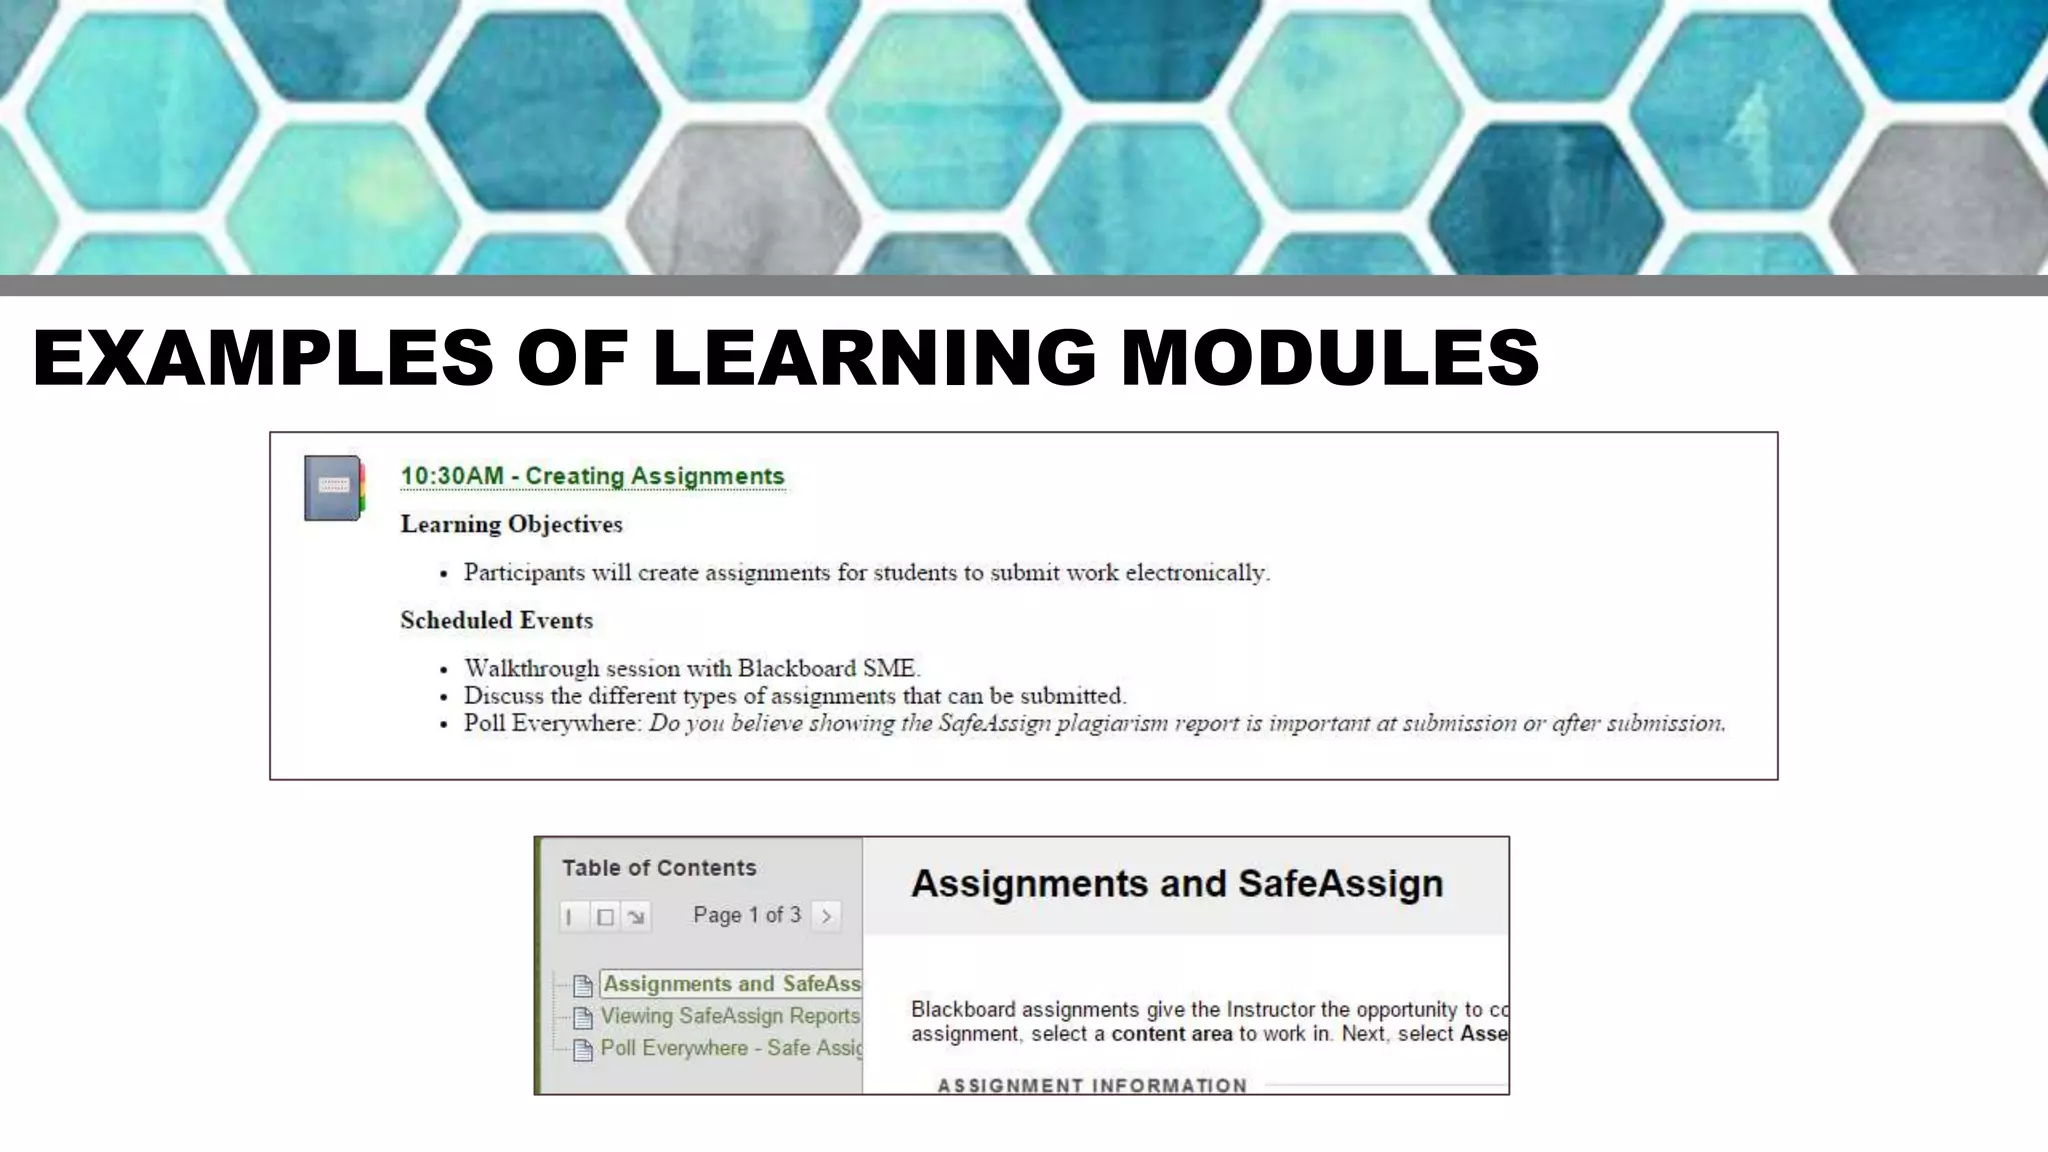
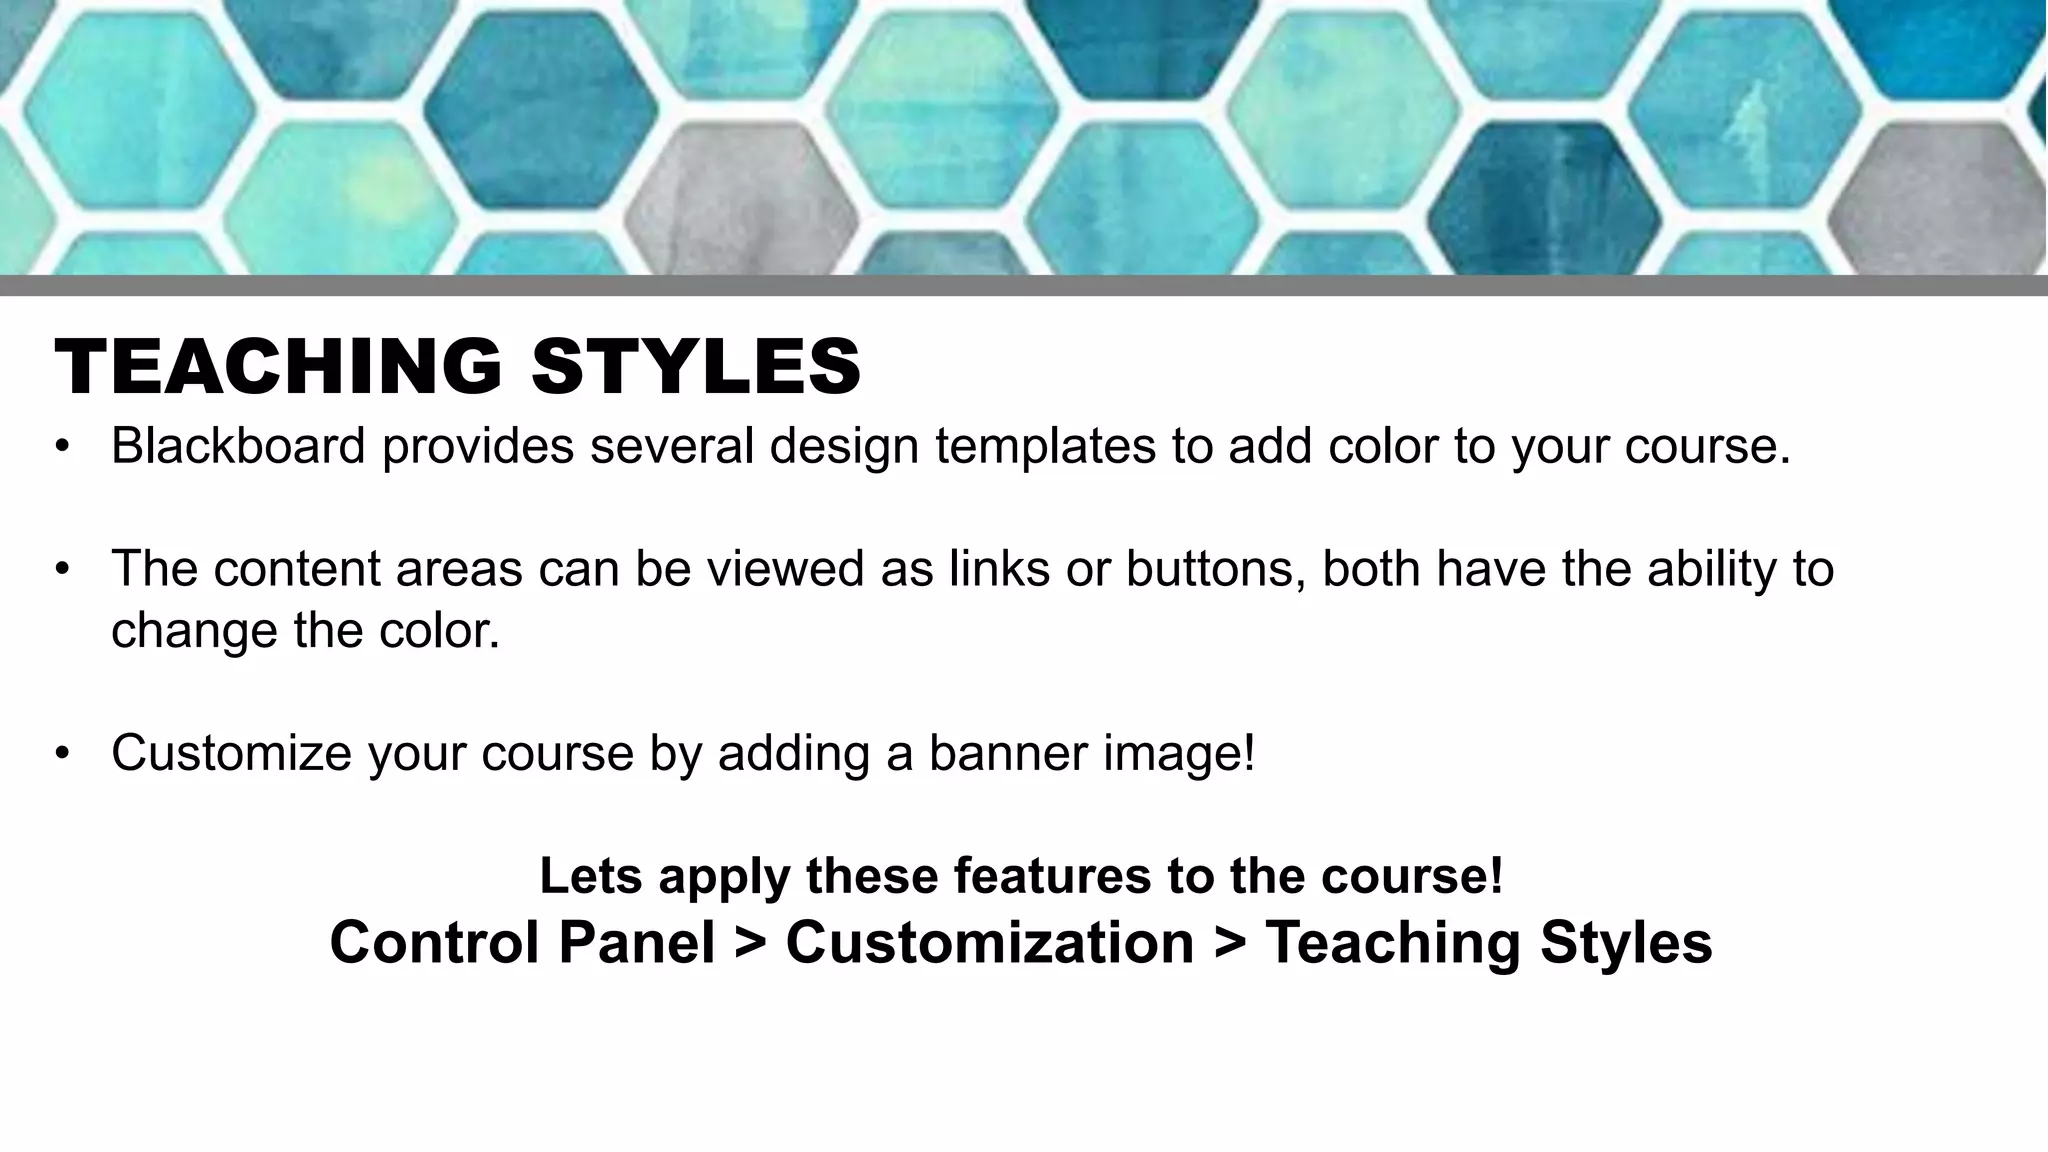
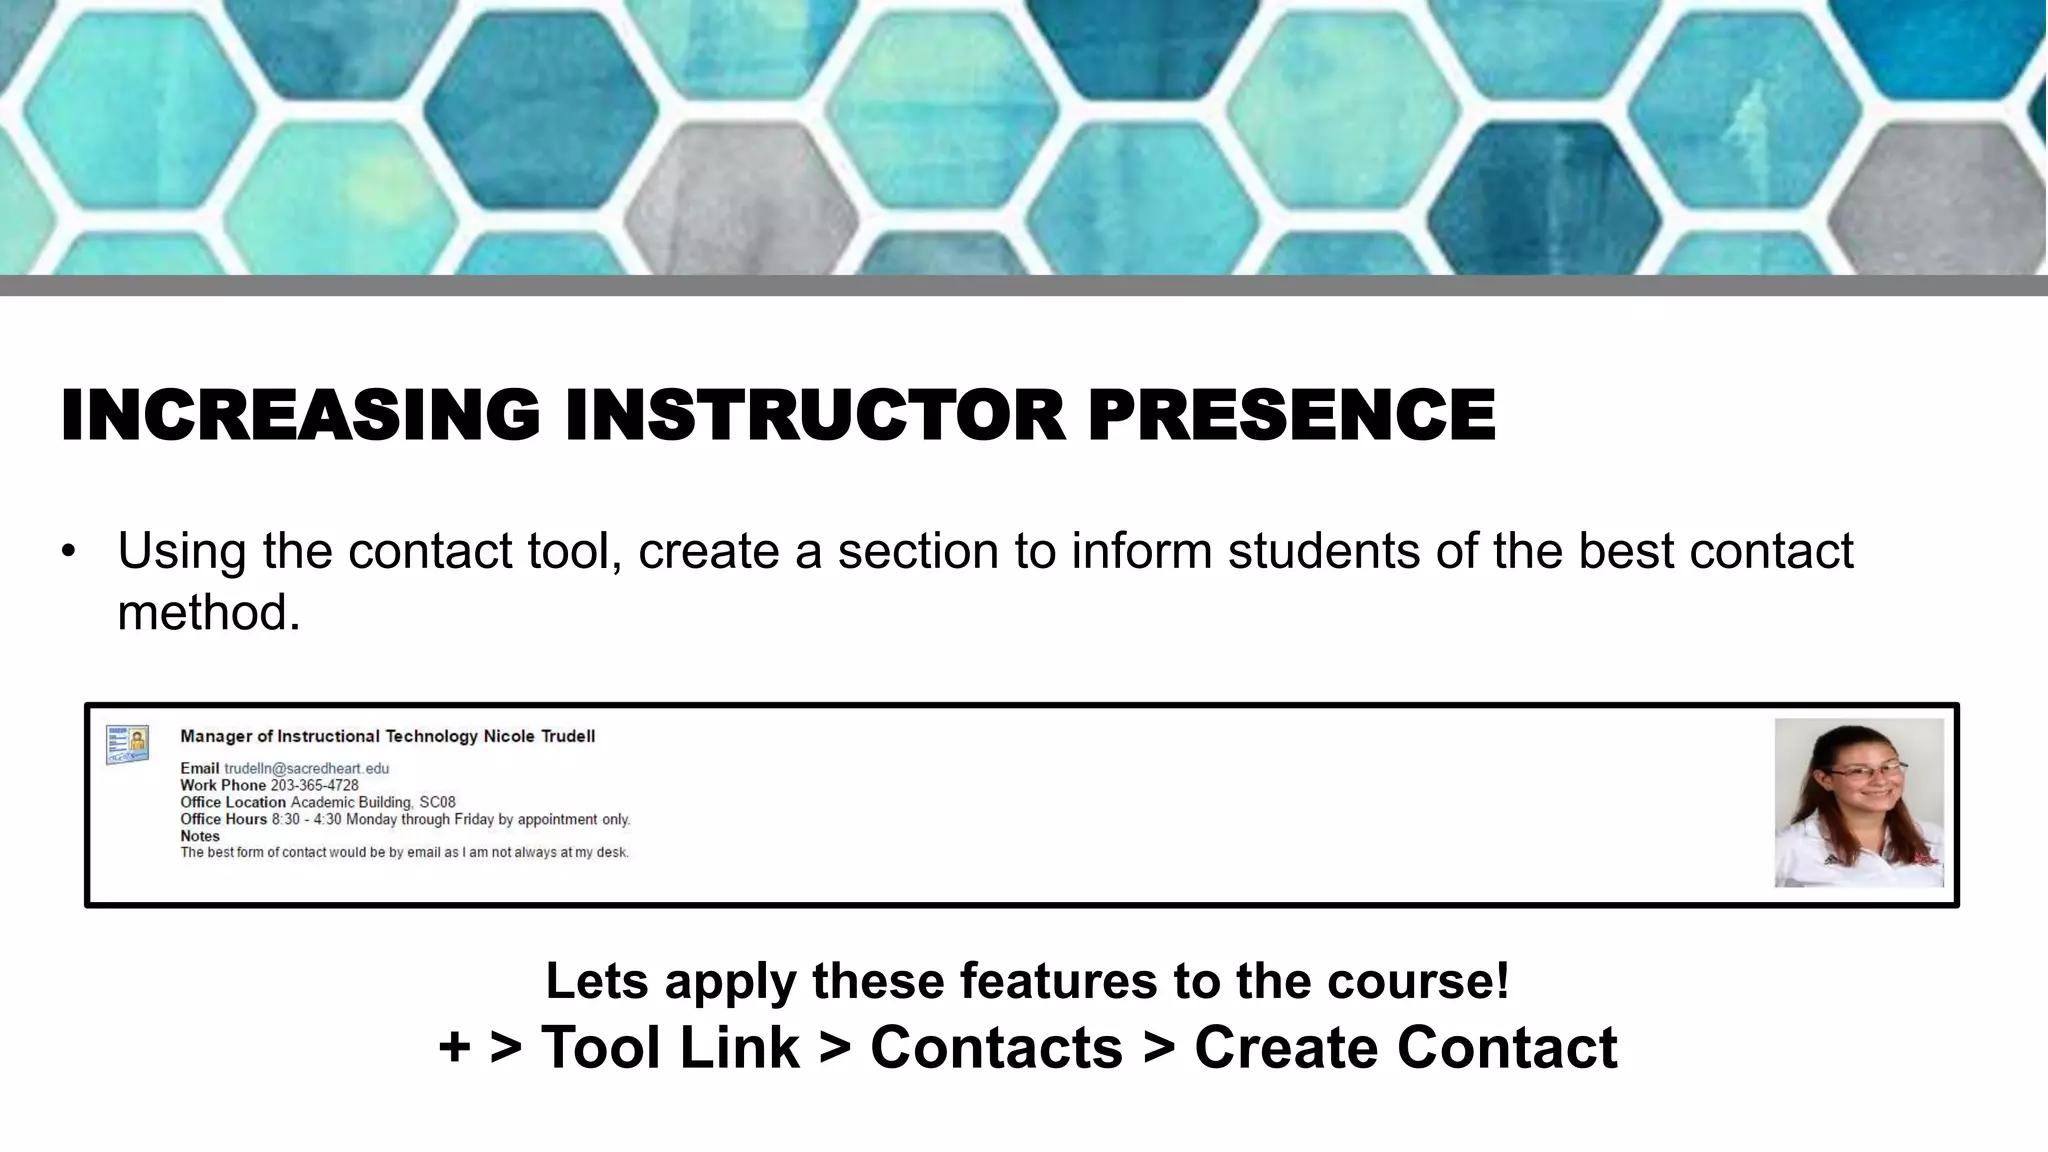
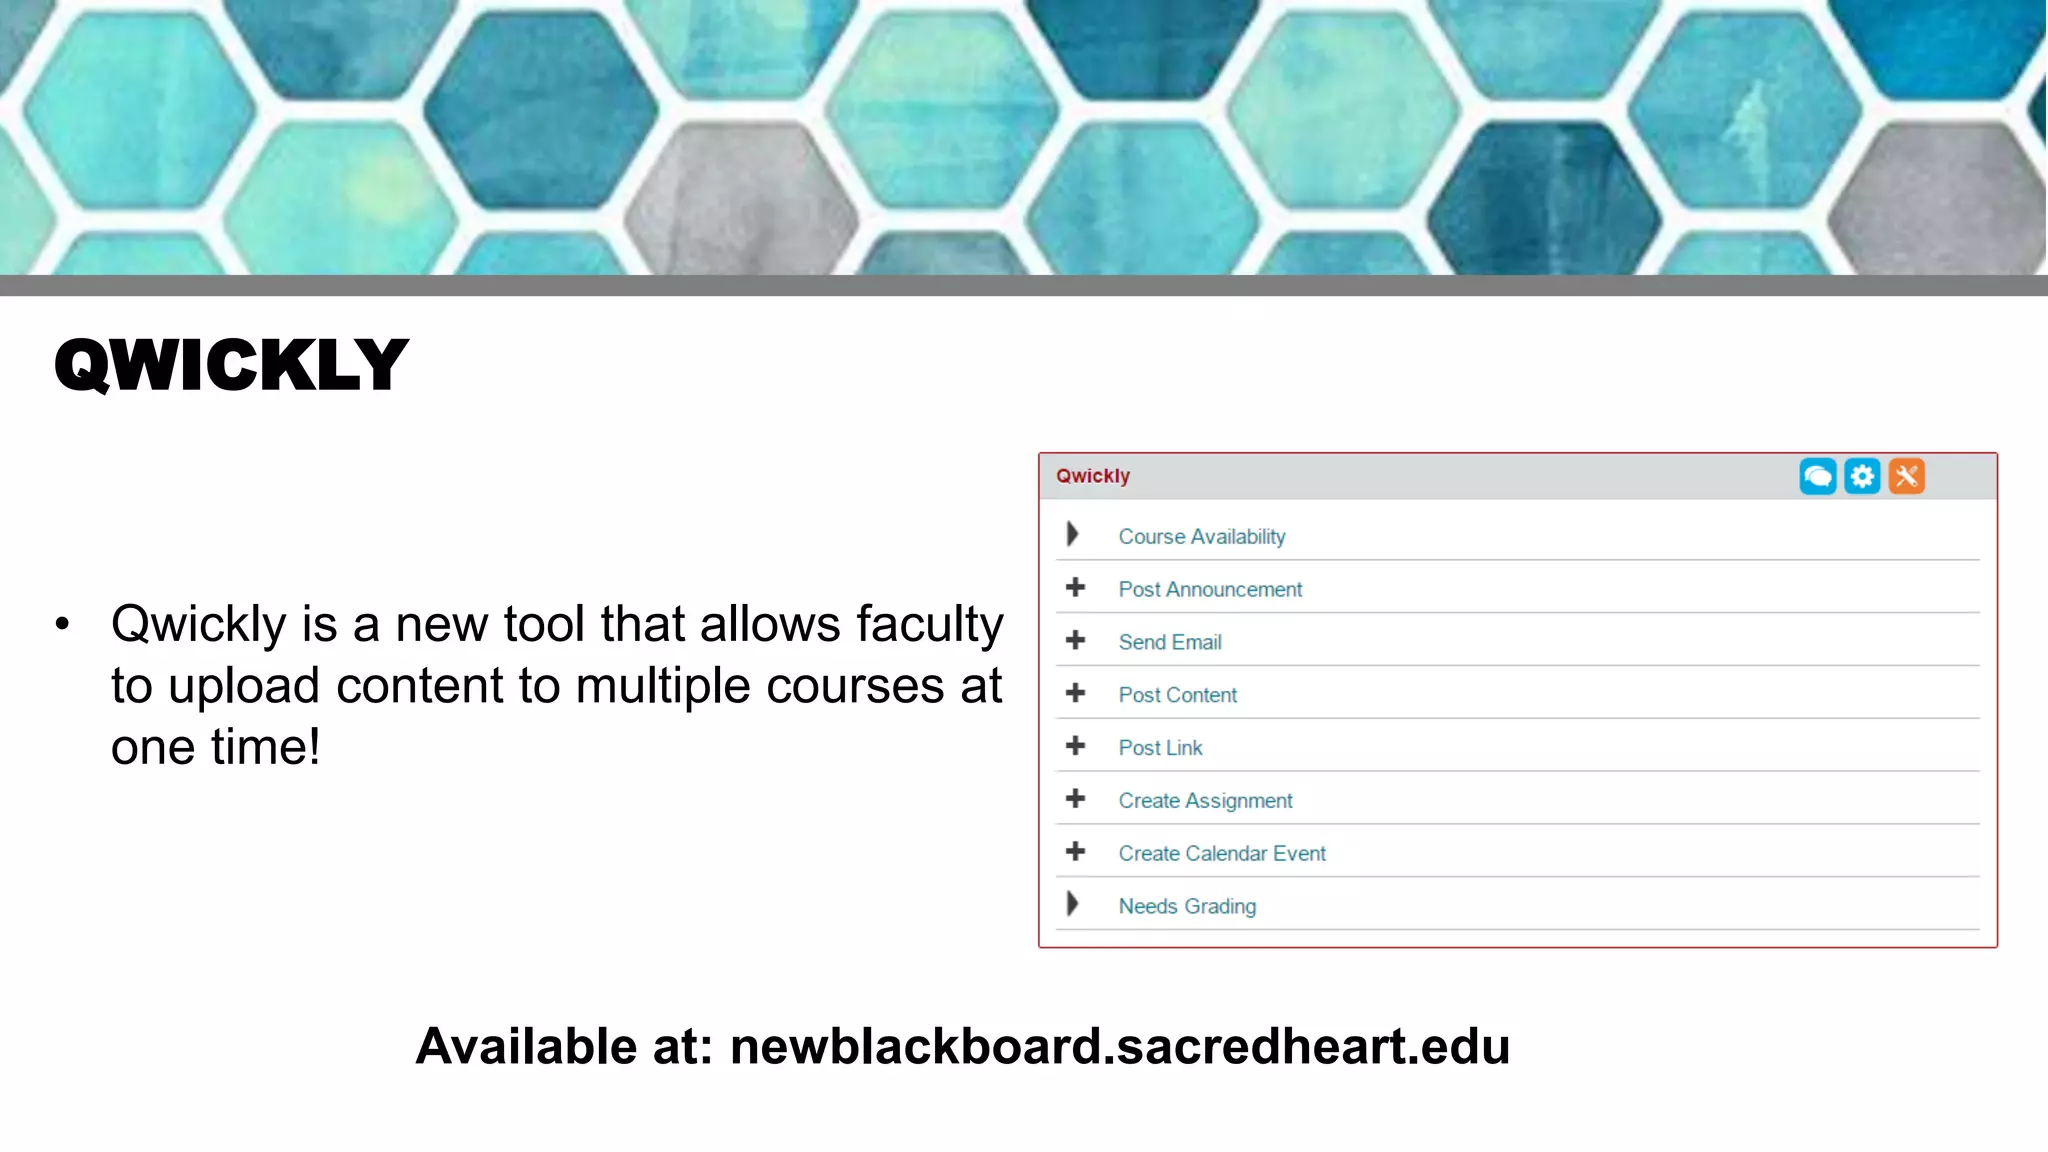
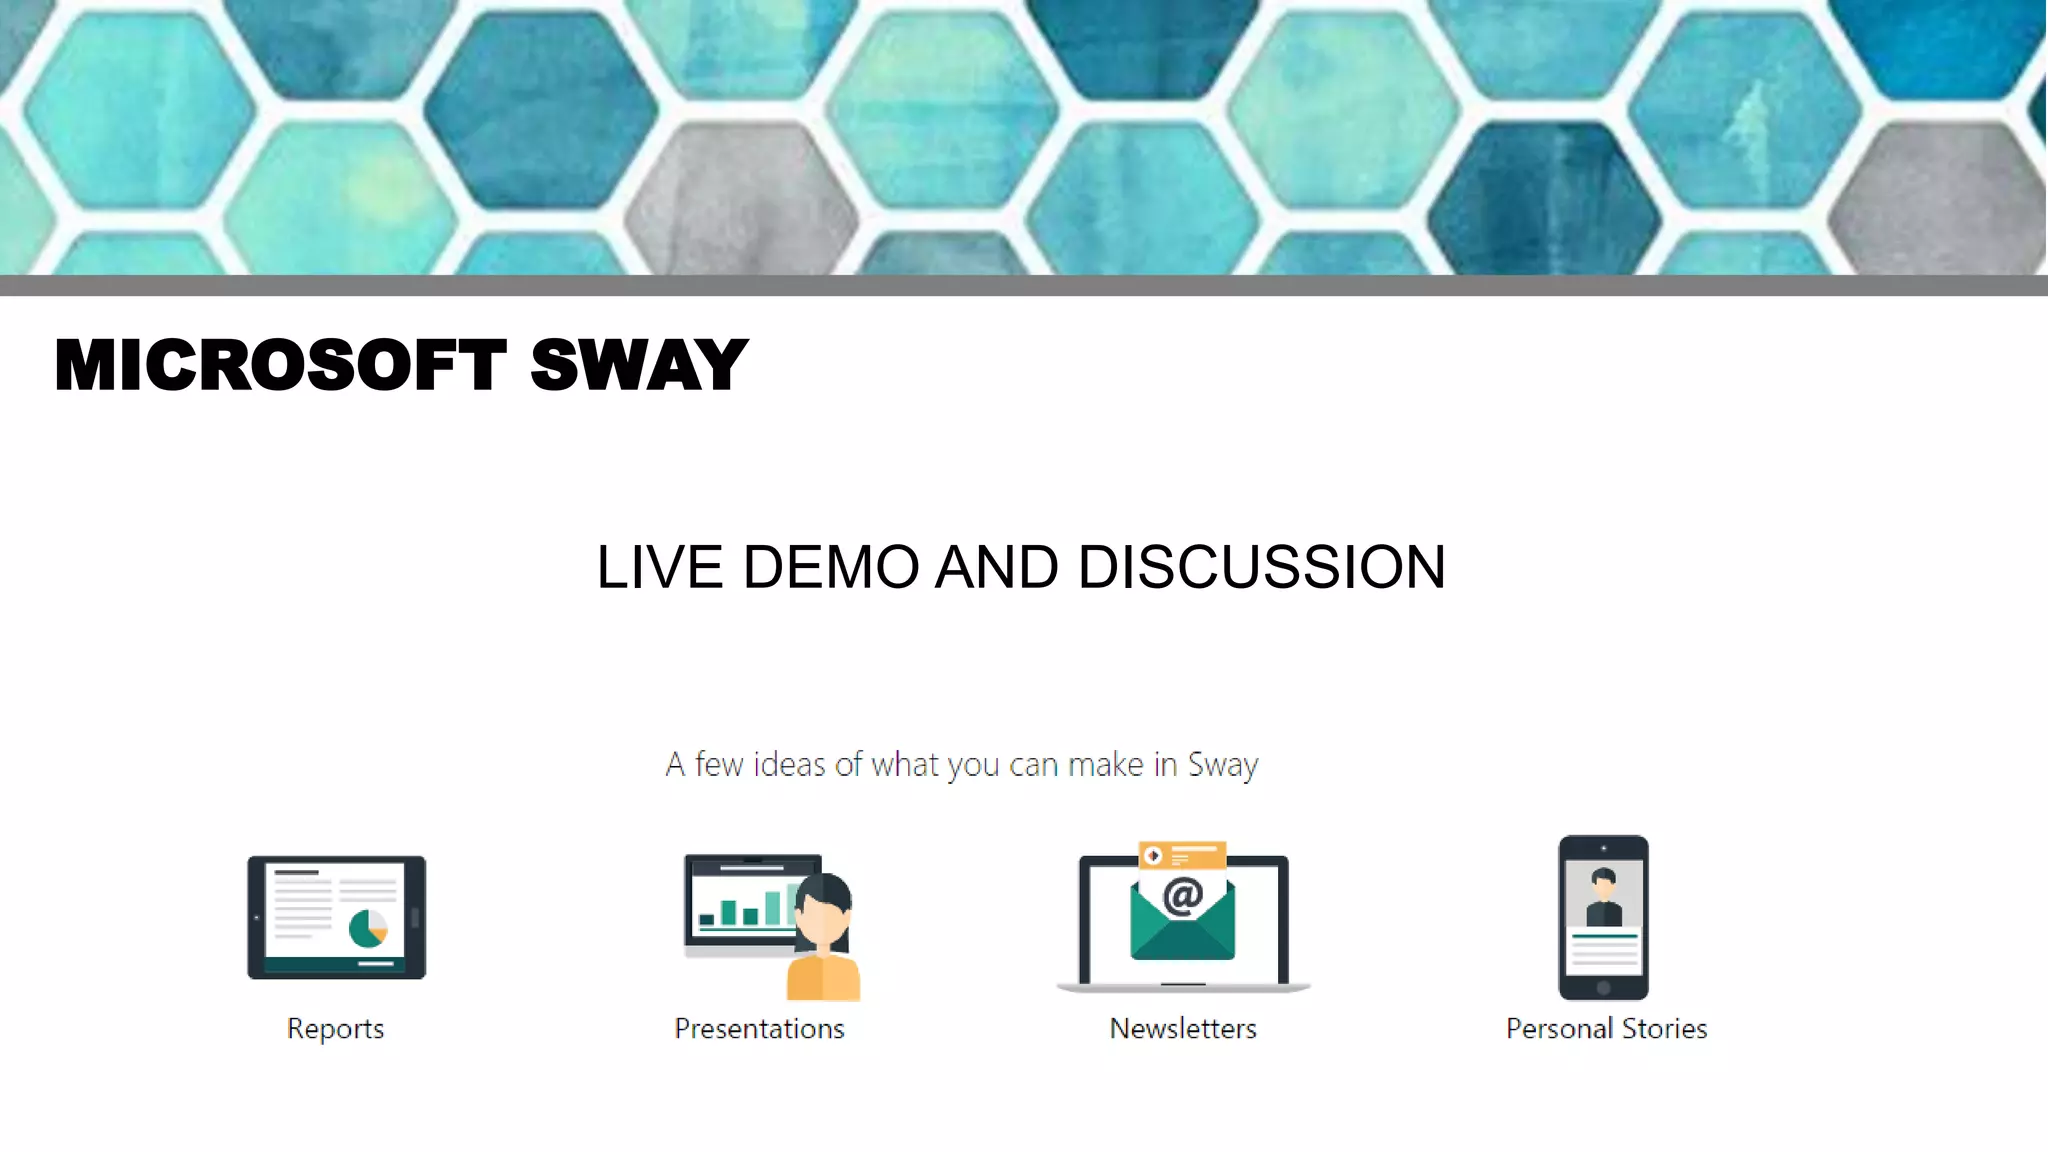
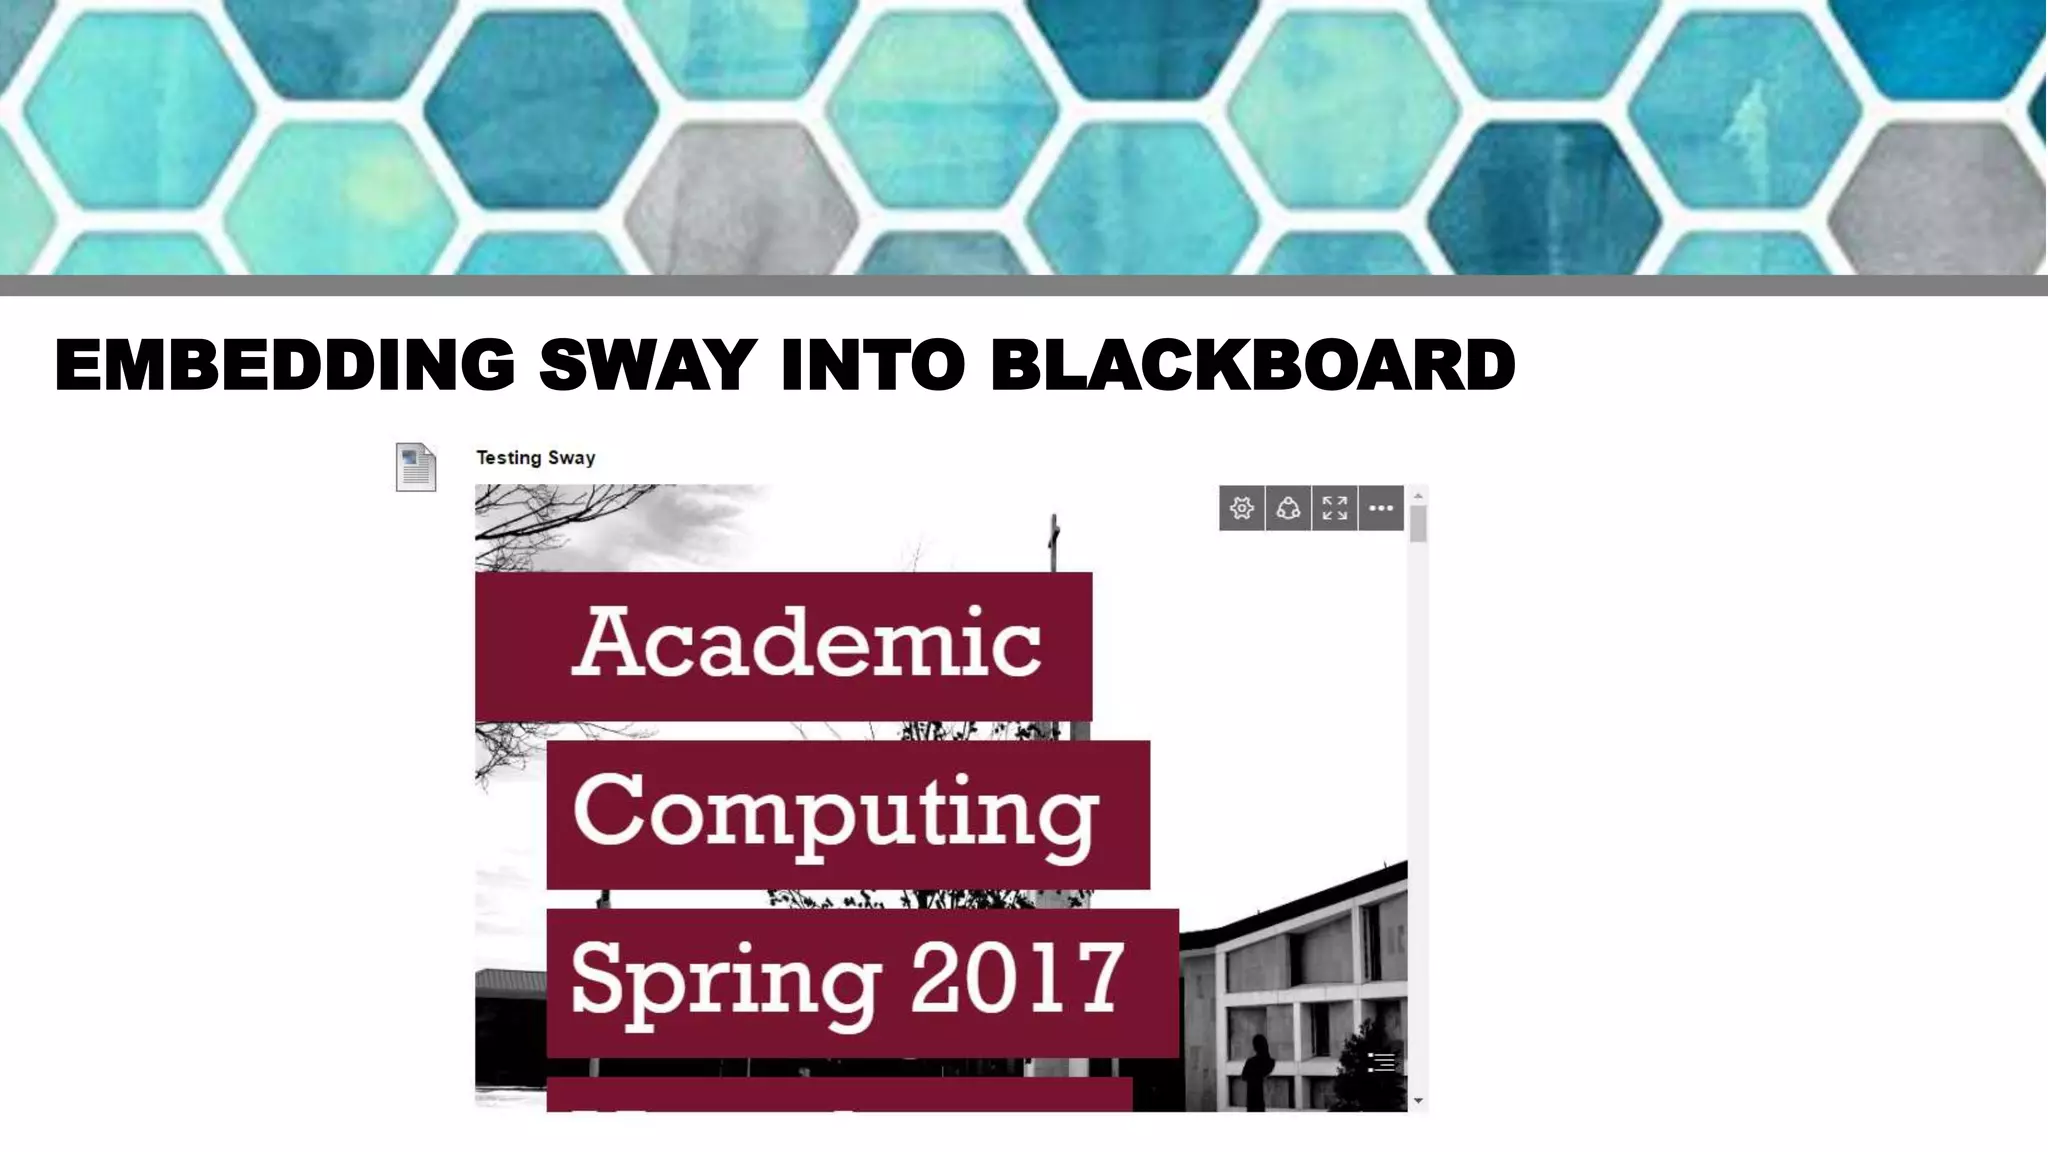
Enhancing Course Design with
Blackboard
Summer Institute 2017
By Amanda Moras and Nicole Trudell
INTRODUCTION
Interface: The view the student has when interacting with the course.
The keys to an effective interface
• Simple
• Consistent
• User-friendly
We will begin with the course entry point.
What do you believe the entry point of a course should be?
CONTENT AREAS
• Content areas are used as high-level file folders to store
content and information.
• Content areas are completely customizable.
Example: Assignments, Readings OR Week 1, January 18th
What content areas will you create for your course?
CONTENT ARAS – HANDS ON
1. Enter your Sandbox Course.
2. Select the in the top left corner.
3. Select from the menu.
4. Enter a name for the content area in the textbox provided.
5. Select the checkbox next to ‘Available to Users’.
6. Select Submit.
LEARNING MODULES
• Learning Modules are a storage space for common content.
• For example, in the ‘Week 1’ Learning Module, all content associated will be stored.
• It provides students with a Table of Contents, and allows them to easily navigate
through the course.
• Instructors have the ability to include any descriptions of the learning module
including learning objectives and scheduled events for the week.
EXAMPLES OF LEARNING MODULES
LEARNING MODULES – HANDS ON
1. Select a Content Area.
2. Select Build > Learning Module.
3. Enter a name in the textbox provided.
4. In the “Text” space, enter any learning objectives or scheduled events.
5. Select Submit.
TEACHING STYLES
• Blackboard provides several design templates to add color to your course.
• The content areas can be viewed as links or buttons, both have the ability to
change the color.
• Customize your course by adding a banner image!
Lets apply these features to the course!
Control Panel > Customization > Teaching Styles
INCREASING INSTRUCTOR PRESENCE
• Using the contact tool, create a section to inform students of the best contact
method.
Lets apply these features to the course!
+ > Tool Link > Contacts > Create Contact
QWICKLY
• Qwickly is a new tool that allows faculty
to upload content to multiple courses at
one time!
Available at: newblackboard.sacredheart.edu
MICROSOFT SWAY
LIVE DEMO AND DISCUSSION
EMBEDDING SWAY INTO BLACKBOARD
QUESTIONS?

Sacred Heart University Enhancing Course Design with Blackboard, LMS

  • 1.
    Enhancing Course Designwith Blackboard Summer Institute 2017 By Amanda Moras and Nicole Trudell
  • 2.
    INTRODUCTION Interface: The viewthe student has when interacting with the course. The keys to an effective interface • Simple • Consistent • User-friendly We will begin with the course entry point. What do you believe the entry point of a course should be?
  • 3.
    CONTENT AREAS • Contentareas are used as high-level file folders to store content and information. • Content areas are completely customizable. Example: Assignments, Readings OR Week 1, January 18th What content areas will you create for your course?
  • 4.
    CONTENT ARAS –HANDS ON 1. Enter your Sandbox Course. 2. Select the in the top left corner. 3. Select from the menu. 4. Enter a name for the content area in the textbox provided. 5. Select the checkbox next to ‘Available to Users’. 6. Select Submit.
  • 5.
    LEARNING MODULES • LearningModules are a storage space for common content. • For example, in the ‘Week 1’ Learning Module, all content associated will be stored. • It provides students with a Table of Contents, and allows them to easily navigate through the course. • Instructors have the ability to include any descriptions of the learning module including learning objectives and scheduled events for the week.
  • 6.
  • 7.
    LEARNING MODULES –HANDS ON 1. Select a Content Area. 2. Select Build > Learning Module. 3. Enter a name in the textbox provided. 4. In the “Text” space, enter any learning objectives or scheduled events. 5. Select Submit.
  • 8.
    TEACHING STYLES • Blackboardprovides several design templates to add color to your course. • The content areas can be viewed as links or buttons, both have the ability to change the color. • Customize your course by adding a banner image! Lets apply these features to the course! Control Panel > Customization > Teaching Styles
  • 9.
    INCREASING INSTRUCTOR PRESENCE •Using the contact tool, create a section to inform students of the best contact method. Lets apply these features to the course! + > Tool Link > Contacts > Create Contact
  • 10.
    QWICKLY • Qwickly isa new tool that allows faculty to upload content to multiple courses at one time! Available at: newblackboard.sacredheart.edu
  • 11.
  • 12.
  • 13.